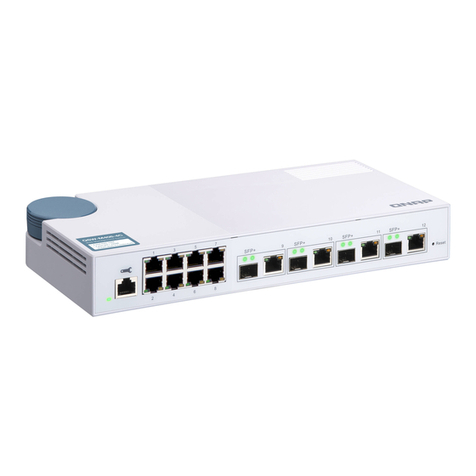
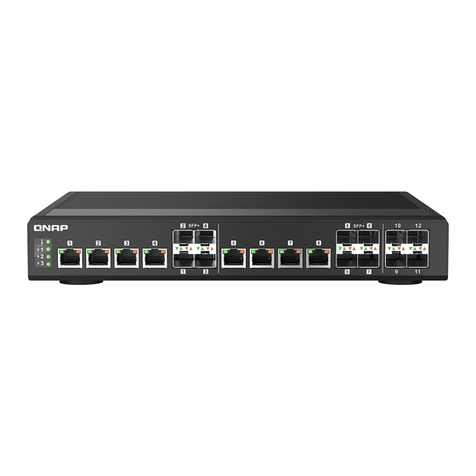
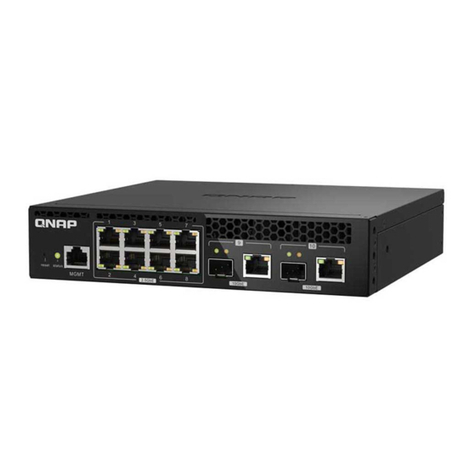
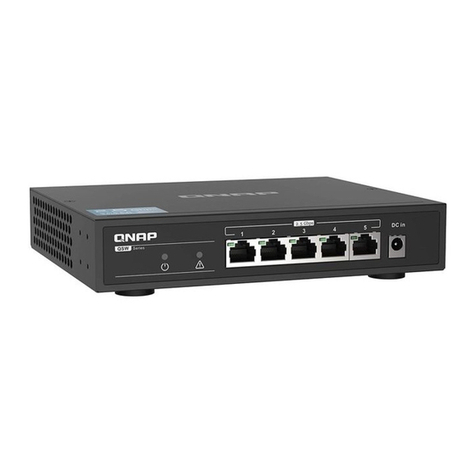
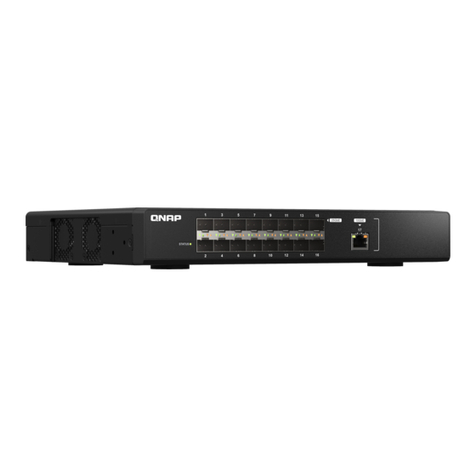
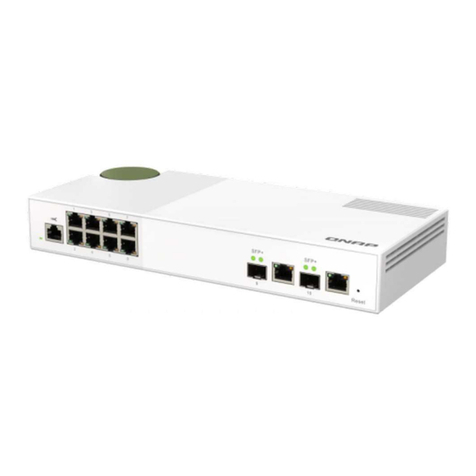
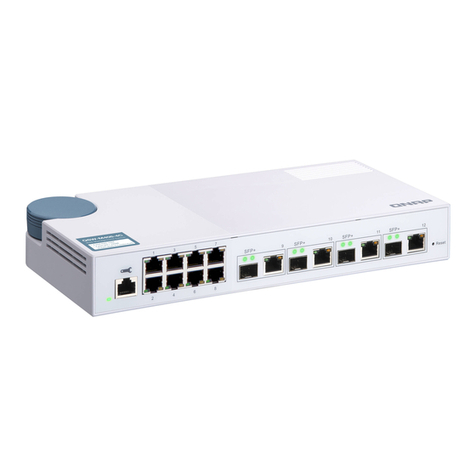
QNAP QSW-M2106PR User manual

QSW-M2106
QSW-M2106PR
User Guide
Document Version: 2
30/11/2022

Contents
1. Product Overview
About the QSW-M2106PR......................................................................................................................................... 3
Hardware Specications............................................................................................................................................3
Package Contents...................................................................................................................................................... 4
Components............................................................................................................................................................... 4
Front Panel.............................................................................................................................................................5
Front Panel LEDs................................................................................................................................................... 5
Safety Information.....................................................................................................................................................6
2. Installation and Access
Installation Requirements........................................................................................................................................ 8
Setting Up the Switch................................................................................................................................................ 8
Attaching Rubber Feet...............................................................................................................................................8
Installing Handles....................................................................................................................................................10
Connecting the Switch to a Computer or Network..............................................................................................11
Connecting the Switch to a Computer..............................................................................................................11
Connecting the Switch to a Network................................................................................................................ 12
Switch Access............................................................................................................................................................13
Accessing the Switch Using a Browser.............................................................................................................13
Accessing the Switch Using Qnder Pro.......................................................................................................... 14
3. Basic Operations
LEDs...........................................................................................................................................................................15
Reset Button.............................................................................................................................................................16
4. QSS
About QSS.................................................................................................................................................................17
Getting Started.........................................................................................................................................................17
Network Management............................................................................................................................................ 17
Conguring Port Settings.................................................................................................................................. 17
Managing PoE Settings...................................................................................................................................... 18
Adding a VLAN.....................................................................................................................................................19
Adding a Link Aggregation Group (LAG).......................................................................................................... 19
Managing Rapid Spanning Tree Protocol (RSTP) Settings..............................................................................20
Conguring the LLDP Settings.......................................................................................................................... 21
Adding a Static MAC Address.............................................................................................................................21
Conguring IGMP Snooping..............................................................................................................................22
Conguring QoS Settings...................................................................................................................................22
Managing Access Control List (ACL) Entries.....................................................................................................24
Deleting a Network Setting................................................................................................................................25
Monitoring Network Settings............................................................................................................................ 25
System Management.............................................................................................................................................. 26
System Settings...................................................................................................................................................26
Firmware Update................................................................................................................................................ 31
5. Support and Other Resources
6. Glossary
myQNAPcloud.......................................................................................................................................................... 35
Qnder Pro............................................................................................................................................................... 35
QSW-M2106PR User Guide
1

QSS.............................................................................................................................................................................35
QuNetSwitch.............................................................................................................................................................35
7. Notices
Limited Warranty..................................................................................................................................................... 36
Disclaimer................................................................................................................................................................. 36
GNU Public License..................................................................................................................................................36
CE Notice...................................................................................................................................................................44
FCC Notice.................................................................................................................................................................44
VCCI Notice............................................................................................................................................................... 45
BSMI Notice.............................................................................................................................................................. 45
SJ/T 11364-2006........................................................................................................................................................45
EU Directive 2002/96/EC Waste Electronic and Electrical Equipment (WEEE)...................................................46
EU RoHS Statement................................................................................................................................................. 46
Laser Compliance Notice........................................................................................................................................ 46
UKCA Notice..............................................................................................................................................................47
2

1. Product Overview
This chapter provides basic information about the QNAP device.
About the QSW-M2106PR
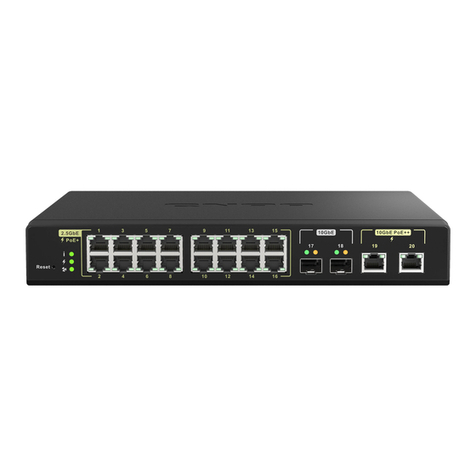
The QSW-M2106PR is a multi-gigabit Ethernet switch that provides Layer 2 network management. The
switch is equipped with six 2.5 GbE RJ45 ports, two 10 GbE RJ45 ports, and two 10 GbE SFP+ combo ports
for enhanced network scalability and operational productivity. The switch can be accessed using the RJ45
console port for ecient device management and switch operations.
The QSW-M2106PR features 2.5 GbE and 10 GbE ports with up to 90-watt Power over Ethernet (PoE) output.
Hardware Specications
Warning
If your QNAP product has hardware defects, return the product to QNAP or a QNAP-
authorized service center for maintenance or replacement. Any attempt to repair or
perform maintenance procedures on the product by you or an unauthorized third party
invalidates the warranty.
QNAP is not responsible for any damage or data loss caused by unauthorized
modications and installation of unsupported third-party applications.
For details, see the QNAP Warranty Terms and Conditions.
Tip
Model specications are subject to change without prior notice. To see the latest
specications, go to https://www.qnap.com.
Ordering P/N CPU Memory
QSW-M2106PR-2S2T Marvell® Prestera® 98DX2528 1 GB
Component QSW-M2106PR-2S2T
Processor
CPU Marvell ® Prestera® 98DX2528
Frequency Dual-core
Architecture ARM 32-bit
Chipset Marvell ® Prestera® 98DX2528
Network interfaces • 6 x 100M/1G/2.5G RJ45 ports
• 2 x 100M/1G/2.5G/5G/10G GbE RJ45 ports
• 2 x 1G/10G SFP+ combo ports
Management interfaces 1 x RJ45 console port
PoE support
802.3bt (PoE++) Ports 1 to 8
Note
The ports support IEEE 802.3bt-2018 PoE standard and
provide up to 90W of DC power.
PoE max power port Ports 1 to 8: Up to 90W
Total PoE power budget 310W
QSW-M2106PR User Guide
Product Overview 3

Component QSW-M2106PR-2S2T
Total power consumption 350W
Interface
Buttons Switch reset
LEDs
System • Status
• PoE
• Fan
Ports • Speed
• Activity
Dimensions
Form factor Compact
Dimensions (H x W x D) 43.3 x 207 x 248.8 mm
(1.70 x 8.14 x 9.79 in)
Net weight 1.73kg (3.81 lbs)
Others
Power supply unit 100-240V, 50/60 Hz
Fans System: 2 x VAPO bearing fan
Operating temperature 0˚C to 40˚C (32˚F to 104˚F)
Relative humidity • Non-condensing relative humidity: 5% to 95%
• Wet-bulb temperature: 27˚C (80.6˚F)
Package Contents
Item Quantity
QSW-M2106PR 1
Power cord 1
Rail brackets 2
Screws for rail brackets 6
Rubber feet 4
Quick Installation Guide (QIG) 1
Components
QSW-M2106PR User Guide
Product Overview 4

Front Panel
No. Component No. Component
1 RJ45 console port 4 10 GbE SFP+ ports
2 2.5 GbE RJ45 ports 5 Switch reset button
3 10 GbE RJ45 ports - -
Front Panel LEDs
No. Component No. Component
1 Switch status LED 6 10GbE RJ45 speed LED
2 PoE LED 7 10GbE RJ45 PoE LED
QSW-M2106PR User Guide
Product Overview 5

No. Component No. Component
3 Fan LED 8 10GbE SFP+ (10G speed) LED
4 2.5 GbE RJ45 speed LED 9 10GbE SFP+ (1G speed) LED
5 2.5 GbE RJ45 PoE LED - -
Safety Information
The following instructions help ensure personal safety and environmental safety. Read these instructions
carefully before performing any operation.
General Instructions
• The device should be stored in a secure location with restricted access, controlled through the use of a
tool, lock and key, or any means of security.
• Only qualied, skilled, and authorized persons with knowledge of all restrictions, safety precautions,
and installation and maintenance procedures should have physical access to the device.
• To avoid potential injury or damage to components, ensure that the drives and other internal system
components have cooled before touching them.
• Observe electrostatic discharge (ESD) procedures to avoid potential injury or damage to components.
Power
• To reduce the risk of re or electric shock, ensure that you only connect the power cord to a properly
grounded electrical outlet.
• To avoid serious injuries, a trained service technician must disconnect all PSU cords from the device
before installing or replacing system components.
System Battery
• This product contains a button battery.
• If swallowed, a lithium button battery can cause severe or fatal injuries within 2 hours.
• Keep batteries out of reach of children.
• If you think batteries may have been swallowed or placed inside any part of the body, seek immediate
medical attention.
• To avoid potential battery explosion, causing injury or damage to components, ensure that you replace
the existing battery with a battery of the same type.
• Dispose of used batteries properly according to local regulations or the instructions of the battery
manufacturer.
Moving Parts
•
Moving fan blades: Keep your body parts away from moving fan blades while the device is connected
to a power source.
QSW-M2106PR User Guide
Product Overview 6

•
Moving components: Keep your body parts away from other moving components.
• The device is not suitable for use in locations where children are likely to be present.
QSW-M2106PR User Guide
Product Overview 7

2. Installation and Access
This chapter provides specic hardware installation and switch access steps.
Installation Requirements
Category Item
Environment • Room temperature: 0˚C to 40˚C (32˚F to 104˚F)
• Non-condensing relative humidity: 5% to 95%
• Wet-bulb temperature: 27˚C (80.6˚F)
• Flat, anti-static surface without exposure to direct sunlight, liquids,
or chemicals
• Free from objects that may obstruct the switch ventilation or apply
pressure to the switch or power cord.
Hardware and peripherals • Computer or NAS
• Network cable
Tools • Phillips #1 or #2 screwdriver
• Flat head screwdriver
• Anti-static wrist strap
Setting Up the Switch
1. Place your switch in an environment that meets the requirements.
For details, see Installation Requirements.
2. Power on the switch.
3. Connect the switch to a computer or network.
For details, see Connecting the Switch to a Computer.
4. Log in to QSS.
Attaching Rubber Feet
1. Power o the device.
2. Disconnect the power cord from the electrical outlet.
3. Disconnect all cables and external attachments.
4. Turn the device upside down.
QSW-M2106PR User Guide
Installation and Access 8

5. Attach the rubber feet.
a. Remove the protective lm from the rubber feet.
b. Attach the rubber feet.
c. Place the device in its normal upright position.
QSW-M2106PR User Guide
Installation and Access 9

6. Connect all cables and external attachments.
7. Connect the power cord to the electrical outlet.
8. Power on the device.
Installing Handles
Installing handles enables you to better grip and secure the device on a rack.
1. Power o the device.
2. Disconnect the power cord from the electrical outlet.
3. Disconnect all cables and external attachments.
4. Install a handle on an angle bracket.
a. Align the openings on the handle with the two round screw holes on the angle bracket.
b. Attach the screws to lock the handle to the angle bracket.
QSW-M2106PR User Guide
Installation and Access 10

5. Install the angle bracket on the device.
a. Align the holes on the angle bracket with the holes on the chassis.
Note
Ensure that the handle faces the same direction as the front panel.
b. Attach the screws.
6. Install a second handle on the other side of the chassis.
7. Connect all cables and external attachments.
8. Connect the power cord to the electrical outlet.
9. Power on the device.
Connecting the Switch to a Computer or Network
You can connect the switch to a computer or local area network. For details, see the following topics:
•Connecting the Switch to a Computer
•Connecting the Switch to a Network
Connecting the Switch to a Computer
Connecting the switch to a QNAP NAS allows you to expand storage capacity and back up data to another
NAS through network cable connections to a PoE or host port on the switch. However, you must connect the
switch to a computer to congure the settings.
1. Power on the switch.
2. Connect the switch to a computer.
a. Connect a network cable to the host port on the switch.
QSW-M2106PR User Guide
Installation and Access 11

b. Connect the network cable to a Gigabit network port on the computer.
c. Optional: Connect the switch to the NAS.
3. Verify that the computer recognizes the switch.
a. Open Qnder Pro on the host computer.
Note
To download Qnder Pro, go to https://www.qnap.com/utilities.
b. Locate the switch on the list.
Connecting the Switch to a Network
You can connect the switch to the local area network through the host port or a PoE port.
1. Power on the switch.
2. Connect the switch to your local area network using the host port.
3. Run Qnder Pro on a computer that is connected to the same local area network.
Note
To download Qnder Pro, go to https://www.qnap.com/utilities.
4. Locate the switch in the list and then double-click the name or IP address.
The QSS login screen appears.
QSW-M2106PR User Guide
Installation and Access 12

5. Enter your QSS login information.
6. Click Log In.
Switch Access
Method Description Requirements
Web browser You can access the switch using any
computer on the same network if you have
the following information:
• Switch name (Example: http://
example123/) or IP address
• Login credentials of a valid user account
For details, see Accessing the Switch Using a
Browser
• Computer that is connected
to the same network as the
switch
• Web browser
Qnder Pro Qnder Pro is a desktop utility that enables
you to locate and access QNAP devices
on a specic network. The utility supports
Windows, macOS, Linux, and Chrome OS.
For details, see Accessing the Switch Using
Qnder Pro.
• Computer that is connected
to the same network as the
switch
• Web browser
•Qnder Pro
Accessing the Switch Using a Browser
You can access the switch using any computer on the network if you know its IP address and the login
credentials of a valid user account. QNAP switches support DHCP client conguration by default for IP
assignment. When connected to a network, the switch automatically obtains an IP address from a DHCP
server.
Note
• If you do not know the IP address of the switch, can locate it using Qnder Pro.
• If the switch is not connected to a DHCP supported network, you can access the switch
web interface by changing the IP address of the computer to 169.254.100.102.
• The default IP address of the switch is 169.254.100.101.
1. Verify that your computer is connected to the same network as the switch.
2. Open a web browser on your computer.
3. Type the IP address of the switch in the address bar.
The QSS login page appears.
4. Specify the default username and password.
QSW-M2106PR User Guide
Installation and Access 13

Default Username Default Password
admin The MAC address of the switch image omitting any punctuation and
capitalizing any letters.
Tip
For example, if the MAC address is 00:0a:0b:0c:00:01, the
default password is 000A0B0C0001.
You can nd the MAC address using Qnder Pro. It is also
printed on a sticker on the device as "MAC".
Note
You are prompted to change the password after logging in
for the rst time.
QNAP strongly recommends changing the password after
rst time login for security reasons.
5. Click Login.
The QSS desktop appears.
Important
After setting up the switch, ensure that you change the IP address of the computer to the
original conguration.
Accessing the Switch Using Qnder Pro
1. Install Qnder Pro on a computer that is connected to the same network as the switch.
Tip
To download Qnder Pro, go to https://www.qnap.com/en/utilities.
2. Open Qnder Pro.
Qnder Pro automatically searches for all QNAP devices on the network.
3. Locate the switch in the list, and then double-click the name or IP address.
The QSS login screen opens in the default web browser.
4. Specify the default username and password.
Default Username Default Password
admin The MAC address of the switch image omitting any punctuation and
capitalizing any letters.
Tip
For example, if the MAC address is 00:0a:0b:0c:00:01, the
default password is 000A0B0C0001.
You can nd the MAC address using Qnder Pro. It is also
printed on a sticker on the device as "MAC".
5. Click Login.
The QSS desktop appears.
QSW-M2106PR User Guide
Installation and Access 14

3. Basic Operations
This chapter describes basic switch operations.
LEDs
LEDs indicate system status and related information when the switch is powered on. The following LED
information applies only when the switch is connected to the network.
For details on the location of the LEDs, see Front Panel LEDs.
LED Status Description
System Status Green The device is ready.
Flashes green • The device is being initialized.
• The rmware is being updated.
Note
When updating the rmware, do not remove
the power cord or USB cable, and do not
force-exit the application.
• The device is being reset.
Flashes red A fatal device error occurred.
O The device is powered o.
PoE Status Green The PoE function is normal.
Flashes red A fatal PoE error occurred.
O There is no PoE connection.
Fan Status Green The fan function is normal.
Flashes red A fatal fan error occurred.
2.5 GbE RJ45
(Left)
Green The link speed is operating at 2.5 Gbps.
Flashes green Data is being transmitted.
Orange The link speed is operating at 1 Gbps or 100 Mbps.
Flashes orange Data is being transmitted.
O There is no network connection.
2.5 GbE RJ45
(Right)
Green The PoE status is normal.
Flashes orange A fatal PoE error occurred.
O There is no PoE connection.
10 GbE RJ45
(Left)
Green The link speed is operating at 10 Gbps.
Flashes green Data is being transmitted.
Orange The link speed is operating at 5 Gbps, 2.5 Gbps, 1 Gbps, or
100 Mbps.
Flashes orange Data is being transmitted.
O There is no network connection.
10 GbE RJ45
(Right)
Green The PoE status is normal.
Flashes orange A fatal PoE error occurred.
O There is no PoE connection.
QSW-M2106PR User Guide
Basic Operations 15

LED Status Description
10GbE SFP+ (10
Gbps speed)
Green The link speed is operating at 10 Gbps.
Flashes green Data is being transmitted.
O There is no network connection.
10GbE SFP+ (1
Gbps speed)
Orange The link speed is operating at 1 Gbps.
Flashes orange Data is being transmitted.
O There is no network connection.
Reset Button
Operation User Action Result
Basic system reset Press and hold the button for 5 seconds. The following settings are reset to
default:
• System administrator password: The
default password is the rst MAC
address in uppercase letters without
special characters. For example, if
the rst MAC address is 00-08-9B-
F6-15-75, then the admin password
would be 00089BF61575.
Note
You can nd the rst MAC
address with Qnder Pro or
attached to a label on the
device listed as MAC1.
• The admin account is automatically
enabled.
Advanced system
reset
Press and hold the button for 10 seconds. The default factory settings are restored.
QSW-M2106PR User Guide
Basic Operations 16

4. QSS
About QSS
The QNAP Switch System (QSS) is a network management operating system for QNAP switch devices. QSS
allows for Layer 2 network administration and system management of the switch.
Getting Started
1. Log in to the switch as an administrator.
The default administrator account is admin.
For details, see Switch Access.
2. Congure the system settings.
For details, see System Settings.
3. Congure port settings and other network settings.
For details, see Network Management.
Network Management
Basic network conguration of the switch includes port management, VLAN conguration, conguration of
various protocols, and trac management via Quality of Service (QoS) and Access Control Lists (ACLs).
Dashboard
The dashboard opens to the conguration section of the interface. Click the drop-down menu in the
dashboard to view the port status, VLAN status, link aggregation status, and port trac for all ports.
You can also delete user-congured network settings and monitor the network settings of the switch.
Conguring Port Settings
1. Log in to QSS.
2. Go to Conguration > Port Management .
3. Go to Port Conguration.
4. Identify a port.
5. Congure the settings.
Setting Description
State Controls the operation status for a port
Speed Species the maximum speed at which a port can operate
Flow Control Controls the ow control status for a port
Important
Flow Control is not supported when the port speed is
set to HDX.
6. Click Save.
QSS saves the settings.
QSW-M2106PR User Guide
QSS 17

Managing PoE Settings
Power over Ethernet (PoE) systems pass electric power along Ethernet cables, and allow a single cable to
provide both a data connection and electric power to devices such as wireless access points, cameras, or
VoIP phones.
The PoE screen displays information about PoE power consumption and provides access to PoE scheduling
and conguration options.
Conguring PoE Settings
1. Log in to QSS.
2. Go to Conguration > PoE .
3. Go to Power Conguration.
4. Identify a port.
5. Congure the settings.
Setting Description
PoE Mode Controls the PoE operating mode for the port
PoE Legacy Mode When enabled, the device checks the PoE compatibility of the
connected PDs and provides power to devices that do not fully comply
with the IEEE 802.3af/at/bt standard
Priority Controls the priority of each port
If multiple ports share the same priority, the port with the lower
number is given priority.
Power Consumption Displays the amount of power currently consumed by the powered
device
6. Click Apply.
QSS saves the PoE settings.
Conguring a PoE Schedule
1. Log in to QSS.
2. Go to Conguration > PoE .
3. Go to PoE Schedule.
4. Identify a port.
5. Click .
Scheduling is enabled for the port.
6. Click .
The PoE Schedule Conguration window opens.
7. Congure the schedule.
a. Optional: Select additional ports.
Selected ports will also be included in the schedule.
QSW-M2106PR User Guide
QSS 18

b. Select port operating hours.
c. Optional: Select Activate schedule now.
8. Click Save.
The PoE Schedule Conguration window closes.
9. Click Apply.
QSS saves the schedule.
Adding a VLAN
A virtual LAN (VLAN) groups multiple network devices together and limits their broadcast domain. Members
of a VLAN are isolated and network trac is only sent between group members.
Each VLAN is assigned a specic VLAN identication number. The VLAN screen displays information about
existing VLANs and provides access to VLAN conguration options.
1. Log in to QSS.
2. Go to Conguration > VLAN .
3. Click Add.
The Add VLAN window opens.
4. Specify a VLAN ID.
5. Select ports to include in the VLAN.
Only tagged ports can belong to multiple VLANs.
6. Click Save.
QSS adds the VLAN.
Adding a Link Aggregation Group (LAG)
Link Aggregation Control Protocol (LACP) allows you to combine multiple network adapters into a single
logical network interface. This ensures increased throughput and provides redundancy. In case of port
failure, trac continues on the remaining ports.
The Link Aggregation page displays information about existing link aggregation groups and provides
access to conguration options.
Warning
To prevent network loop errors during the LAG conguration process, do not connect the
switch to other devices using more than one network cable until after you have congured
LAGs on all the devices. You can enable loop protection to avoid network loops in the
connected network.
1. Log in to QSS.
2. Go to Conguration > Link Aggregation .
3. Identify a group.
4. Click .
The Edit Group window opens.
QSW-M2106PR User Guide
QSS 19
This manual suits for next models
1
Table of contents
Other QNAP Switch manuals

QNAP
QNAP QSW-M2108R-2C User manual

QNAP
QNAP QGD-1602P User manual

QNAP
QNAP QSW-M3212R User manual

QNAP
QNAP QSW-IM1200-8C User manual

QNAP
QNAP QSW-M2108 Series User manual

QNAP
QNAP QSW-M408-4C User manual

QNAP
QNAP QSW-M2106R User manual

QNAP
QNAP QSW-308 User manual

QNAP
QNAP QSW-M5216-1T User manual

QNAP
QNAP QSW-M1208-8C User manual
Popular Switch manuals by other brands

KYLAND Technology
KYLAND Technology Opal5 series Hardware installation manual

Omron
Omron D2MQ Series manual

Nexans
Nexans LANmark-OF ENSPACE installation guide

Vega
Vega VEGASWING 66 operating instructions

RectorSeal
RectorSeal AquaGuard AG-1100+ installation instructions

Cisco
Cisco IGX 8400 Series Installation and configuration guide