manuals.online logo
Brands
  1. Home
  2. •
  3. Brands
  4. •
  5. QUARTA
  6. •
  7. Measuring Instrument
  8. •
  9. QUARTA RD1503+ User manual

QUARTA RD1503+ User manual

Install batteries
Open the battery compartment
on the back of the unit and insert
two (or one) AAA size batteries.
Follow the picture inside the
battery compartment for the
proper alignment.
Turn the device ON
Simply push and hold the big
button on the lower right-hand
side until the screen is on. As
soon as “RD1503+” appears, the
unit has started taking its rst
measurements.
First results
The measurements taken by
the Geiger Counter are updated
every 10 seconds.
The numbers will change
constantly - this is normal, as
the natural background radiation
uctuates. The most accurate
reading is displayed once all 4
sides of the little square graphic
are drawn (left side of the screen).
1
2
3
+ +
- -
4
5
6
Menu
To enter the options menu,
push the top-left Menu button.
The contents of the menu will
appear.
Default settings
units – μSv/h
level – 0.30 μSv/h
sound – off
back-light – on
Navigating Menu
To navigate the menu, use the
Cursor button - the one on the
lower left side of the device.
To select or change an option to
which the cursor is pointing, use
the Menu button.
Exit Menu / Switch OFF
The same large button that is
used to turn the device ON is
used to exit the Menu or to switch
the device OFF.
Note: your settings will be saved.
Quick Start Guide
1. Remove the cover of the battery compartment.
2. Install into the battery into the battery compartment as
illustrated by the graphic inside the compartment.
3. Close the battery compartment by reattaching the plastic
cover.
TIPS: For long-term measurements we recommend
using 2 batteries, otherwise a single battery is enough.
Don’t mix old and new batteries together.
If you don’t expect the unit to be used for a long time,
remove the batteries altogether.
1. LCD screen.
2. The MENU button. Has three functions: enter Menu,
Select Option, and Change Option.
3. The CURSOR Button. Used to move the cursor and to
switch between two measurement modes: NOW and
DOSE.
4. The ON/OFF Button. Also exits the menu.
5. Battery compartment.
+ +
- -
MENU
CURSOR
MENU
OFF
23
4
5
1
10
Installation of power elements.
1. Take off the cover of battery compartment ;
2. Install into the battery compartment  two (or one) power
elements “size AAA” , the polarity of contacts is indicated in the
battery compartment.
3. Install the cover of battery compartment  on the body of
device.
Notes:
1. When carrying out the long-term examination, we
recommend to install two power elements, for the short-term
one – it’s possible to use one power element.
2. Don’t mix the old and new power elements.
3.
If you do not expect the device to be used for a long
time, extract batteries from a battery compartment.


LCD display
1. Battery charge:
- fully charged
- almost drained
- replace the battery
2. Measurements.
3. Detection rate indicator “quantum”— blinks as often as
the particles are detected by the sensor.
4. - Detection cycle counter — essentially a timer. Draws
a “side” of the square frame as the measurement cycles
progress. The most accurate reading is shown once the
full frame is drawn (4 cycles = 40 seconds).
5. - (when the Background Mode is On) Arrow down
means that the value is less than background radiation,
hence 0.00 value is showing.
6. Access the Menu
Basic operations
Switch the device ON by pressing and holding the big button
until the LCD screen activates.
Scanning for radiation
As soon as the unit is activated, it starts
taking measurements automatically. The
rst readings will appear after 10 seconds.
Every time radiation particles (including the
normal background radiation) hit the sensor, a black square
icon blinks for a moment.
The more particles hit the sensor, the more frequently the
square blinks: frequency of blinking is proportional to dose rate.
As the measurement cycles continue, their progression is
shown by the little frame that is being drawn around the black
square.
- first measurement cycle
- second measurement cycle
- third measurement cycle
- fourth measurement cycle - the most reliable result!
The second and the third measurement cycles are averaged
automatically.
Important: The rst cycle is intended to give an approximate
preliminary result. The most reliable measurement is displayed
after about 40 seconds, when the frame icon is completely
drawn and has 4 sides - the forth measurement cycle.
Not all radiation is the same, so scientists use the ‘sievert’
to measure the health risks of radiation.
A one-sievert dose of radiation would cause immediate
radiation sickness. But most radiation doses are much
smaller, so you’ll see them measured in millisieverts or even
smaller microsieverts.
1 sievert = 1000 millisieverts
1 millisievert = 1000 microsieverts
μSv/h micro Sieverts per hour
0.10 This is low, it does not get any lower.
0.21 Pretty normal. Depends on local geology.
0.42 Happens occasionally with no real reason. Just
keep an eye on it.
0.83 ALERT - No need to panic, but try to gure out what is
going on, stay out of the rain and avoid unnecessary
trips.
1.25 Real risk of cancer if exposed for a year.
4.17 Real risk of cancer if exposed for 90 days.
20,000 Annual limit for Nuclear Plant Workers.
100,000 Annual limit for Fukushima workers.
Sievert calculations based on Cesium-137 isotope.
7. Switch to mode of measurements:
NOW current radiation levels in your vicinity.
DOSE accumulated radiation over time.
8. Background Radiation value (if Background Mode is On)
«BGND XXX» where Xs are the value in μSv/h or μRem/h.
9. OFF — Turn off the device by holding down the big button.
10. — Vibration Alarm ON. When vibration is off, this icon
is hidden.
11. — Audio Alarm ON. When audio alarm is off, this icon
is hidden.
12. Alarm Threshold Level — a number at which the alarm will
sound and/or vibrate. Level can be set from 0.10 to 0.90
in μSv/h. Or 10 to 90 in μRem/h. For example:
- 0.30 default alarm level in μSv/h
- 30 default alarm level in μRem/h
13. Units:
- micro Sieverts per hour (modern units)
- micro Roentgens per hour (older units)
TIP: Normally, we recommend keeping the Background Mode
off, unless you are scanning a specic object in a new
environment. This mode takes 5 consecutive readings
to establish base-line background radiation in your
immediate area, and then shows any readings higher
than the established baseline.
How much is dangerous?
8
1
2
3
4
5
6
7
9
10
11
12
13
BGND
Quarta-Rad, Inc.
+1 (201) 877-2002 (10 - 6 EST)
[email protected]

Other QUARTA Measuring Instrument manuals

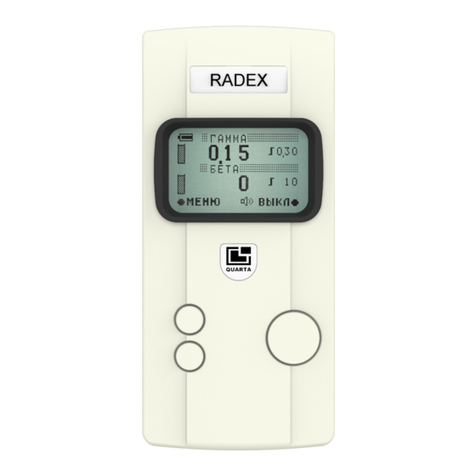
QUARTA RADEX RD1008 User manual

QUARTA

QUARTA RADEX RD1008 User manual

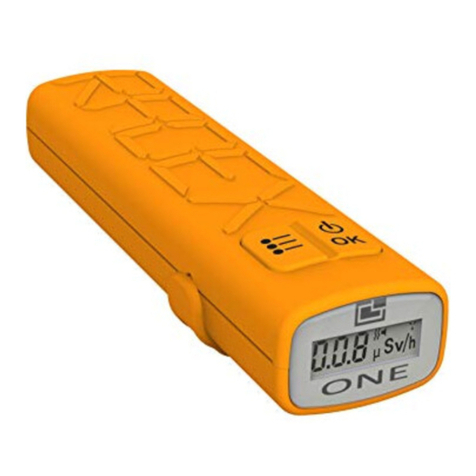
QUARTA RADEX ONE User manual

QUARTA

QUARTA RADEX ONE User manual

Popular Measuring Instrument manuals by other brands

WPI Lab-Trax-4/24T Hardware manual

WPI

WPI Lab-Trax-4/24T Hardware manual

Metrica 60460 operating manual

Metrica

Metrica 60460 operating manual

LDetek MultiDetek2 user manual

LDetek

LDetek MultiDetek2 user manual

Renishaw PH10 user guide

Renishaw

Renishaw PH10 user guide

ALTHEN FDRF603 Series operating manual

ALTHEN

ALTHEN FDRF603 Series operating manual

Teac TD-9000T Instructions for use

Teac

Teac TD-9000T Instructions for use

Honeywell 04973 Series Installation and maintenance manual

Honeywell

Honeywell 04973 Series Installation and maintenance manual

OPTOSKY ATP9100 user manual

OPTOSKY

OPTOSKY ATP9100 user manual

Sper scientific 800034 instruction manual

Sper scientific

Sper scientific 800034 instruction manual

KERN ABP Set up and operating manual

KERN

KERN ABP Set up and operating manual

Extech Instruments UV505 user manual

Extech Instruments

Extech Instruments UV505 user manual

Precision Digital Corporation Trident Series instruction manual

Precision Digital Corporation

Precision Digital Corporation Trident Series instruction manual

TPI 777 manual

TPI

TPI 777 manual

Spectris Bruel & Kjaer VIBRO Condition Monitoring 3 instructions

Spectris

Spectris Bruel & Kjaer VIBRO Condition Monitoring 3 instructions

Well WH18/06 user manual

Well

Well WH18/06 user manual

Anemoment TriSonica Mini user manual

Anemoment

Anemoment TriSonica Mini user manual

Sper scientific 300037 instruction manual

Sper scientific

Sper scientific 300037 instruction manual

MSD MM300 manual

MSD

MSD MM300 manual

manuals.online logo
manuals.online logoBrands
  • About & Mission
  • Contact us
  • Privacy Policy
  • Terms and Conditions

Copyright 2025 Manuals.Online. All Rights Reserved.