Important Safety Instructions
1. Remove the unit from its packaging and check to make sure it is in good condition before using.
2. Do not let children play with parts of package (such as plastic bags).
3. Check the household voltage to ensure it matches the heater’s rated specification.
4. Check the power cord and plug carefully before use, to make sure that they are not damaged.
5. Before unplugging the power cord, be sure to turn off the power, when turning on the unit, be sure your hands are dry to
prevent any electric shock. Always unplug the heater when not in use.
6. Do not use flammable objects near the heater or direct the heater toward furniture, pillows. bedding, paper, clothes and
curtains and keep a distance of 1 metre (3 feet) from the front of the heater and keep them away from the sides and rear.Do
not insert or allow foreign objects to enter any ventilation or exhaust opening, as this may cause an electric shock, fire or
damage to the heater.
7. Do not use near or in the immediate vicinity of a bath or swimming pool or any source of liquid.
8. Do not put fingers or foreign objects into the grill while in operation.
9. Do not leave the appliance unattended when in use.
10. This heater is not intended for use in bathrooms, laundry and similar indoor locations, never position the heater where it
may fall into a bathtub or other water container.
11. No liability can be accepted for any damage caused by non-compliance with these instructions or any other improper use
or mishandling.
12. This appliance is not intended for use by persons (including children) with reduced physical, sensory or mental capabilities
or lack of experience and knowledge unless they have been given supervision or instruction concerning the use of the
appliance by a person responsible for their safety. Children and vulner able people should be supervised to ensure they do
not play with the appliance. Do not allow cord to overhang the counter top where it can be easily pulled by children.
13. If the supply cord is damaged in any way, it must be replaced by the manufacturer or its service agent or a
similarly qualified person in order to avoid a hazard.
14. To prevent overheating of this appliance, keep the air inlets and outlets clean and free of anything that may cause
blockage. Check all inlets and outlets from time to time to ensure it is clear of any dirt or dust accumulation. DO NOT COVER.
15. Parts of the heater may exceed 200°, contact with the heating element, reflector, or metal parts near the heating element,
may cause severe BURNS. To avoid burns, do not let bare skin touch the hot surfaces. NEVER place hands under the
heating elements. ALWAYS allow heating element to cool at least 10 minutes before touching the heating element or adjacent
parts.
16. This product contains recyclable materials. Please dispose this product in the correct manner.
Installation
Tools needed for Installation:
• Pencil • Hammer • Level • Screw Driver • Power Drill and drill bits
A wall mounting bracket is provided with the heater, which has been specifically designed to allow this product to be fitted to a
wall, or ceiling. Before drilling the holders for the wall/ceiling make sure they are solid (concrete, wood or metal) and that
there is no hidden water pipes or electric wires. The heater must be installed no less than 40cm from side walls or top and
bottom obstructions.
Important: Ensure that the supply cable is well mounted and does not come into contact with the reflector of the heater or
crosses in front of the heated area. The supply cable can be fixed to the metal mounting bracket behind the heater with
plastic zip ties.
1. This heater should be installed by a competent person.
2. Always disconnect the heater from the electricity supply and allow it to cool before installation.
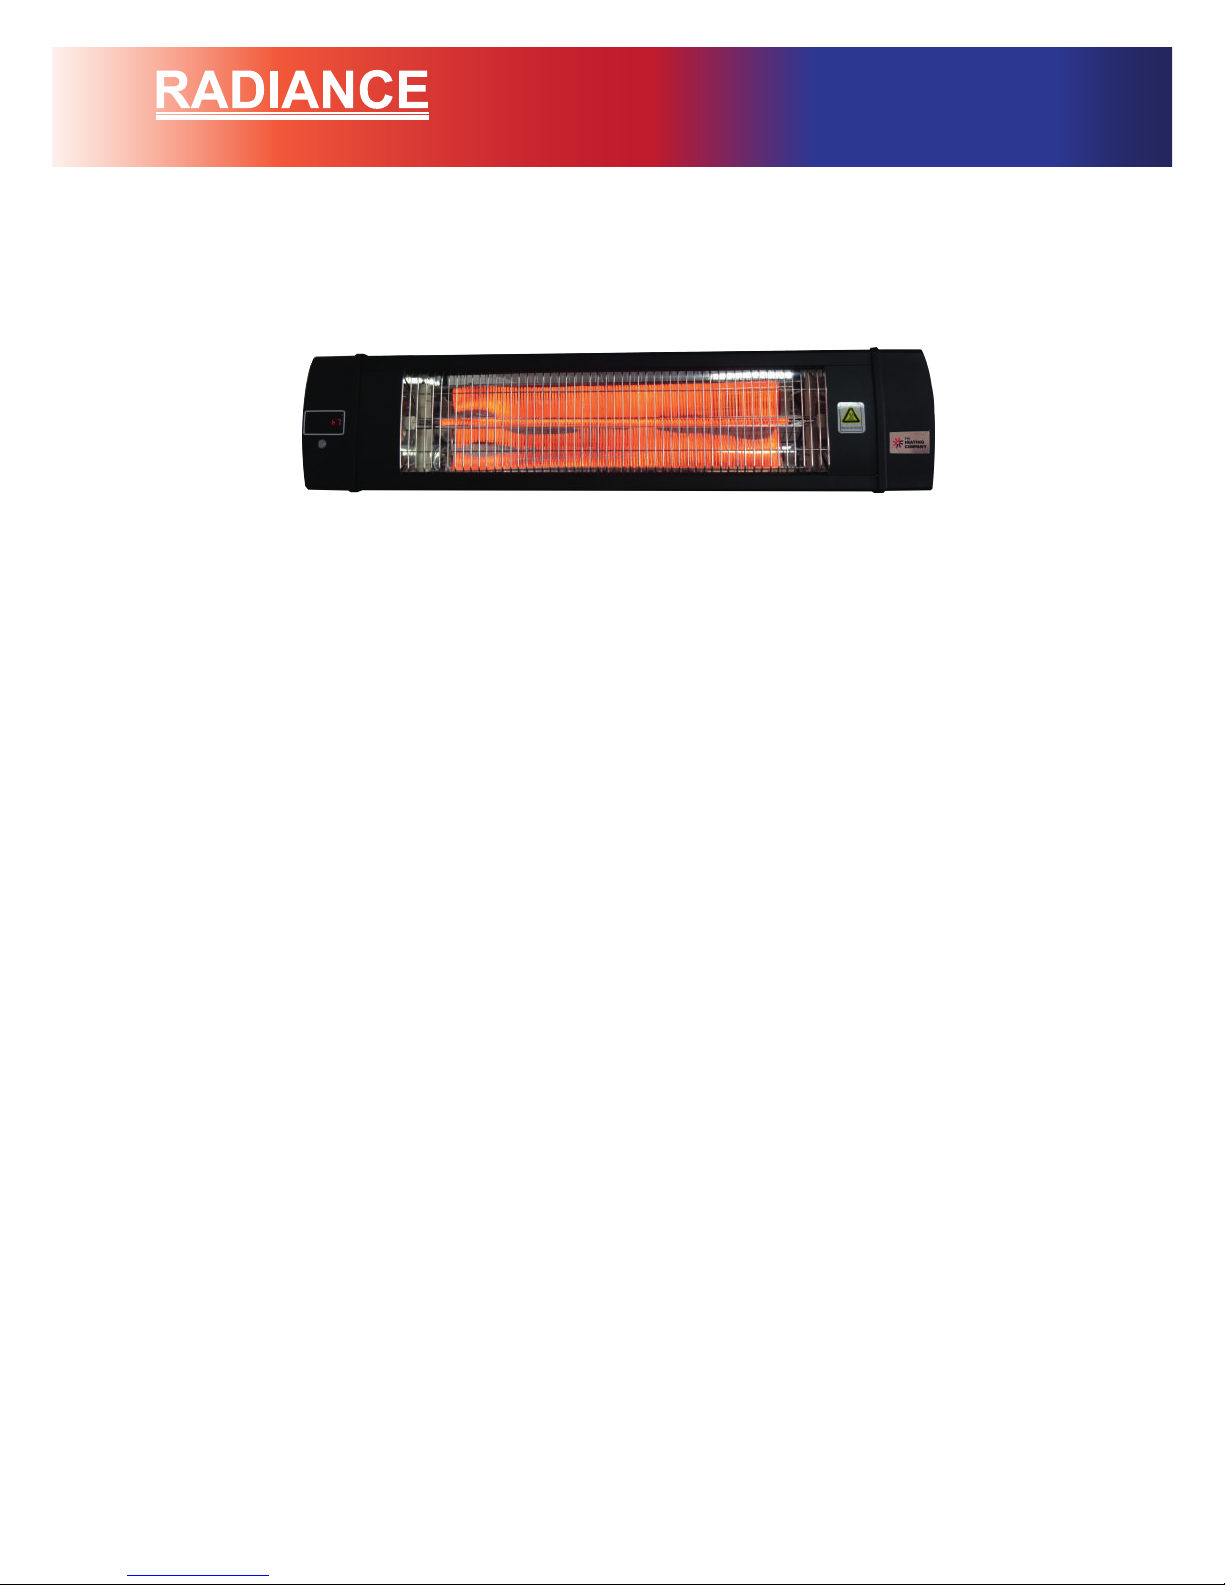
Radiance Infrared Outdoor Heater 2000W
Installation Manual
OUTDOOR HEATING
- 2 -