manuals.online logo
Brands
  1. Home
  2. •
  3. Brands
  4. •
  5. Radio Shack
  6. •
  7. Security System
  8. •
  9. Radio Shack 49-1000 User manual

Radio Shack 49-1000 User manual

Other manuals for 49-1000

1

This manual suits for next models

1

Other Radio Shack Security System manuals
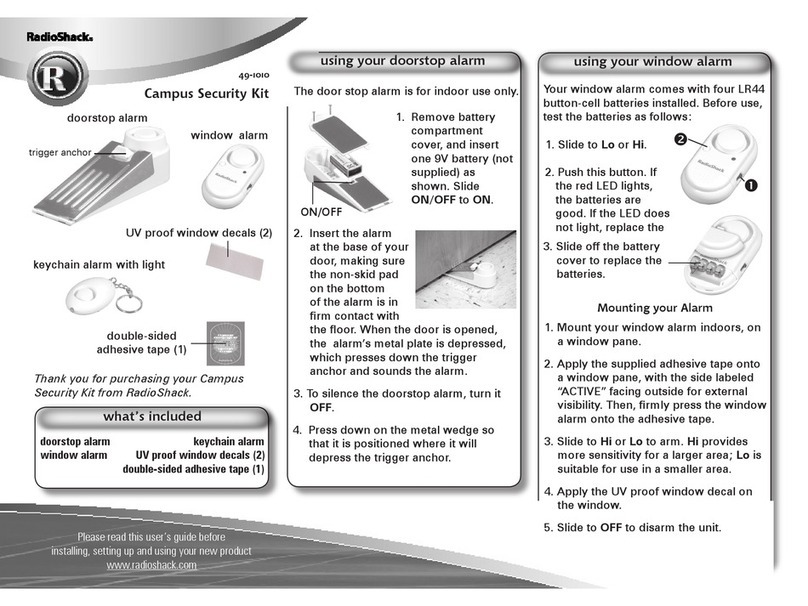
Radio Shack CENTRAL 2000 49-351 User manual

Radio Shack

Radio Shack CENTRAL 2000 49-351 User manual

Radio Shack 49-2534 User manual

Radio Shack

Radio Shack 49-2534 User manual

Radio Shack Wireless Key-Lock Door/Window Alarm 49-118 User manual

Radio Shack

Radio Shack Wireless Key-Lock Door/Window Alarm 49-118 User manual

Radio Shack RS-1000 User manual

Radio Shack

Radio Shack RS-1000 User manual

Radio Shack CENTRAL 49-2570 User manual

Radio Shack

Radio Shack CENTRAL 49-2570 User manual

Radio Shack 49-2513 User manual

Radio Shack

Radio Shack 49-2513 User manual

Radio Shack Two-Zone Burglar Alarm System User manual

Radio Shack

Radio Shack Two-Zone Burglar Alarm System User manual

Radio Shack Invisible Beam Entry Alert User manual

Radio Shack

Radio Shack Invisible Beam Entry Alert User manual

Radio Shack 49-1011 User manual

Radio Shack

Radio Shack 49-1011 User manual

Radio Shack 65572 User manual

Radio Shack

Radio Shack 65572 User manual

Radio Shack 49-421A User manual

Radio Shack

Radio Shack 49-421A User manual

Radio Shack 49-1020 User manual

Radio Shack

Radio Shack 49-1020 User manual

Radio Shack Self-Stick Door/Window Alarm User manual

Radio Shack

Radio Shack Self-Stick Door/Window Alarm User manual

Radio Shack RS-2000 User manual

Radio Shack

Radio Shack RS-2000 User manual

Radio Shack RS-4000 User manual

Radio Shack

Radio Shack RS-4000 User manual

Radio Shack 49-1010 User manual

Radio Shack

Radio Shack 49-1010 User manual
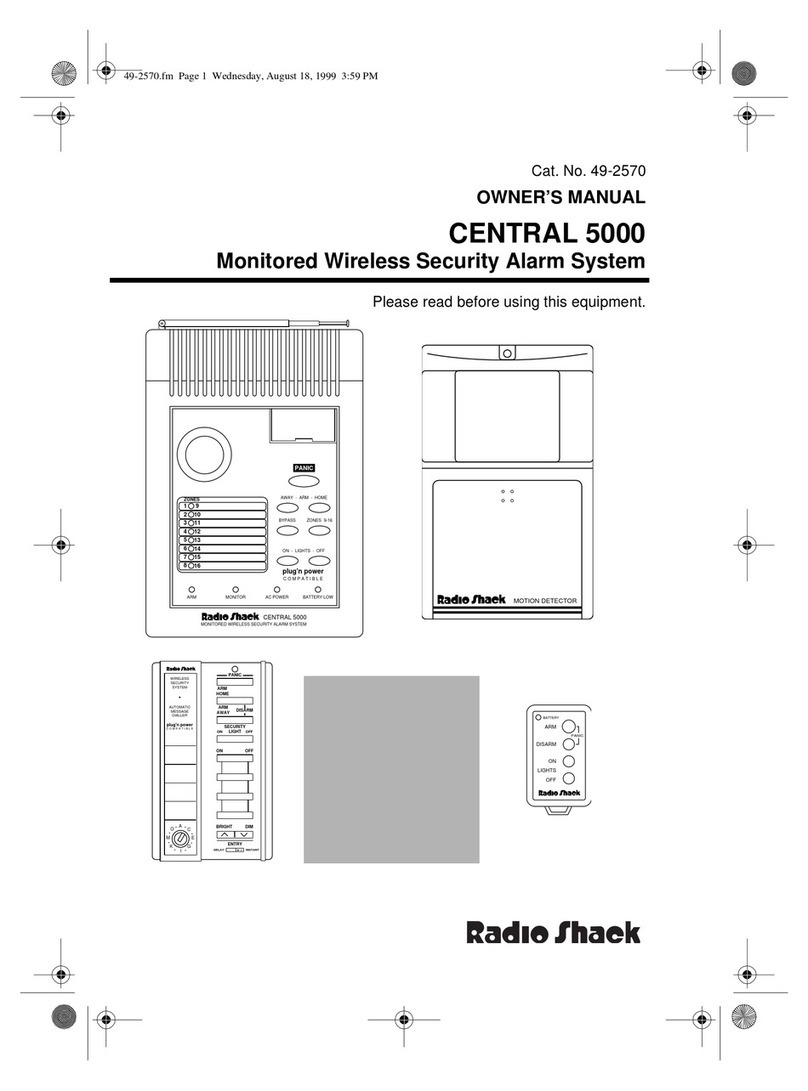
Radio Shack 49-415 User manual

Radio Shack

Radio Shack 49-415 User manual

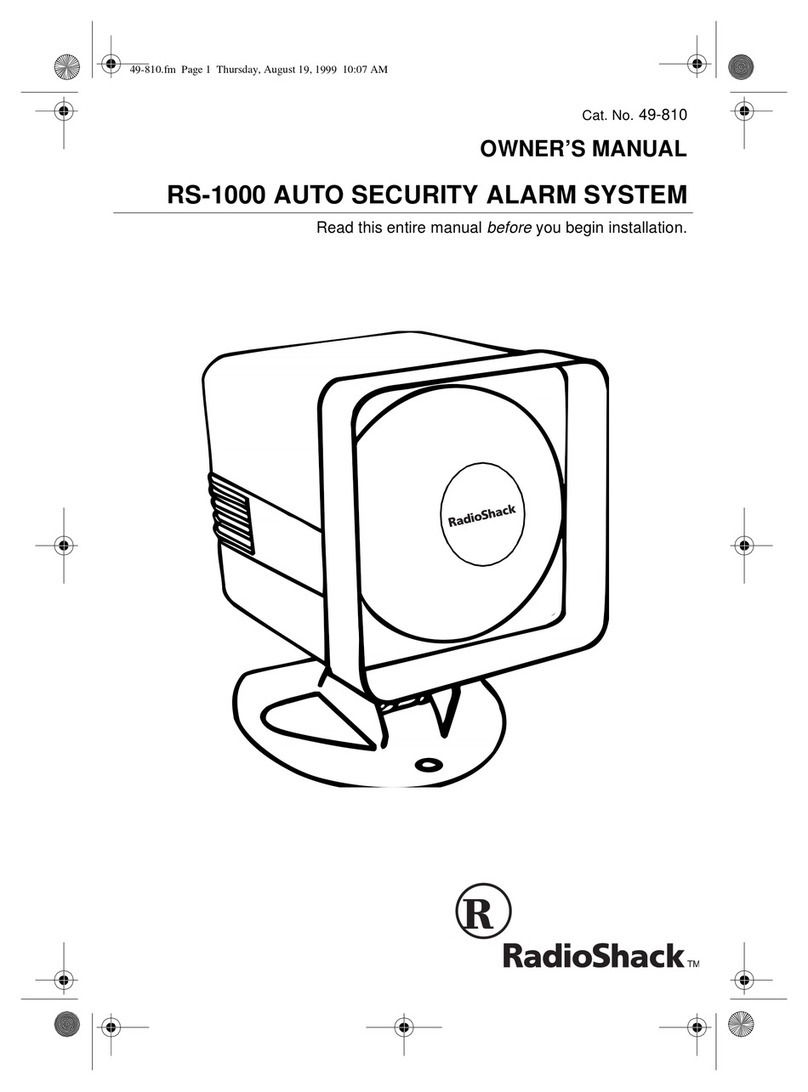
Radio Shack CENTRAL 5000 49-2570 User manual
Radio Shack

Radio Shack CENTRAL 5000 49-2570 User manual

Radio Shack 49-418 User manual

Radio Shack

Radio Shack 49-418 User manual

Radio Shack 65562 User manual

Radio Shack

Radio Shack 65562 User manual

Radio Shack 49-2551A User manual

Radio Shack

Radio Shack 49-2551A User manual

Radio Shack RS-3000 User manual

Radio Shack

Radio Shack RS-3000 User manual
Radio Shack 49-1000 User manual

Radio Shack

Radio Shack 49-1000 User manual

Radio Shack Passive User manual

Radio Shack

Radio Shack Passive User manual

Popular Security System manuals by other brands

Polon-Alfa 4000 Installation and maintenance manual

Polon-Alfa

Polon-Alfa 4000 Installation and maintenance manual

Nexcom NViS 14162 Series user manual

Nexcom

Nexcom NViS 14162 Series user manual

Eminent EM8670 Quick install

Eminent

Eminent EM8670 Quick install

urmet domus alpha 1060 INSTALLATION AND USE BOOKLET

urmet domus

urmet domus alpha 1060 INSTALLATION AND USE BOOKLET

SmartPool YardGuard YG03 manual

SmartPool

SmartPool YardGuard YG03 manual

DSC PC5964 Mounting instructions

DSC

DSC PC5964 Mounting instructions

Secure USAB-1 operating instructions

Secure

Secure USAB-1 operating instructions

B&B 480 SERIES Operation & maintenance manual

B&B

B&B 480 SERIES Operation & maintenance manual

ADEMCO VISTA-20P Series Installation and setup guide

ADEMCO

ADEMCO VISTA-20P Series Installation and setup guide

Inner Range Concept 2000 user manual

Inner Range

Inner Range Concept 2000 user manual

Johnson Controls PENN Connected PC10 Install and Commissioning Guide

Johnson Controls

Johnson Controls PENN Connected PC10 Install and Commissioning Guide

Aeotec Siren Gen5 quick start guide

Aeotec

Aeotec Siren Gen5 quick start guide

Swann SW-P-MC2 Specifications

Swann

Swann SW-P-MC2 Specifications

Ecolink Siren+Chime user manual

Ecolink

Ecolink Siren+Chime user manual

EDM Solution 6+6 Wireless-AE installation manual

EDM

EDM Solution 6+6 Wireless-AE installation manual

Siren LED GSM operating manual

Siren

Siren LED GSM operating manual

Detection Systems 7090i Installation and programming manual
Detection Systems

Detection Systems 7090i Installation and programming manual
FRIEDLAND MA10 Installation and operating instructions

FRIEDLAND

FRIEDLAND MA10 Installation and operating instructions

manuals.online logo
manuals.online logoBrands
  • About & Mission
  • Contact us
  • Privacy Policy
  • Terms and Conditions

Copyright 2025 Manuals.Online. All Rights Reserved.

sensor magnet
screws (2) wall anchors (2)
what’s included
1. Use a screwdriver to loosen the screw and
remove the front of the sensor.
2. Insert two AAA batteries (not supplied).
3. After you replace the batteries, place the
magnet next to the sensor then move it
away. If the system does not chime, you
must register the sensor again. To register
the sensor, follow steps 1 thru 6 on page 1.
If the sensor stops working properly, or PROBLEM
appears on your console’s display, replace the
sensor’s batteries.
• Dispose of old batteries promptly and properly.
Do not burn or bury them.
• Use only fresh batteries of the required size and
recommended type.
• Do not mix old and new batteries, different
types of batteries, or batteries of different
capacities.
initializing your sensor
49-1001
Wireless Security
Door/Window Sensor
This wireless door/window sensor only works
with your Wireless Security Kit (49-1000). Your
Wireless Security Kit includes two sensors.
Purchase up to 28 additional (30 total) sensors
to expand and protect all 30 system zones.
You can add additional door/window sensors
and additional motion detectors, as long as the
additional units do not exceed 30 (number of
zones in your system). Refer to your 49-1000
user guide for more information on adding
motion detectors and door/window sensors to
your wireless system.
The sensor jack allows you to hardwire an
extra magnetic switch for additional door/
window protection.The sensor must be within
100 feet of the console to operate properly.
1. Press and hold down TEST on the sensor for
3-4 seconds, and then release it. The green
LED blinks twice.
Note: If you need to register the sensor a
second time, remove the batteries, and then
hold down TEST for 3-4 seconds to pick up a
random code.
2. Replace the cover.
3. Place the magnet next to the sensor, with
their arrows aligned.
4. Press menu start or on your system
console. ENTER PIN (Personal Identification
Number) appears on the display.
5. Use the console keypad to enter your four-
digit PIN. * appears on the display as you
press each digit. After you enter your PIN,
1. INSTALL appears.
6. Press ok and 1. INSTALL / ZONE appears.
7. Move the magnet away from the sensor. The
console chimes and ZONE 1 SET appears on
the display to confirm registration.
8. Press clear to navigate backwards through
the console menu options. Press 1 to return
to the main display, press 2 to stay in install
mode and register additional sensors.
registering your sensor
TEST


DELAY MIN/MAX
wall anchors (2)
screws (2)
magnet
sensor




Please read this user’s guide before
installing, setting up and using your new product
www.radioshack.com
©2004. RadioShack Corporation.
All rights reserved. RadioShack and
RadioShack.com are trademarks
used by RadioShack Corporation.
49-1001
07A04
Printed in Hong Kong
1. Attach the door/window sensor to
a door or window frame using the
supplied anchors and screws.
2. Peel the adhesive backing from the
magnet and attach it
to the door or window,
adjacent to the sensor.
Make sure the arrows on
the magnet and sensor
face each other. When
the door or window is
opened, the magnet
separates from the
sensor and triggers the
alarm.
3. Hardwire an additional magnetic switch
as shown.
mounting your sensor
This equipment has been tested and found to comply
with the limits for a Class B digital device, pursuant
to Part 15 of the FCC Rules. These limits are designed
to provide reasonable protection against harmful
interference in a residential installation. This equipment
generates, uses and can radiate radio frequency energy
and, if not installed and used in accordance with the
instructions, may cause harmful interference to radio
communications.
However, there is no guarantee that interference will
not occur in a particular installation. If this equipment
does cause harmful interference to radio or television
reception, which can be determined by turning the
equipment off and on, the user is encouraged to try to
correct the interference by one or more of the following
measures:
• Reorient or relocate the receiving antenna.
• Increase the separation between the equipment and
receiver.
• Consult your local RadioShack store or an experienced
radio/TV technician for help.
• If you cannot eliminate the interference, the FCC
requires that you stop using your sensor.
Changes or modifications not expressly approved by
RadioShack may cause interference and void the user’s
authority to operate the equipment.
This device complies with Part 15 of the FCC Rules.
Operation is subject to the condition that this device does
not cause harmful interference.
The FCC Wants You to Know
Slide DELAY to MIN to trigger the alarm
instantly (for windows). Slide to MAX to
trigger the alarm after a preset delay time
(for doors).
Numbers appearing on your console
display (1-32) represent door/window
sensors and/or motion detectors installed
for use with your security system. Zone
numbers appearing steadily on your
display indicate an open door or window
in that zone. Zone numbers that flash
slowly indicate some other problem
within that zone (ex., magnet and sensor
misaligned).
If you try to arm your system without
fixing open or problem zones, the console
beeps continuously and the open or
problem zones appear on the display.
Press Clear to scroll through and review
each open or problem zone.
using your sensor
magnets hardwired to sensor
magnet on door
sensor on
door frame