manuals.online logo
Brands
  1. Home
  2. •
  3. Brands
  4. •
  5. Radio Shack
  6. •
  7. Security System
  8. •
  9. Radio Shack 49-1010 User manual

Radio Shack 49-1010 User manual

Other Radio Shack Security System manuals
Radio Shack RS-1000 User manual

Radio Shack

Radio Shack RS-1000 User manual

Radio Shack 49-2513 User manual

Radio Shack

Radio Shack 49-2513 User manual

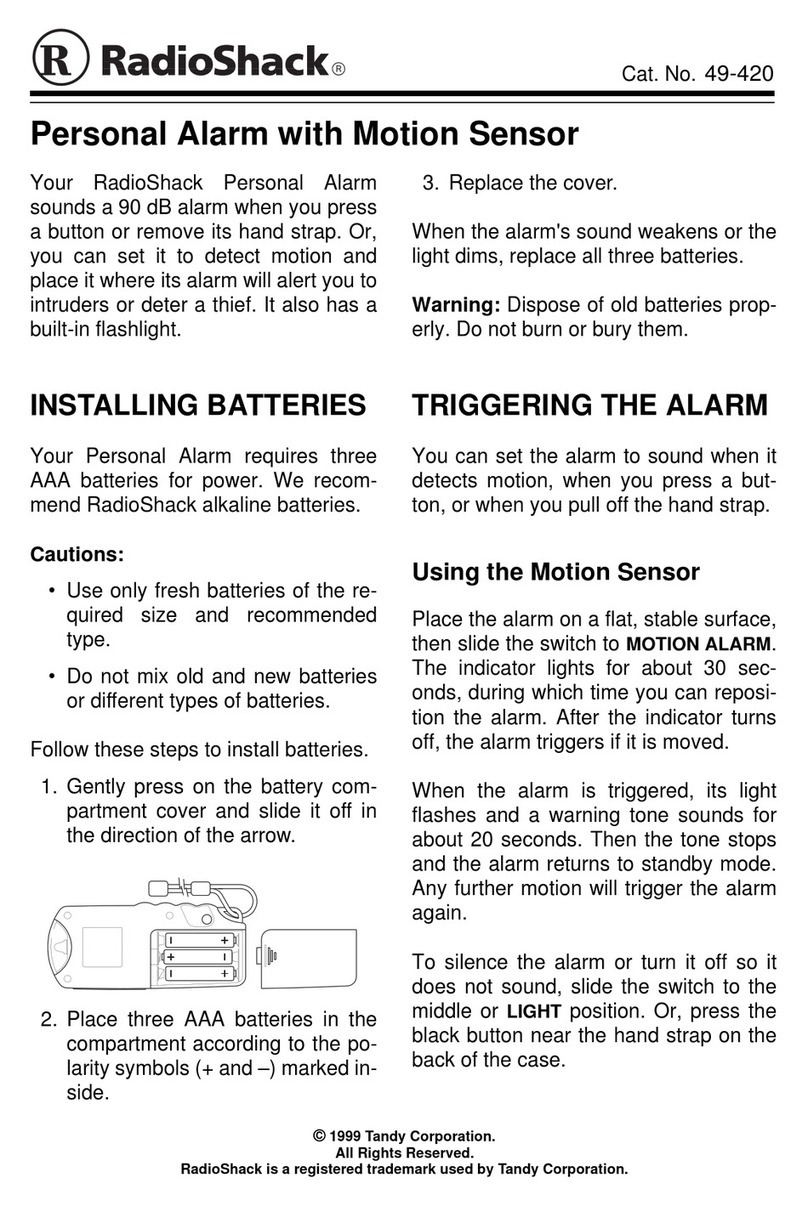
Radio Shack CENTRAL 5000 49-2570 User manual
Radio Shack

Radio Shack CENTRAL 5000 49-2570 User manual

Radio Shack 49-1000 User manual

Radio Shack

Radio Shack 49-1000 User manual

Radio Shack 65562 User manual

Radio Shack

Radio Shack 65562 User manual

Radio Shack 65572 User manual

Radio Shack

Radio Shack 65572 User manual
Radio Shack 49-2551A User manual

Radio Shack

Radio Shack 49-2551A User manual

Radio Shack RS-4000 User manual

Radio Shack

Radio Shack RS-4000 User manual

Radio Shack 49-1000 User manual

Radio Shack

Radio Shack 49-1000 User manual

Radio Shack 49-1020 User manual

Radio Shack

Radio Shack 49-1020 User manual

Radio Shack CENTRAL 2000 49-351 User manual

Radio Shack

Radio Shack CENTRAL 2000 49-351 User manual

Radio Shack RS-2000 User manual

Radio Shack

Radio Shack RS-2000 User manual
Radio Shack 49-2534 User manual

Radio Shack

Radio Shack 49-2534 User manual

Radio Shack RS-3000 User manual

Radio Shack

Radio Shack RS-3000 User manual

Radio Shack 49-1011 User manual

Radio Shack

Radio Shack 49-1011 User manual

Radio Shack Invisible Beam Entry Alert User manual

Radio Shack

Radio Shack Invisible Beam Entry Alert User manual

Radio Shack Two-Zone Burglar Alarm System User manual

Radio Shack

Radio Shack Two-Zone Burglar Alarm System User manual

Radio Shack 49-415 User manual

Radio Shack

Radio Shack 49-415 User manual
Radio Shack CENTRAL 49-2570 User manual
Radio Shack

Radio Shack CENTRAL 49-2570 User manual

Radio Shack Wireless Key-Lock Door/Window Alarm 49-118 User manual

Radio Shack

Radio Shack Wireless Key-Lock Door/Window Alarm 49-118 User manual

Radio Shack 49-418 User manual

Radio Shack

Radio Shack 49-418 User manual
Radio Shack 49-421A User manual

Radio Shack

Radio Shack 49-421A User manual

Radio Shack Self-Stick Door/Window Alarm User manual

Radio Shack

Radio Shack Self-Stick Door/Window Alarm User manual

Radio Shack Passive User manual

Radio Shack

Radio Shack Passive User manual
Popular Security System manuals by other brands

Polon-Alfa 4000 Installation and maintenance manual

Polon-Alfa

Polon-Alfa 4000 Installation and maintenance manual

Nexcom NViS 14162 Series user manual

Nexcom

Nexcom NViS 14162 Series user manual

Eminent EM8670 Quick install

Eminent

Eminent EM8670 Quick install

urmet domus alpha 1060 INSTALLATION AND USE BOOKLET

urmet domus

urmet domus alpha 1060 INSTALLATION AND USE BOOKLET

SmartPool YardGuard YG03 manual

SmartPool

SmartPool YardGuard YG03 manual

DSC PC5964 Mounting instructions

DSC

DSC PC5964 Mounting instructions

Secure USAB-1 operating instructions

Secure

Secure USAB-1 operating instructions

B&B 480 SERIES Operation & maintenance manual

B&B

B&B 480 SERIES Operation & maintenance manual

ADEMCO VISTA-20P Series Installation and setup guide

ADEMCO

ADEMCO VISTA-20P Series Installation and setup guide

Inner Range Concept 2000 user manual

Inner Range

Inner Range Concept 2000 user manual

Johnson Controls PENN Connected PC10 Install and Commissioning Guide

Johnson Controls

Johnson Controls PENN Connected PC10 Install and Commissioning Guide

Aeotec Siren Gen5 quick start guide

Aeotec

Aeotec Siren Gen5 quick start guide

Swann SW-P-MC2 Specifications

Swann

Swann SW-P-MC2 Specifications

Ecolink Siren+Chime user manual

Ecolink

Ecolink Siren+Chime user manual

EDM Solution 6+6 Wireless-AE installation manual

EDM

EDM Solution 6+6 Wireless-AE installation manual

Siren LED GSM operating manual

Siren

Siren LED GSM operating manual

Detection Systems 7090i Installation and programming manual
Detection Systems

Detection Systems 7090i Installation and programming manual

FRIEDLAND MA10 Installation and operating instructions

FRIEDLAND

FRIEDLAND MA10 Installation and operating instructions

manuals.online logo
manuals.online logoBrands
  • About & Mission
  • Contact us
  • Privacy Policy
  • Terms and Conditions

Copyright 2025 Manuals.Online. All Rights Reserved.

doorstop alarm keychain alarm
window alarm UV proof window decals (2)
double-sided adhesive tape (1)
Please read this user’s guide before
installing, setting up and using your new product
www.radioshack.com
Thank you for purchasing your Campus
Security Kit from RadioShack.
what’s included
49-1010
Campus Security Kit
using your doorstop alarm
using your window alarm
1. Remove battery
compartment
cover, and insert
one 9V battery (not
supplied) as
shown. Slide
ON/OFF to ON.
2. Insert the alarm
at the base of your
door, making sure
the non-skid pad
on the bottom
of the alarm is in
firm contact with
the floor. When the door is opened,
the alarm’s metal plate is depressed,
which presses down the trigger
anchor and sounds the alarm.
3. To silence the doorstop alarm, turn it
OFF.
4. Press down on the metal wedge so
that it is positioned where it will
depress the trigger anchor.
The door stop alarm is for indoor use only.
doorstop alarm
window
keychain alarm with light
alarm
UV proof window decals (2)
Your window alarm comes with four LR44
button-cell batteries installed. Before use,
test the batteries as follows:
1. Slide to Lo or Hi.
2. Push this button. If
the red LED lights,
the batteries are
good. If the LED does
not light, replace the
trigger anchor
ON/OFF
double-sided
adhesive tape (1)
3. Slide off the battery
cover to replace the
batteries.
Mounting your Alarm
1. Mount your window alarm indoors, on
a window pane.
2. Apply the supplied adhesive tape onto
a window pane, with the side labeled
“ACTIVE” facing outside for external
visibility. Then, firmly press the window
alarm onto the adhesive tape.
3. Slide to Hi or Lo to arm. Hi provides
more sensitivity for a larger area; Lo is
suitable for use in a smaller area.
4. Apply the UV proof window decal on
the window.
5. Slide to OFF to disarm the unit.


This product is warranted by RadioShack against manufacturing defects in
material and workmanship under normal use for ninety (90) days from the date
of purchase from RadioShack company-owned stores and authorized RadioShack
franchisees and dealers. For complete warranty details and exclusions, check
with your local RadioShack store.
RadioShack Customer Relations
200 Taylor Street, 6th Floor, Fort Worth, TX 76102
12/99
©2004. RadioShack Corporation.
All rights reserved. RadioShack and
RadioShack.com are trademarks
used by RadioShack Corporation.
49-1010
04A04
Printed in China
using your keychain alarm
limited 90-day warranty
specifications
Your keychain alarm comes with three
LR44 button-cell batteries installed. If the
alarm stops working, grasp and remove
the cover to replace the batteries.
1. Grasp the keychain and pull the chain to
remove the pin. This sounds the alarm.
2. Re-insert the pin to
silence the alarm.
3. To turn on the light,
hold down this button.
Power Source:
Door Stop Alarm ............................ One 9V Battery
Window Alarm ...........................4 LR44 Button-Cell
Batteries
Keychain Alarm ..........................3 LR44 Button-Cell
Batteries
Operation Voltage:
Door Stop Alarm ................................. 9V (7V Min.)
Window Alarm ................................. 6V (4.5V Min.)
Keychain Alarm .............................. 4.5V (3V Min.)
Operating Temperature ..................... 32°F to 113°F
(0°C to 45°C)
cover
Warning: Keep away from small children. If
swallowed, promptly see doctor.
Dispose of old batteries promptly and properly.
Do not burn or bury batteries.
If you do not plan to use the alarm for several weeks,
remove the batteries. Batteries can leak chemicals that
can damage electronic parts.
battery notes
Do not mix old and new batteries, different types of batteries
(standard, alkaline, or rechargeable), or rechargeable
batteries of different capacities.
Use only fresh batteries of the required size and
recommended type.
2
3