RP5-GM32
Radio Replacement & Steering Wheel Control Interface
with OnStar Retention for General Motors Vehicles
Pacic
Accessory Corporation
® | Santa
Ana, California 92705 | Ph. 866-931-8021 |
[email protected] ©2012 Pacic Accessory Corporation
www.pac-audio.com
Pacific Accessory Corporation
Rev. 053113
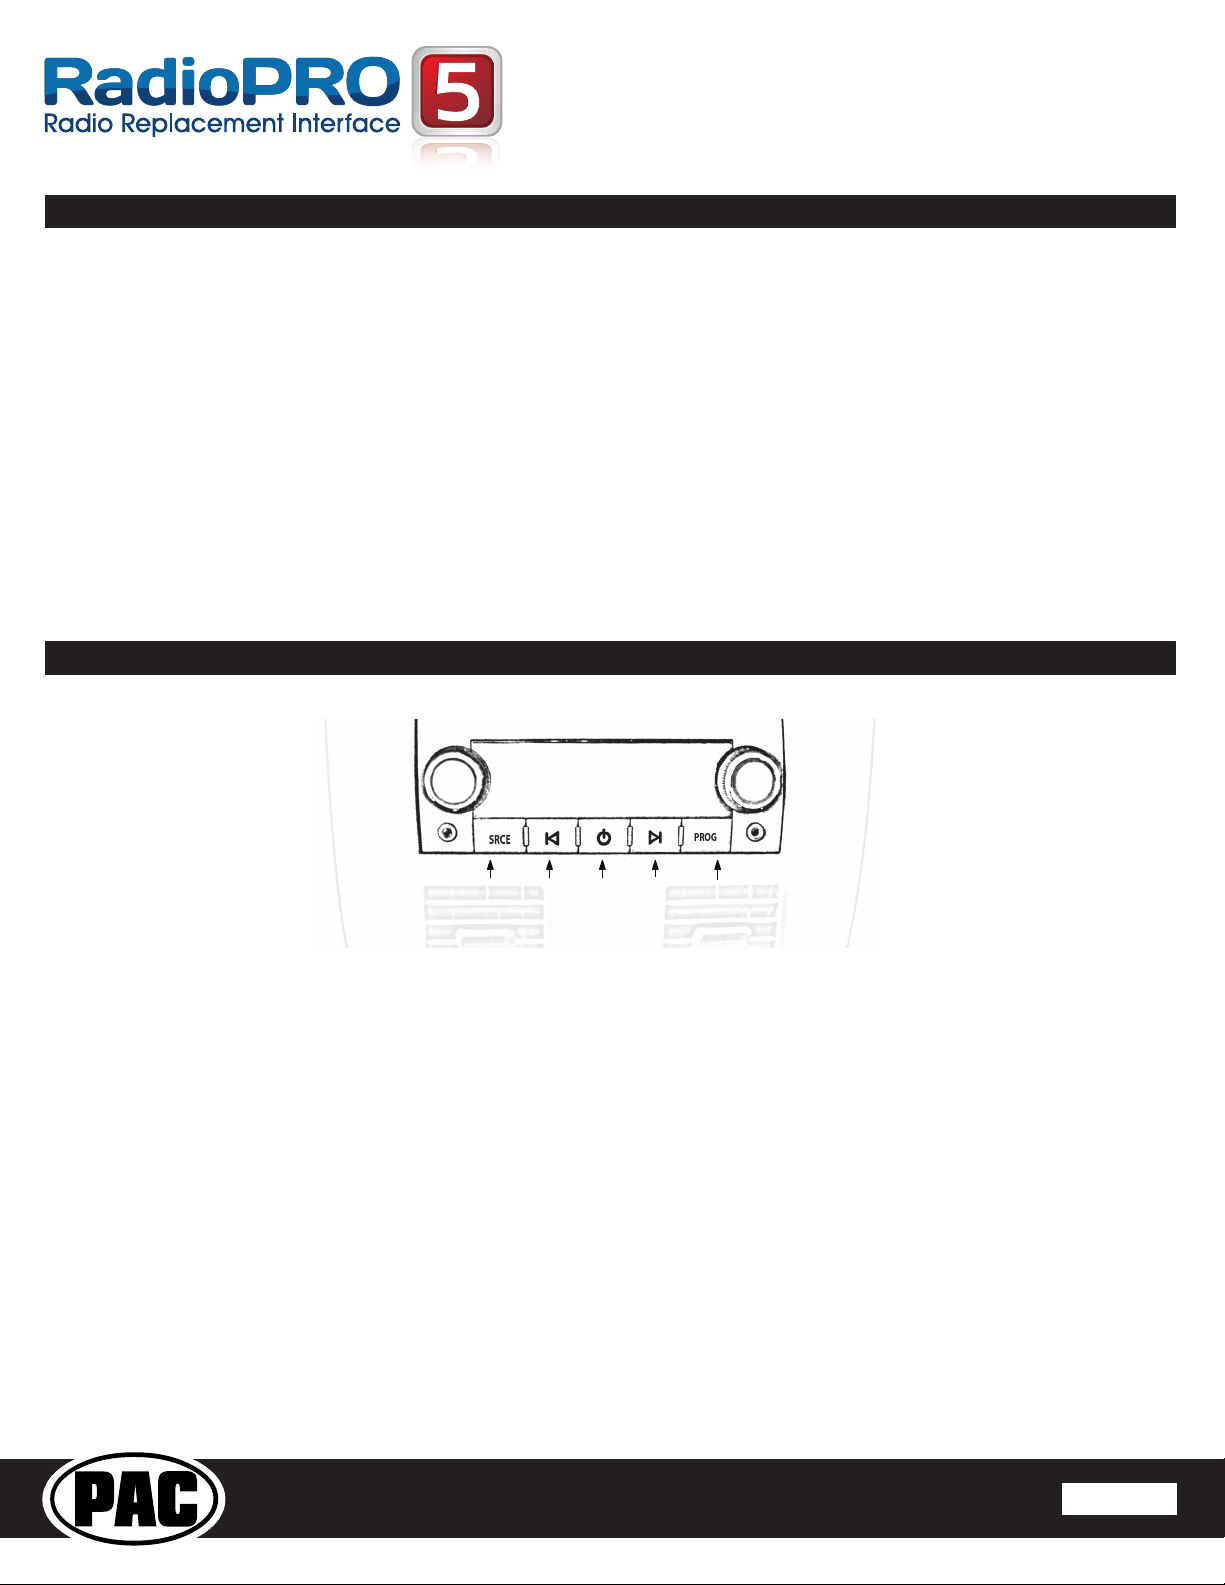
Installation Steps
1. The radio select rotary switch on the side of the interface must be adjusted to the proper radio
setting before plugging the interface into the vehicle. You must also press the SWC programming
button after the interface has been plugged in to set the SWC values.
2. Make all connections as described in the chart on page1.
3. Factory installed ampliers will determine the audio output connection. If the vehicle has a factory installed amplier use the factory
amplier audio location. If a factory installed amplier is not present use the non-amplied factory audio location.
4. If the vehicle is equipped with a Premium BOSE system, connect the subwoofer and center channel RCA inputs to the aftermarket radios.
If the aftermarket radio to be installed does not have a dedicated center channel or sub output do not use this cable. To ensure best sound
performance channel summing is not recommended. Use this cable according to the outputs that are available.
5. If the vehicle is equipped with a reverse camera and the aftermarket radio has a reverse camera input, connect the yellow RCA plug on the
gray connector to the aftermarket radios reverse camera input.
6. Plug the CMX chime module in if necessary (If the vehicle chimes when the radio is removed the CMX is not necessary). PLEASE NOTE:
In order to get the best possible sound out of the CMX please mount it in a place free and clear of any obstructions, preferably as close as
possible to the bottom of the dash pointing down toward the oor of the vehicle.
7. The Mute loop (if not cut) will turn the accessory output off when an OnStar or Bluetooth call is made or received. If the aftermarket radio
has a mute input cut this loop and connect the outer brown wire to the mute input.
8. Connect the SWC wire according to the chart on page 1 (aftermarket radio MUST support a wired remote input).
9. If you wish to reassign functions to the SWC follow the programming instructions in the next section.
IMPORTANT! The interface comes pre-programmed for the functions listed in the chart below and does not require programming
unless you wish to re-assign the SWC functions to different buttons. The SWC can always be restored to default settings by
pressing the program button on the side of the interface once and waiting for the timeout.
If you wish to re-assign the SWC functions, the interface must be programmed in the specic order shown in the chart on the next
page. If you come across a function in the chart that your steering wheel does not have, or you do not want to program, press and
release the program button on the side of the interface to skip that function. The LED will ash off and on conrming that you have
successfully skipped that function and are ready to proceed to the next one.
Alpine JVC Kenwood Clarion
alo
OEM Sony/Pionee
Fusion Blaupunkt
olume + Volume + Volume + Volume + Volume + Volume + Volume + Volume + Volume + Volume +
olume - Volume - Volume - Volume - Volume - Volume - Volume - Volume - Volume - Volume -
Source Source Source Source Source Source Source Source Source Source
Track + Track + Track + Track + Search + Track + Next Track + Track + Track +
Track - Track - Track - Track - Search - Track - Previous Track - Track - Track -
oice Mute Mute Mute Mute Mute Mute Mute Mute Mute
Play/Pause Preset + Preset/Disc - Disc/FM+ Band OK Play/O
Preset +
udio Disc +
Optional Steering Wheel Control Programming
Default SWC Button Assignments
Page 2
Alpine Blaupunkt Clarion Fusion JVC Kenwood OEM Pioneer/Sony/Other Valor
1 8 49 2 3 6 7 5
Other = Advent, BOYO, Dual, Lightning Audio, Visteon,
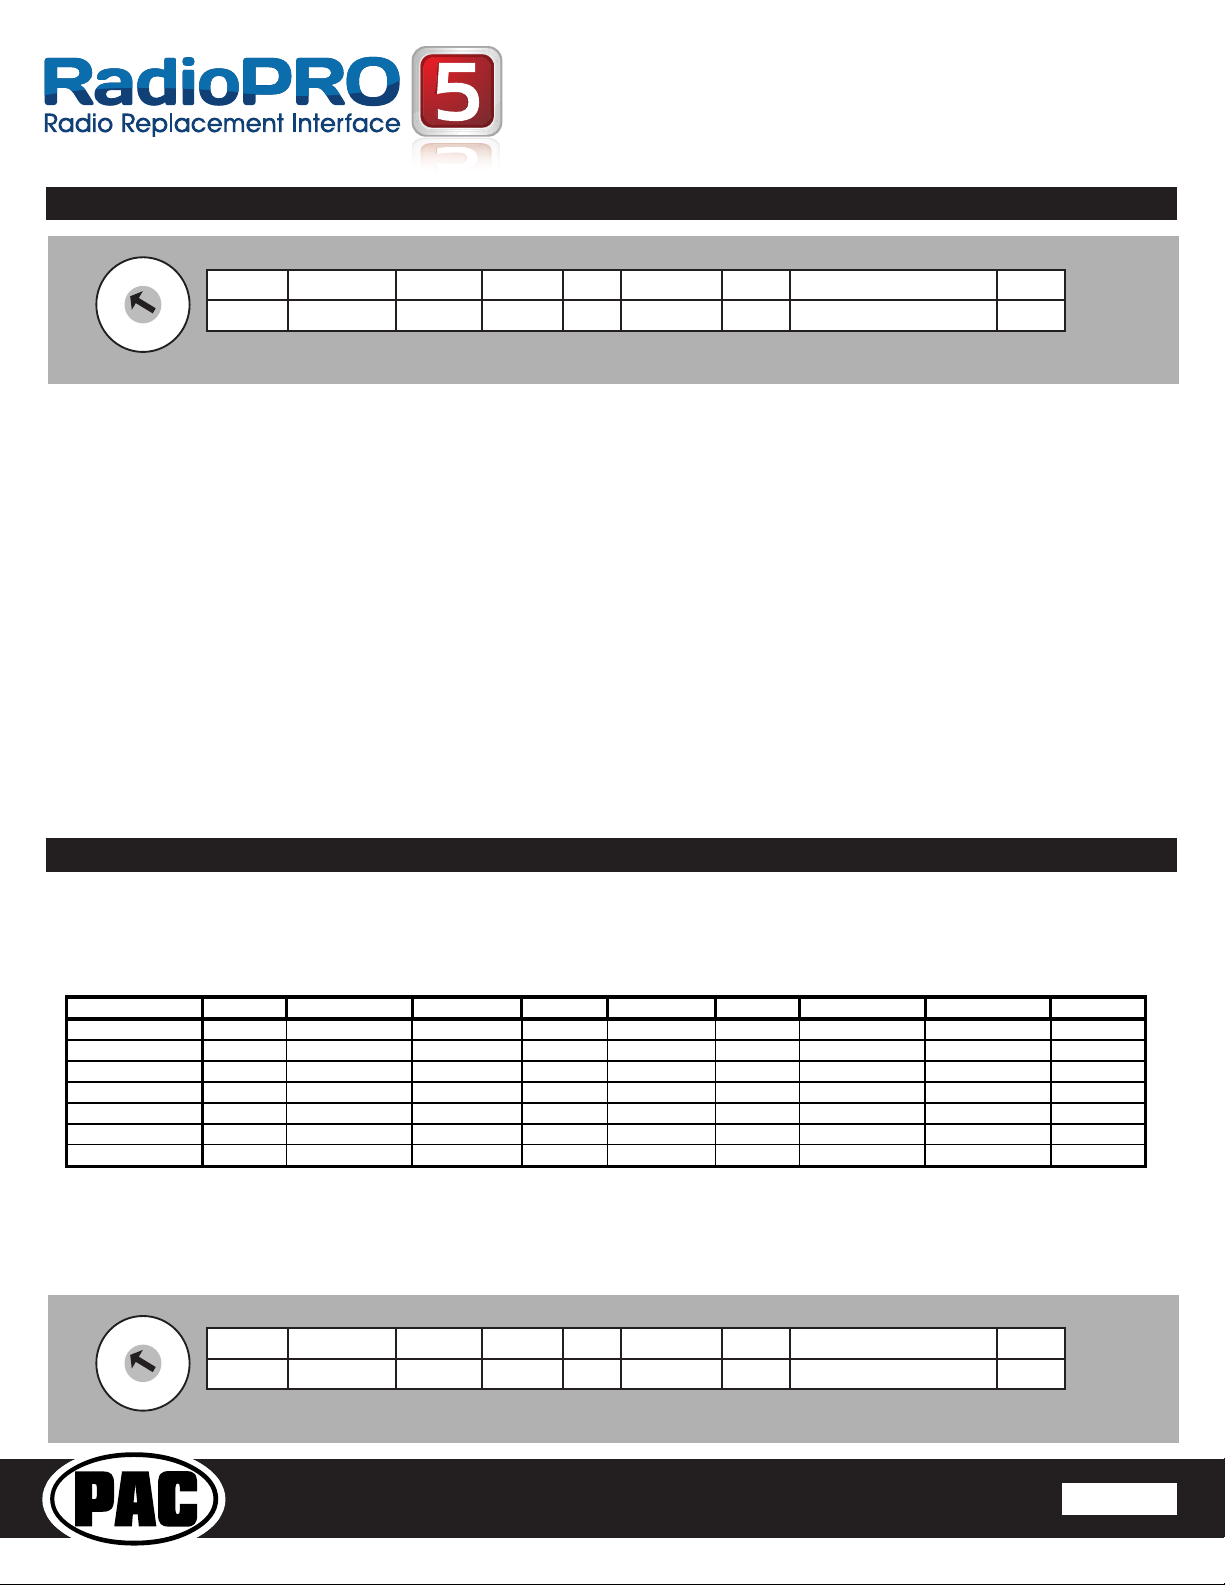
SET RADIO SELECT SWITCH
Alpine Blaupunkt Clarion Fusion JVC Kenwood OEM Pioneer/Sony/Other Valor
1 8 49 2 3 6 7 5
Other = Advent, BOYO, Dual, Lightning Audio, Visteon,
SET RADIO SELECT SWITCH