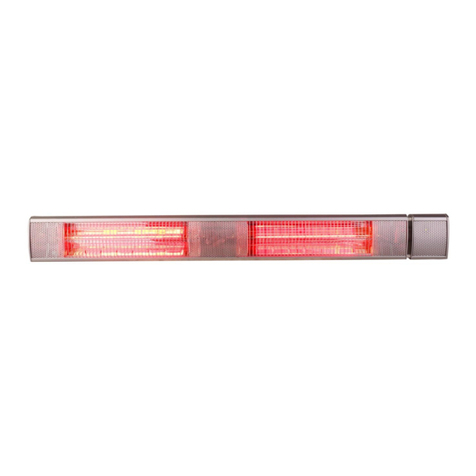
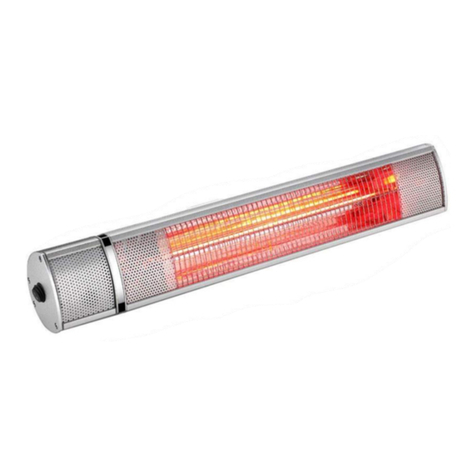
RADtec T4000/8r User manual

OPERATING MANUAL
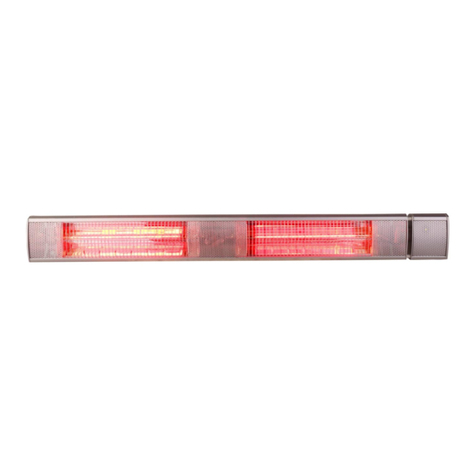
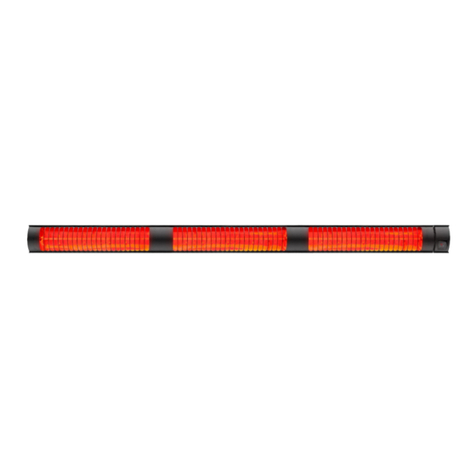
INFRARED RADIANT HEATER: TORRID SERIES
T4000/8r & T4000/12r
220 VOLT
T4000/8r - 34 inches
T4000/12r - 50 inches

2
Table of contents
Description of heaters ________________________________________3
Advantages of heaters________________________________________4
Characteristics of the T4000____________________________________4
Package____________________________________________________ 5
Heater device (fig. 1)__________________________________________5
Heater fixing procedure_______________________________________5
Heater fastening mechanism___________________________________6
Heater Connection Requirements_______________________________7
Safety warnings _____________________________________________7
Heater maintenance __________________________________________7
Limited Warranty ____________________________________________8

3
Thank you for choosing RADtec heating products.
This product operates in compliance with the information laid out in this manual.
***Attention! Before using this product, please read the manual carefully***
You have purchased the following model: RADtec Torrid Series - Infrared Radiant Heater
RADtec T4000/8r
RADtec T4000/12r
This model heater operates by projecting a “Radiant Footprint” over your living space. Radiant energy is transferred to people
and objects within this projected footprint via radiant energy – similar to how the sun warms you up when you stand in sunlight.
This method of heating is very popular today because infrared heat energy transfer is hyper efficient. Remember, warm or hot
air is less dense than surrounding colder air and rises due to thermal convection. Infrared heat is not lost to air currents because
infrared heaters do not heat the air. Infrared energy does not “excite” air molecules, instead bypassing them and warming
whatever surface this energy hits thereafter.
Please reference the graphic below to better understand how this footprint projects from the heater you have purchased.
Description of RADtec Torrid Series Heaters:
RADtec infrared heaters are designed for various applications, both outdoors and indoors.
Example: terraces, patios, verandas, gazebos, hangars, workshops, etc.
RADtec Torrid series heaters have a stylish compact design. Applications can include both vertical(wall) and horizontal(ceiling)
installations. It is also possible to place this heater on a mobile stand (not included, purchased separately).
RADtec state-of-the-art infrared heaters use high efficiency heating elements. 95% or more of the electrical power consumed is
converted into a heat flux. Infrared heating achieves this efficiency by heating objects in the area without having to heat the
surrounding air.
What Does Heat Flux Mean?
Heat flux is thermal energy transferred from one substance to another per unit time and area denoted by temperature change
measured in watts per feet/meter squared units. In simple terms, it is the heat transferred per unit area. To obtain this value, one
must obtain the change in temperature, the thermal conductivity of the medium of conduction and the direction of the heat
transfer. Accurate figures are obtained when the system is in a steady state condition.
A , B , C , D : feet(ft)
S: square feet( ft2) T4000/8r T4000/12r
A (Min-Max) 6-10 6-10
B (Min-Max) 8-13 8-13
C (Min-Max) 15-16 18-21
D (Min-Max) 7-16 7-18
S (Min-Max) 96-145 129-236

4
Advantages of RADtec heaters
• Wide range of applications
• Eco-friendly, safe for humans and animals
• Remote controlled
• Instant heat
• High efciency
• 2-yr warranty
• First heater with IP67 certication
Characteristics of Torrid Series Models
Product ID T4000/8r T4000/12r
Controller Yes Yes
IRWavelength 1,2 µm 1,2 µm
IRQuantity 2 2
IRFilament Length (mm) 2x355 2x550
Operating Voltage (Volt) 220V 220V
Total Power (Watts) 4000 4000
Dimensions (in) 34x6x5 50x6x5
IP Class IP67 IP67
Heating Area(ft2) 96-145 129-236
Infrared Life (hours) 7000 7000
Warranty Period 2 Years 2 Years
BODYFEATURES
Material used Aluminum Aluminum
Color Black Black
Power Cord 48in 48in
MOUNTING FEATURES
Application surface Wall/Ceiling Wall/Ceiling

5
Equipment
• Packaging containers - 1 pc.
• Heater with power cable and plug - 1 pc.
• Remote control (with power supply - 2 pcs., Type AAA battery) - 1 pc. *
* (for r series models)
• Fasteners - set.
• Operation manual - 1 pc.
• Warranty card - 1 pc.
Heater device (g. 1)
1. Heater body 2. Side control module covers *
3. Heater casing lateral covers 4. Protective grill
5. Side walls of the reector 6. Control module housing *
7. Control module panel * 8. Infrared element
9. Power cable with plug 10. Heat Reector
Heater xing procedure
1. Inspect the heater for external damage.
2. Determine mounting location for the heater, taking into account the requirements indicated
in the diagram.
6feet
(min)
24in
(min)
39in
(min)
2in
(min)
2in
(min)
24in
(min)
6feet
(min)

6
3.Fix the mounting bracket to the surface (wall or ceiling).
4. Assemble the heater mounting mechanism as shown in the Heater Mounting section.
5. Install the heater on the bracket using the guides on the back of the housing . When
mounting the heater on a vertical surface, ensure that the Control Module is in the correct
position (page 8)
6. Connect the heater to a power supply in accordance with local electrical and re safety
requirements.
Heater mounting:
Correct position of the heater
on a vertical surface (wall)
for Torrid series models
vertical placement horizontal placement
MountingBracket
Screw
WingNut
Screw
Channel Bracket
Channel Tightening Screws
Finishedmounting hardware Wall installationof the infrared
heater

7
Heater Connection Requirements
1. The heater is 220-240 volts.
2. The heater (s) are connected to a separate line with a dedicated circuit breaker with a current
cut-off rating corresponding to the power of the heater (s).
3. Consult a licensed electrician for installation.
WARNING: Do not use extension cords as they are not designed to power outdoor heaters.
Safety warnings
1. Use the heater only for its intended purpose.
2. Observe the required distances to the suspension height when installing and using the heater.
- Heater distance to ground or floor - not less than 6feet.
- Heater distance to heated surfaces - not less than 24 inches.
3. Do not place or store flammable objects and materials in the place where the heater is used.
4. Do not touch the heater during operation, and do not allow children and pets to come into contact
with the heater.
Heater remote control
There are 3 buttons on the remote control.
Button 1 (bottom right) - power on / off.
Buttons 2 and 3 - selection of 4 heating power modes.
The selected mode is displayed on the display of the heater control module. It is
possible to control several heaters using one remote control.
Heater maintenance
• To ensure stable operation of the product, regularly inspect the heater and the supply cable for
external damage
• As the heater and reflector become dirty, clean in the following order:
1. Make sure that the heater has not been used and that the casing of the heater is at ambient
temperature.
2. Disconnect the heater from the power source, remove it from the attachment point and place it
on a horizontal surface.
3. Clean the external elements of the heater with a dry clean, soft cloth.
4. Remove the left side cover of the heater housing. There are two screws on the end of the heater
and two screws on the rear wall of the housing
5. Carefully slide the protective grill out of the left side.
6. Clean the internal elements of the compartment with a dry clean, soft cloth.
WARNING: Use cotton or latex gloves to clean. This will prevent contact with the IR element. Direct
contact with the element will leave fingerprints, which will negatively affect its operation and damage
the heating element.
7. After cleaning the heater, reassemble in the reverse order and reinstall the heater.
This manual suits for next models
2
Table of contents
Other RADtec Heater manuals