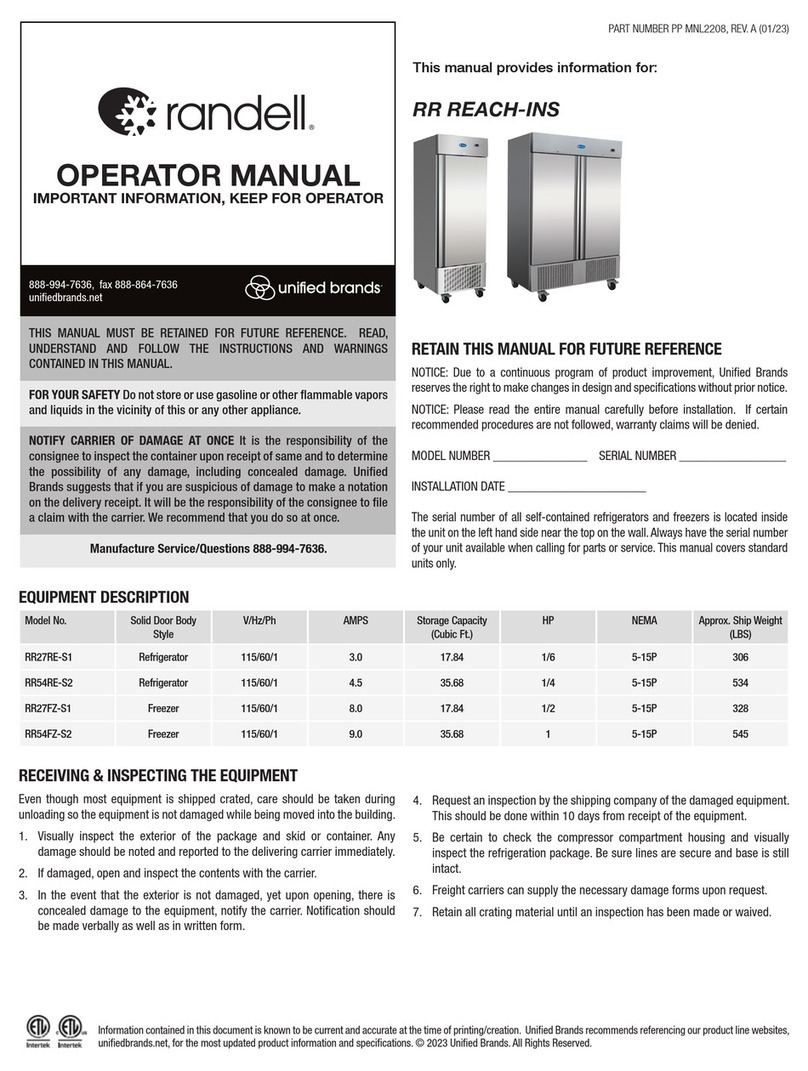
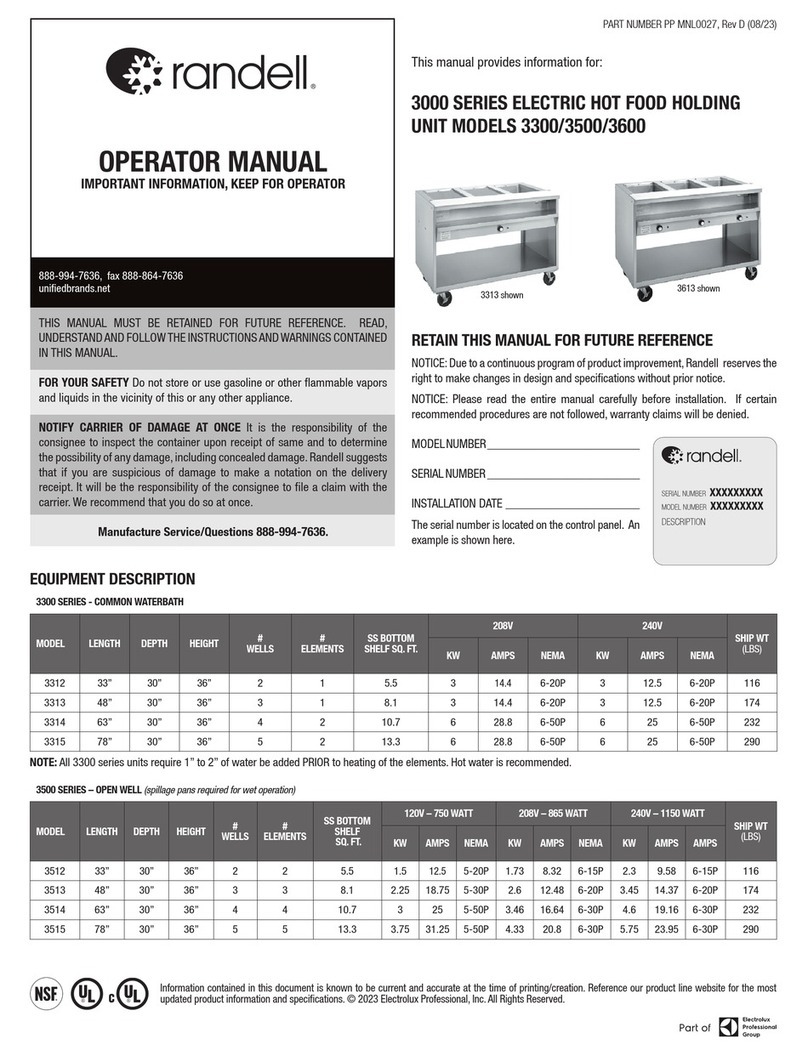
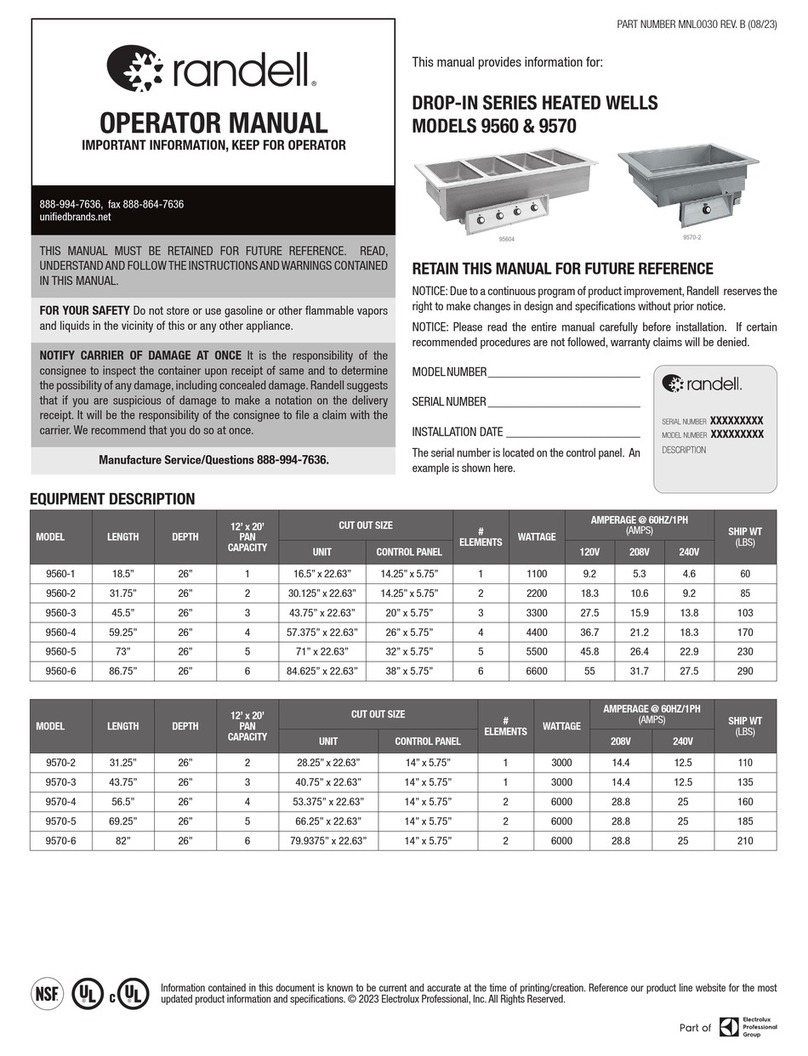
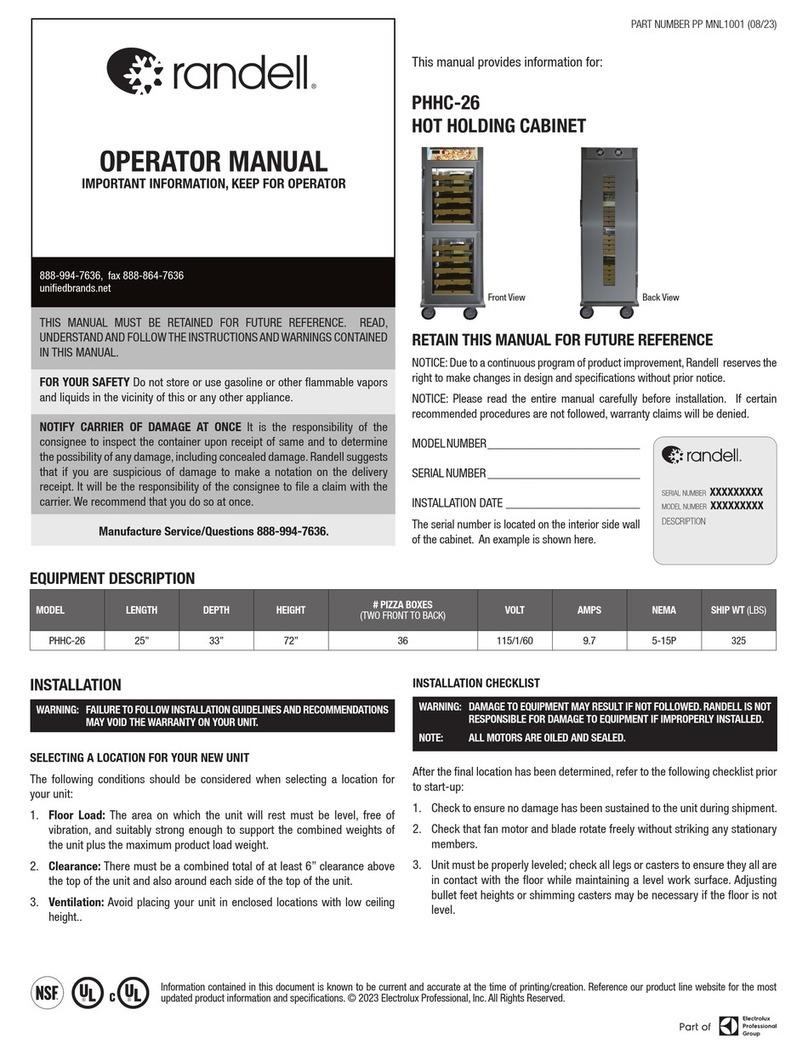
Randell RCS-24 User manual

OPERATOR MANUAL
IMPORTANT INFORMATION, KEEP FOR OPERATOR
2016 Gees Mill Road, Suite 200, Conyers, GA 30013
888-994-7636, fax 888-864-7636
unifiedbrands.net
PART NUMBER PP MNL2103, REV. A (06/21)
This manual provides information for:
RCS-24-WS 24” CHEESER STATION™
WITH INTEGRAL SCALE (SHOWN)
RCS-24 24” CHEESER STATION™
THIS MANUAL MUST BE RETAINED FOR FUTURE REFERENCE. READ,
UNDERSTAND AND FOLLOW THE INSTRUCTIONS AND WARNINGS
CONTAINED IN THIS MANUAL.
FOR YOUR SAFETY Do not store or use gasoline or other flammable vapors
and liquids in the vicinity of this or any other appliance.
WARNING R290 flammable refrigerant in use. Improper installation,
adjustment, alteration, service or maintenance can cause property
damage, injury or death. Read the installation, operating and maintenance
instructions thoroughly before installing or servicing this equipment.
NOTIFY CARRIER OF DAMAGE AT ONCE It is the responsibility of the
consignee to inspect the container upon receipt of same and to determine
the possibility of any damage, including concealed damage. Unified
Brands suggests that if you are suspicious of damage to make a notation
on the delivery receipt. It will be the responsibility of the consignee to file
a claim with the carrier. We recommend that you do so at once.
Manufacture Service/Questions 888-994-7636.
RETAIN THIS MANUAL FOR FUTURE REFERENCE
NOTICE: Due to a continuous program of product improvement, Unified Brands
reserves the right to make changes in design and specifications without prior notice.
NOTICE: Please read the entire manual carefully before installation. If certain
recommended procedures are not followed, warranty claims will be denied.
MODELNUMBER_________________________
SERIAL NUMBER _________________________
INSTALLATION DATE ______________________
The serial number is located on the right side inside
the base cabinet behind the grilled hinged door. An
example is shown here.
EQUIPMENT DESCRIPTION
Information contained in this document is known to be current and accurate at the time of printing/creation. Unified Brands
recommends referencing our product line websites, unifiedbrands.net, for the most updated product information and
specifications.The company reserves the right of final interpretation of the user manual. Information subject to change without
notice. © 2021 Unified Brands. All Rights Reserved. Unified Brands is a wholly-owned subsidiary of Dover Corporation.
MODEL LENGTH DEPTH* HEIGHT INTEGRATED
SCALE
CHEESE BIN
STORAGE CU. FT. HP VOLT/CYCLE/
PHASE AMPS NEMA
PLUG SHIP WT.
WORK SURFACE REAR OF UNIT
RCS-24-WS 24” 33” 36” 41” YES 1.25 1/4 115/60/1 1.8 5-15P 180
RCS-24 24” 33” 36” 41” NO 1.25 1/4 115/60/1 1.8 5-15P 180
*Depth = 34” with 1” standoff bumpers
RCS-24-WS RCS-24

2 OM-RCS-24 SERIES CHEESER STATION
INSTALLATION
CAUTION: THIS UNIT CONTAINS R290 FLAMMABLE REFRIGERANT. USE CAUTION
WHEN HANDLING MOVING AND USE OF THE REFRIGERATOR OR FREEZER.
AVOID DAMAGING THE REFRIGERANT TUBING OR INCREASE THE RISK OF A
LEAK.
WARNING:
FAILURE TO FOLLOW INSTALLATION GUIDELINES AND
RECOMMENDATIONS MAY VOID THE WARRANTY ON YOUR UNIT.
WARNING: IT IS IMPORTANT THAT YOUR UNIT HAS ITS OWN DEDICATED LINE.
CONDENSING UNITS ARE DESIGNED TO OPERATE WITH A VOLTAGE
FLUCTUATION OF PLUS OR MINUS 10% OF THE VOLTAGE INDICATED ON
THE UNIT DATA TAG. BURN OUT OF A CONDENSING UNIT DUE TO EXCEEDING
VOLTAGE LIMITS WILL VOID THE WARRANTY.
THE DANFOSS CONTROLLER HAS LOW VOLTAGE PROTECTION AND WILL
NOT OUTPUT VOLTAGE TO THE COMPRESSOR IF VOLTAGE IS LESS THAN
104V.
WARNING: IT IS IMPORTANT THAT A VOLTAGE READING BE MADE AT THE COMPRESSOR
MOTOR ELECTRICAL CONNECTIONS, WHILE THE UNIT IS IN OPERATION
TO VERIFY THE CORRECT VOLTAGE REQUIRED BY THE COMPRESSOR IS
BEING SUPPLIED. LOW OR HIGH VOLTAGE CAN DETRIMENTALLY AFFECT
OPERATION AND THEREBY VOID ITS WARRANTY.
WARNING: EVAPORATOR FANS RUN CONTINUOUSLY WHILE THE BASE IS POWERED
ON.
WARNING: THIS UNIT IS INTENDED FOR USE IN LABORATORIES IN COMMERCIAL,
INDUSTRIAL, OR INSTITUTIONAL OCCUPANCIES AS DEFINED IN THE
SAFETY STANDARD FOR REFRIGERATION SYSTEMS, ASHRAE 15.
SELECTING A LOCATION FOR YOUR NEW UNIT
The following conditions should be considered when selecting a location for
your unit:
1. Floor Load: The area on which the unit will rest must be level, free of vibration,
and suitably strong enough to support the combined weights of the unit plus
the maximum product load weight. All casters must be in contact with the floor
to support the weight. Casters may require shims in order for the caster to be
in contact with the floor. NOTE: If there is a question pertaining to weight load
limits, consult the factory at 1-888-994-7636.
2. Clearances: Unit shall have a clearance of 0 inches at the top, 0 inches at
the rear and 0 inches at each side.
3. Ventilation: The air cooled self contained unit requires a sufficient amount
of cool clean air. Avoid surrounding your unit around other heat generating
equipment and out of direct sunlight. Also, avoid locating in an unheated
room or where the room temperature may drop below 70° F (21°C) or above
86°F (32°C). Do not place any object that can block the ventilation exhaust
from the machine compartment register.
INSTALLATION CHECKLIST
After the final location has been determined, refer to the following checklist prior
to start-up:
1. Check all exposed refrigeration lines to ensure that they are not kinked,
dented, or rubbing together or rubbing against any steel.
2. Check all visible components for any potential damage.
3. Check that the condenser fan rotates freely without striking any stationary
members.
4. Unit must be property leveled; Check all legs or casters ensure they all are
in contact with the floor while maintaining a level work surface. Adjusting
bullet feet height or shimming casters may be necessary if the floor is not
level. NOTE: Damage to equipment may result if not followed. Unified
Brands is not responsible for damage to equipment if improperly installed.
5. Plug unit into power source. Unit will come on. If unit does not turn on, refer
to controller operation section of this manual to manually turn on the unit.
6. Allow unit time to cool down to holding temperature. If temperature
adjustments are required, the control is located on the front panel. Confirm
that the units is holding the desired temperature.
7. If unit has drawers, check drawer to ensure the drawer slides freely and fully
extents along with seating in the cabinet properly when closed.
8. Refer to the front of this manual for serial number location. Please record
this information in your manual on page 1 now. It will be necessary when
ordering replacement parts or requesting warranty service.
9. Allow your unit to operate for approximately 45 minutes before putting in
food in the rail. Allow 2 hours for base of the unit to cool down to storage
temperature, prior to loading product. NOTE: All motors are oiled and sealed.
ELECTRICAL SUPPLY
The wiring should be done by a qualified electrician in accordance with local
electrical codes. A properly wired and grounded outlet will assure proper
operation. Please consult the data tag attached to the compressor to ascertain
the correct electrical requirements. Supply voltage and amperage requirements
are located on the serial number tag located on the rear interior wall.
IMPORTANT - READ FIRST - IMPORTANT
EXTERIOR OF UNIT
NEAR EXPOSED REFRIGERANT TUBING
RISK OF FIRE OR EXPLOSION.
DISPOSE OF PROPERLY IN
ACCORDANCE WITH FEDERAL OR
LOCAL REGULATIONS.
FLAMMABLE REFRIGERANT USED.
PRECAUCIÓN RIESGO DE INCENDIO O EXPLOSIÓN. DESÉCHELO ADECUADAMENTE CONFORME
A REGLAMENTOS FEDERALES O LOCALES. REFRIGERANTE INFLAMABLE UTILIZADO.
MISE EN GARDE RISQUE
D’INCENDIE OU
D’EXPLOSION. ÉLIMINER
(or DISPOSER)
CORRECTEMENT
CONFORMÉMENT AUX
RÉGLEMENTATIONS
FÉDÉRALES OU LOCALES.
RÉFRIGÉRANT
INFLAMMABLE UTILISÉ.
SB6.1.4
LABEL DIMENSION: 6 in x 2.75 in
PP LBL1704 REV B
CAUTION
RISK OF FIRE OR EXPLOSION DUE TO
PUNCTURE OF REFRIGERANT TUBING; FOLLOW
HANDLING INSTRUCTIONS CAREFULLY.
FLAMMABLE REFRIGERANT USED.
PRECAUCIÓN RIESGO DE INCENDIO O EXPLOSIÓN DEBIDO A LA PERFORACIÓN DE LA TUBERÍA DE
REFRIGERANTE; SIGA CUIDADOSAMENTE LAS INSTRUCCIONES DE MANEJO.REFRIGERANTE
INFLAMABLE UTILIZADO.
MISE EN GARDE RISQUE
D’INCENDIE OU
D’EXPLOSION EN RAISON
DE LA PERFORATION DU
TUBE RÉFRIGÉRANT;
SUIVEZ ATTENTIVEMENT
LES INSTRUCTIONS DE
MANIPULATION.
RÉFRIGÉRANT
INFLAMMABLE UTILISÉ.
CAUTION
SB6.1.5
PP LBL1705 REV B
LABEL DIMENSION: 6.25 in x 2.8 in
RISK OF FIRE OR EXPLOSION. FLAMMABLE
REFRIGERANT USED. CONSULT REPAIR MANUAL
/ OWNER’S GUIDE BEFORE ATTEMPTING TO
INSTALL OR SERVICE THIS PRODUCT. ALL
SAFETY PRECAUTIONS MUST BE FOLLOWED.
PRECAUCIÓN RIESGO DE INCENDIO O EXPLOSIÓN. REFRIGERANTE INFLAMABLE UTILIZADO. CONSULTE EL MANUAL DE REPARACIÓN /
MANUAL DEL USUARIO ANTES DE INSTALAR O REPARAR ESTE PRODUCTO. DEBEN SEGUIRSE LAS PRECAUCIONES DE SEGURIDAD.
MISE EN GARDE RISQUE
D’INCENDIE OU
D’EXPLOSION. RÉFRIGÉRANT
INFLAMMABLE UTILISÉ.
CONSULTER LE MANUEL DE
RÉPARATION / GUIDE DE
L’UTILISATEUR AVANT
D’ESSAYER D’INSTALLER OU
DE RÉPARER CE PRODUIT.
TOUTES LES PRÉCAUTIONS
DOIVENT ÊTRE RESPECTÉES.
SB6.1.3.b
PP LBL1703 REVB
LABEL DIMENSION: 7.5 in x 5.36 in
SB6.1.3.a
RISK OF FIRE OR EXPLOSION. FLAMMABLE
REFRIGERANT USED. TO BE REPAIRED ONLY
BY TRAINED SERVICE PERSONNEL. DO NOT
PUNCTURE REFRIGERANT TUBING.
PELIGRO RIESGO DE INCENDIO O EXPLOSIÓN. REFRIGERANTE INFLAMABLE UTILIZADO. DEBE SER REPARADO
SOLAMENTE POR PERSONAL DE SERVICIO CAPACITADO. NO PERFORE LA TUBERÍA DEL REFRIGERANTE.
DANGER RISQUE
D’INCENDIE OU
D’EXPLOSION.
RÉFRIGÉRANT
INFLAMMABLE UTILISÉ.
POUR ÊTRE RÉPARÉ QUE
PAR UN TECHNICIEN
QUALIFIÉ. NE PAS
PERFORER LE TUBE
RÉFRIGÉRANT.
CAUTION
DANGER
NEAR MACHINE COMPARTMENT AND NAMEPLATE
Image shown at right with grill door removed to show location of R290 labels.

3 OM-RCS-24 SERIES CHEESER STATION
INSTALLATION TO MAKELINE
1. The Cheeser Station is designed to be adjacent to the existing preparation table
or makeline and for operation efficiency, provides a refrigerated preparation
area for cheesing pizzas.
a. Model RCS-24-WS (shown above, image of Cheeser Station may vary
from actual equipment received) includes an integrated weigh scale
to measure proper cheese volumes. In addition to easier access to the
cheese, excess spillage returns back in the refrigerated supply bin.
b. Model RCS-24 does not include the integrated weigh scale but still allows
for easier access to cheese, and spillage returns back into the refrigerated
supply bin.
2. Determine the location of the Cheeser Station and move into position above
image shows the Cheeser Station on the left for left-to-right operation).
INSTALLATION OF RCS-24 RACK ASSEMBLY
1. Insert cheese bin inside the refrigerated cold-well. The bins slanted wall
should be placed towards the back.
2. Set the rack support assembly in the cold-well opening with the front support
channel over the front part of the opening.
3. Place wire rack into the support assembly.
INSTALLATION OF RCS-24-WS WEIGH SCALE PLATFORM
1. Insert cheese bin inside the refrigerated cold-well. The bins slanted wall
should be placed towards the back.
2. Set the rack support assembly in the cold-well opening with the front support
channel over the front part of the opening.
3. Insert the left and right rack support brackets on the rack support assembly.

4 OM-RCS-24 SERIES CHEESER STATION
4. Place wire rack on the rack brackets.
5. Assure the rack is placed between the pins on the rack brackets.
6. Uncap the dustproof cap from the receptacle located in the backsplash of the
Cheeser Station.
7. Plug in the platform plug/cord into the receptacle in the backsplash. Line up
the latch of the platform plug/cord to the receptacle as shown and push until
it clicks in place.
REFRIGERATION CONTROL
1. To power on the base, press and hold the base control power button until the
LED display turns on.To power on the rail, press and hold the rail control power
button until the LED display turns on. The power controls are located above the
louver panel.
2. To power off the base press and hold the base control power button until the
LED display turns off. To power off the rail press and hold the rail control power
button until the LED display turns off. The power controls are located above the
louver panel.
3. The clean-out port valve for the upper rail is found behind the hinged vented
door. The rail may be drained by placing a pan under the clean-out port valve
and opening the valve (see Nightly Shut Down of Prep Rail).
Cleanout Port Extension Cleanout Port Valve
MORNING STARTUP OF PREP RAIL
1. Unit cleaning may be performed at this time.
2. Turn on unit. See item #2 under the Refrigeration Control section above for
powering on the rail.
3. Allow a minimum 45 minutes for your unit to cool down before loading product.
A uniform frost pattern will appear on side walls and bottom of prep rail area.
4. Load the product and proceed with food preparation. NOTE: Product entering
unit must be at 35°F +/- 2°F.
NIGHTLY SHUT DOWN OF PREP RAIL
1. Remove product from unit at the end of the day’s preparation.
2. Turn off unit. See item #3 under the Refrigeration Control section above for
powering on the rail.
3.
Unit cleaning may be performed at this time if the frost has melted off the surface.
4. Once defrosted, the rail drain may be opened to remove any water that has
resulted from the defrosting procedure.
WARNING: IT IS RECOMMENDED TO ONLY MAKE CHANGES OF 2 DEGREE INCREMENTS
AT A TIME. ALLOW FOR THE UNIT TO OPERATE 24 HOURS BETWEEN
ADJUSTMENTS. IF THE 2 DEGREE ADJUSTMENT IS NOT ENOUGH ANOTHER
ADJUSTMENT CAN BE MADE. IF THE SETTINGS NEED TO GO ABOVE OR
BELOW THIS POINT THERE MAY BE OTHER CONTRIBUTING FACTORS AS
TO THE CAUSE OF THE TEMPERATURE VARIANCES, PLEASE CONTACT THE
FACTORY AT 1-800-621-8560.
AMBIENT CONDITIONS
Unit is designed for normal operating temperatures between 70° F (21°C) - 86°F
(32°C). Operating outside of those temperatures may cause premature product
wear or failure.
Unified Brands has attempted to preset the temperature control to ensure that
your unit runs at an optimum temperature, but due to varying ambient conditions,
including elevation, food type and your type of operation, you may need to alter
this temperature using control adjustment until desired temperature is reached.

5 OM-RCS-24 SERIES CHEESER STATION
DANFOSS CONTROLLER OPERATION
LED FUNCTION
Compressor energized & Evaporator fan de-energized
Defrost in progress
Fans delay after defrost completion
Evaporator fan energize
An alarm is occurring
ºC / ºF Temperature unit
POWER ON / OFF
MANUAL DEFROST
CHANGE SET POINT
POWER ON / OFF: Press and hold the power button until LED display turns On / Off
MANUAL DEFROST: Press and hold “Defrost” Button
CHANGE SET POINT: To raise temperature
1. Press and hold “ ” to access set point.
2. When set point start flashing, Press “ ” to adjust set point.
3. After 30 seconds, the display automatically reverts to showing the current
temperature.
CHANGE SET POINT: To lower temperature
1. Press and hold “v” to access set point.
2. When set point start flashing, Press “v” to adjust set point.
3. After 30 seconds, the display automatically reverts to showing the current
temperature.
CHANGE FROM ºF /ºC :
1. Press the up/down buttons simultaneously for 5 seconds to access the menu.
2. Password is requested. Password is 000.
3. Press the bottom left button to OK the password.
4. Using the up/down buttons, navigate to the “diS” level. Press the bottom left
button to OK the selection.
5. Using the up/down buttons, navigate to the “CFu” level. Press the bottom left
button to OK the selection.
a. “-F” designates Fahrenheit.
b. “-C” designates Celsius.
6. Press the top left button repeatedly to return to exit and return to the home
screen.
MAINTENANCE
WARNING: DO NOT USE SHARP UTENSILS AND/OR OBJECTS.
WARNING: DO NOT USE STEEL PADS, WIRE BRUSHES, SCRAPERS, OR CHLORIDE
CLEANERS TO CLEAN YOUR STAINLESS STEEL.
CAUTION: DO NOT USE ABRASIVE CLEANING SOLVENTS, AND NEVER USE
HYDROCHLORIC ACID (MURIATIC ACID) ON STAINLESS STEEL.
WARNING: DO NOT PRESSURE WASH EQUIPMENT AS DAMAGE TO ELECTRICAL
COMPONENTS MAY RESULT.
Unified Brands strongly suggests a preventative maintenance program which
would include monthly, weekly and daily procedures.
DAILY CLEANING OF THE REFRIGERATED COLD-WELL
Cleanout Port Valve Refrigerated Cold Well
Cleanout Port Extension
1. Power off refrigeration system. Press ON/OFF button on the control until “OFF”
is displayed.
2. Remove all items above the cheese bin.
3. Set scale platform aside and follow cleaning instructions described in a
following section of this manual.
4. Remove cheese bin from cold well and place in walk-in or suitable overnight
refrigerated cooler.
5. Open the hinged mechanical compartment door.
6. Check that the clean-out port valve is closed.
7. Let the cold well defrost slightly and remove all solids manually from the tank.
DO NOT USE METAL TOOLS THAT MAY SCORE THE SURFACES OF THE TANK
TO SCRAP ICE FROM THE WALLS.
8. Use warm soapy water to clean tank.
9. Insert clean-out port extension on the end of the cleanout port valve.
10. Place container under cleanout part valve extension.
11. Open valve and flush water and waste through the clean-out port. Repeat
process until clean.
12. Close valve.
This manual suits for next models
1
Table of contents
Other Randell Commercial Food Equipment manuals
Popular Commercial Food Equipment manuals by other brands

Diamond
Diamond AL1TB/H2-R2 Installation, Operating and Maintenance Instruction

Salva
Salva IVERPAN FC-18 User instructions

Allure
Allure Melanger JR6t Operator's manual

saro
saro FKT 935 operating instructions

Hussmann
Hussmann Rear Roll-in Dairy Installation & operation manual

Cornelius
Cornelius IDC PRO 255 Service manual

Moduline
Moduline HSH E Series Service manual

MINERVA OMEGA
MINERVA OMEGA DERBY 270 operating instructions

Diamond
Diamond OPTIMA 700 Installation, use and maintenance instructions

Diamond
Diamond G9/PLCA4 operating instructions

Cuppone
Cuppone BERNINI BRN 280 Installation

Arneg
Arneg Atlanta Direction for Installation and Use