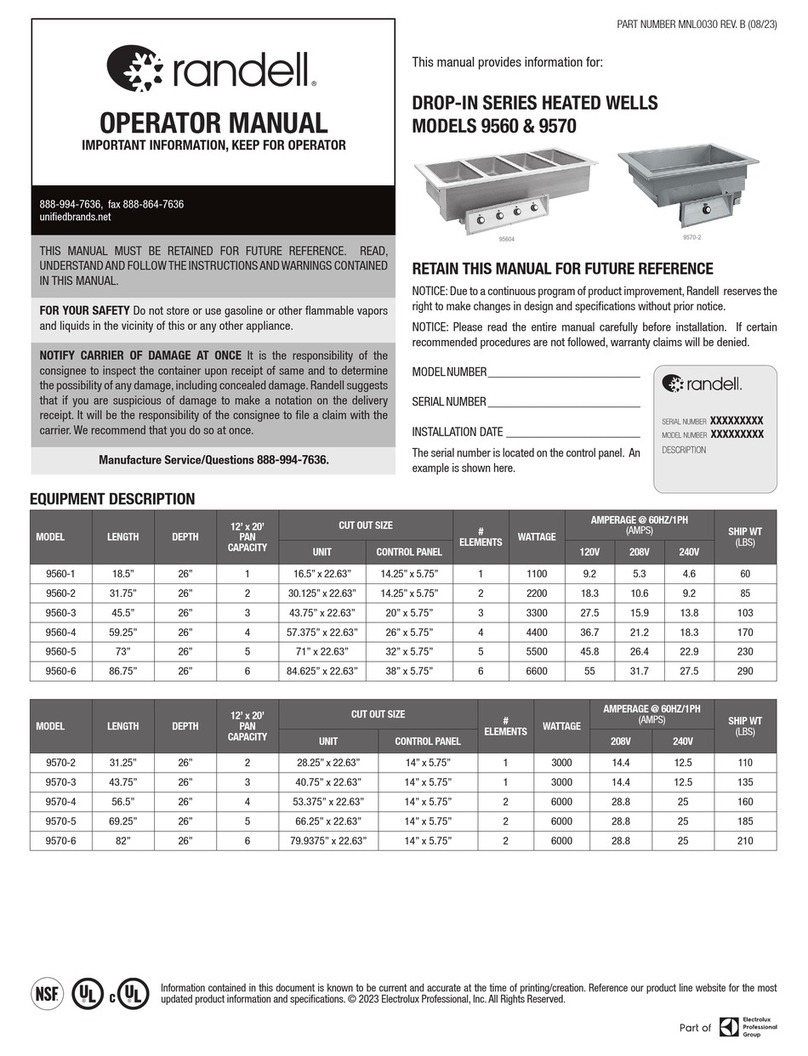
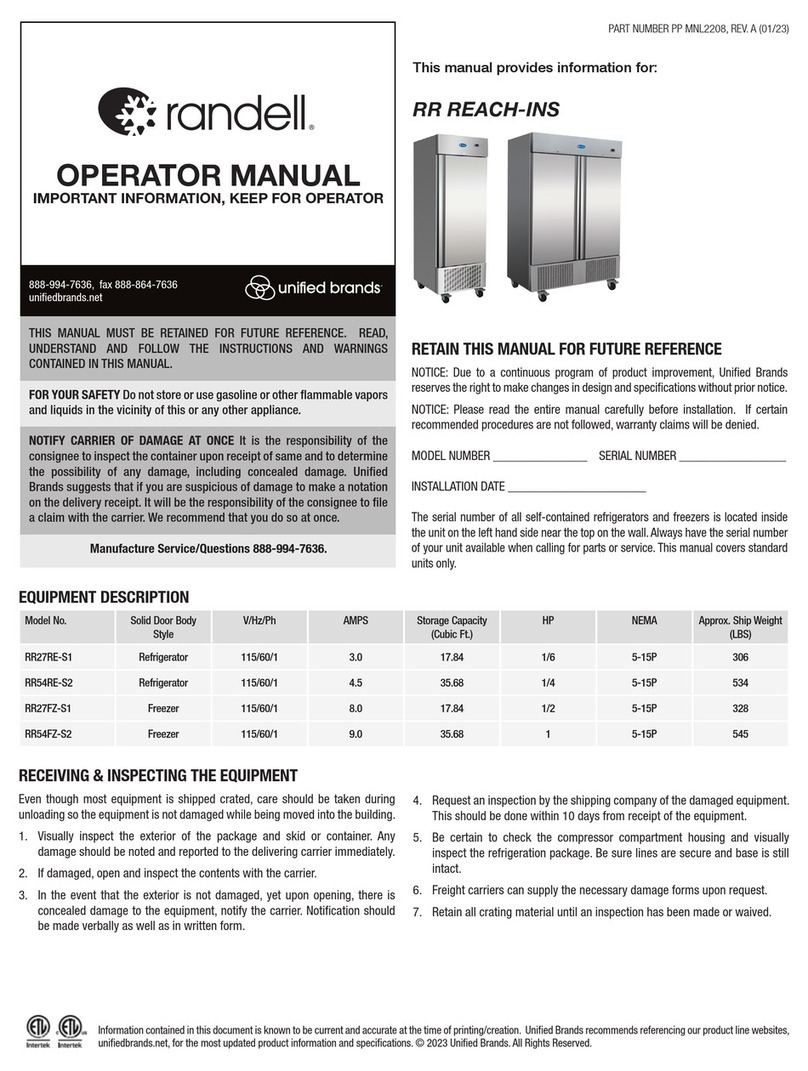
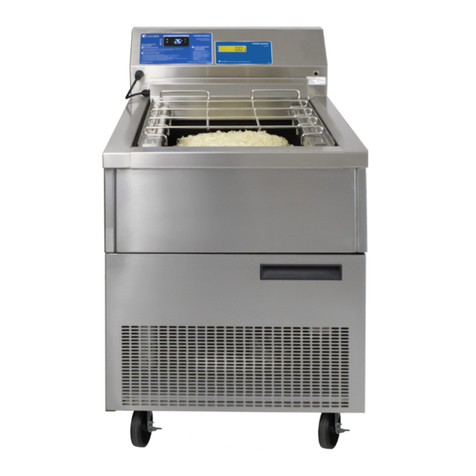
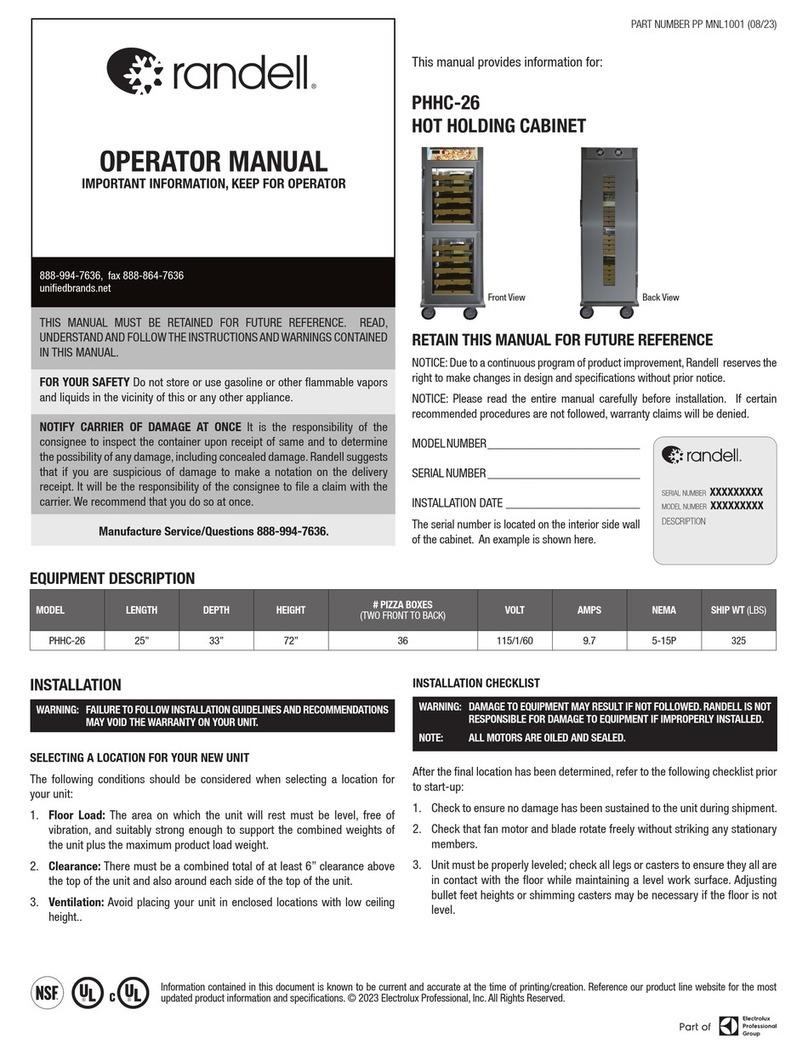
Randell 3000 Series User manual

OPERATOR MANUAL
IMPORTANT INFORMATION, KEEP FOR OPERATOR
PART NUMBER PP MNL0027, Rev D (08/23)
This manual provides information for:
3000 SERIES ELECTRIC HOT FOOD HOLDING
UNIT MODELS 3300/3500/3600
RETAIN THIS MANUAL FOR FUTURE REFERENCE
NOTICE: Due to a continuous program of product improvement, Randell reserves the
right to make changes in design and specifications without prior notice.
NOTICE: Please read the entire manual carefully before installation. If certain
recommended procedures are not followed, warranty claims will be denied.
MODELNUMBER_________________________
SERIAL NUMBER _________________________
INSTALLATION DATE ______________________
The serial number is located on the control panel. An
example is shown here.
EQUIPMENT DESCRIPTION
3300 SERIES - COMMON WATERBATH
MODEL LENGTH DEPTH HEIGHT #
WELLS
#
ELEMENTS
SS BOTTOM
SHELF SQ. FT.
208V 240V
SHIP WT
(LBS)
KW AMPS NEMA KW AMPS NEMA
3312 33” 30” 36” 2 1 5.5 3
14.4
6-20P 3 12.5 6-20P 116
3313 48” 30” 36” 3 1 8.1 3 14.4 6-20P 3 12.5 6-20P 174
3314 63” 30” 36” 4 2 10.7 6 28.8 6-50P 6 25 6-50P 232
3315 78” 30” 36” 5 2 13.3 6 28.8 6-50P 6 25 6-50P 290
NOTE: All 3300 series units require 1” to 2” of water be added PRIOR to heating of the elements. Hot water is recommended.
3500 SERIES – OPEN WELL (spillage pans required for wet operation)
MODEL LENGTH DEPTH HEIGHT #
WELLS
#
ELEMENTS
SS BOTTOM
SHELF
SQ. FT.
120V – 750 WATT 208V – 865 WATT 240V – 1150 WATT
SHIP WT
(LBS)
KW AMPS NEMA KW AMPS NEMA KW AMPS AMPS
3512 33” 30” 36” 2 2 5.5 1.5
12.5
5-20P 1.73 8.32 6-15P 2.3 9.58 6-15P 116
3513 48” 30” 36” 3 3 8.1 2.25 18.75 5-30P 2.6 12.48 6-20P 3.45 14.37 6-20P 174
3514 63” 30” 36” 4 4 10.7 3 25 5-50P 3.46 16.64 6-30P 4.6 19.16 6-30P 232
3515 78” 30” 36” 5 5 13.3 3.75 31.25 5-50P 4.33 20.8 6-30P 5.75 23.95 6-30P 290
Information contained in this document is known to be current and accurate at the time of printing/creation. Reference our product line website for the most
updated product information and specifications. © 2023 Electrolux Professional, Inc. All Rights Reserved.
888-994-7636, fax 888-864-7636
unifiedbrands.net
THIS MANUAL MUST BE RETAINED FOR FUTURE REFERENCE. READ,
UNDERSTAND AND FOLLOW THE INSTRUCTIONS AND WARNINGS CONTAINED
IN THIS MANUAL.
FOR YOUR SAFETY Do not store or use gasoline or other flammable vapors
and liquids in the vicinity of this or any other appliance.
NOTIFY CARRIER OF DAMAGE AT ONCE It is the responsibility of the
consignee to inspect the container upon receipt of same and to determine
the possibility of any damage, including concealed damage. Randell suggests
that if you are suspicious of damage to make a notation on the delivery
receipt. It will be the responsibility of the consignee to file a claim with the
carrier. We recommend that you do so at once.
Manufacture Service/Questions 888-994-7636.
3313 shown 3613 shown

2 OM-3000 SERIES ELECTRIC HOT FOOD HOLDING UNIT
INSTALLATION
WARNING: FAILURE TO FOLLOW INSTALLATION GUIDELINES AND RECOMMENDATIONS
MAY VOID THE WARRANTY ON YOUR UNIT.
SELECTING A LOCATION FOR YOUR NEW UNIT
The following conditions should be considered when selecting a location for
your unit:
1. Floor Load: The area on which the unit will rest must be level, free of
vibration, and suitably strong enough to support the combined weights of
the unit plus the maximum product load weight.
2. Clearance: There must be a combined total of at least 3” clearance on all
sides of the unit.
3. Ventilation: The unit must not be inserted into a cabinet.
INSTALLATION CHECKLIST
WARNING: DAMAGE TO EQUIPMENT MAY RESULT IF NOT FOLLOWED. RANDELL IS NOT
RESPONSIBLE FOR DAMAGE TO EQUIPMENT IF IMPROPERLY INSTALLED.
NOTE: ALL MOTORS ARE OILED AND SEALED.
After the final location has been determined, refer to the following checklist prior
to start-up:
1. Check all exposed power cords and plugs to ensure that they are not kinked,
damaged, or show exposed wires.
2. Check that the thermostat knobs turn on/off and stop at the designated
position.
3. Unit must be properly leveled; check all legs or casters to ensure they
all are in contact with the floor while maintaining a level work surface.
Adjusting bullet feet heights or shimming casters may be necessary if the
floor is not level.
4. Add 1” of water (less than one gallon) to holding pans on individual well
models (including 3600 Series).Add 1” to 2” of water to all other models that
require water. Check for any sign of water leaking. (See Unit Operation.)
5. Plug in unit and turn on thermostats. (Indicator lights for each well will
illuminate indicating the thermostat is calling for heat).
6. Allow unit time to heat water to temperature. (See Unit Operation.)
7. Refer to the front of this manual for serial number location. Please record
this information in your manual on page 3 now. It will be necessary when
ordering replacement parts or requesting warranty service.
8. Confirm that the unit is holding temperature. Set controls to desired
temperature for your particular ambient and altitude.
9. Allow your unit to operate for approximately 1 hour before putting in food to
allow of unit to heat to storage temperature.
ELECTRICAL SUPPLY
The wiring should be done by a qualified electrician in accordance with local
electrical codes. A properly wired and grounded outlet will assure proper
operation. Please consult the data tag attached to the control panel to ascertain
the correct electrical requirements.
OPERATION
WARNING: DO NOT ADD WATER TO 3500 OPEN WELL UNITS UNLESS SPILLAGE PANS
ARE UTILIZED.
WARNING: DO NOT ADD WATER TO AN EMPTY WELL THAT IS AT HOLDING
TEMPERATURE.
3300 SERIES: WET OPERATION ONLY
3500 SERIES: WET OR DRY OPERATION. SPILLAGE PANS REQUIRED IF WET
OPERATION IS DESIRED. SPILLAGE PANS NOT PROVIDED WITH STANDARD
UNITS.
3600 SERIES: WET OPERATION ONLY.
WARNING: EACH WELL WITH A DRAIN IS SUPPLIED WITH A SCREEN TO PREVENT
LARGE OBJECTS FROM ENTERING THE DRAIN. DO NOT FORCE LARGE
OBJECTS THROUGH THE DRAIN.
WARNING: ELECTRIC ELEMENTS ARE NOT SUBMERSIBLE.
CAUTION: MOISTURE COLLECTING FROM IMPROPER DRAINAGE CAN CREATE A
SLIPPERY SURFACE ON THE FLOOR AND A HAZARD TO EMPLOYEES.
All 3300/3500/3600 units are designed for 145°F to 175°F operation or 140°F to
170°F product temperature. When using the unit dry expect at least a 15°F drop
in product temperatures compared to using the unit wet.
1. Add 1” of water (less than one gallon) to holding pans on individual sealed
well models (including 3600 Series).Add 1” to 2” of water to all other models
that require water. Hot water is recommended.
2. Turn thermostat to #4
3. Red indicator light will energize to show corresponding well that is heating.
4. Wait 1 hour before adjusting thermostat. Higher number will increase
temperature. Lower number will decrease temperature.
5. Turn thermostat to off position when operation is completed.
Some models of electric hot food holding units may be operated wet or dry. Wet
operation is recommended for higher efficiency. Hot water is recommended for
the unit achieving operating temperature sooner. Refilling of wet operation units
is required periodically if the water level is lower than 1”.
PLUMBING
The units drain must have an outlet to an appropriate drainage area or container.
The drain valve can be found under the wells of the unit nearest the left or right
side wall of the lower shelf.
1. Place container directly under drain valve.
2. Open valve slowly to prevent splatter of hot water.
3. Close valve completely before remove container for drainage.
3600 SERIES – SEALED WELL
MODEL LENGTH DEPTH HEIGHT #
WELLS
#
ELEMENTS
SS BOTTOM
SHELF
SQ. FT.
120V – 750 WATT 208V – 865 WATT 240V – 1150 WATT
SHIP WT
(LBS)
KW AMPS NEMA KW AMPS NEMA KW AMPS AMPS
3612 33” 30” 36” 2 2 5.5 1.5
12.5
5-20P 1.73 8.32 6-15P 2.3 9.58 6-15P 116
3613 48” 30” 36” 3 3 8.1 2.25 18.75 5-30P 2.6 12.48 6-20P 3.45 14.37 6-20P 174
3614 63” 30” 36” 4 4 10.7 3 25 5-50P 3.46 16.64 6-30P 4.6 19.16 6-30P 232
3615 78” 30” 36” 5 5 13.3 3.75 31.25 5-50P 4.33 20.8 6-30P 5.75 23.95 6-30P 290

3 OM-3000 SERIES ELECTRIC HOT FOOD HOLDING UNIT
PREVENTIVE MAINTENANCE
WARNING: DO NOT USE STEEL PADS, WIRE BRUSHES, SCRAPERS, OR CHLORIDE
CLEANERS TO CLEAN YOUR STAINLESS STEEL. CAUTION: DO NOT USE
ABRASIVE CLEANING SOLVENTS, AND NEVER USE HYDROCHLORIC ACID
(MURIATIC ACID) ON STAINLESS STEEL.
WARNING: DO NOT PRESSURE WASH EQUIPMENT AS DAMAGE TO ELECTRICAL
COMPONENTS MAY RESULT.
Randell strongly suggests a preventive maintenance program which would
include the following Monthly procedures:
1. Clean your hot food unit with a solution of warm water and a mild detergent.
The stainless steel portion of your unit can be polished with any quality
polish.
2. Drain water from wells daily and wipe them out. Clean wells thoroughly
twice a week to help insure a longer life for your wells.
3. Clean and disinfect drains with a solution of warm water and mild soap.
Recommended cleaners for your stainless steel include the following:
JOB CLEANING AGENT COMMENTS
Routine cleaning Soap, ammonia,
detergent Medallion
Apply with a sponge or
cloth
Fingerprints and smears Arcal 20, Lac-O-Nu,
Ecoshine Provides a barrier film
Stubborn stains and
discoloration
Cameo, Talc, Zud,
First Impression
Rub in the direction of
the polish lines
Greasy and fatty acids, blood,
burnt-on foods
Easy-Off, Degrease It,
Oven Aid
Excellent removal on all
finishes
Grease and Oil Any good commercial
detergent
Apply with a sponge or
cloth
Restoration/Preservation Benefit, Super Sheen Good idea monthly
Reference: Nickel Development Institute, Diversey Lever, Savin, Ecolab, NAFEM
Proper maintenance of equipment is the ultimate necessity in preventing costly
repairs. By evaluating each unit on a regular schedule, you can often catch and
repair minor problems before they completely disable the unit and become
burdensome on your entire operation.
For more information on preventive maintenance, consult your local service
company, ASA, or CFESA member. Most repair companies offer this service at
very reasonable rates to allow you the time you need to run your business along
with the peace of mind that all your equipment will last throughout its expected
life. These services often offer guarantees as well as the flexibility in scheduling
or maintenance for your convenience.
Randell believes strongly in the products it manufactures and backs those
products with one of the best warranties in the industry. We believe with
the proper maintenance and use, you will realize a profitable return on your
investment and years of satisfied service.
REPLACEMENT PARTS
To order parts, contact your Authorized Service Agent. Supply the model
designation, serial number, part description, part number, quantity, and when
applicable, voltage and phase.
CONTACT US
If you have questions pertaining to the content in this manual, contact Randell
at 888-994-7636.
TROUBLESHOOTING
This unit is designed to operate smoothly and efficiently if properly maintained.
However, the following is a list of checks to make in the event of a problem. Wir-
ing diagrams are found at the end of this manual. When in doubt, turn unit off
and contact service at 888-994-7636.
SYMPTOM POSSIBLE CAUSE PROCEDURE
Unit doesn’t heat
No power to unit Plug in unit
Temperature control turned
off Check temperature control
Temperature control faulty Test temperature control
Element does not heat Test element for continuity
Unit too hot Thermostat not shutting off Test thermostat
Unit runs constantly
Too much water in well 1” - 2” of water per well
Thermostat sensing bulb Check location of sensing bulb
Unit leaking water
Drain Check drains for leaks
Pan cracked Call ASA for repair

4 OM-3000 SERIES ELECTRIC HOT FOOD HOLDING UNIT
Electrical Diagram

5 OM-3000 SERIES ELECTRIC HOT FOOD HOLDING UNIT
Electrical Diagram

6 OM-3000 SERIES ELECTRIC HOT FOOD HOLDING UNIT
Electrical Diagram

7 OM-3000 SERIES ELECTRIC HOT FOOD HOLDING UNIT
Electrical Diagram

8 OM-3000 SERIES ELECTRIC HOT FOOD HOLDING UNIT
Electrical Diagram

9 OM-3000 SERIES ELECTRIC HOT FOOD HOLDING UNIT
Parts Exploded View
3300 Series Electric HFT

10 OM-3000 SERIES ELECTRIC HOT FOOD HOLDING UNIT
Parts Exploded View
3500 Series Electric HFT

11 OM-3000 SERIES ELECTRIC HOT FOOD HOLDING UNIT
Parts Exploded View
3600 Series Electric HFT

12 OM-3000 SERIES ELECTRIC HOT FOOD HOLDING UNIT
Parts List
ITEM PART NUMBER DESCRIPTION
3
3
1
2
3
3
1
3
3
3
1
4
3
3
1
5
3
5
1
2
3
5
1
3
3
5
1
4
3
5
1
5
3
6
1
2
3
6
1
3
3
6
1
4
3
6
1
5
1A RP TOP3312 TOP, 2 WELL (30” X 33”) X X X
1B RP TOP3313 TOP, 3 WELL (30” X 48”) X X X
1C RP TOP3314 TOP, 4 WELL (30” X 63”) X X X
1D RP TOP3315 TOP, 5 WELL (30” X 78”) X X X
2A RP CPH0833 CUTTING BOARD, 7/16” POLY, 8” X 33” X X X
2B RP CPH0848 CUTTING BOARD, 7/16” POLY, 8” X 48” X X X
2C RP CPH0863 CUTTING BOARD, 7/16” POLY, 8” X 63” X X X
2D RP CPH0878 CUTTING BOARD, 7/16” POLY, 8” X 78” X X X
3 RP CLP001 CLIP, 1/2” CUTTING BOARD X X X X X X X X X X X X
4A RP PNL0106 PANEL, REAR 2 WELL (11.5” X 30.5”) X X X
4B RP PNL0107 PANEL, REAR 3 WELL (11.5” X 45.5”) X X X
4C RP PNL0108 PANEL, REAR 4 WELL (11.5” X 60.5”) X X X
4D RP PNL0109 PANEL, REAR 5 WELL (11.5” X 76.5”) X X X
5 RP SID0103 SIDE, RIGHT X X X X X X X X X X X X
6 RP SID0104 SIDE, LEFT X X X X X X X X X X X X
7 HD LEG9902 6” LEG X X X X X X X X X X X X
9 EL HFT0201 ELECTRIC HOT FOOD CONTROL X X X X X X X X X X X X
10 HD KNB0003 KNOB, CONTROL X X X X X X X X X X X X
11 EL LGT500 LIGHT, INDICATOR X X X X X X X X X X X X
12A RP SHL0103 SHELF, BOTTOM 2 WELL (29” X 32.5”) X X X
12B RP SHL0104 SHELF, BOTTOM 2 WELL (29” X 47.5”) X X X
12C RP SHL0105 SHELF, BOTTOM 2 WELL (29” X 62.5”) X X X
12D RP SHL0106 SHELF, BOTTOM 2 WELL (29” X 62.5”) X X X
13 RP CHN0101 CHANNEL, LEG X X X X X X X X X X X X
14-1A EL WIR800 120V PWR CORD W/ PLUG, 12/3, 5-20P X X
14-1B EL WIR0353 240V PWR CORD W/ PLUG, 14/3, 6-15P X X
14-C EL WIR380 PWR CORD, 14/3, NO PLUG, 10’ REQ’D X X X
14-C1 EL PLG620 20A ANGLE PLUG, 6-20P X X X
14-D EL WIR360 PWR CORD, 10/3, NO PLUG, 10’ REQ’D X X X X X
14-D1 EL PLG0931 30A/50A ANGLE PLUG, 6-30P/6-50P X X X X X
14-E EL WIR370 PWR CORD, 12/3, NO PLUG, 10’ REQ’D X X
14-E1 EL PLG0931 30A/50A ANGLE PLUG, 6-30P/6-50P X X
14-F EL WIR360 PWR CORD, 10/3, NO PLUG, 10’ REQ’D X X
14-F1 EL PLG3125 30A/50A ANGLE PLUG, 5-30P/5-50P X X
14-G EL WIR350 PWR CORD, 8/3, NO PLUG, 10’ REQ’D X X X X X
14-G1 EL PLG3125 30A/50A ANGLE PLUG, 5-30P/5-50P X X X X X
14-H EL WIR350 PWR CORD, 8/3, NO PLUG, 10’ REQ’D X X
14-H1 EL PLG0931 30A/50A ANGLE PLUG, 6-30P/6-50P X X
15 EL BOX042 BOX, JUNCTION X X X X X X X X X X X X
16 EL CVR8465 COVER, JUNCTION BOX X X X X X X X X X X X X
17 RP DSN001 STRAINER, DRAIN X X X X X X X X
18 RP PAN0005 TANK (3600 SERIES) X X X X
19 RP TNK0103 TANK (3500 SERIES) X X X X

13 OM-3000 SERIES ELECTRIC HOT FOOD HOLDING UNIT
Parts List
ITEM PART NUMBER DESCRIPTION
3
3
1
2
3
3
1
3
3
3
1
4
3
3
1
5
3
5
1
2
3
5
1
3
3
5
1
4
3
5
1
5
3
6
1
2
3
6
1
3
3
6
1
4
3
6
1
5
20A RP TNK312 TANK 2 WELL (3312) 27” LONG X
20B RP TNK313 TANK 3 WELL (3313) 42” LONG X
20C RP TNK314 TANK 4 WELL (3314) 57” LONG X
20D RP TNK315 TANK 5 WELL (3315) 72” LONG X
21A RP ELM3245 ELEMENT, 208V - 3300 SERIES X X X X
21B RP ELM3247 ELEMENT, 240V - 3300 SERIES X X X X
21C EL ELM1150 ELEMENT, 208V/240V-3500&3600 X X X X X X X X
21D EL ELM750 ELEMENT, 120V/3500 & 3600/750 watt X X X X X X X X
21E EL ELM1172 ELEMENT, 208V/3500H & 3600H/1100 watt X X X X X` X X X
22 RP PAN0105 PAN, ASSY W/OUT ELEMENT 3300 XXXX
23 RP PAN0104 PAN, ASSY W/OUT ELEMENT 3600 XXXXXXXX
26A PB VLV1000 VALVE, 1” THD GATE (3300) X X X X
26B PB VLV752 VALVE, 1/3” THR GATE (3600) X X X X X X X
27 PB ELB504 ELBOW, 90 DEGREE (1/2”) SWEAT (3600) X X X X X X X
28 PB TEE502 TEE, 1/2” COPPER (3600) X X X X X X X
29 PB ELB758 ELBOW, (3/4” X 1/2”) CAST (3600) X X X X X X X
30 PB ADP120 ADAPTER 1/2” FPT TO 1/2” SWEAT (3600) X X X X X X X
31A RP SHL3512 PLATE SHELF, 2 WELL (3000 SERIES) X X X
31B RP SHL3513 PLATE SHELF, 3 WELL (3000 SERIES) X X X
31C RP SHL3514 PLATE SHELF, 4 WELL (3000 SERIES) X X X
31D RP SHL3515 PLATE SHELF, 5 WELL (3000 SERIES) X X X
32A RP CNT3312A CONTROL PANEL – 3312 B4 5.2014 X
RP CNT3312B CONTROL PANEL – 3312 AFTER 5.2014 X
32B RP CNT3313A CONTROL PANEL – 3313 B4 5.2014 X
RP CNT3313B CONTROL PANEL – 3313 AFTER 5.2014 X
32C RP CNT3314A CONTROL PANEL – 3314 B4 5.2014 X
RP CNT3314B CONTROL PANEL – 3314 AFTER 5.2014 X
32D RP CNT3315A CONTROL PANEL – 3315 B4 5.2014 X
RP CNT3315B CONTROL PANEL – 3315 AFTER 5.2014 X
33A RP CNT3512A CONTROL PANEL – 3512, 3612 B4 5.2014 X X
RP CNT3512B CONTROL PANEL – 3512, 3612 AFTER 5.2014 X X
33B RP CNT3513A CONTROL PANEL – 3513, 3613 B4 5.2014 X X
RP CNT3513B CONTROL PANEL – 3513, 3613 AFTER 5.2014 X X
33C RP CNT3514A CONTROL PANEL – 3514, 3614 B4 5.2014 X X
RP CNT3514B CONTROL PANEL – 3514, 3614 AFTER 5.2014 X X
33D RP CNT3515A CONTROL PANEL – 3515, 3615 B4 5.2014 X X
RP CNT3515B CONTROL PANEL – 3515, 3615 AFTER 5.2014 X X
NS HD CST060 6” LOCKING CASTERS X X X X X X X X X X X X
NS HD CST061 6” NON LOCK CASTER X X X X X X X X X X X X
NS HD CST040HD 4” LOCKING CASTERS X X X X X X X X X X X X
NS HD CST041HD 4” NON LOCK CASTERS X X X X X X X X X X X X
NS HD FLR150 FILL FAUCET X X X X X X X X X X X X
NS EL SWT610BE SWITCH, RED ILLUMINATED ROCKER AFTER 5.2014 X X X X X X X X X X X X
NS = Not Shown

14 OM-3000 SERIES ELECTRIC HOT FOOD HOLDING UNIT
NEMA Plug Configuration
3000 Series Electric HFT

15 OM-3000 SERIES ELECTRIC HOT FOOD HOLDING UNIT
Service Log
Model No: Purchased From:
Serial No: Location:
Date Purchased: Date Installed:
Purchase Order No: For Service Call:
Date Maintenance Performed Performed By
This manual suits for next models
15
Table of contents
Other Randell Commercial Food Equipment manuals
Popular Commercial Food Equipment manuals by other brands

Cuppone
Cuppone LLKBR280 Use and maintenance manual

Living & Co
Living & Co IA1526 instruction manual

Skyfood
Skyfood ABI instruction manual

FWE
FWE ETC-1826-HD Series operating instructions

Hamilton Beach Commercial
Hamilton Beach Commercial PrimaVac HVC254-CE Operation manual

Frigomat
Frigomat GX4 Installation, use and maintenance guide