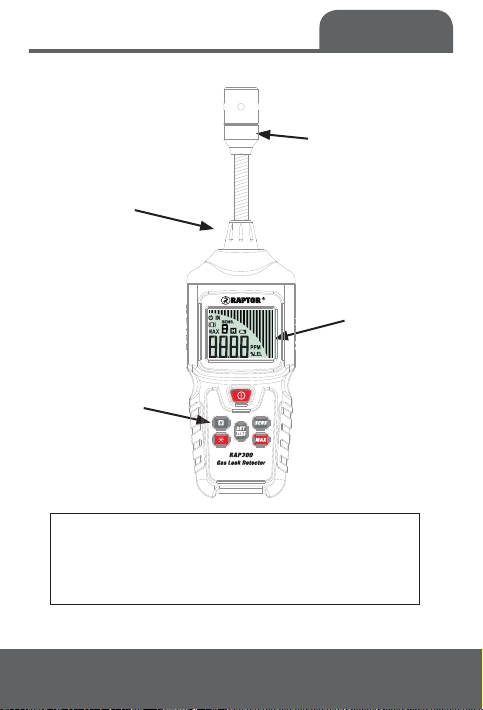
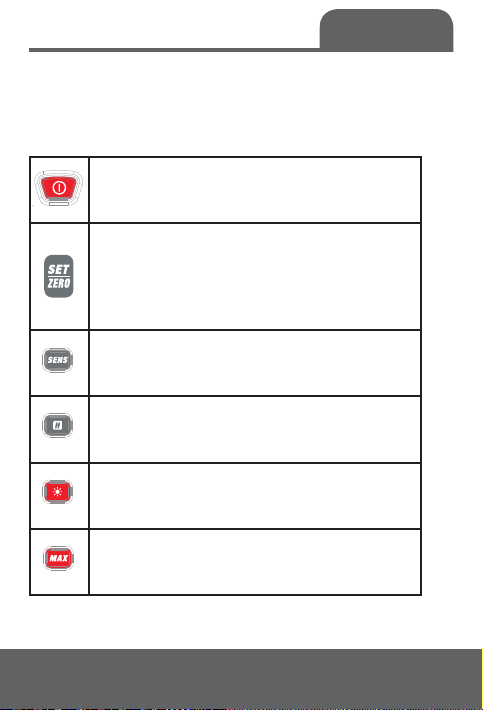
Raptor R00189 User manual
Popular Gas Detector manuals by other brands


RKI Instruments
RKI Instruments 35-3001A-08-01 Operator's manual

isweek
isweek AS8900 manual
Beacon
Beacon MEGA Installation, operation and maintenance instructions

MSA
MSA ULTIMA X5000 operating manual

Critical Environment Technologies
Critical Environment Technologies CGAS-A Series Installation & operation manual

Sensidyne
Sensidyne SensAlert Plus instruction sheet