1
Chapter 1. Getting Started
Welcome
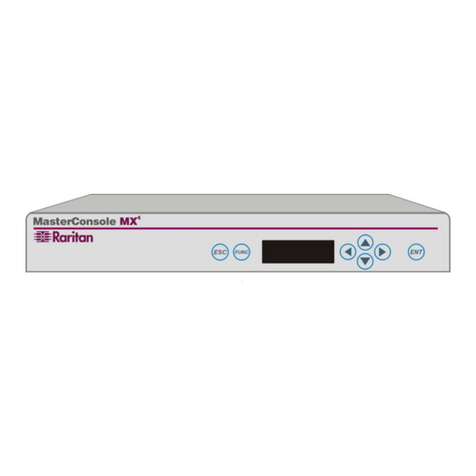
Thank you for purchasing Raritan Computer’s MasterConsole SMX.
Introduction
Raritan's keyboard/video/mouse (KVM) switches are engineered to provide reliable, cost-
effective, central control of multiple computers. This eliminates the cost and clutter of
unnecessary equipment, reclaims space, and improves productivity for a host of
applications.
SMX is a KVM switch for Sun Microsystems’s Servers and workstations. SMX has three
models: SMX18, SMX28, and SMX416. SMX18 allows 1 user to control up to 8
computers. SMX28 allows up to two simultaneous users to select and operate up to 8
computers. SMX416 allows up to four simultaneous users to select and operate up to 16
computers. Exclusively one user can control each computer at a time. Or if desired, the
SMX28 and SMX416 can be optionally configured to allow sharing of videos among users.
Each user is provided with an On-Screen User Interface (OSUI) menu to facilitate
operation. A LCD display on the SMX front panel continuously displays the status of the
system, and front panel control buttons allow the systems administrator to perform
maintenance functions and define system operation parameters. The firmware program
can be upgraded via a built-in communication port from a Windows 95/98 PC.
Features
• Offering models to connect up to 16 computers and 1 to 4 user consoles
• Allowing 2-tier configurations to accommodate up to 256 computers
• Locate computers, cascaded units, or user consoles (keyboard, monitor, and mouse)
up to 90 feet away from the SMX.
• Easy to install tangle proof, double-shielded coaxial cable in lengths of 2, 6.5, 13, 20,
and 30 feet
• Built in dedicated keyboard and mouse emulators for flawless operation
• Includes keep-alive design to ensure non-stop computer operation in case of power
loss to the switch
• Supports high-resolution video to 1600 x 1280
• Contains a powerful on-screen user interface for simple operation and system
management
• Supports multiple keyboard language types
• Assigns meaningful names to connected computers to select from pop-up, on-screen
menus
• Stores up to 60 user names, each with personalized operating profile and optional
password for security

