Telephone : +44 (0) 1245 428500
Email : sales@rayleigh.com
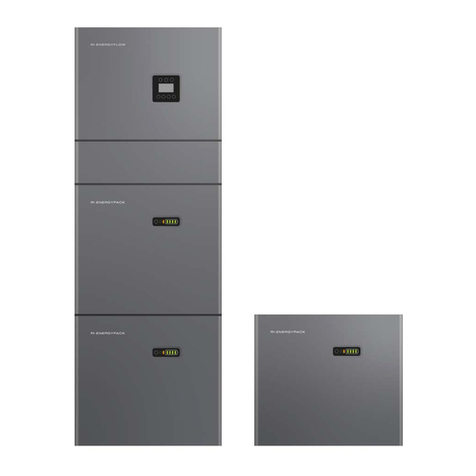
RI-ENERGYFLOW-MODULAR SERIES
www.rayleigh.com 1
Rayleigh Instruments Limited
Quick Start Installation Guide
Getting Started
Step 1: Remove all modules from the cardboard boxes and associated packaging materials. Ensure that the brackets and included
accessories are kept.
Step 2: Inspect all parts for damage. Do not proceed with the installation if damage is observed. If in doubt please call the supplier.
Step 3: Ensure all accessories are present and correct. The included accessories should be as shown below.
any work on the system.
ŸDo not remove or dismantle the device modules. There are
no user serviceable parts within the products. Dismantling or
tampering with the modules will void the warranty.
ŸCheck all wiring connections before energising any part of
the system.
ŸRead the full user manual prior to commencing installation.
ŸIsolate all power supplied to the device prior to undertaking
ŸSuitable RCD protection must be installed according to local
wiring regulations
Installation safety precautions:
ŸThis system must only be installed by qualified personnel
familiar with applicable wiring regulations.
ŸOnly clean the modules with a clean cloth.
Inverter Module Accessories:
4off M5x12mm Screws 2 pairs of MC4 plugs 1off WIFI Module 1off AC Grid Connector
and 2.5mm Allen Key 1off Back-up Connector
2off Mounting Screws
and Nylon Wall Plugs 1off DRM Connector
(6Way) 1off Wall Bracket 1off Current Transformer
1off CT/ Meter Connector
(4Way)
Battery Module Accessories:
4off Mounting Screws
and Nylon Wall Plugs 3off M5x12mm Screws 4off M6 Flat Washers 1off Wall Bracket Wiring Kit **
**An additional wiring kit will be required if the installation contains more than one battery module. Refer to table below.
Wiring Kits for Additional Battery Modules:
Total Number Of Battery Modules Wiring Kit Part Number
2
3
4
RI-MOD-KIT10.2
RI-MOD-KIT15.3
RI-MOD-KIT20.4
E&OE. Please check critical parameters at time of order. ISSUE : 20221107
