STEP 2
•DISPOSE OF PACKAGING PROPERLY. PLASTIC BAG IS NOT A TOY. DO NOT
•IF ANY PARTS ARE MISSING, BROKEN, DAMAGED OR WORN, STOP USE OF THE
PRODUCT UNTIL REPAIRS ARE MADE USING FACTORY AUTHORIZED PARTS
PREVENTIVE MAINTENANCE AND WARNING !
.
USE
PLASTIC BAG AS HEAD COVERING –IT MAY CAUSE SUFFOCATION.
•FAILURE TO FOLLOW THESE WARNINGS COULD RESULT IN SERIOUS INJURY.
ASSEMBLY INSTRUCTIONS.
STEP 4
STEP 3
STEP 2
STEP 1
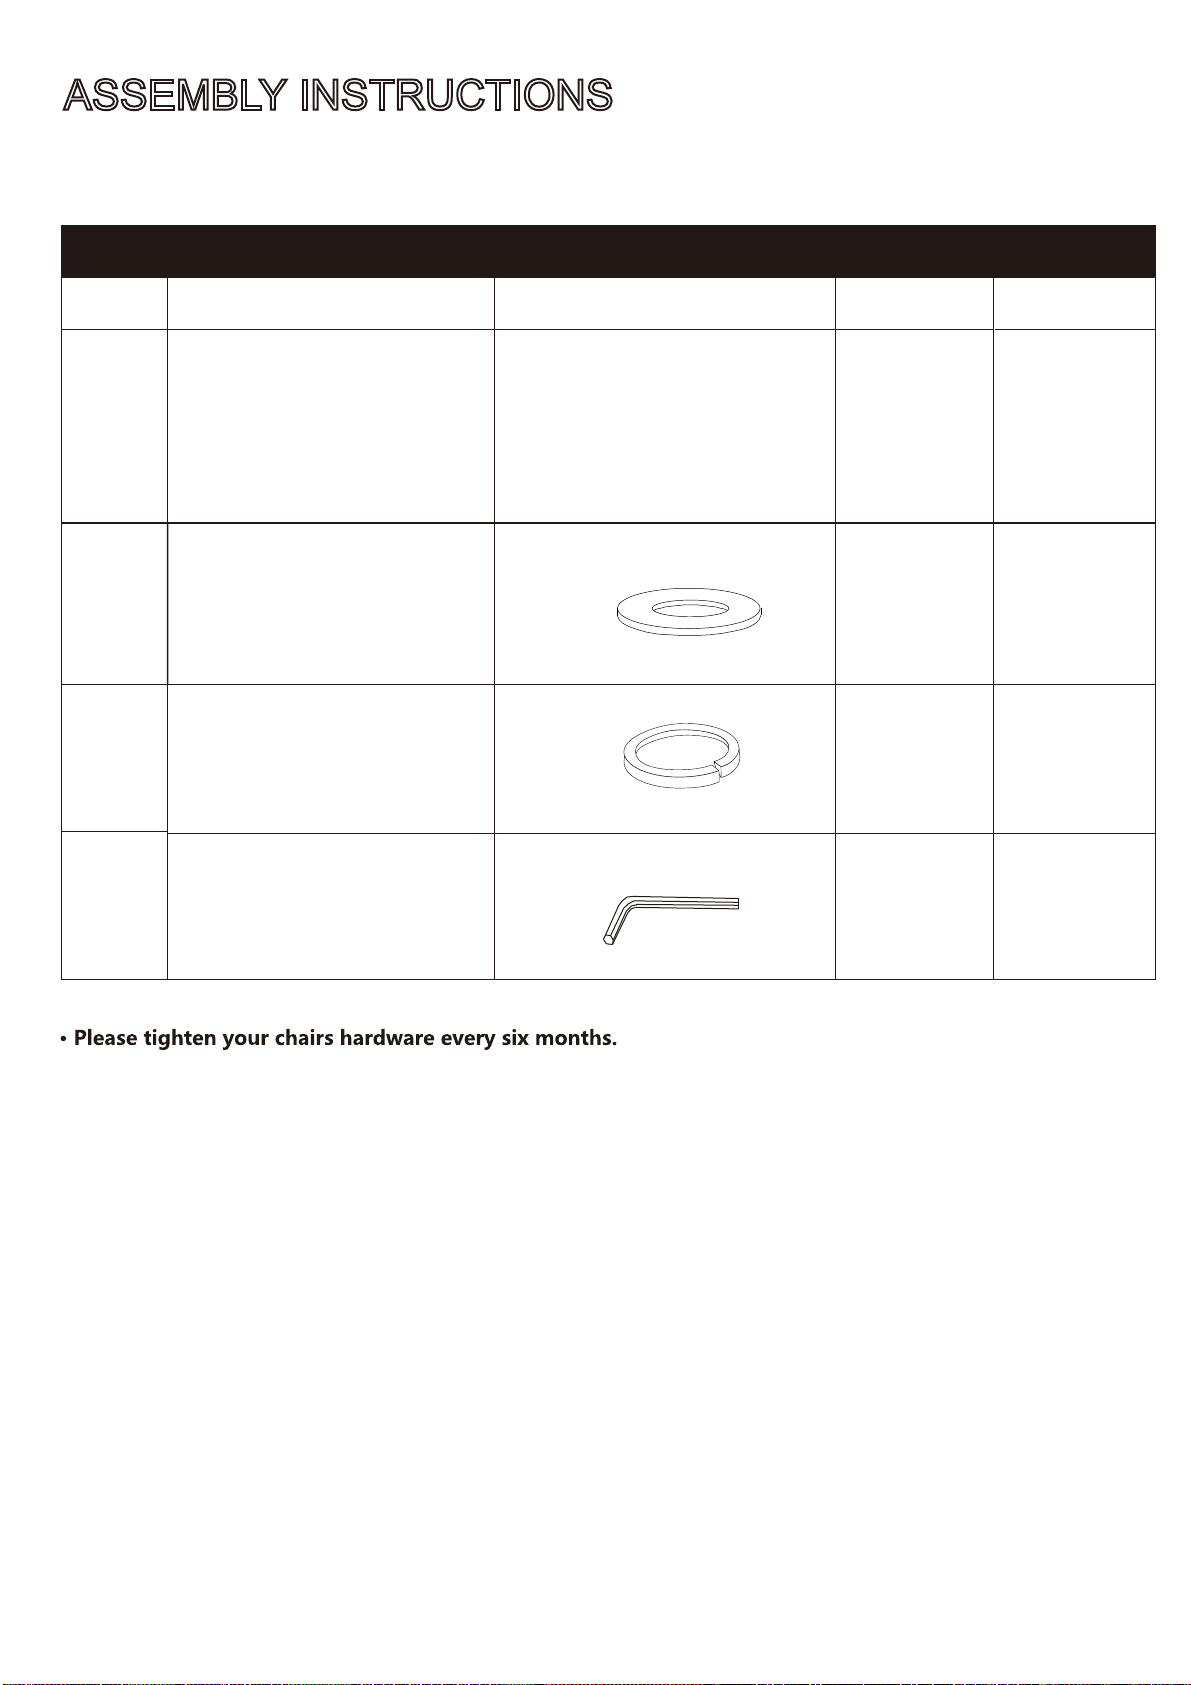
Remove all items from the carton. Verify all components before assembly.
E
D
F
• USE THIS PRODUCT ONLY FOR SEATING ONE PERSON AT A
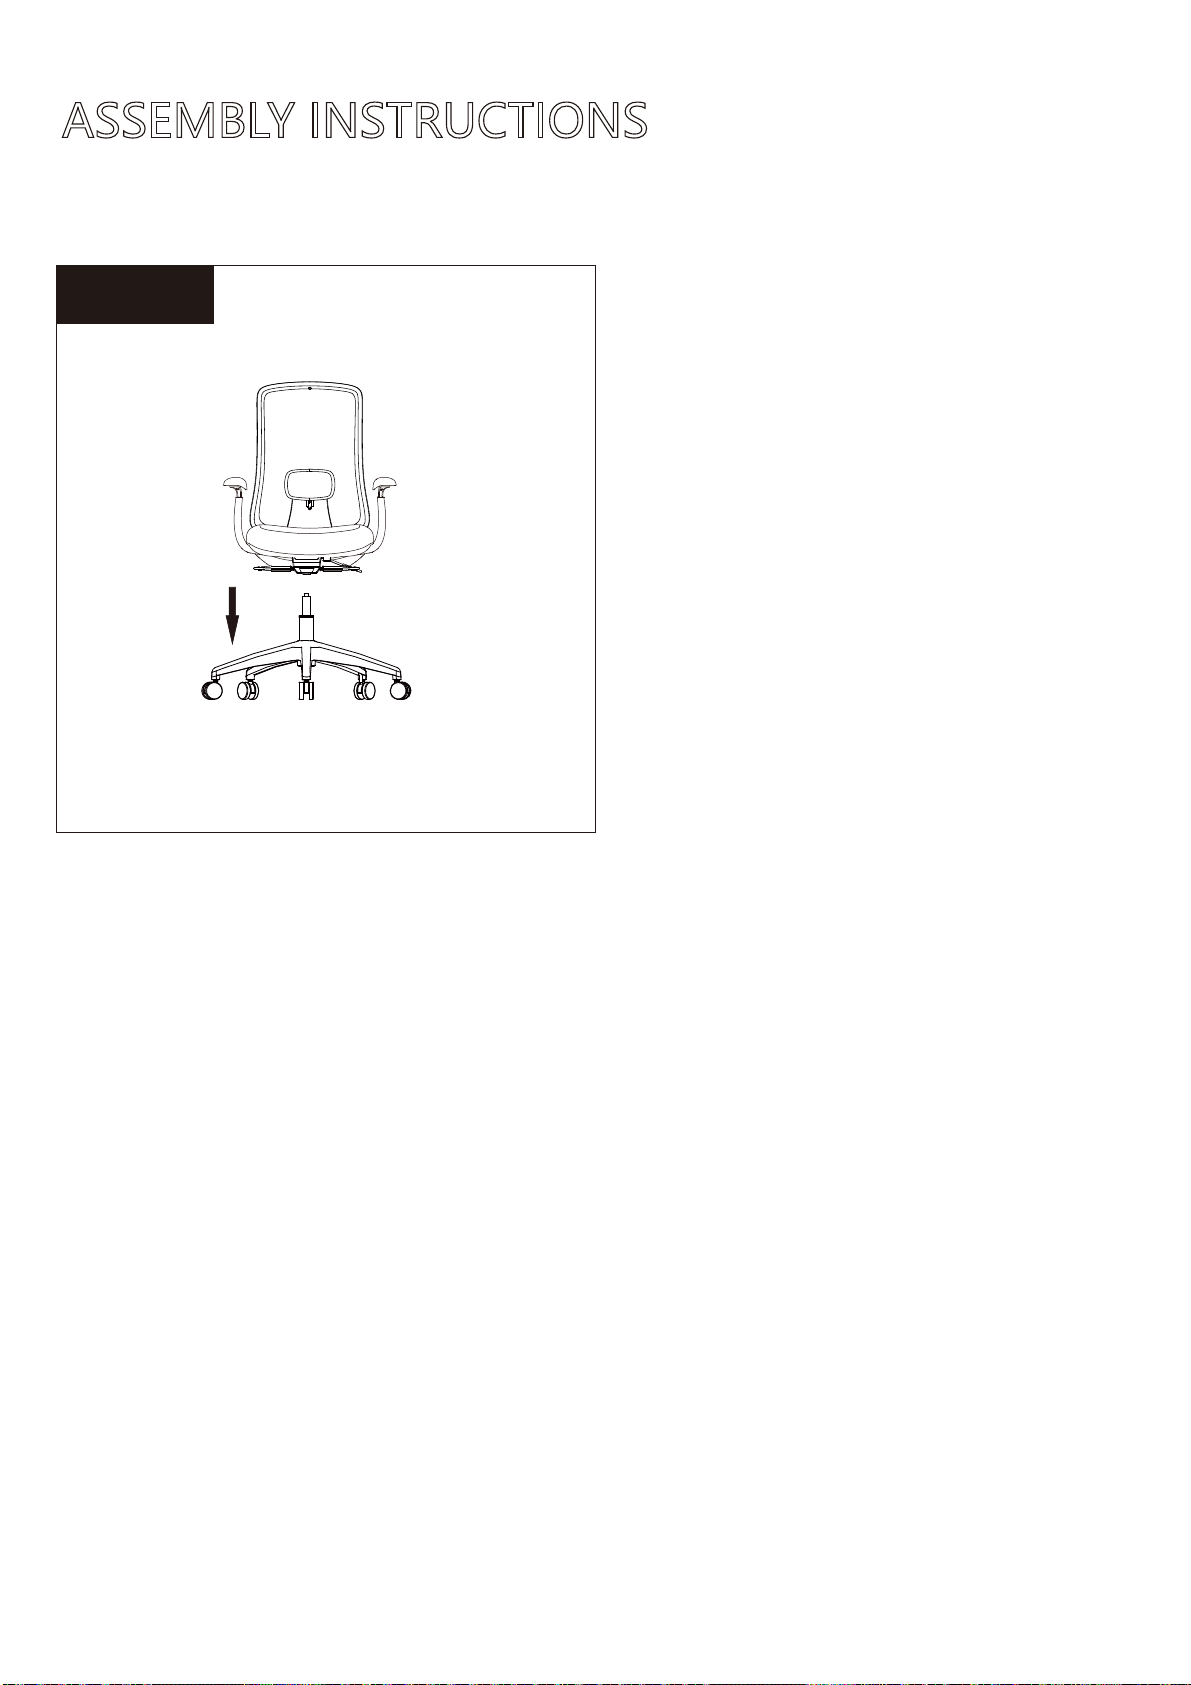
Press the Casters (F) into the holes atthe end of each
leg of the Base (D).
Insert Seat Post (E) into the center hole of the base(D).
TIME.
• DO NOT USE THIS CHAIR AS A STEP STOOL / LADDER.
• DO NOT SIT ON ANY PART OF THE CHAIR EXCEPT THE SEAT.
• DO NOT USE CHAIR ON UNEVEN FLOOR SURFACES.
• DO NOT USE CHAIR UNLESS ALL BOLTS, SCREWS AND KNOBS ARE TIGHTENED.
•EVERY SIX MONTHS, PLEASE MAKE SURE ALL BOLTS , SCRE WS AND KNOBS ARE •NOTE: SOME SCREWS MAY BE PREASSEMBLED. IF PREASSEMBLED, IGNORE
FULLY TIGHTENED TO ENSURE STABILITY.
M
H
K
BC
G
M
J
K
B
M
IL
K
B
A
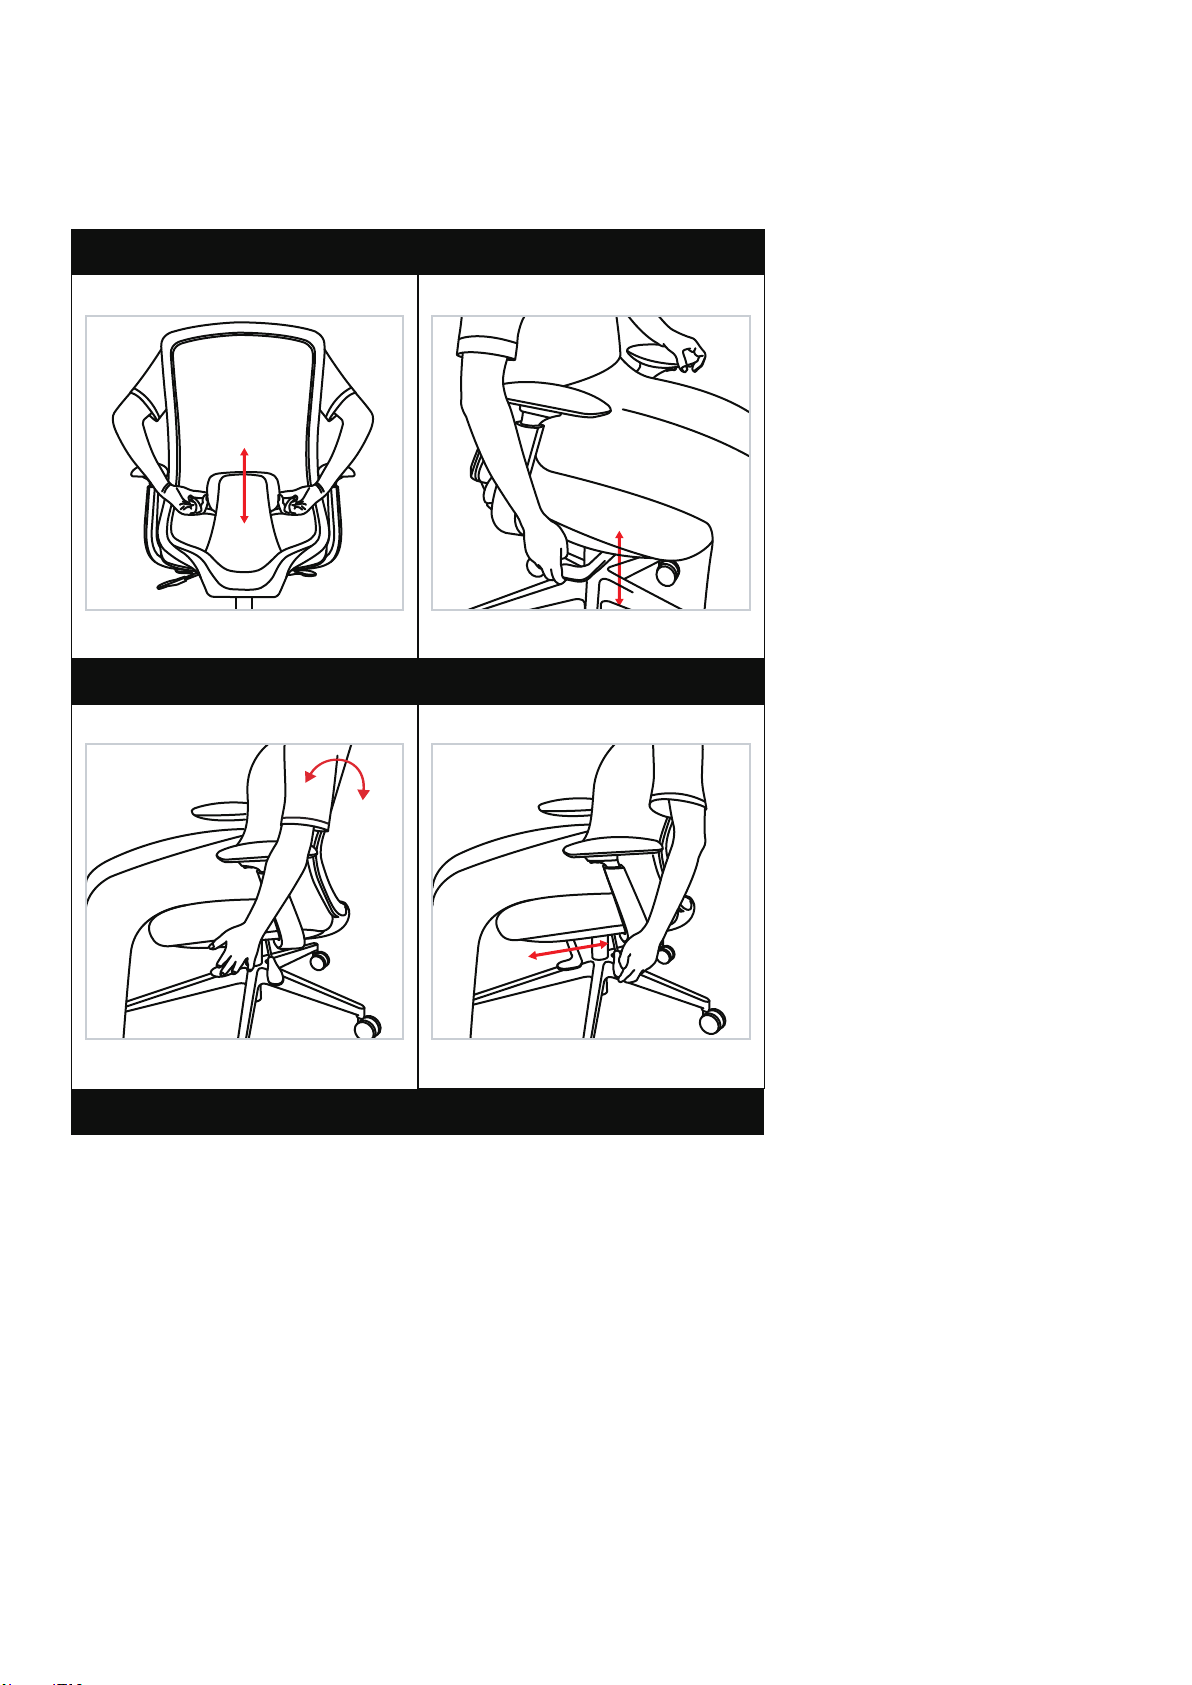
Use the correct Mechanism Bolts (J), Assemble the
Mechanism (G) to the Seat Cushion (B), using 4
Mechanism Bolts (J) with 4 Washers for Bolts (K).
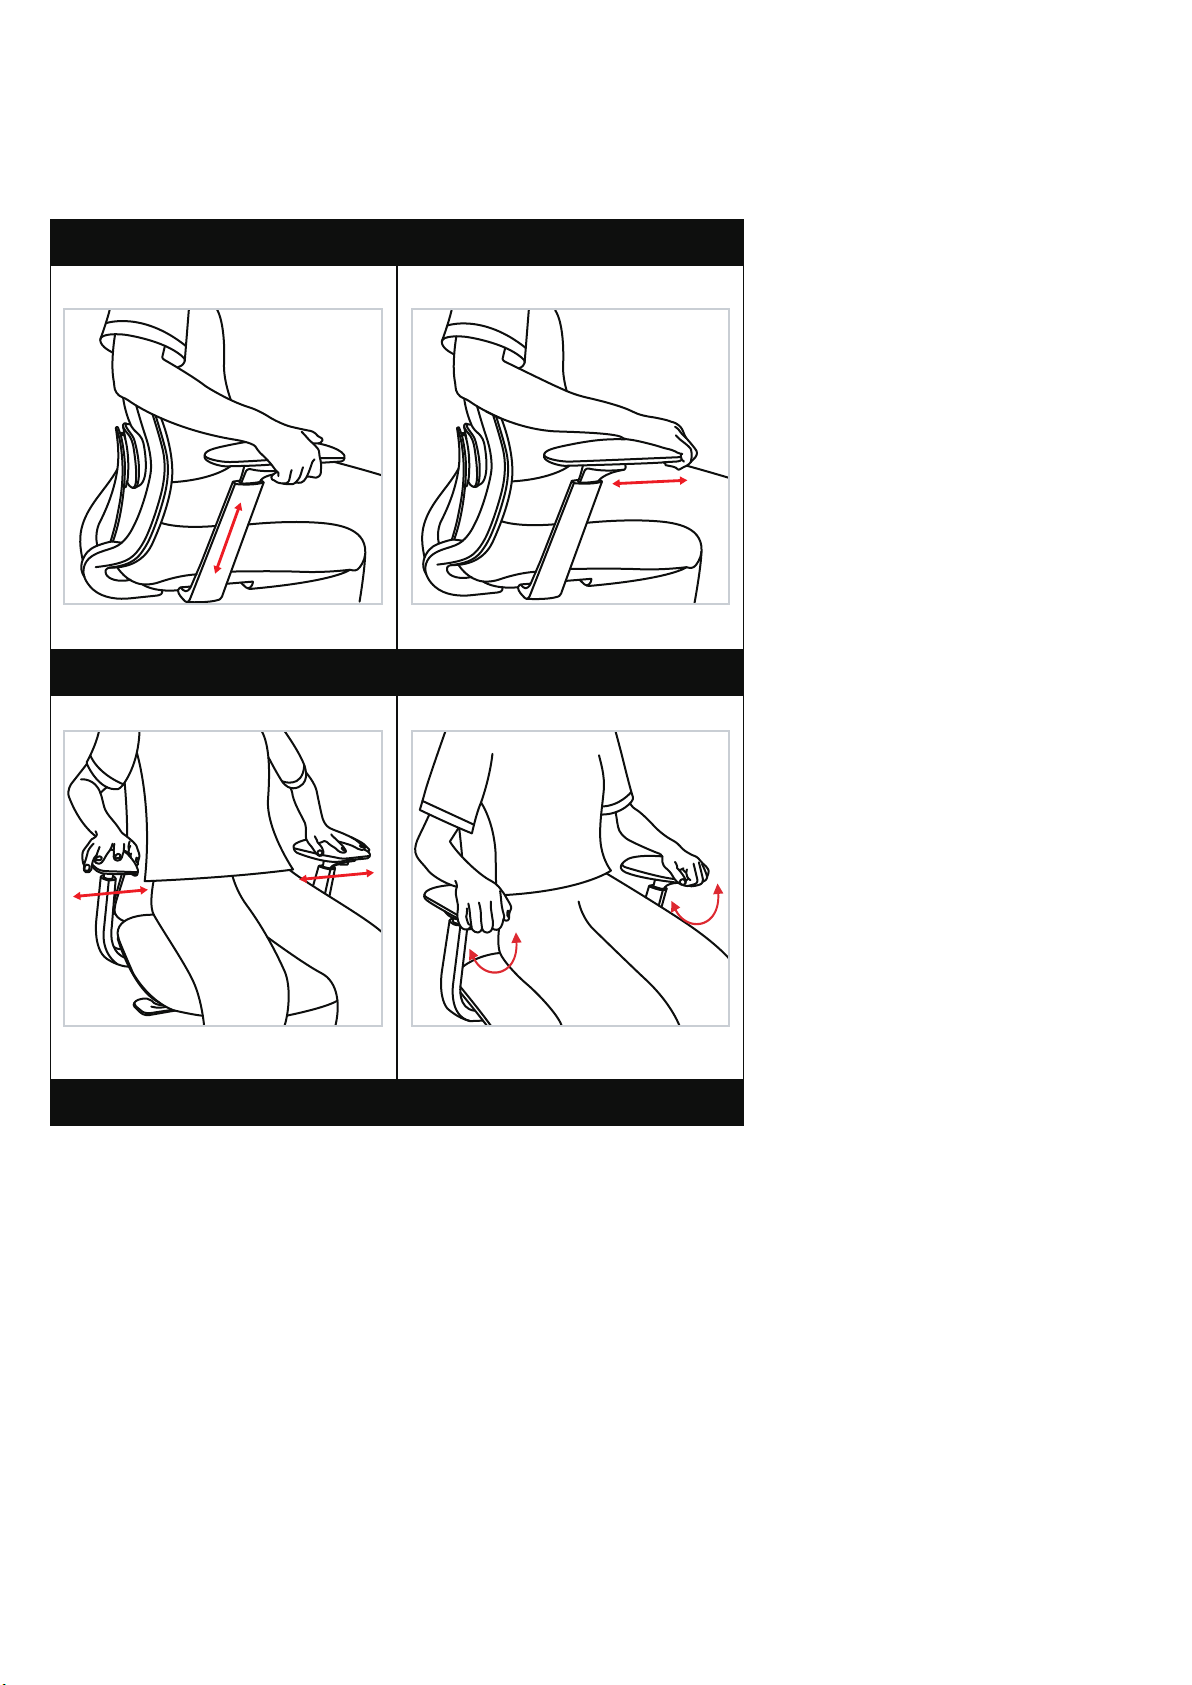
Attach the Armrest (C) to the Seat Cushion (B), using
Armrest BoIts (H) and Washers (K) for each arm.
Tighten securely with the enclosed Allen Wrench (M).
Tighten the bolts securely with the Allen Wrench (M).
Please be careful to use the correct Back Bolts (I)
Assemble the Backrest (A) to the Seat Cushion (B), using
3 Back Bolts (I) with 3 Spring Washers for Back Bolts (L)
and 3 Washers for Bolts (K), Tighten the bolts securely
with the enclosed Allen Wrench (M).
FLEXY-BLK