manuals.online logo
Brands
  1. Home
  2. •
  3. Brands
  4. •
  5. Raynor
  6. •
  7. Indoor Furnishing
  8. •
  9. Raynor TEMPUR-PEDIC TP210EHS User manual

Raynor TEMPUR-PEDIC TP210EHS User manual

TP210EHS / TP220EHS
FootRing
Armrests-1 Left &
1 Right Armrest
E
F
G
J
K
L
I
M
M
D
Press the Glides (A) into the holes at the end of
each leg of the Base (B).
Loosen the Foot Ring adjustable knob. Insert
the Seat Post (C) intothe Foot Ring (N).
Insert Seat Post (C) and Foot Ring(N) into the
center hole of the Base (B). Tighten the Foot
Ring adjustable knob at your desired height.
For easy assembly, place the Seat Cushion (E)
face down on a at surface. Attach Armrests (G)
to the Seat Cushion (E) as shown using 3 RED
Screws (I) and 3 Washers (L) for each arm.
Tighten securely with the enclosed Allen
Wrench (M).
Please be careful to use the correct RED Screws
(I) and Washers (L) and Armrests (G) which are
marked Left and Right. Please be careful to use the correct BLUE
Screws (H) and RED Screws (I).
Attach the Mechanism (D) to the Seat Cushion
(E) inserting the 2 BLUE screws (H) in the
predrilled holes to the rear of the Seat Cushion
and inserting the 2 RED screws (I) in the
predrilled holes to the front of the Seat Cushion.
Assemble the Backrest (F) to the
Mechanism (D) using 3 GREEN Screws (J)
and 3 Washers (K). Tighten securely with
the enclosed Allen Wrench (M).
Please be careful to use the correct GREEN
Screws (J) and Washers (K).
H
I
M
E
D
N
While seated, pull the lever on the right
side of the seat marked Seat Height
Adjustment up and hold it while raising
or lowering the seat to change the seat
height. When the lever is released, the
seat height is locked. The seat height
adjustment range is approximately 8.
The height of the lumbar support can
be adjusted by lifting or lowering the
lumbar insert in the backrest. While
seated, grasp both sides of the lumbar
support and move upwards or
downwards to your desired position.
The lumbar height adjustment range is
approximately 2.76.
To raise your backrest, slowly lift the
back up until you hear a series of 4 to 5
clicks. Each click represents a position
where the backrest will lock into place.
To lower the backrest, raise the
backrest all the way up until tension is
released. The backrest will now return
to the lowest position without stopping.
Now repeat the previous steps to raise
your backrest up to your desired
position. The backrest height
adjustment range is approximately 2.5.
C LUMBAR HEIGHT ADJUSTMENT
Whileseated,locatethebuttoninthe
middle ofthearmtube.Pressthebutton
toraiseorlowertheheightofthearms
toyourdesiredheight.Thearmheight
adjustmentrangeisapproximately3.
D ARMREST HEIGHT ADJUSTMENT
E FOOT RING HEIGHT ADJUSTMENT
Unlock the adjustment knob on the Foot
Ring. Move the Foot Ring upward or
downward to your desired position.
Lock the Foot Ring.
E FOOT RING HEIGHT ADJUSTMENT
THE RAYNOR GROUP COMPANIES LIMITED LIFETIME WARRANTY
The Raynor Group warrants to the original purchaser all components for the
life of the product with the exception of the Tempur material, which will be
warranted for ten years and the upholstery, which will be warranted for ve
years.
The Raynor Group warrants to the original purchaser that all parts will be
free from material defects. The Raynor Group will repair or replace, at its
option, any unaltered components.
The Raynor Group does not warrant any aftermarket hardware that is
installed on the product.
The Raynor Group's warranty is limited to the normal use of the product in a
forty hour work week and a 250 lb. weight limit unless otherwise noted.
The Raynor Group shall NOT be liable for consequential or incidental
damage arising from any product defect.
The Raynor Group's warranty is limited to replacement or repair and does
not cover cost of transportation and labor. There are no other warranties
expressed or implied other than those specically described.
The Raynor Group does not warrant customer's own material.
This warranty is made as of 9/15/16. Please see
for any updates
and/or revisions to this warranty.
http://www.raynorgroup.com/raynortempur-warranty.html

This manual suits for next models

1

Other Raynor Indoor Furnishing manuals

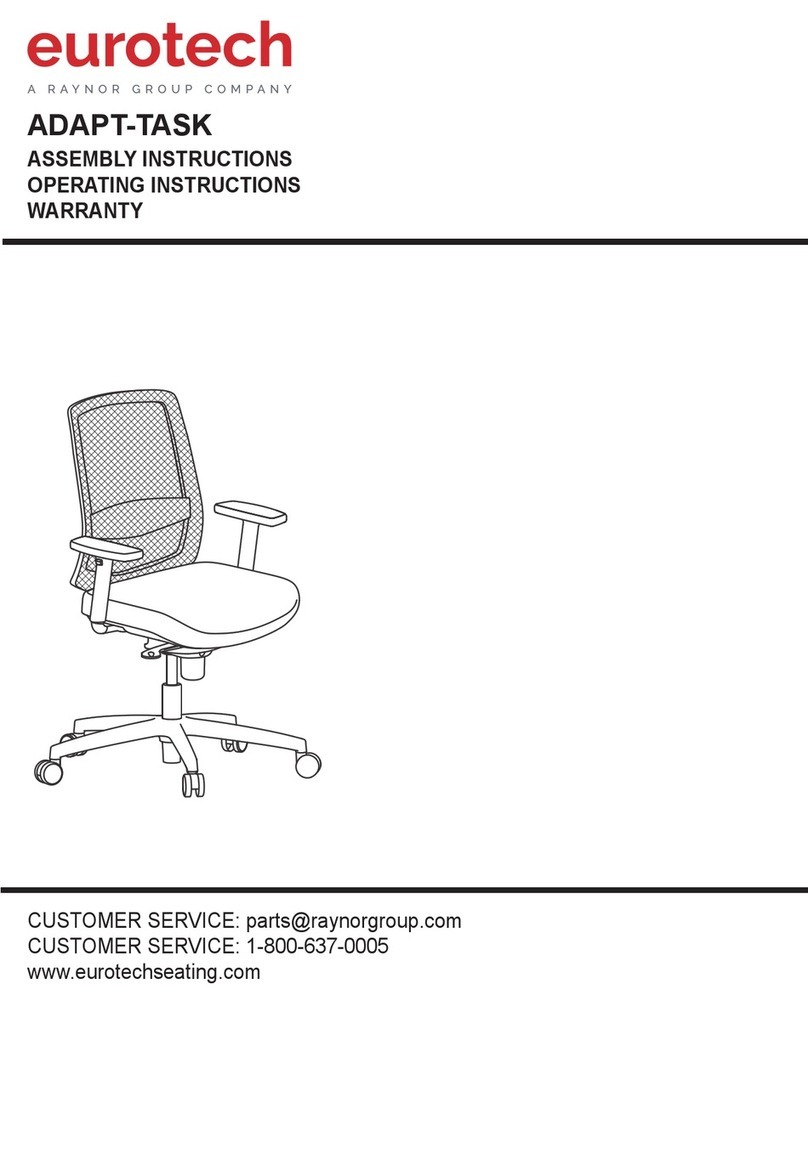
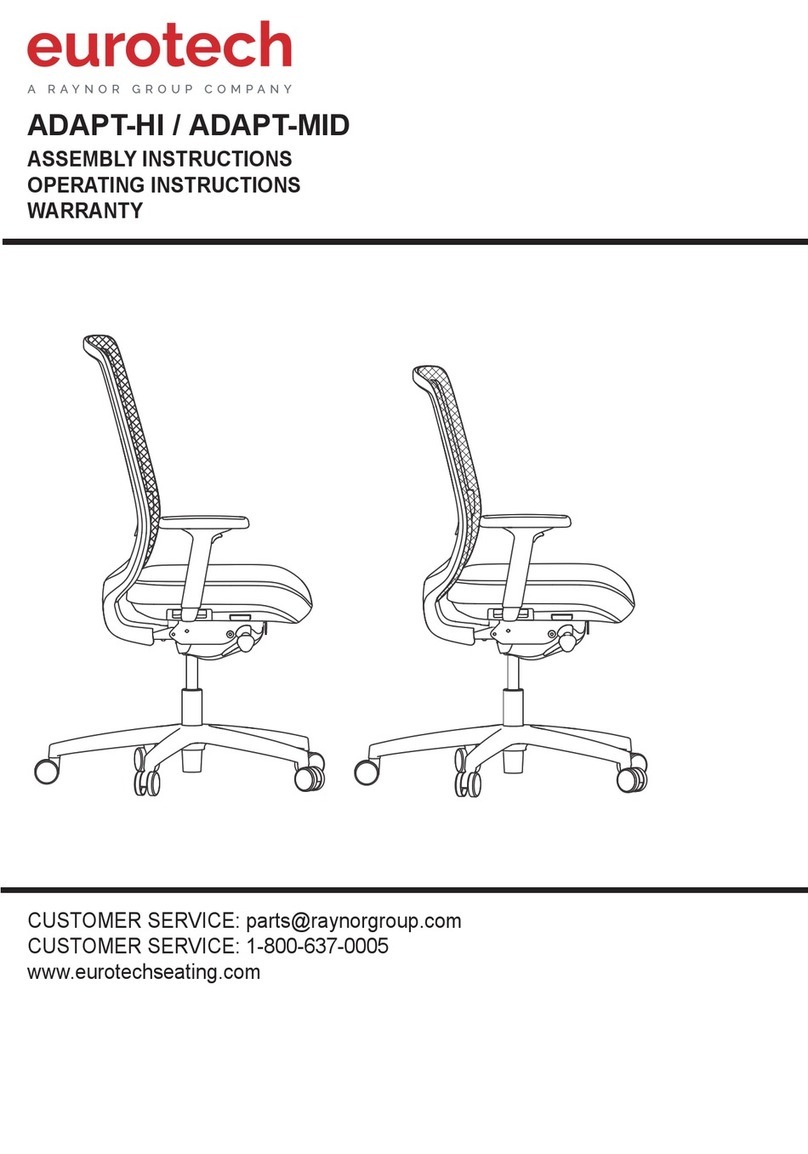
Raynor eurotech ADAPT-HI User manual

Raynor

Raynor eurotech ADAPT-HI User manual

Raynor eurotech FLEXY-BLK User manual

Raynor

Raynor eurotech FLEXY-BLK User manual

Raynor eurotech ADAPT-TASK User manual

Raynor

Raynor eurotech ADAPT-TASK User manual

Raynor eurotech POWERFIT User manual

Raynor

Raynor eurotech POWERFIT User manual

Raynor Eurotech KOPLUS Switch Manual

Raynor

Raynor Eurotech KOPLUS Switch Manual

Raynor ELIZABETH SUTTON GRAMERCY User manual

Raynor

Raynor ELIZABETH SUTTON GRAMERCY User manual

Popular Indoor Furnishing manuals by other brands

Regency LWMS3015 Assembly instructions

Regency

Regency LWMS3015 Assembly instructions

Furniture of America CM7751C Assembly instructions

Furniture of America

Furniture of America CM7751C Assembly instructions

Safavieh Furniture Estella CNS5731 manual

Safavieh Furniture

Safavieh Furniture Estella CNS5731 manual

PLACES OF STYLE Ovalfuss Assembly instruction

PLACES OF STYLE

PLACES OF STYLE Ovalfuss Assembly instruction

Trasman 1138 Bo1 Assembly manual

Trasman

Trasman 1138 Bo1 Assembly manual

Costway JV10856 manual

Costway

Costway JV10856 manual

moss DESIGN Caisson Credenza Assembly instructions

moss DESIGN

moss DESIGN Caisson Credenza Assembly instructions

Aquaglide FULL DECK 15.0 owner's manual

Aquaglide

Aquaglide FULL DECK 15.0 owner's manual

AREBOS AR-HE-SW30 user manual

AREBOS

AREBOS AR-HE-SW30 user manual

Till-Hilft Fulda 87005.330 Assembly instructions

Till-Hilft

Till-Hilft Fulda 87005.330 Assembly instructions

Twoey Outside 2010 quick start guide

Twoey Outside

Twoey Outside 2010 quick start guide

Hettich Easys 200 operating instructions

Hettich

Hettich Easys 200 operating instructions

The bedboss RELAX 404 Series owner's manual

The bedboss

The bedboss RELAX 404 Series owner's manual

Oeseder Möbelindustrie Bern 991 720 Assembly instructions

Oeseder Möbelindustrie

Oeseder Möbelindustrie Bern 991 720 Assembly instructions

Costway HW68469 user manual

Costway

Costway HW68469 user manual

Next ALIX A27743 Assembly instructions

Next

Next ALIX A27743 Assembly instructions

BROSA Hans Assembly guide

BROSA

BROSA Hans Assembly guide

Prodigg MINIKA PBA015T-FUR installation manual

Prodigg

Prodigg MINIKA PBA015T-FUR installation manual

manuals.online logo
manuals.online logoBrands
  • About & Mission
  • Contact us
  • Privacy Policy
  • Terms and Conditions

Copyright 2025 Manuals.Online. All Rights Reserved.