14
[ 7 ] = character “7” or “SPACE”
[ 0 ] = charater “0”, or (in sequence) “ / . : , ; ’ - = ( ) % & ! ? + * @ ”
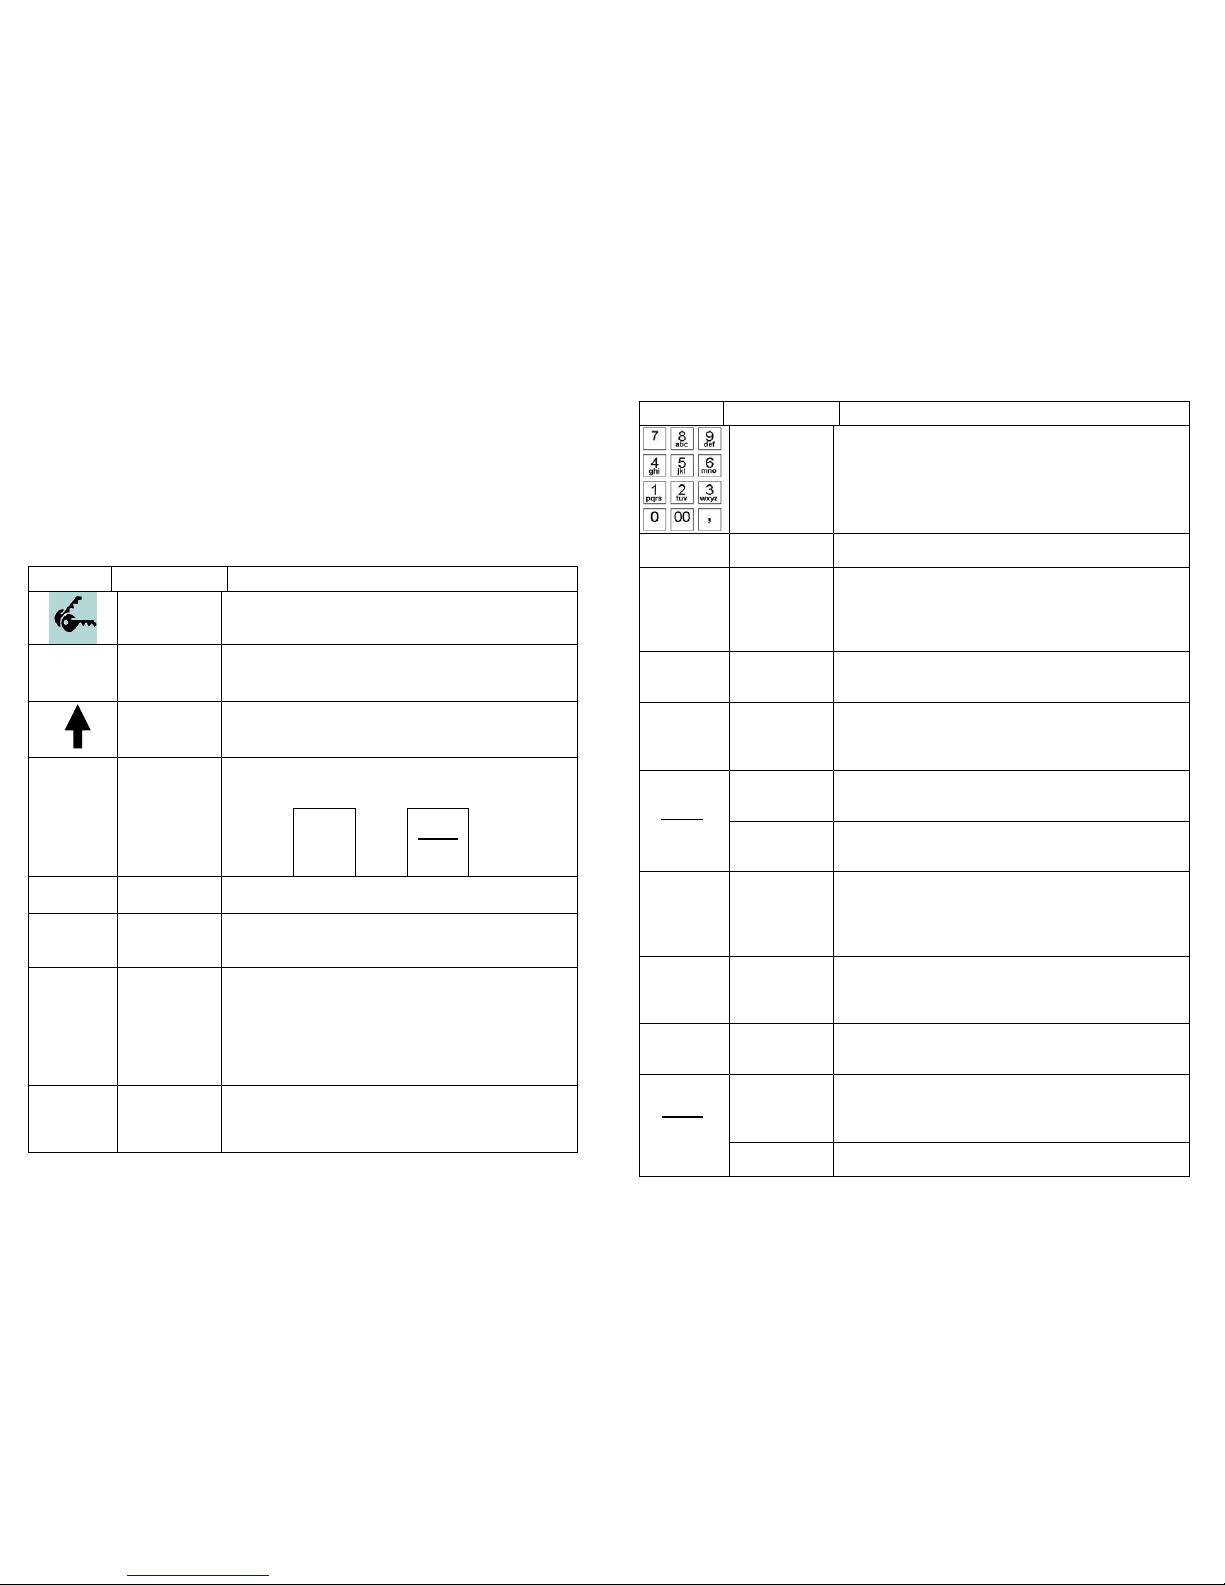
4.1 KEYS FUNCTION
KEY Name Function definition
KEY
Key to select the operating mode (REG - X - Z -
PRG) and for lock keyboard.
CLERK
CLERK
(OPERATOR)
Key to enter the code and the change of the cash
counter clerk
PAPER
FEED Key to advance the receipt paper
Alternate function key. Press, previously, by one of
the key with associated double function, would allow
entering the second function.
FN FUNCTION Example:
pressing
key FN Before
key
PLU
PLU
PRICE
The function
PLU PRICE is
utilised
Instead of PLU
function
DEP 1 DEPART.
(N)
Key utilised for the recording of the items by
previously entering the price.
VOID VOID Key utilised to reverse an amount of a specific
department.
¡
X X \ TIME
The key puts together two different functions directly
accessible (it is of no use to press FN key to select X
or Time): the first function displays the time, should
the key be pressed with no fiscal receipt. The second
function multiplies the set quantity by the amount
associated with the department/PLU, during the
recording of a fiscal receipt.
CL CLEAN
DISPLAY
Key used to cancel a data before recording it onto the
memory of a department or PLU. Also, utilised to
correct keying errors, if any, or to remove acoustic
messages or on display, if any.
15
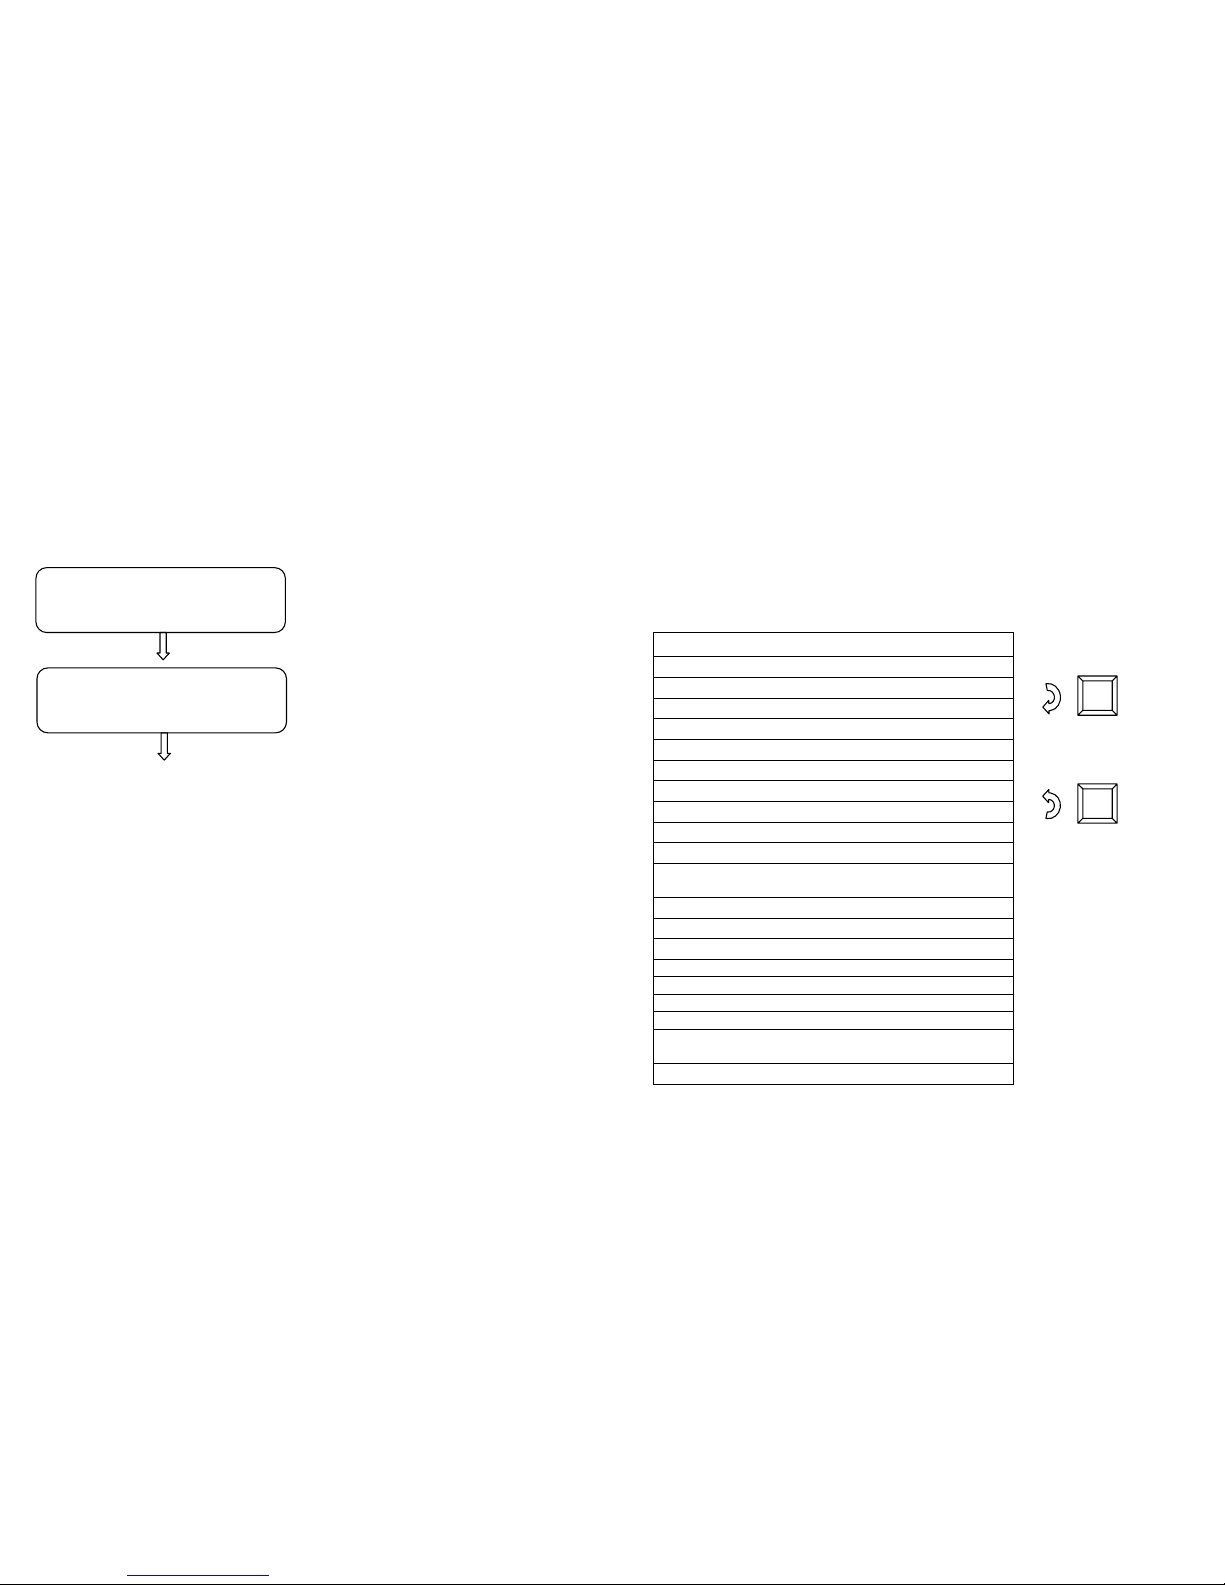
KEY Name Function definition
NUMERICAL
KEYPAD
with
ALPHABETIC
function
The numerical keypad allows entering numerical and
alphanumerical information, useful to print the fiscal
receipt (keying for the printout of the Customer’s
Fiscal Code onto the fiscal receipt) and for the
programming operations of the fiscal numerator.
EC CANCEL Key utilised to cancel the last recording entered onto
the department memory or of a PLU.
DEDUC
TION DEDUCTION
Key utilised to deduct a value from the memory of the
last department or of the current fiscal receipt PLU
(open). If utilised after the SUBTOTAL it would affect
proportionally all the items (departments and/or PLU)
of the current fiscal receipt.
P/O PAID OUT
“Management” key to record the paid out (collection)
of cash or cheques from the cash counter
(management/control of cash in the drawer).
R/A RECEIVE
AMOUNT
“Management” key to record the received amount
(placing cash funds upon opening of the outlet) of
cash into the cash counter (management/control of
cash in the drawer).
FISCAL
CODE
Key utilised to print the Fiscal Code (talking receipt)
within a fiscal receipt. The fiscal code follows the
acronym C.F. according to the current law.
FISCAL
CODE
ALPHA
PRINTOUT ALPHABET
PRINTOUT
Key utilised to print information segregated from the
contents of the fiscal receipt, following the character
“#”
ADDON INCREASES
Key used to add a value onto the memory of the last
department or PLU of the current fiscal receipt
(open). If utilised after the SUBTOTAL it would affect
proportionally all the items (departments and/or PLU)
of the current fiscal receipt.
CASH
DRAWER
#
OPEN
DRAWER The key works as drawer opener.
CHEQUE TOTAL 2
Key to close the receipt by cheques payment. The
access of cash into the drawer (change function) may
be programmed.
PLU
Key to record the sale of a specific item memorised
onto the machine with unit code and price. The PLU
code may be accessed with the prior keying of the
given code or scanner reading.
PLU
PLU
PRICE PLU Price Key to enter manually the price of a specific PLU
during the current sale (open fiscal receipt)