Test Screen & Remote/IR Receiver Option
1. Install screen by following the user guide instructions. Test the screen motor and IR receiver by using the provided remote control to
lower and raise the screen.
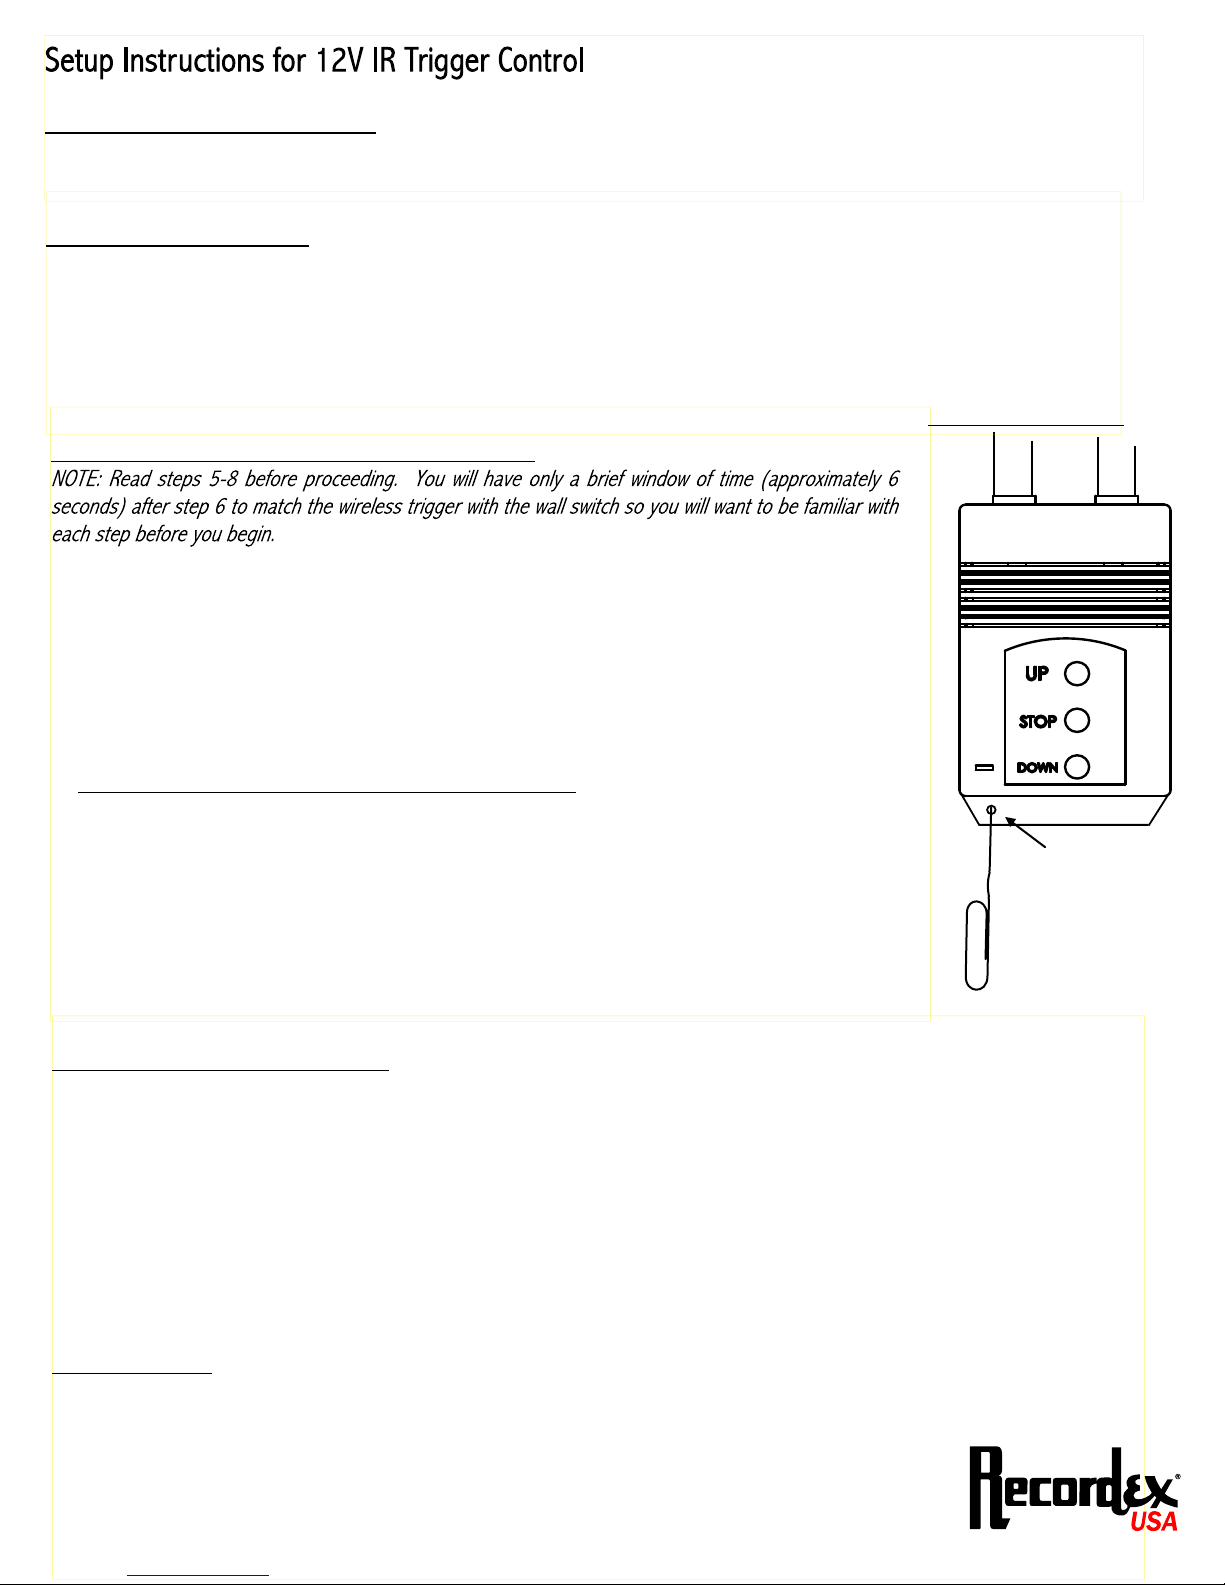
reset switch
Install the 12V IR Trigger Control
2. Check your projector for a 12V trigger port. The IR trigger control ships with several connector tips. Select the tip that matches
your projector's 12V trigger port. Plug in the 12V IR trigger control.
3. Using the provided 2-sided velcro tape attach the IR trigger control to the projector as shown in Figure 2. Make sure the IR
trigger control is pointing toward the screen wall switch. The IR trigger control requires a direct line of sight with the IR Receiver.
4. Power on the projector. The red LED on the IR trigger control should now be lit. If the LED does not light up then please call tech
support after you have repeated the steps above.
Match the IR Trigger Control with the IR Receiver/Wall switch.
5. Take a paper clip and bend it to create a straight pin. Use the pin to press the IR Receiver reset switch.
(See Figure 3) You will need to hold the recessed IR receiver reset switch down for approximately 8 seconds
or until you here one long beep. This will clear the IR receiver memory. After you hear the long beep remove
the pin.
6. Insert the pin again, this time for approximately 1-2 seconds or until you hear two fast beeps ("du-du"),
then immediately press the up arrow button on the wall switch/IR Receiver and you will hear another single
beep ("du").
7. You now have 6 seconds to cut power to the IR trigger control. The best way to do this is to power off the
projector which will cut power to the IR trigger control. If you have a remote for your projector you should be
able to power off the projector within the 6 second window. If this does not work then you may want to ask
someone to help you. After you have completed step 6, the other person can unplug the IR trigger control
from the projector. This will cause the IR trigger control to emit a signal. When the IR receiver/wall switch
receives the emitted signal the screen motor should activate.
8. Plug the IR trigger control back into the projector. If the projector is already on the trigger's LED should
light up and the motor should reverse, if the projector was powered off then power it on and test the trigger
function.
Re-match Remote Control with IR Receiver
NOTE: Because step 5 clears the IR Receiver's memory you will need to 're-match' your IR Remote Control to the Receiver. To do this
follow these steps:
9. Insert the pin and press the reset switch, holding down for only 1-2 seconds until you hear two fast beeps ("du-du"), then
immediately press the up arrow button on the wall switch.
10. You now have approximately 6 seconds to press any button on the remote control. This will send a signal to the receiver and match
the remote and receiver.
11. Wait a few seconds and then test your remote. It should function normally. Now both the IR remote and the IR trigger control are
able to control the screen.
TROUBLESHOOTING
1. Step six is critical as there is only a six second window after you hear the single beep to cut power to the IR trigger control. You may
need to repeat the steps a few times before you are able to complete the steps fast enough.
2. The wireless trigger must have a direct line of sight to the wall switch.
For Support Call 478-237-5501.
Figure 3. IR Receiver


