EL212 Quick Start Guide Revised 12/16/2013
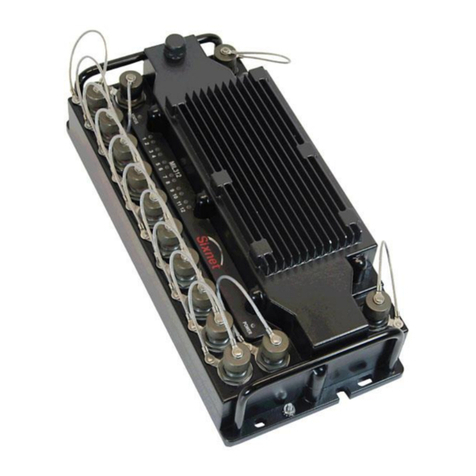
1. Carefully remove the switch and accessories from the shipping container and inspect
them for damage. Contact Sixnet immediately if any damage is discovered.
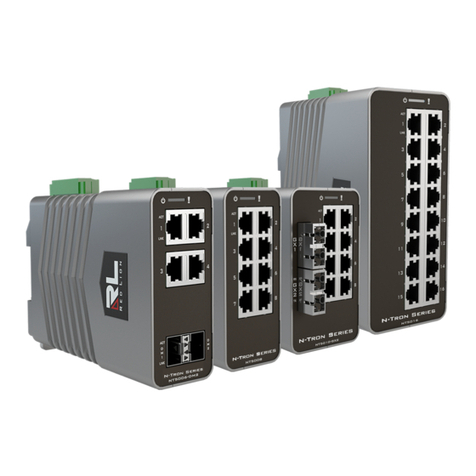
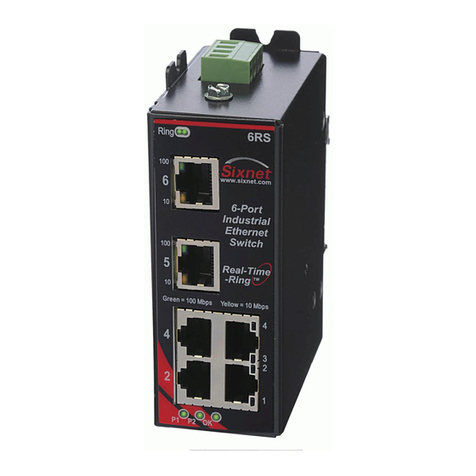
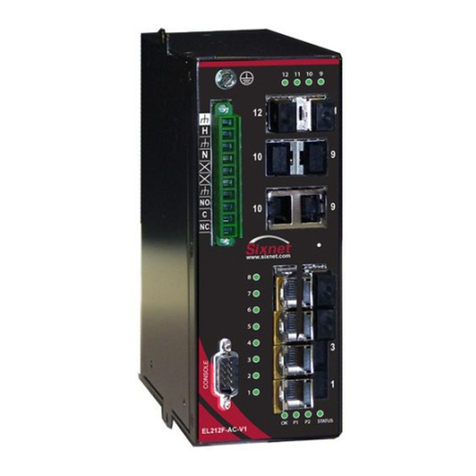
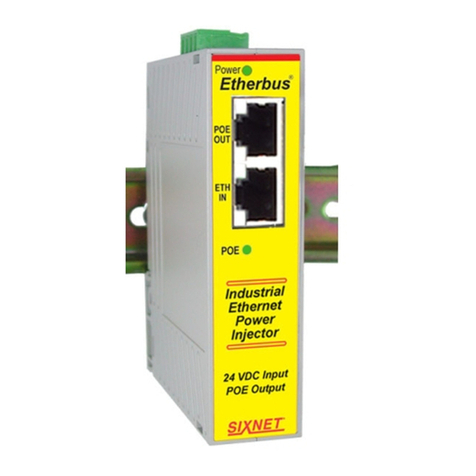
2. Install the switch onto your DIN rail as shown in the image to the left. First hook the
top of the DIN rail clip to the rail, then push the bottom of the switch towards the rail
until it locks into place. Refer to the full installation guide for removal instructions.
3. Plug in your SFP transceivers as desired.
4. Connect a power source to the switch as appropriate for the model you have. Please
check the part number and make sure you are applying the correct power.
IMPORTANT NOTE: Make sure to turn off your power before making any connections
to the switch. Make sure you are applying the
correct power to the correct screws. Follow all local,
national or regulatory rules that apply.
5. Turn on the power to the switch. The P1 and/or P2
LEDs should be on solid.
6. Plug in your Ethernet cables and the switch will
immediately start to pass data.
7. Now you may configure the switch for more
advanced operations. To manage the switch there
are two primary interface methods: CLI (Command
Line Interface) and Web UI (User Interface). See
the back to start managing the switch
Accessing your switch over the network using the default IP address:
1. Connect the switch directly to your PC’s Ethernet port using any Ethernet patch cable.
The switch’s default IP and subnet are 192.168.0.1 and 255.255.255.0.
2. On your PC, go to Control Panel - Network Connections and access the properties for
your LAN’s Internet Protocol (TCP/IP). Select “Use this IP address” and set the IP &
subnet to 192.168.0.100 & 255.255.255.0. Close and reboot if prompted.
3. Run a web browser such as Internet Explorer and type 192.168.0.1 into the address bar
and hit the enter key. Use “admin” for both the username and
password to access the web interface.
4. In the IP Configuration screen, enter your desired IP and
subnet, or enable DHCP. Click on Apply to save these new
settings to the switch.
5. To make this change permanent you must go to the Copy
screen under File Management and select “running-config to
startup-config” and click on Apply
6. Repeat step 2 to return your PC to its original IP address and
subnet mask.
Now you can access your switch using the new IP address! Just type
it into the web browser. Refer to the management guide or online help
for details on further configuring the switch.
Setting a new IP via the CLI (Command Line Interface):
1. Open your terminal program of choice (eg. Hyperterminal) and configure your serial port
for 9600 8/N/1
2. At the main screen press <Enter> to display the login prompt
