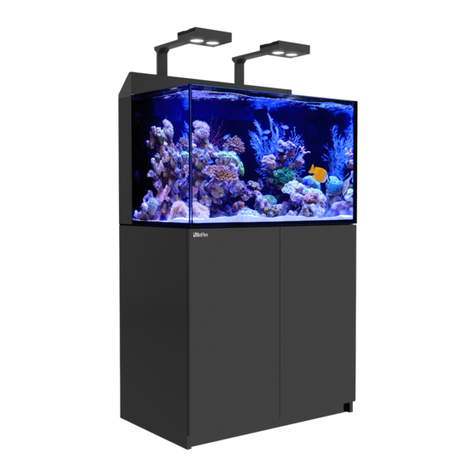
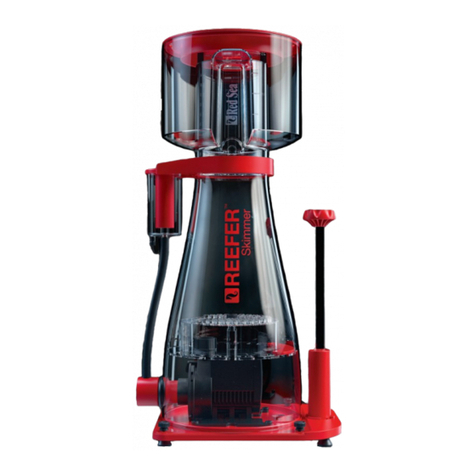
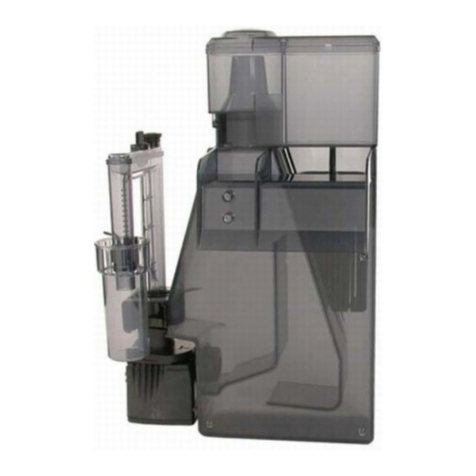
Red Sea REFEER User manual

REEFER™SYSTEMS
REFEER™
REFEER™Deluxe
REFEER™Peninsula

REEFER™SYSTEM
REFEER™NANO REFEER™450
REFEER™XL 525
REFEER™XXL 625
REFEER™XXL 750
REFEER™170
REFEER™250
REFEER™350
REFEER™XL 425

Operation Manual
Installation Manual
Cabinet Installation Guide
REEFER™NANO/170

Operation Manual
Installation Manual
Cabinet Installation Guide
REEFER™250

Operation Manual
Installation Manual
Cabinet Installation Guide
REEFER™350/XL425

Operation Manual
Installation Manual
Cabinet Installation Guide
REEFER™450/XL525

Operation Manual
Installation Manual
Assembly Manual
REEFER™XXL 625/750

REFEER™450 DLX
REFEER™XL 525 DLX
REFEER™XXL 625 DLX
REFEER™XXL 750 DLX
REFEER™170 DLX
REFEER™250 DLX
REFEER™350 DLX
REFEER™XL 425 DLX
REEFER™DELUXE

Operation Manual
Installation Manual
Cabinet Installation Guide
LED Assembly Manual
REEFER™170

Operation Manual
Installation Manual
Cabinet Installation Guide
REEFER™DELUXE 250
LED Assembly Manual

Operation Manual
Installation Manual
Cabinet Installation Guide
REEFER™DELUXE 350/XL425
LED Assembly Manual

Operation Manual
Installation Manual
Cabinet Installation Guide
REEFER™DELUXE 450/XL525
LED Assembly Manual

Operation Manual
Installation Manual
Assembly Manual
REEFER™DELUXE XXL 625/750
LED Assembly Manual

™
Red Sea REEFER™ SERIES
Reef-Ready systems for advanced hobbyists
Operation Manual
PRINTING INSTRUCTIONS
To print only the Operational Manual,
print pages 14-25.

ENG
Red Sea REEFER™SERIES
Reef-Ready systems for advanced hobbyists
Operation Manual

Red Sea REEFER™Series
2
REEFER™ Operation Manual
Safety ...................................................................................4
Location................................................................................5
Assembly..............................................................................6
Overview of the REEFER™water management system .......8
Operation .............................................................................9
Maintenance..........................................................................10

3
ENG
Congratulations on your purchase of the
Red Sea REEFER™reef system.
Red Sea’s REEFER™Systems provide advanced hobbyists with a solid
foundation for building a fully featured reef or marine aquarium. The
REEFER™Series combines a contemporary, rimless, ultra-clear glass
aquarium with a stylish cabinet and a comprehensive water management
system, including a professional sump with integrated automatic top-up,
and Red Sea’s unique silent down-flow system.
Incorporating technologies originally developed for Red Sea’s all-in-
one MAX®coral reef systems, the REEFER™series is designed for ease
of operation while enabling hobbyists to install an unlimited choice
of lighting, filtration, circulation and controllers to create a uniquely
customized system.
This manual complements the graphic assembly manuals and contains
installation and operational instructions for all of the REEFER™series
aquariums.
We hope that you enjoy your REEFER™and your reef.
To benefit from product update information and exclusive special offers to registered
REEFER™owners, please register your REEFER™on-line at redseafish.com

Red Sea REEFER™Series
4
1 Safety
Please read and follow all safety instructions.
If the external cable Is damaged, It shall be replaced by the
manufacturer.
To avoid the possibility of the appliance plug or receptacle getting wet,
position the aquarium stand and tank to one side of a wall mounted
receptacle to prevent water from dripping onto the receptacle or plug.
You should create a “drip loop” (see Figure 1) for each cord connecting
an aquarium appliance to a receptacle. The “drip loop” is that part of the
cord below the level of the receptacle, or the connector. Use an extension
cord, if necessary, to prevent water traveling along the cord and coming
into contact with the receptacle. If the plug or receptacle does get wet,
DO NOT unplug the cord. Disconnect the fuse or circuit breaker that
supplies power to the appliance. Then unplug the device and examine for
presence of water in the receptacle.
Close supervision is necessary when any appliance is used by
or near children.
To avoid injury, do not contact moving parts.
Always unplug an appliance from an outlet when not in use, before
putting on or taking off parts, and before cleaning. Never pull the cord
itself to remove the plug from the outlet. Grasp the plug and pull to
disconnect.
Do not use an appliance for anything other than its intended use. The use
of attachments not recommended or sold by the appliance manufacturer
may cause an unsafe condition.
Do not install or store the appliance where it will be exposed to the
weather or to temperatures below freezing point.
Make sure an appliance mounted on a tank is securely installed before
operating it.
Read and observe all the important notices on the appliance.
NOTE: A cord rated for less amperes or watts than the appliance
rating may overheat. Care should be taken to arrange the cord
so that it cannot be tripped over or pulled accidental.
DANGER: To avoid possible electric shock, special care should be
taken when handling a wet aquarium. For each of the
following situations, do not attempt repairs yourself; return
the appliance to an authorized service facility for service or
discard the appliance.
WARNING: To guard against injury, basic safety precautions should be
observed, including the following:
Do not operate any appliance if it has a damaged cord or
plug, if it is malfunctioning, or if it is dropped or damaged
in any manner.
Drip Loop
figure 1

5
ENG
2 Location
The first step in setting up the REEFER™is to choose a suitable location.
Weight
The flooring directly below the system must be rated to support the
following weight:
Approximate total weight of system including water
Model Nano 170 250 350 450
Weight 180kg /
400lb
270kg /
595lb
375kg /
830lb
530kg /
1170lb
680kg /
1500lb
Room temperature
Site selection is important for correct temperature maintenance.
We recommended that you keep the ambient room temperature a
comfortable and stable 22°C / 72°F. Avoid placing the tank in front of
an air conditioner, heating vents or direct sunlight. A well ventilated
room with moderate light is the best place to position the aquarium.
Accessibility
Ensure that there is at least 10cm / 4” of clearance behind the
REEFER™to allow easy access for installing/removing cables from the
sump as well as sufficient air circulation for a chiller (larger models
only). It is recommended to leave approximately 60cm/24” between
one of the sides of the aquarium and any adjacent walls or furniture
for access to the rear of the tank.
General considerations
Ensure that the area surrounding the aquarium is waterproof and
consider moving away anything that water might damage or may be
corroded by the salt.
NOTE: The REEEFER™system should not be moved when full of water.

Red Sea REEFER™Series
6
3 Assembly
The following information complements the graphic manuals.
The REEFER™includes the following main components:
Glass aquarium
Cabinet (self-assembly)
Glass Sump including Bubble trap sponge, 400 micron filter bags and
Float valve for automatic top-up
Internal Piping kit with outlet nozzle
Top-up reservoir
Detailed instructions for the complete assembly of the REEFER™can be
found in the accompanying graphic manuals.
Complete the assembly of the cabinet including the doors as shown in
the graphic assembly manual and place in the final operating position
(see location above).
The top of the cabinet is approximately 86cm/34” from the floor.
The table shows the approximate weights of the different models of the
REEFER™aquarium glass.
Approximate total weight of system including water
Model Nano 170 250 350 450
Weight 25kg /
55lb
33kg /
72lb
52kg /
115lb
64kg /
140lb
100kg /
220lb
Ensure that you have the correct number of people to lift the aquarium
according to its weight and size.
Ensure that anyone lifting the aquarium is physically suitable for such an
operation and has been instructed in the correct methods of lifting heavy
objects.
Once the aquarium is correctly aligned with the cabinet, check that the
cabinet has not moved. If necessary readjust the position of the cabinet.
Before placing the glass sump in the cabinet make sure that the cabinet
doors are correctly aligned (see instructions in the cabinet assembly
manual). Once the sump is in position it will not be possible to make
adjustments to the lower hinge without moving the sump.
With the doors properly aligned, rotate the front section of the push
opener to the correct extension so that the doors will pop open when
pushed.
WARNING: If you are not experienced in the construction of self-
assembly furniture or the installation of aquarium systems,
seek suitably qualified assistance.
WARNING: Read before lifting the glass aquarium onto the cabinet.
NOTE: It is important to assemble the REEFER™in the order indicated.
NOTE: The REEFER™aquarium system should not be moved when full
of water.
This manual suits for next models
19
Table of contents
Other Red Sea Pet Care Product manuals
Popular Pet Care Product manuals by other brands

Petsafe
Petsafe In-Ground Cat Fence operating guide

SportDOG
SportDOG SPORTTRAINER SD-400E operating guide

Pet Waste Eliminator
Pet Waste Eliminator E4 installation guide

Dogtra
Dogtra YS300 instructions

Petsafe
Petsafe Drinkwell Big-Dog Pet Fountain product manual

Horizont Agrar
Horizont Agrar EQUISTOP M instruction manual