manuals.online logo
Brands
  1. Home
  2. •
  3. Brands
  4. •
  5. Reese
  6. •
  7. Automobile Accessories
  8. •
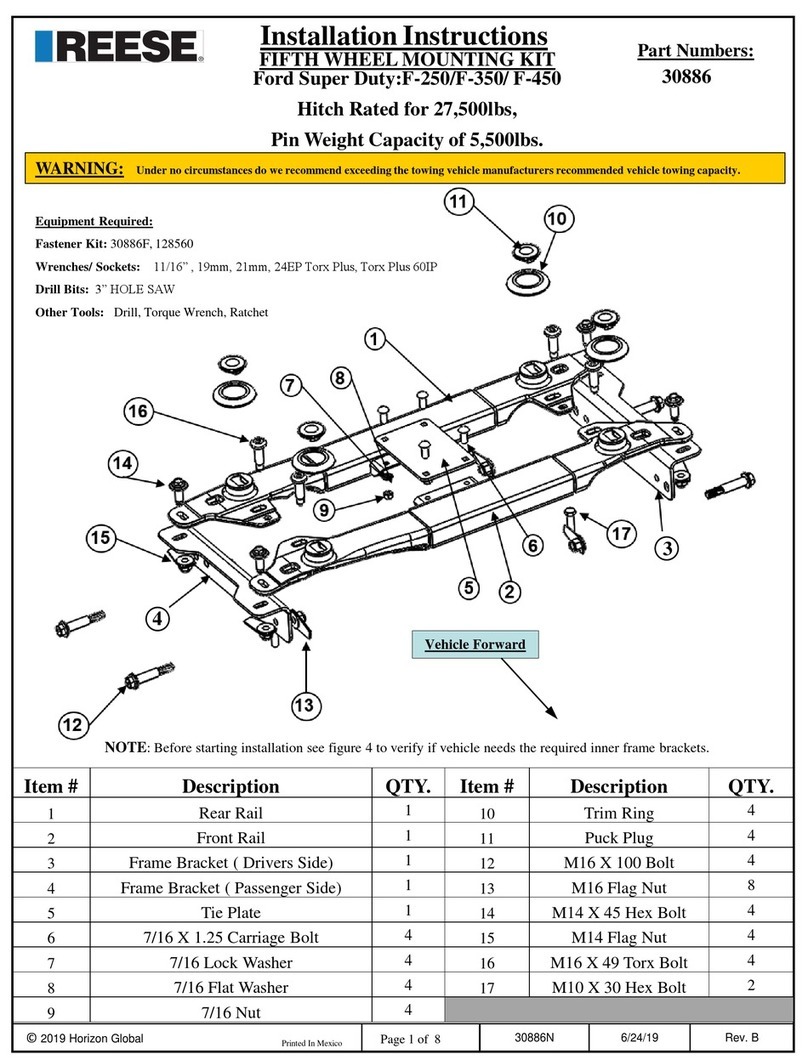
  9. Reese Bracket-Ford SD Dual Whl Instruction sheet

Reese Bracket-Ford SD Dual Whl Instruction sheet

Product Instructions
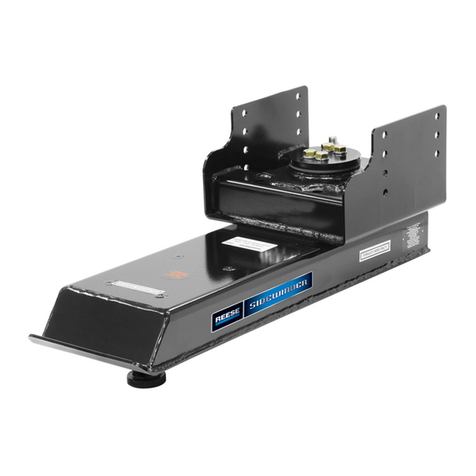
Bracket-Ford SD Dual Whl
Part Number:
308862
FOR INSTALLATION WITH
30886 Rail Kit
© 2019 Horizon Global America Inc. 308862N 04/03/2019 Rev. A
Page 1 of 5
1
Equipment Required:
Fastener Kit:
Wrenches/ Sockets: 21mm, Torx Plus 60IP, 24EP TORX Plus
Other Tools: Torque Wrench, Ratchet
2
3
CAUTION: Under no circumstances do we recommend exceeding the towing vehicle manufacturers
recommended vehicle towing capacity, Or the lowest rated component of your system.
READ ALL INSTRUCTIONS BEFORE STARTING THE INSTALLATION OR USE
1. Installation ---------------------------- p 1
2. Assembly and Installation ------- p 2 - 4
3. Maintenance ------------------------------- p 6
4. Warranty ------------------------------------ p 7
Table of Contents
VEHICLE FORWARD
FIG. 1
# Description QTY
1 Driver Side
Bracket
1
2 Passenger
Side Bracket
1
3 Existing
Underbed
1
Product Instructions
Bracket-Ford SD Dual Whl
Part Number:
308862
FOR INSTALLATION WITH
30886 Rail Kit
© 2019 Horizon Global America Inc. 308862N 04/03/2019 Rev. A
Page 2 of 5
1. The Pickup bed must be removed to install this kit.
ASSEMBLY AND INSTALLATION
Pickup Bed Removal
1. Remove the tailgate from the pickup bed.
1. Open the tailgate.
2. Detach tailgate tether cables on each side (with the helping hands of an assistant).
3. Remove tailgate from pickup bed.
2. Remove the rail kit trim rings (Figure 1).
3. Remove fuel filler
1. Remove fill cap(s).
2. Remove filler tube retaining screws and position filler down and out of the bed.
4. NOTE: Diesel engine shown, gas engine similar (Figure 2).
5. Disconnect the LH and RH wire harnesses located on the hitch behind the bumper (LH shown in figure 3).
6. Remove Pickup bed mounting bolts.
1. Use a 24EP TORX Plus Socket for removal.
7. Remove pick up bed.
1. Four people are recommended for this task.
•NOTE: DO NOT set pickup bed directly on the ground, Use Stands to support the bed similar
to how the bed is supported while installed on the truck.
FIGURE 1
FIGURE 2
FIGURE 3
Product Instructions
Bracket-Ford SD Dual Whl
Part Number:
308862
FOR INSTALLATION WITH
30886 Rail Kit
© 2019 Horizon Global America Inc. 308862N 04/03/2019 Rev. A
Page 3 of 5
1. Remove the rear outer frame bracket bolts and the rear inner bracket rail mounting bolts as shown below (Figure 4).
ASSEMBLY AND INSTALLATION
1. Place the correct bracket over the rail as shown and reinstall all hardware (Figure 5).
2. Torque the outer frame bracket bolts to 184 ft-lb (250 Nm).
3. Torque the rail mounting bolts to 173 ft-lb (235Nm).
FIGURE 5
FIGURE 4
Product Instructions
Bracket-Ford SD Dual Whl
Part Number:
308862
FOR INSTALLATION WITH
30886 Rail Kit
© 2019 Horizon Global America Inc. 308862N 04/03/2019 Rev. A
Page 4 of 5
1. Reinstall the pickup bed.
ASSEMBLY AND INSTALLATION
Pickup Bed Installation
1. Install pickup bed
•Ensure the locating pins shown in figure 6 are properly installed to both the pickup frame and pickup bed to
prevent misalignment.
2. Tighten the eight bolts to 129 ft-lbs (175 Nm).
FIGURE 6
3. Install the fuel filler pipe and tighten to 44 in-lb (5 Nm).
4. If equipped, install the urea filler pipe and tighten to 22 in-lb (2.5 Nm).
5. Reconnect the LH and RH wire harnesses.
6. Install the tailgate onto the pickup bed.
7. Reinstall the rail kit trim rings
Trim Kit Installation
1. Install the trim rings (Figure 7).
1. Slightly invert the trim ring by pressing on the inner diameter with your thumbs.
2. Insert the trim ring around the groove on the mounting puck. Work the trim ring around the puck to fully seat
it.
3. Repeat for all 4 trim rings.
FIGURE 7
Product Instructions
Bracket-Ford SD Dual Whl
Part Number:
308862
FOR INSTALLATION WITH
30886 Rail Kit
© 2019 Horizon Global America Inc. 308862N 04/03/2019 Rev. A
Page 5 of 5
LIMITED LIFETIME WARRANTY
Horizon Global Corporation. (“We” or “Us”) warrants to the original consumer purchaser only (“You”) that the product
will be free from material defects in both material and workmanship, ordinary wear and tear expected; provided that
installation and use of the product is in accordance with product instructions. There are no other warranties, express
or implied, including the warranty of merchantability or fitness for a particular purpose. This warranty is not
transferable.
This warranty does not cover: (a) normal wear and tear; (b) damage through abuse, neglect, misuse, or as a result of
any accident or in any other manner; (c) damage from misapplication, overloading, or improper installation; (d)
improper maintenance and repair; and (e) product alteration in any manner by anyone other than Us, with the sole
exception of alterations made pursuant to product instructions and in a workmanlike manner.
To make a Warranty claim, contact Us, at our principal address of 47912 Halyard Dr. Suite 100, Plymouth, MI 48170,
1-800-632-3290, identify the product by model number, and follow the claim instructions that will be provided. Any
returned product that is replaced by Us becomes our property. You will be responsible for return shipping costs.
Please retain your purchase receipt to verify date of purchase and that You are the original consumer purchaser. The
product and the purchase receipt must be provided to Us in order to process Your Warranty claim.
Product replacement is Your sole remedy under this Warranty. We shall not be liable for service or labor charges
incurred in removing or replacing a product or any incidental or consequential damages of any kind.
You acknowledge and agree that any use of the product for any purpose other than the specified use(s) stated in the
product instructions is at Your own risk.
This Warranty gives you specific legal rights, and You may also have other rights which vary from state to state. This
Warranty is governed by the laws of the State of Michigan, without regard to rules pertaining to conflicts of law. The
state courts located in Oakland County, Michigan shall have exclusive jurisdiction for any disputes relating to this
warranty.
Horizon Global
47912 Halyard Dr. Suite 100
Plymouth, MI 48170
For the most up to date product
instructions, installation and use
information please scan the QR
code or call
1-800-632-3290
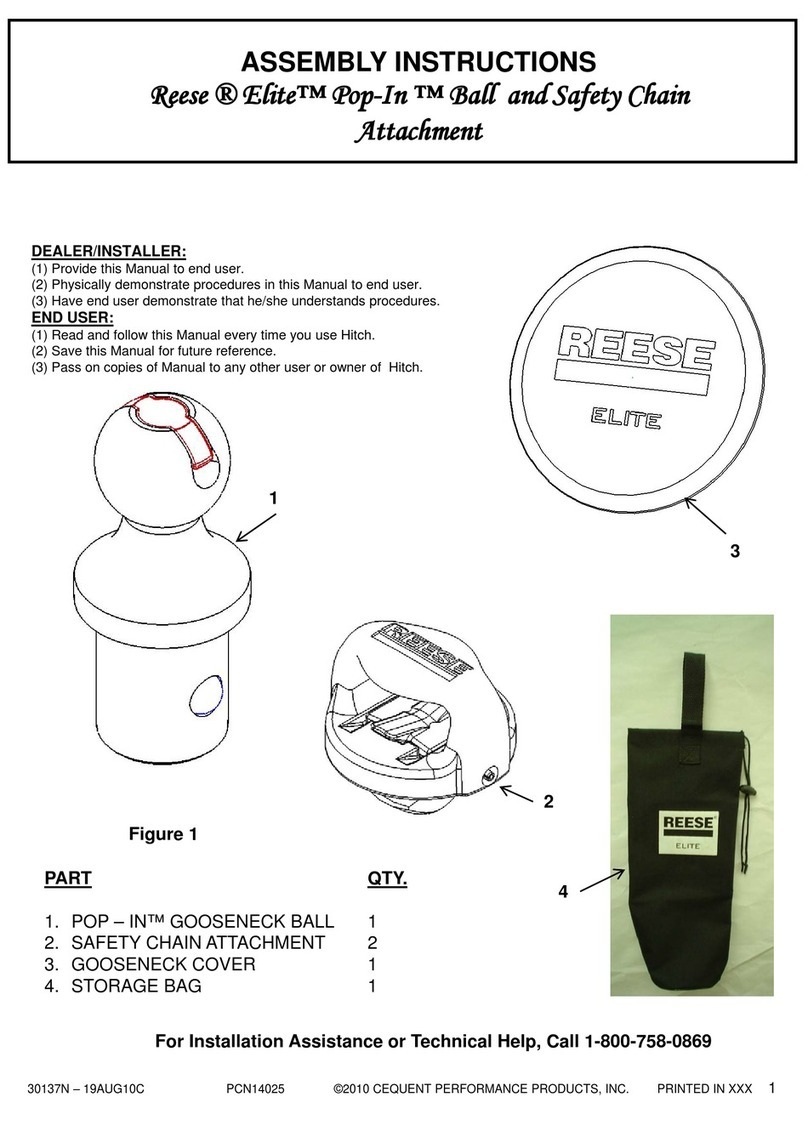
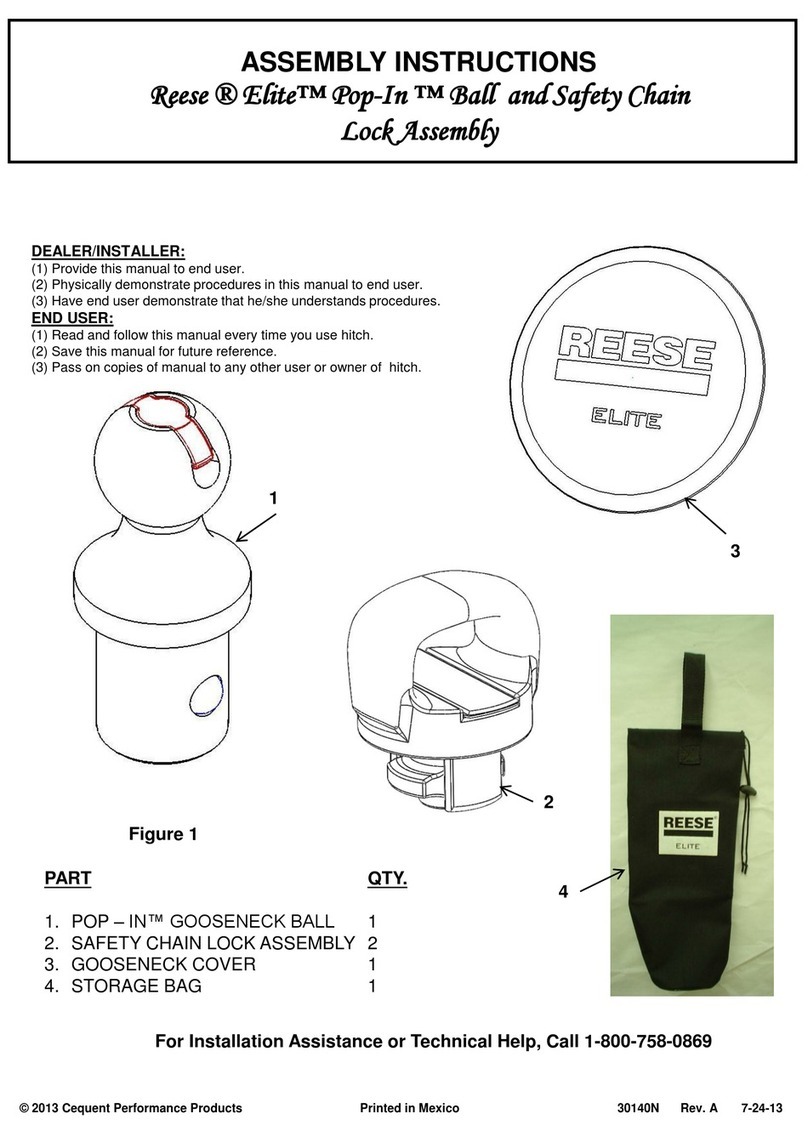
This manual suits for next models

1

Other Reese Automobile Accessories manuals

Reese 19K Sidewinder SW19K User manual

Reese

Reese 19K Sidewinder SW19K User manual

Reese 30054 User manual

Reese

Reese 30054 User manual

Reese 56011 User manual

Reese

Reese 56011 User manual

Reese Carry Power TransRACK User manual

Reese

Reese Carry Power TransRACK User manual

Reese 19311 User guide

Reese

Reese 19311 User guide

Reese M5 User manual

Reese

Reese M5 User manual

Reese Sidewinder 61302 User manual

Reese

Reese Sidewinder 61302 User manual

Reese Dual Cam II User manual

Reese

Reese Dual Cam II User manual

Reese 30886 User manual

Reese

Reese 30886 User manual

Reese 5601 User manual

Reese

Reese 5601 User manual

Reese TransRACK 70552 User manual

Reese

Reese TransRACK 70552 User manual

Reese Elite Series User manual

Reese

Reese Elite Series User manual

Reese Revolution 86016 User manual

Reese

Reese Revolution 86016 User manual

Reese Elite Pop-In User manual

Reese

Reese Elite Pop-In User manual

Reese Explore 1041000 Manual

Reese

Reese Explore 1041000 Manual

Reese SWAY CONTROL User manual

Reese

Reese SWAY CONTROL User manual

Reese 50085 User manual

Reese

Reese 50085 User manual

Reese 50026 User manual

Reese

Reese 50026 User manual

Popular Automobile Accessories manuals by other brands

Directed Directechs DB3 installation guide

Directed

Directed Directechs DB3 installation guide

Mazda 4100-78-828A Installation instruction

Mazda

Mazda 4100-78-828A Installation instruction

Aries 2154001 installation manual

Aries

Aries 2154001 installation manual

Circutor Raption 50 HV installation guide

Circutor

Circutor Raption 50 HV installation guide

ARE CX CLASSIC Installation sheet

ARE

ARE CX CLASSIC Installation sheet

Directed Directechs DS3 installation guide

Directed

Directed Directechs DS3 installation guide

Thule 114003 Series instructions

Thule

Thule 114003 Series instructions

Whelen Engineering Company Pioneer Nano NP Series installation guide

Whelen Engineering Company

Whelen Engineering Company Pioneer Nano NP Series installation guide

Hammerhead 600-56-0859 installation instructions

Hammerhead

Hammerhead 600-56-0859 installation instructions

Carcomm CMPC-32 HTC Typhoon installation manual

Carcomm

Carcomm CMPC-32 HTC Typhoon installation manual

STO N SHO SNS 118 Installation procedures

STO N SHO

STO N SHO SNS 118 Installation procedures

Thule Evolution 672 instructions

Thule

Thule Evolution 672 instructions

Camcar Walmec 40102 manual

Camcar

Camcar Walmec 40102 manual

Kolpin RANGER FRONT TRAIL BOX Assembly instructions

Kolpin

Kolpin RANGER FRONT TRAIL BOX Assembly instructions

Axxess AXDIS-VW1 installation instructions

Axxess

Axxess AXDIS-VW1 installation instructions

AVS Aerovisor installation instructions

AVS

AVS Aerovisor installation instructions

Sealey WL101 instructions

Sealey

Sealey WL101 instructions

Lippert SolidStep Gen 2 Installation and owner's manual

Lippert

Lippert SolidStep Gen 2 Installation and owner's manual

manuals.online logo
manuals.online logoBrands
  • About & Mission
  • Contact us
  • Privacy Policy
  • Terms and Conditions

Copyright 2025 Manuals.Online. All Rights Reserved.