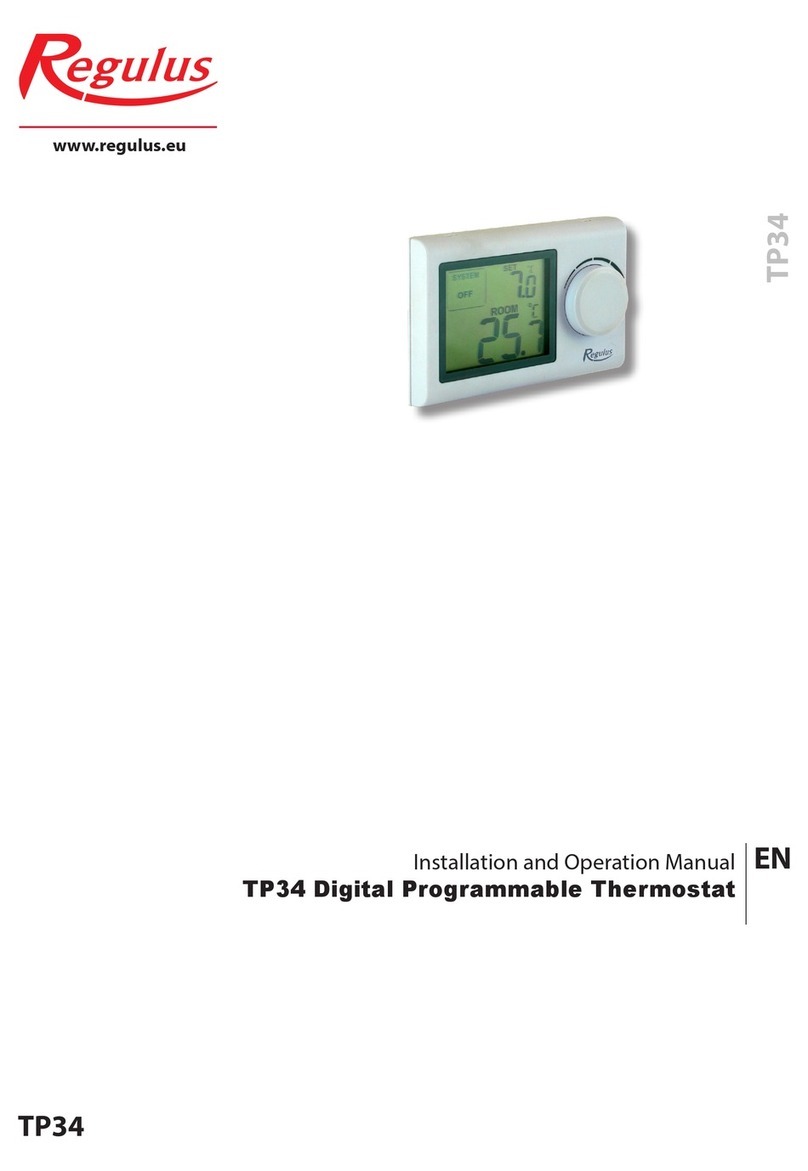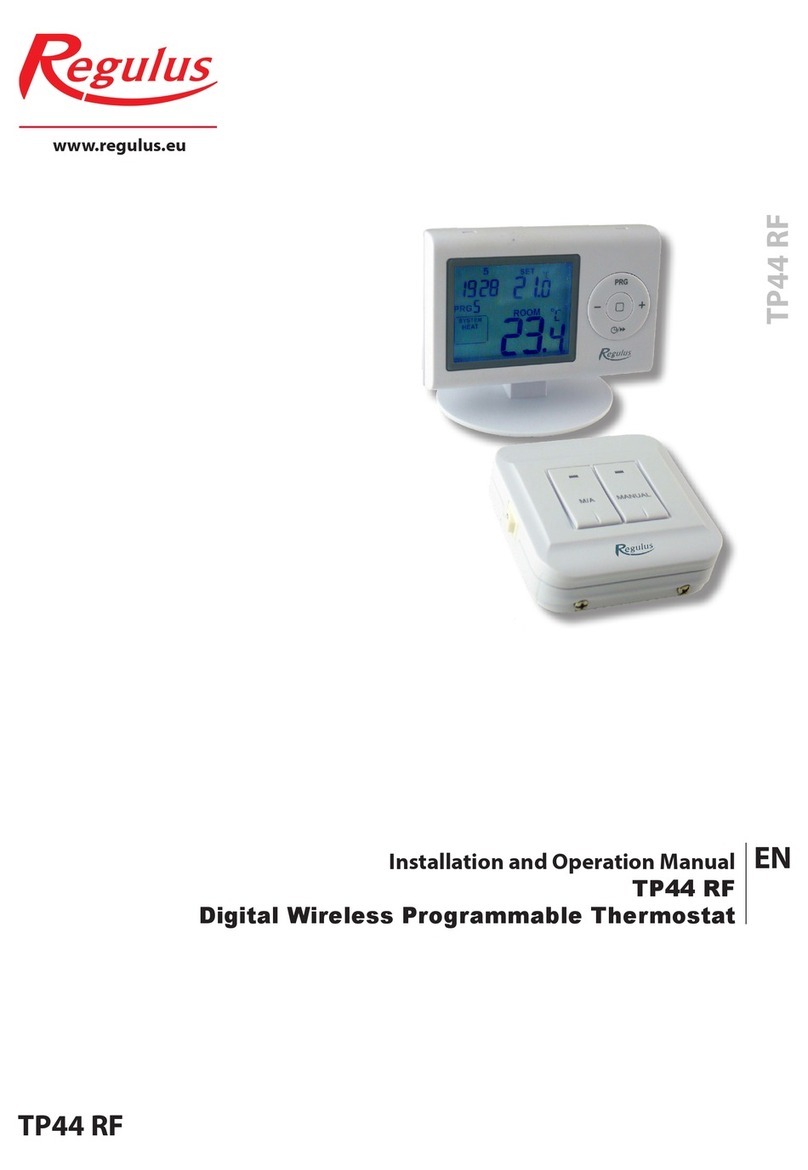
Installation instructions
A. Initial setting, wiring
1. Wiring
On the back side, in the right top corner there are 3 wiring contacts marked L (live), H (heat) and C (cool). L is wired to
control voltage (e.g. a phase), H serves for heating control, C is wired to A/C (cooling).
2. Mounting
Fix the thermostat into a suitable position by means of the enclosed screws and sockets.
3. Operation mode selector (5)
For heating control slide the selector to its right position (flame symbol), for A/C control to its left position (snowflake
symbol). The middle position means OFF.
4. Delay switch (back side, under wiring contacts)
Use the two-position switch to set the delay in turning on the heating appliance (delay = quick temperature fluctuations
do not cause the thermostat to switch on/o repeatedly):
HEAT COOL
NO DELAY 10 sec 5min
DELAY 5min 5min
The delay prevents frequent thermostat switching during temperature fluctuations.
B. Start / Reset
1. After wiring insert 2 new alkaline batteries AA 1.5 V (Mind the polarity!). Data will be displayed.
2. Press Reset - RST button with a rounded-end instrument to zero the display.
3. Turn on the heating appliance. It will remain OFF until TP08 is set so that the output is closed (a rotating propeller
symbol appears on the display).
C. Operation
1. Starts with checking the temperature and display will show room temperature.
2. If batteries are weak, C, P and a colon will flash.
3. If the temperature is below 0 °C and Heat is ON, the display will show L.
4. If the temperature is over 39.5 °C and Cool is ON, the display will show H.
D. Clock setting
1. Press ¥, day will flash (1-7), by pressing up or down arrows the desired day is set.
2. Press ¥, hours will flash, by pressing up or down arrows the desired hour is set.
3. Press ¥, minutes will flash, by pressing up or down arrows the desired minutes are set.
4. Either pressing or 10 seconds of inactivity will close the clock setting and return to normal thermostat operation.
5. Time format of 12 or 24 hours can be selected through the jumper on the PCB. The default setting is 24 h.
E. Program setting
1. Press PRG, day will start flashing (1-7), by pressing up or down arrows the desired day will be set.
2. Press PRG, program numbers will start flashing (0-6, 8, 10-16, 18), by pressing up or down arrows the desired program
is selected.
Each day in a week can have a dierent program.
3. Programs 10-16 and 18 can be set by pressing Ɓor dbutton (comfort or economy temperature), time changes in
1 hour steps, program setting is displayed in the left bottom corner (black rectangle means comfort temperature).
4. Either pressing or 10 seconds of inactivity will close the program selection and return to normal thermostat
operation.
F. Comfort and economy temperature setting
1. Slide the operation selector to the flame symbol (or snowflake).
2. Holding either Ɓor d‚ button enters mode of setting comfort or economy temperature.
3. By pressing up or down arrows the desired temperature is set (5-35°C).
4. Either pressing or 10 seconds of inactivity will close the temperature setting and return to normal thermostat
operation.
2
2
EN
