manuals.online logo
Brands
  1. Home
  2. •
  3. Brands
  4. •
  5. Regulus
  6. •
  7. Thermostat
  8. •
  9. Regulus TP69 User manual

Regulus TP69 User manual

TP69 - LCD thermostat
WARRANTY CERTIFICATE
Seller: ................................................. Date of Purchase: ......................................
1. The warranty period is 24 months from the date of purchase.
2. The product shall be installed and commissioned by a competent company or a person
trained by the manufacturer.
3. When claiming warranty, this Warranty Certifi cate must be submitted together with the
purchase receipt.
4. The warranty is valid only when the technical conditions set by the Manufacturer,
installation manual and instructions in the documentation and on the product itself are
maintained.
5. The warranty does not cover defects caused by external conditions or improper
operation conditions, defects caused by usual wear and tear, further when the
product is not used in compliance with its purpose and when the defect was caused
by mechanical damage, improper handling, tampering by a third person, improper
installation, improper stocking, natural disaster etc.
COMMISSIONING
Company: ………………………………..
Date: ……………………..
Rubber stamp print and signature of the installing person:
WARRANTY CONDITIONS
www.regulus.eu
TP69
TP69
EN
Users Manual
TP69 - LCD thermostat
©2019 We reserve the right to errors, changes and improvements without prior notice.
REGULUS spol. s r.o.
E-mail: [email protected]
Web: www.regulus.eu
v1.1-01/2019
Description:
Electronic thermostat with a digital thermometer. The temperature is set by keys. During adjusting, the temperature appears on the
display with a hand symbol.
When setting is finished, the real room temperature is displayed and the hand symbol disappears. The thermostat is of electronic type,
measuring the temperature every 2 minutes. When the setting is changed (call for heat or no call for heat), switching will occur within 2
minutes.
The thermometer symbol indicates the state of the thermostat. If the thermostat is closed (the boiler is firing), the thermometer symbol
is blinking.
Recommended installation place:
The thermostat is designed for indoor use only. It
should be placed on an inner wall about 150 cm above
the floor, into a suitable space where changes in the
room temperature can be registered thanks to freely
circulating air.
Do not mount above heat sources (TV set, heater, fridge
etc.), to places exposed to direct sunshine, draught,
radiation from instruments, nor to a laundry.
Mounting Instruction:
1. Removing the cover
• Loosen the screws (1) and (2) on the device bottom with a screwdriver
• Lift off the cover from the bottom (3) and shift upwards (4) to release the top latch
2. Mounting without a fixing board
• Make sure that the thermostat is placed horizontally.
• Place the thermostat so that the wires run through the opening not far from an electric box in the wall.
• Drill two holes into the wall, matching the two openings in the rear of the thermostat.
• Fix the thermostat onto the wall using two long screws and two sockets.
3. Mounting with a fixing board
• Put the fixing board onto the wall or electric box so that its position is horizontal and it fully covers the box.
• Thread the wires through its middle opening.
• Use 2 sockets for fixing.
• Attach the board with 2 long screws.
• Run the wires close to a terminal block.
• Attach the thermostat to the fixing board with 2 short screws.
4. Wiring
• Connect the appropriate wires to the terminal block.
• Finally, push all the wires back into the box.
5. Repositioning the cover
• Verify that the rubber keys are pressed against the PCB (5a).
• Place the cover on the top notches (6) and ensure the top locks are fastened.
• Push the rubber keys into cover openings (5b).
• Click the cover to its place (7) and tighten the screws (8 and 9).
• Check the rubber keys for free movement. If they cannot be pressed easily, the cover repositioning procedure shall be repeated.
6. Temperature Control
• Press the key with the hand symbol ( ). The temperature on the display starts blinking. Using the keys up ▲or down▼adjust the
desired temperature.
• Temperature can be set between 5 and 35°C, in 0.5°C steps.
• To confirm the value set, press the key with hand symbol ( ).
Warning:
In case of a power supply interruption the modified values will be lost and the factory values set as default 22 °C.
If no key is pressed within 10 seconds, the thermostat will save the last displayed value and return to current operation.
Technical Data:
TP69
IMPORTANT INFORMATION ON A PROPER DISPOSAL OF E-WASTE
AS REQUIRED BY THE EC DIRECTIVE 2002/96/EC (WEEE)
Do not dispose of this product as unsorted municipal wa󰀬e.
Please dispose of this product by returning it to the point of
sale or to your local municipal collection point for recycling.
Respecting these rules will help to preserve, protect and
improve the quality of the environment, protect human
health and utilise natural resources prudently and rationally.
The crossed out wheeled bin with marking bar, printed also
on the product itself, identies that the product mu󰀬 be
disposed of at a recycling collection site.
WEEE Regi󰀬ration Number: 02771/07-ECZ
Nominal contact load 230 V~, 16(3) A
Temperature probe NTC termistor
Frequency of measuring Approx. 2 min.
Operating temperature 0 - 40 °C
Storing temperature 0 - 50 °C
Relative humidity 5 - 90 % (non-condensing)
Other Regulus Thermostat manuals

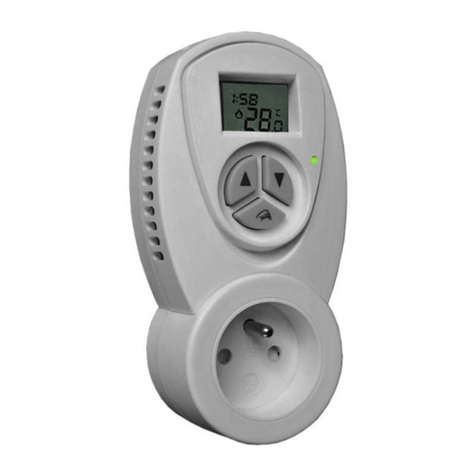
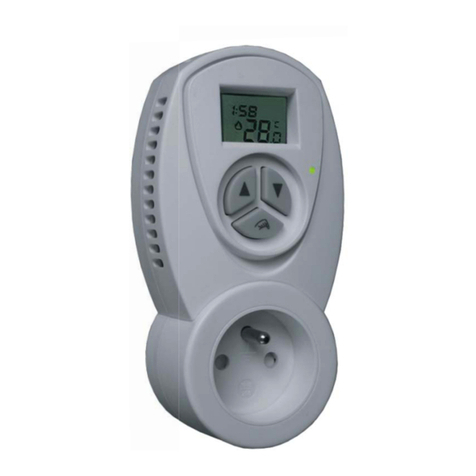
Regulus TZ33 User manual

Regulus

Regulus TZ33 User manual

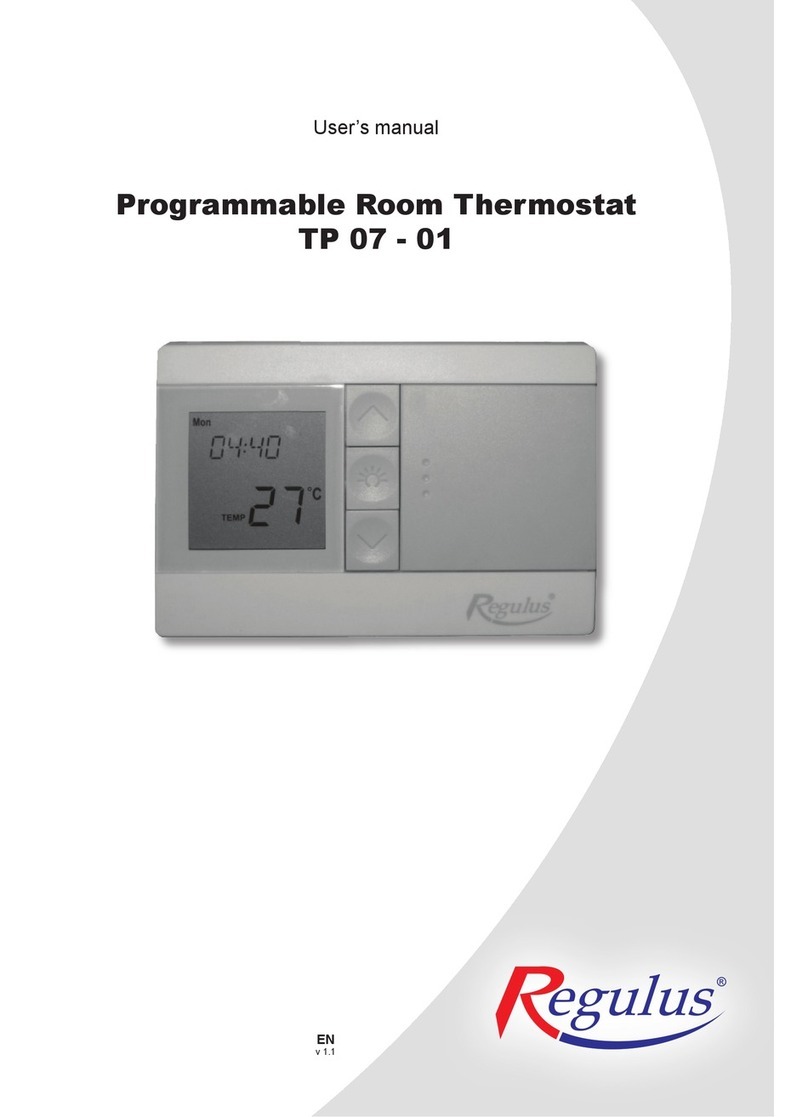
Regulus TP 07-01 User manual

Regulus

Regulus TP 07-01 User manual

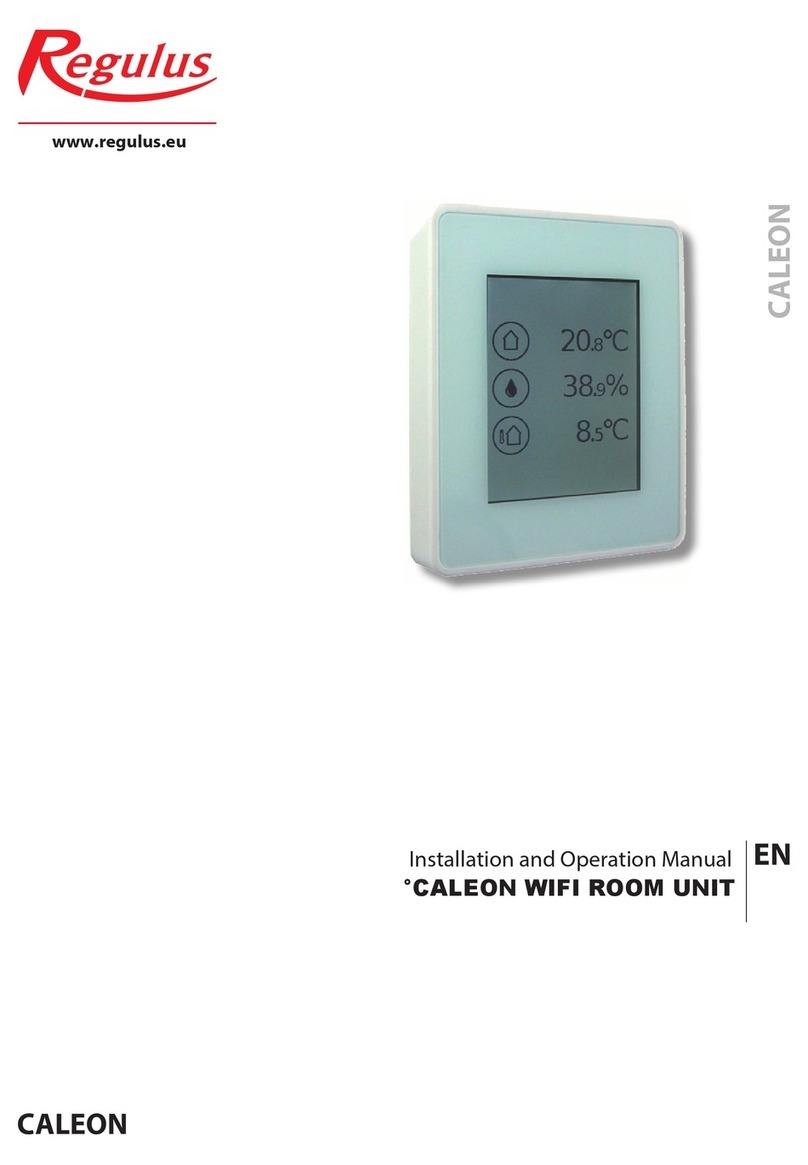
Regulus Caleon User manual

Regulus

Regulus Caleon User manual

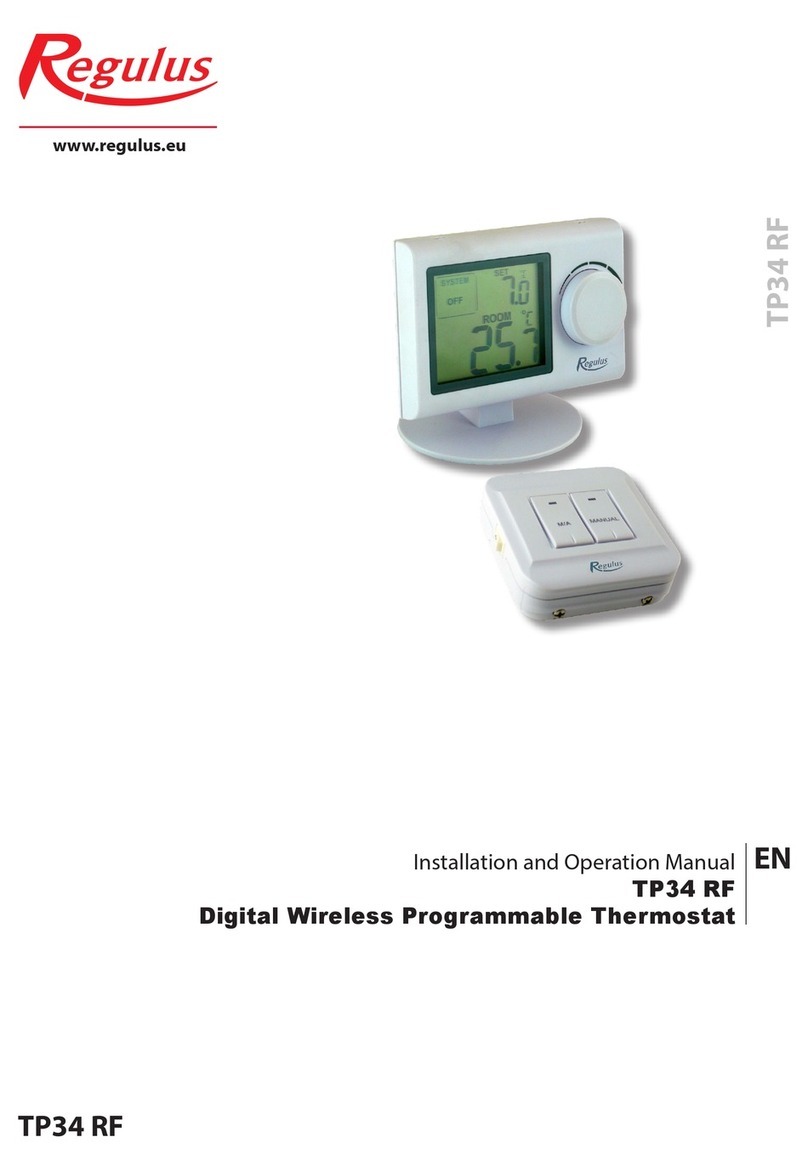
Regulus TP34 RF User manual

Regulus

Regulus TP34 RF User manual

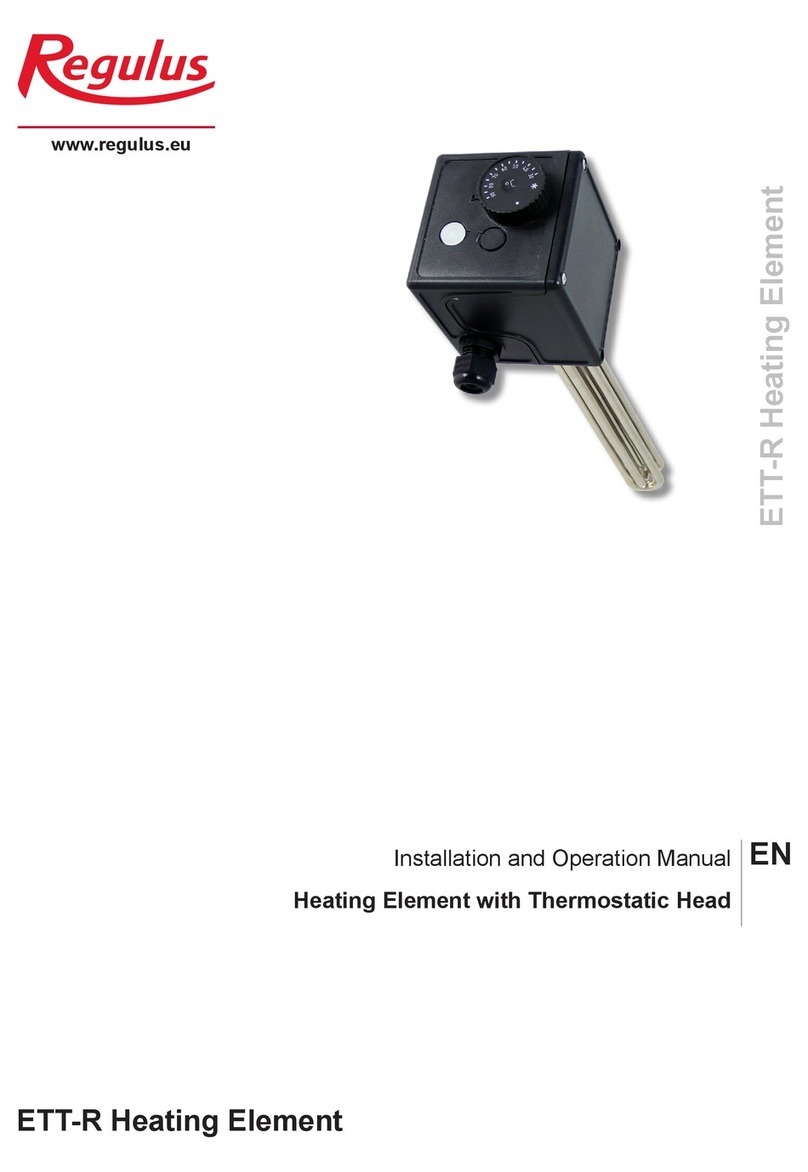
Regulus ETT-R User manual

Regulus

Regulus ETT-R User manual

Regulus TZT63 User manual

Regulus

Regulus TZT63 User manual

Regulus TP44 User manual

Regulus

Regulus TP44 User manual

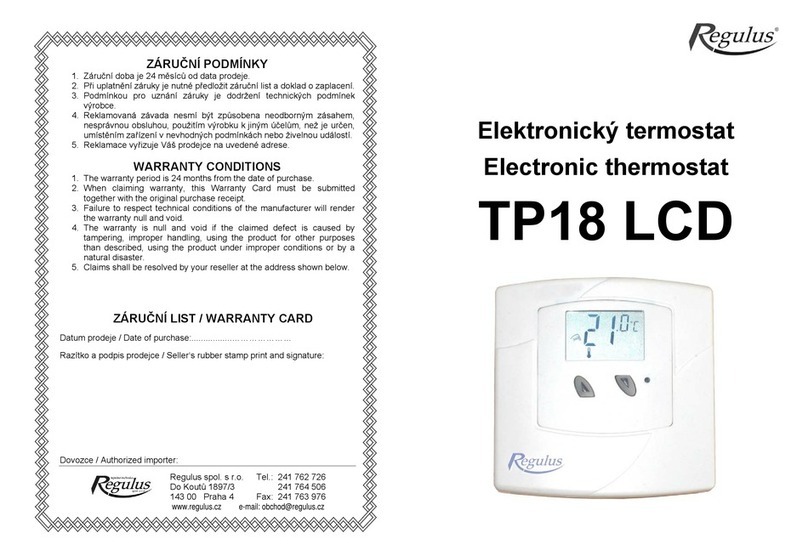
Regulus TP18 LCD User manual

Regulus

Regulus TP18 LCD User manual

Regulus ST311 User manual

Regulus

Regulus ST311 User manual

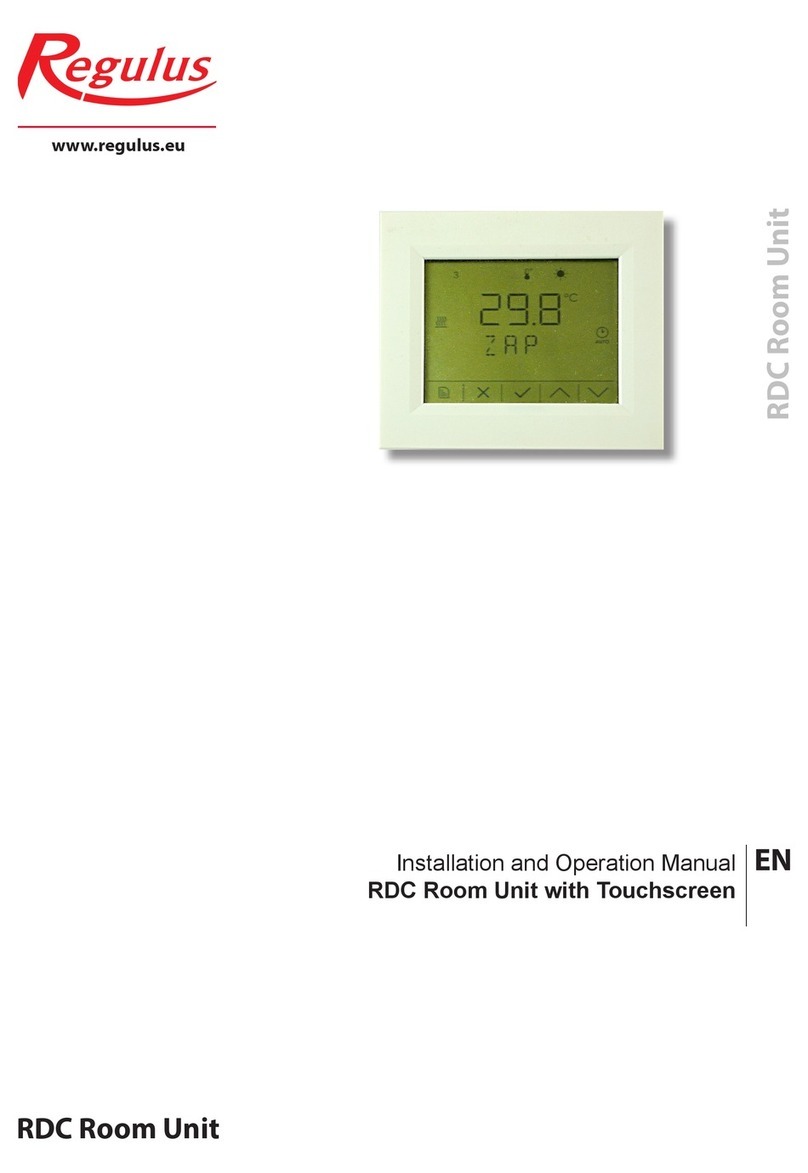
Regulus RDC Series User manual

Regulus

Regulus RDC Series User manual

Regulus TP44 RF User manual

Regulus

Regulus TP44 RF User manual

Regulus TP08 User manual

Regulus

Regulus TP08 User manual

Regulus BB1-1000 User manual

Regulus

Regulus BB1-1000 User manual

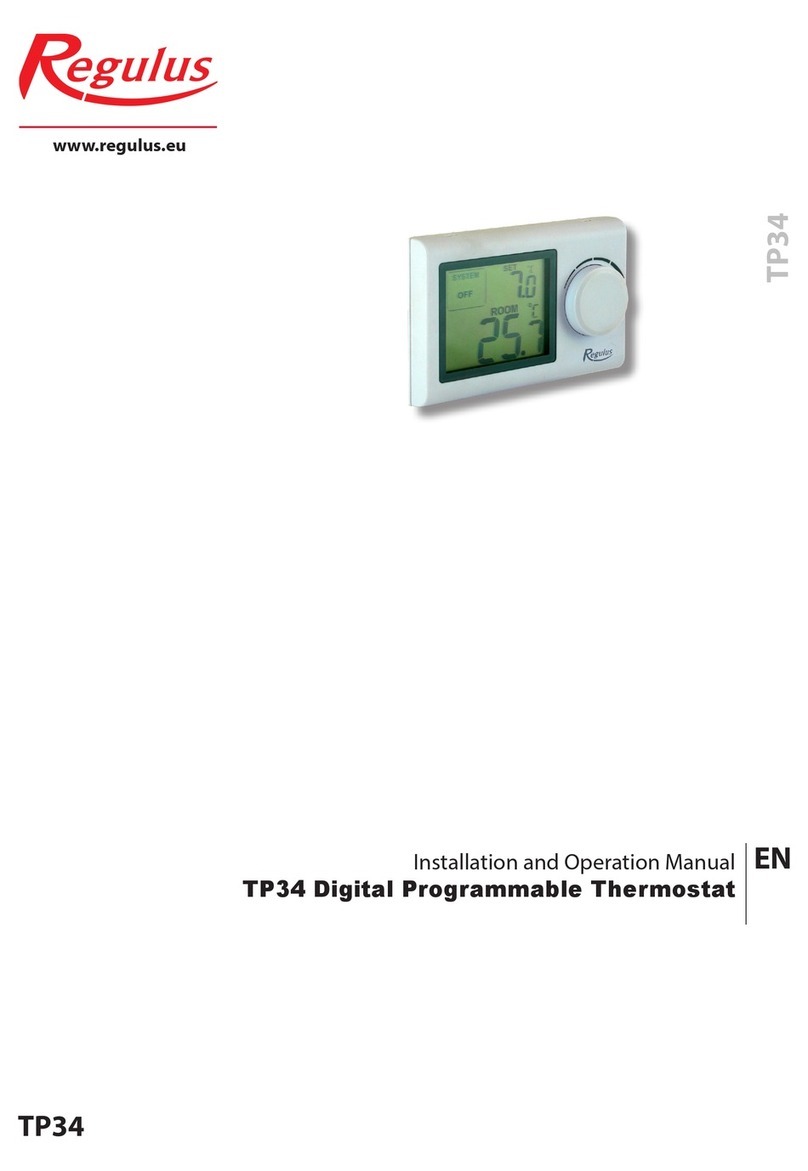
Regulus TP34 User manual

Regulus

Regulus TP34 User manual

Popular Thermostat manuals by other brands

Danfoss TP9 installation instructions

Danfoss

Danfoss TP9 installation instructions

Honeywell T8611G Chronotherm IV Deluxe manual

Honeywell

Honeywell T8611G Chronotherm IV Deluxe manual

Owon PCT502 quick start guide

Owon

Owon PCT502 quick start guide

nilan Compact P CTS700 operating instructions

nilan

nilan Compact P CTS700 operating instructions

Hunter 42177 owner's manual

Hunter

Hunter 42177 owner's manual

GENERAL LIFE ARUNA 302S RF user manual

GENERAL LIFE

GENERAL LIFE ARUNA 302S RF user manual

Bryant Evolution Control Homeowner's guide

Bryant

Bryant Evolution Control Homeowner's guide

Sinope TH1500ZB-C4 installation guide

Sinope

Sinope TH1500ZB-C4 installation guide

Salus RT510BC quick guide

Salus

Salus RT510BC quick guide

Wattstemp 860 manual

Wattstemp

Wattstemp 860 manual

Aprilaire 8551 owner's manual

Aprilaire

Aprilaire 8551 owner's manual

Airxcel Coleman-Mach 9420 381 Operation guide

Airxcel

Airxcel Coleman-Mach 9420 381 Operation guide

Honeywell FocusPRO Wi-Fi TH6000 Series installation guide

Honeywell

Honeywell FocusPRO Wi-Fi TH6000 Series installation guide

Uponor SetPoint 521 Installation and operation manual

Uponor

Uponor SetPoint 521 Installation and operation manual

Genebre 3917 00 user manual

Genebre

Genebre 3917 00 user manual

FlexDeco CPST30-120GA user manual

FlexDeco

FlexDeco CPST30-120GA user manual

Innogy WRT manual

Innogy

Innogy WRT manual

Danfoss 102E7 Installation & user's instructions

Danfoss

Danfoss 102E7 Installation & user's instructions

manuals.online logo
manuals.online logoBrands
  • About & Mission
  • Contact us
  • Privacy Policy
  • Terms and Conditions

Copyright 2025 Manuals.Online. All Rights Reserved.