Relay2 RA200 Manual

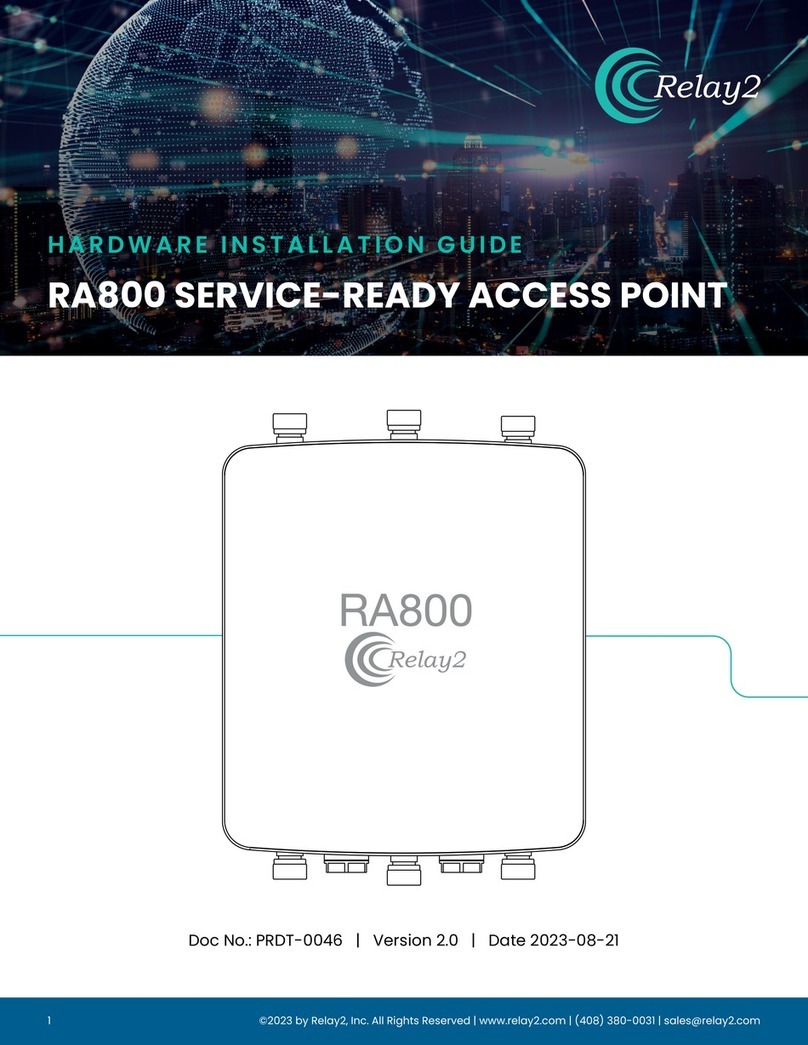
HARDWARE INSTALLATION GUIDE
RA200 SERVICE-READY ACCESS POINT
Doc No.: PRDT-0046 | Version 2.0 | Date 2023-08-23

RELAY2
TRADEMARKS
COMPANY HEADQUARTERS
NOTES
The Relay2 logo is a trademark of Relay2, Inc.
of the US.
1525 McCarthy Boulevard, Suite 209
Milpitas, CA 95035, USA
www.relay2.com
(408) 380-0031
This device follows FCC Part 15. Two general
conditions of operation:
1. No harmful interference is caused by this device.
2. This device can accept interference that may be
caused by unexpected operation.
ATTENTION
PRODUCT OVERVIEW
Any unauthorized modications or replacement of
components may violate FCC regulation and be
cause to invalidate FCC authorization.
The RA200 family is a cloud-managed Service-
Ready Access Point (SR-AP) offering Edge
Computing and storage capabilities with a high-
performance wireless access point integrated.
It enables businesses to deliver superior venue
experiences, enhance business operations, and
create competitive advantages. The RA200 family
consists of various models—including the RA250,
RA270, RA275, and RA280—to support various
deployment needs. For more information about the
RA200 family, refer to www.relay2.com.

Opening the Package
• Please ensure that all ordered optional
accessories are included in the separate
accessory box.
• Please peel off the protective lm before using
the AP.
• Please do not use a different power adapter than
the one included with the package.
• Please check the packaging list rst. If there are
any missing or broken parts, please contact the
authorized distributor of Relay2, Inc.
Warranty
• Please provide the device model, MAC address,
and serial number shown on the tag of the rear
panel.
• The warranty does not cover a product that has
been opened without authorization from Relay2
Inc.
• Reasonable repair and shipping costs will be
charged for product faults or damage caused
by using non-Relay2 accessories or improper
operation.
Safety
• Read the hardware installation guide carefully
before installation and power up.
• The power supply can be either a 48 VDC power
adapter or an IEEE 802.3at-compatible PoE+.
• Make sure the power input matches the voltage
range of the power adapter.
• To avoid overheating, make sure the AP allows for
proper heat dissipation, and leave enough room
for air circulation.
• To avoid scalding, do not directly touch the
bottom of the AP. When the AP is in operation,
the surface temperature of the back plate will be
very hot.
• Any unauthorized modication of the product
structure and safety design is not allowed.
• Do not put anything on top of the AP. If the AP
gets liquid in it, please disconnect the power
supply, disconnect all network connections, and
contact the authorized distributor of Relay2, Inc.
Before You Start
• Do not install the AP outdoors without a shield.
• Before installation, a signal-detecting test can be
used to determine the best installation position.
• Keep your body at least 20 cm away from the AP
during installation and operation.
• Install the AP at least 1 m distance from any metal
obstructions to avoid radio signals affected by
metal shielding effect.
• To avoid radio interference, keep the device
away from magnets or magnetic elds (i.e., do
not place it near a microwave, refrigerator, etc.)
• If there is a statement prohibiting the use
of wireless devices in restricted places and
explosive areas, please do not install the wireless
AP.
• The wireless AP is equipped with a grounding
screw on the wall-mounting plate; be sure to
tighten the ground wire to the ground screw lock
position to prevent lightning strikes.

ACCESSORIES LIST
KIT PICTURE COMPONENT NAME QTY.
Universal Mount Kit
Power Adapter
(Optional)
Universal Mount Kit
Power Adapter
Screw Set for Mounting Kit
Power Cord
1
1
4
1

DISPLAY AND LEDS
WLAN Access Point (Front)
Reset Button
LED Function Altitude Sensor

I/O INTERFACE
WLAN Access Point Interfaces (Back)
USB Port
(For additional accessories)
RJ9 Port to RS
(For diagnostics)
Air Circulation Holes
RJ45 Port
3G/4G Dongle
Compartment
DC in/48-VDC

SIGNAL COVERAGE AREA
Install Reference
A: Strong signal coverage area
B: Weak signal coverage area
Wall
Table

CEILING INSTALLATION
Universal Mount
Slide Handle
1. The universal mount is adjustable to three different widths to suit various
ceiling frame sizes: 9/16 in., 15/16 in., and 1 1/2 in.
2. Place the universal mount
over the ceiling frame and
pinch the sliders until the
frame is captured. Tighten
the screws to lock the
sliders in place. Check to
ensure the mount is secure.
Slide Range
Fastening Direction
Positioning Latch
9/16 in. 15/16 in. 1-1/2 in.
M3 Screws (2x)
Ceiling Grid Frame*
*Accepted sizes: 9/16 in.,
15/16 in., or 1-1/2 in.
Tighten the Screws

Complete Assembly (Ceiling Installation)
3. Slide the AP’s four mounting pegs into
receiving slots on the Universal Mount
Plate, then gently pull the entire AP
toward the direction indicated by the
arrow until the AP is securely locked
into place.
V-Shaped Positioning Latch
Mounting Pegs (4)

WALL INSTALLATION
M5 Self-Tapping Screws (4x)
Plastic Screw Anchors (4x)
Wall
Holes on Wall for Mounting
Mounting Plate
AP Bottom
1. The universal mount can also be used to install the RA200 on walls.
Drywall, plasterboard, and other similar indoor wall materials are
suitable to secure the access point.

2. Place the universal mount against the wall in the location the AP is to be
installed. Mark the holes with a scribe or pen after the desired positioning
is achieved. With the appropriately sized drill bit, drill four holes in the
wall with the mount in place. The drilled holes should be about the same
diameter as the plastic screw anchors. Remove the mounting plate. Tap
the plastic screw anchors into place with a mallet.
3. Place the mount against the wall and fasten it with the M5 Screws as
shown below.
Insert the screws.
Mounting kit bracket
Put the screw anchors
in the drilled holes (4x).
Drill the
holes.
Mark the positions
for the holes.
M5 Screw (4x)
Plastic Anchor (4x)

4. Slide the four mounting pegs on the back of the AP into the holes of the
mounting bracket, then slightly pull in the direction of arrow B. The AP will
not be positioned on the bracket.
V-shaped positioning latch

Complete Assembly (Ceiling Installation)

HARDWARE SPECIFICATIONS
Weight 0.65 KG
Mounting Desktop, Ceiling, or Wall Mount
Physical Dimensions 255 mm x 155 mm x 38 mm
(not including desk mount feet or wall mounting kit)
Power 1. PoE+ (802.3at compatible)
2. 48 VDC power adapter
3. When both PoE+ and DC power adapters are connected
to the AP as redundant power supply, the DC adapter
has precedence over the PoE+.
Power Consumption Maximum 18 W
Operating Temperature 32ºF–104ºF (0ºC–40ºC)
Operating Humidity 15%-95% noncondensing
Storage Temperature -4ºF–176ºF (-20ºC–80ºC)
Network Interface One RJ45 GE port (802.3at standard PoE+)
Antennae Embedded Directional Antennae
Gain: 3 dBi at 2.4 GHz, 5 dBi at 5 GHz
LED Indicators 1x power status Indicator
1x Ethernet connectivity indicator
1x 2.4 GHz indicator
1x 5 GHz indicator
Regulatory FCC (US), TA (China)
Certications Wi-Fi Certied

FCC Disclaimer
§ 15.19 Labeling Requirements
This device complies with part 15 of the FCC Rules.
Operation is subject to the following two conditions:
(1) This device may not cause harmful interference,
and (2) this device must accept any interference
received, including interference that may cause
undesired operation.
§ 15.21 Information to User
Any changes or modications not expressly
approved by the party responsible for compliance
could void the user’s authority to operate the
equipment.
§ 15.105 Information to the User
This equipment has been tested and found to
comply with the limits for a Class B digital device,
pursuant to part 15 of the FCC Rules. These limits are
designed to provide reasonable protection against
harmful interference in a residential installation. This
equipment generates uses and can radiate radio
frequency energy and, if not installed and used
in accordance with the instructions, may cause
harmful interference to radio communications.
However, there is no guarantee that interference
will not occur in a particular installation. If this
equipment does cause harmful interference to
radio or television reception, resolve the interference
by one or more of the following measures:
• Reorient or relocate the receiving antenna.
• Increase the separation between the equipment
and the receiver.
• Connect the equipment to an outlet on a circuit
different from that to which the receiver is
connected.
• Consult the dealer or an experienced radio/TV
technician for help.
This equipment complies with FCC radiation
exposure limits set forth for an uncontrolled
environment.
This equipment should be installed and operated
with a minimum distance of 20 cm between the
radiator and your body.
Operations in the 5.15–5.35 GHz band are restricted
to indoor usage only.
Other manuals for RA200
1
Table of contents
Other Relay2 Wireless Access Point manuals