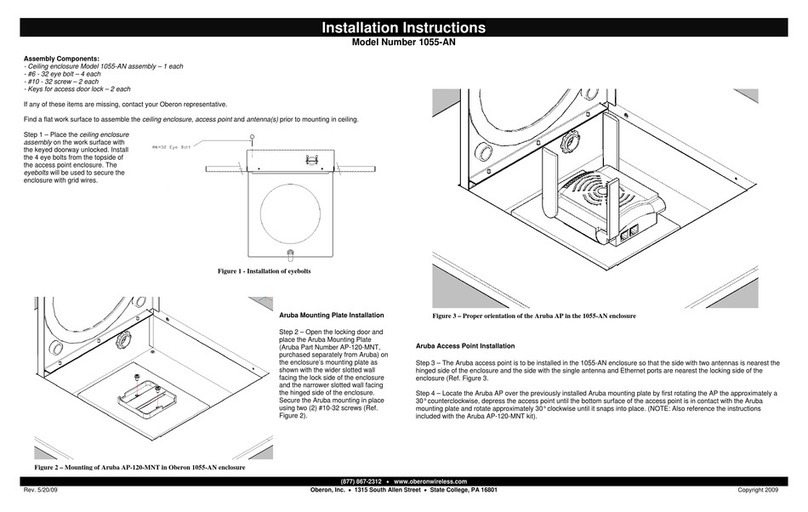
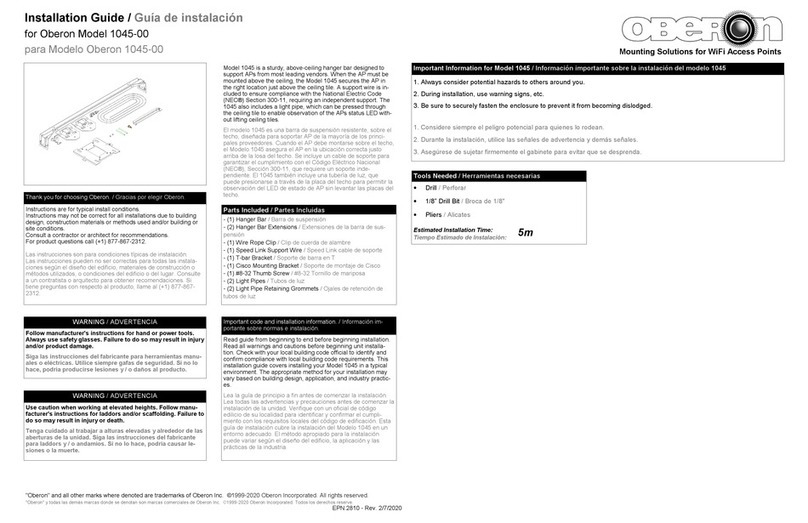
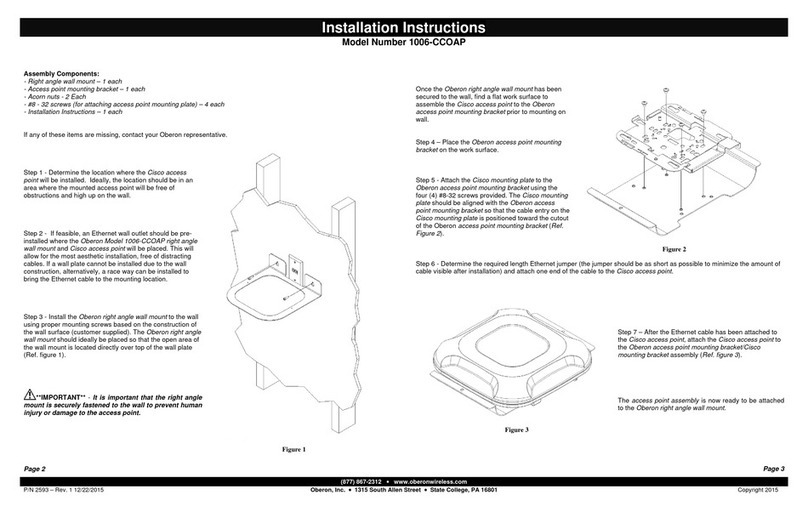
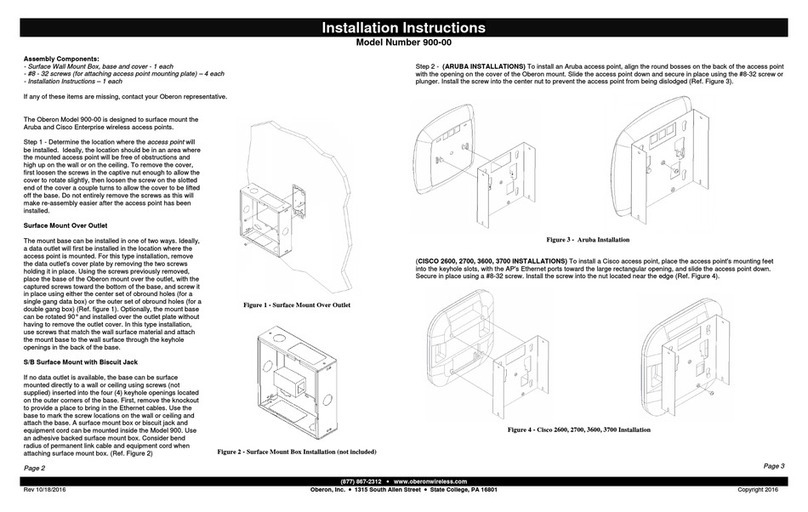
manuals.online logo
Brands
  1. Home
  2. •
  3. Brands
  4. •
  5. OBERON
  6. •
  7. Wireless Access Point
  8. •
  9. OBERON 1041-CP User manual

OBERON 1041-CP User manual

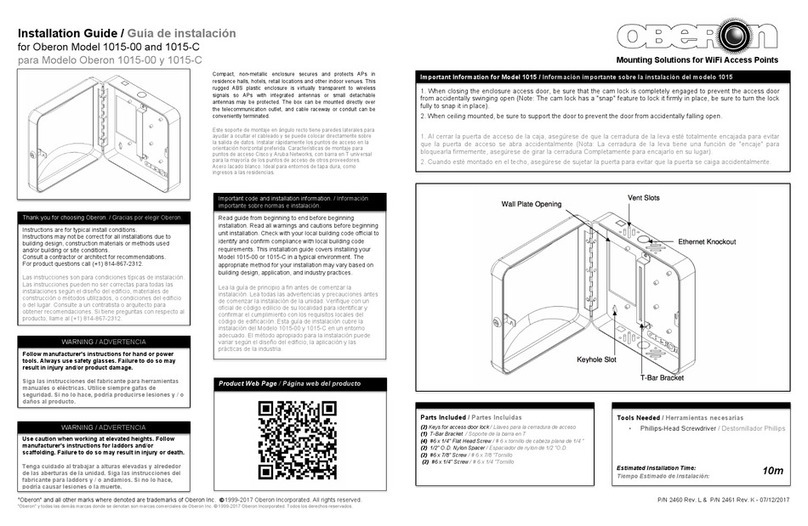
Installation Guide / Guía de instalación
for Oberon Model 1041-CP and WA
para Modelo Oberon 1041-CP y WA
Mounting Solutions for WiFi Access Points
"Oberon" and all other marks where denoted are trademarks of Oberon Inc. ©1 -2020 Oberon Incorporated. All rights reserved.
"Oberon" y todas las demás marcas donde se denotan son marcas comerciales de Oberon Inc. © 1 -2020 Oberon Incorporated. Todos los derechos reserve.
EPN 2 13 & 3185 - Rev. 1/ /2020
Oberon’
 !
 "#$$ "#%
!!&
"#
'()"%
*"+( %("
,-
.
/0 ",/
$1$"2!1
.&(."2-
-"2-%
34*"5(%
4("
Instructions are for typical install conditions.
Instructions may not be correct for all installations due to building
design, construction materials or methods used and/or building or
site conditions.
Consult a contractor or architect for recommendations.
For product questions call (+1) 877-867-2312.
Las instrucciones son para condiciones típicas de instalación.
Las instrucciones pueden no ser correctas para todas las instala-
ciones según el diseño del edificio, materiales de construcción o
métodos utilizados, o condiciones del edificio o del lugar. Consulte
a un contratista o arquitecto para obtener recomendaciones. Si
tiene preguntas con respecto al producto, llame al (+1) 877-867-
2312.
Thank you for choosing Oberon./ Gracias por elegir Oberon.
WARNING / ADVERTENCIA
Follow manufacturer's instructions for hand or ower tools.
Always use safety glasses. Failure to do so may result in injury
and/or roduct damage.
Siga las instrucciones del fabricante ara herramientas manu-
ales o eléctricas. Utilice siem re gafas de seguridad. Si no lo
hace, odría roducirse lesiones y / o daños al roducto.
WARNING / ADVERTENCIA
Use caution when working at elevated heights. Follow manu-
facturer's instructions for laddors and/or scaffolding. Failure to
do so may result in injury or death.
Tenga cuidado al trabajar a alturas elevadas y alrededor de las
aberturas de la unidad. Siga las instrucciones del fabricante
ara laddors y / o andamios. Si no lo hace, odría causar le-
siones o la muerte.
Im ortant Information for Model 1041 / Información im ortante sobre la instalación del modelo 1041
1. Always consider potential hazards to others around you.
2. During installation, use warning signs, etc.
3. Be sure to securely fasten the enclosure to prevent it from becoming dislodged.
1. Considere siempre el peligro potencial para quienes lo rodean.
2. Durante la instalación, utilice las señales de advertencia y demás señales.
3. Asegúrese de sujetar firmemente el gabinete para evitar que se desprenda.
Important code and installation information. / Información im-
portante sobre normas e instalación.
Read guide from beginning to end before beginning installation.
Read all warnings and cautions before beginning unit installa-
tion. Check with your local building code official to identify and
confirm compliance with local building code requirements. This
installation guide covers installing your Model 1041 in a typical
environment. The appropriate method for your installation may
vary based on building design, application, and industry practic-
es.
Lea la guía de principio a fin antes de comenzar la instalación.
Lea todas las advertencias y precauciones antes de comenzar la
instalación de la unidad. Verifique con un oficial de código
edilicio de su localidad para identificar y confirmar el cumpli-
miento con los requisitos locales del código de edificación. Esta
guía de instalación cubre la instalación del Modelo 1041 en un
entorno adecuado. El método apropiado para la instalación
puede variar según el diseño del edificio, la aplicación y las
prácticas de la industria.
Parts Included / Partes Incluidas
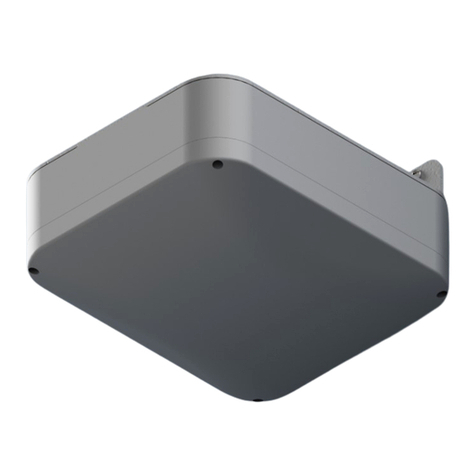
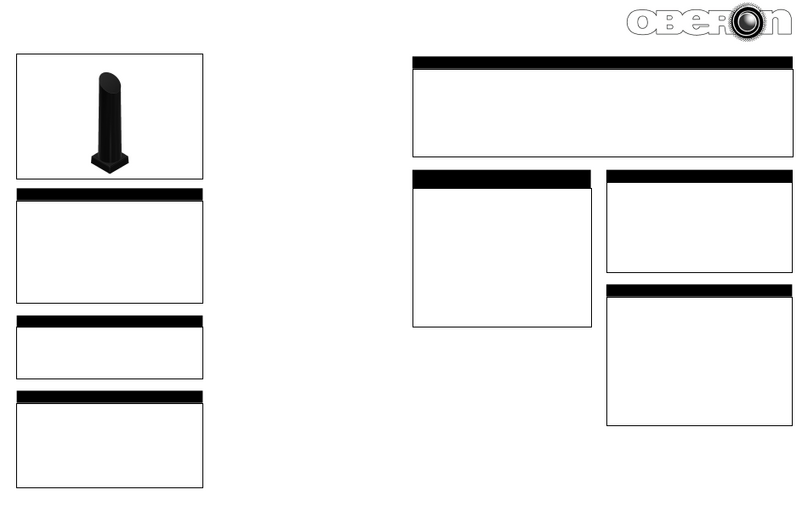
- (1) AP Trim Assembly / Asamblea de ajuste AP
- (1) AP Mounting Bracket / Soporte de montaje AP
- (1) 1/4-20 x 3/8" Screw / Tornillo de 1/4-20 x 3/8"
- (2) #8-32 Thumb Nuts / #8-32 Tuercas de mariposa
- (4) Push-on Screw Caps / Tapones de rosca a presión
- (1) Speed Link Support Wire / Cable de soporte de enlace de
velocidad
Installation Guide / Guía de instalación
for Oberon Model 1041-CP and WA
para Modelo Oberon 1041-CP y WA
Mounting Solutions for WiFi Access Points
"Oberon" and all other marks where denoted are trademarks of Oberon Inc. ©1 -2020 Oberon Incorporated. All rights reserved.
"Oberon" y todas las demás marcas donde se denotan son marcas comerciales de Oberon Inc. © 1 -2020 Oberon Incorporated. Todos los derechos reserve.
EPN 2 13 & 3185 - Rev. 1/ /2020
Cut a 11.1” x 11.1” opening in the “hard lid” ceiling or wall. The mount will fit
existing drywall, sheetrock, gypsum board wall or ceiling 1-3/4” or less.
Corte una abertura de 11.1" x 11.1" en el cielorraso o pared de “cubierta
rígida”. Este soporte se adapta a paneles de yeso o cielorrasos existentes
de 1-3/4" o menos.
1
Place the assembly on a flat work surface. Remove the two (2) thumb nuts
that hold the mounting bracket in place.
Coloque el ensamblaje en una superficie de trabajo plana. Retire las dos (2)
tuercas de mariposa que sostienen el soporte de montaje en su lugar.
2
For Cisco APs, fasten the access point to the mounting bracket by sliding
the feet into the (4) keyhole slots on the bracket. Reattach the mounting
bracket to the assembly with the (2) thumb nuts provided.
Para los AP de Cisco, fije el punto de acceso al soporte de montaje de-
slizando los pies en las (4) ranuras de ojo de cerradura en el soporte. Vuel-
va a colocar el soporte de montaje al ensamblaje con las (2) tuercas de
mariposa provistas.
3a
For Aruba APs, fasten the access point to the mounting bracket by sliding
the feet into the (2) keyhole slots on the bracket. Secure the AP with the
locking screw provided as shown above. Reattach the mounting bracket to
the assembly with the (2) thumb nuts provided.
Para los AP de Aruba, fije el punto de acceso al soporte de montaje de-
slizando los pies en las (2) ranuras de cerradura en el soporte. Asegure el
AP con el tornillo de bloqueo provisto como se muestra arriba. Vuelva a
colocar el soporte de montaje al ensamblaje con las (2) tuercas de maripo-
sa provistas.
3b
NOTE: Other vendors APs can be attached to the T-bar in the center of the
mounting bracket with the manufacturer’s T-bar clip.
NOTA: Se pueden conectar puntos de acceso de otros proveedores a la
barra en T en el centro del soporte de montaje con el gancho de barra en T
del fabricante.
After attaching the ethernet cable to the AP, insert the box into the opening
in the ceiling/wall and using either a hand held screw driver or an electric
screw driver set to the lowest torque setting, rotate the screws located at
the four corners. Rotating the screws clockwise will cause the dogleg clip to
rotate into position (#2 shown above) and travel along the length of the
screw. This will tighten the clip against the drywall. CAUTION: Do not over
tighten the screws as this will cause damage to the unit.
Después de conectar el cable de Ethernet al punto de acceso, inserte la
caja en la abertura del cielorraso/pared y con un destornillador de mano o
eléctrico con la configuración más baja de par de torsión, gire los tornillos
ubicados en las cuatro esquinas. Girar los tornillos en el sentido de las
agujas del reloj hará que el gancho angular gire hasta su posición (#2 se
muestra arriba) y se desplace a lo largo del tornillo. Esto apretará el gan-
cho contra el panel de yeso. PRECAUCIÓN: No apriete demasiado los
tornillos ya que esto dañará la unidad.
4
The installation is now complete.
La instalación está completa.
5
IMPORTANT!: If installing into the ceiling, loop the supplied Speed Link
support wire through the two (2) holes in the back of the unit and attach the
wire to a structural member in the ceiling.
IMPORTANTE!: Si se instala en el techo, pase el cable de soporte del
enlace de velocidad suministrado a través de los dos (2) agujeros en la
parte posterior de la unidad y conecte el cable a un miembro estructural en
el techo.

This manual suits for next models

1

Other OBERON Wireless Access Point manuals

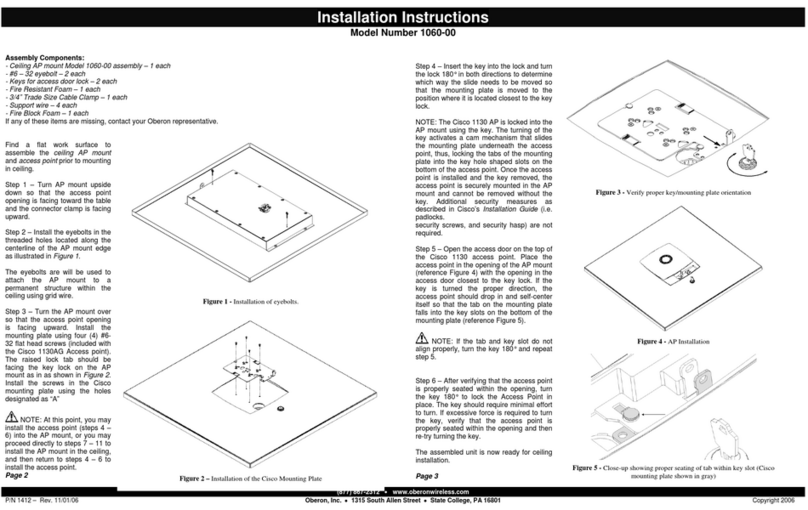
OBERON 1060-00 User manual

OBERON

OBERON 1060-00 User manual

OBERON 1006-CCOAP User manual

OBERON

OBERON 1006-CCOAP User manual

OBERON 3030 Series User manual

OBERON

OBERON 3030 Series User manual

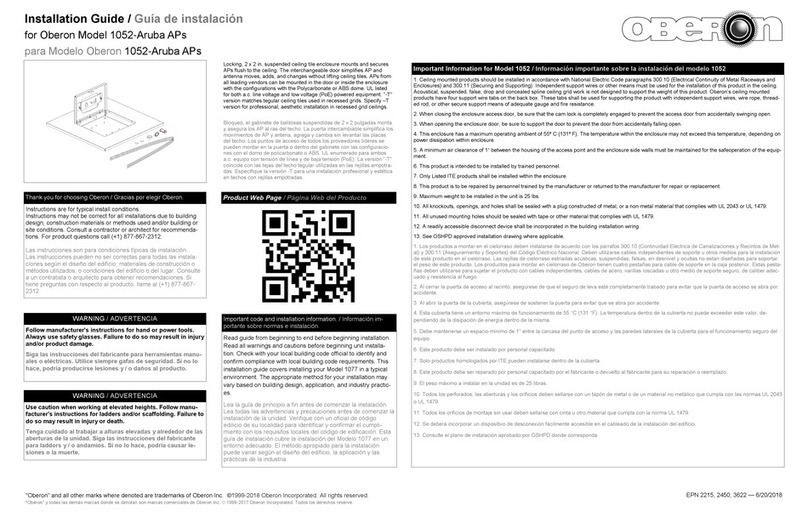
OBERON 1052-Aruba User manual

OBERON

OBERON 1052-Aruba User manual

OBERON 900-00 User manual

OBERON

OBERON 900-00 User manual

OBERON 1045-00 User manual

OBERON

OBERON 1045-00 User manual

OBERON 1055-AN User manual

OBERON

OBERON 1055-AN User manual

OBERON 1041 User manual

OBERON

OBERON 1041 User manual

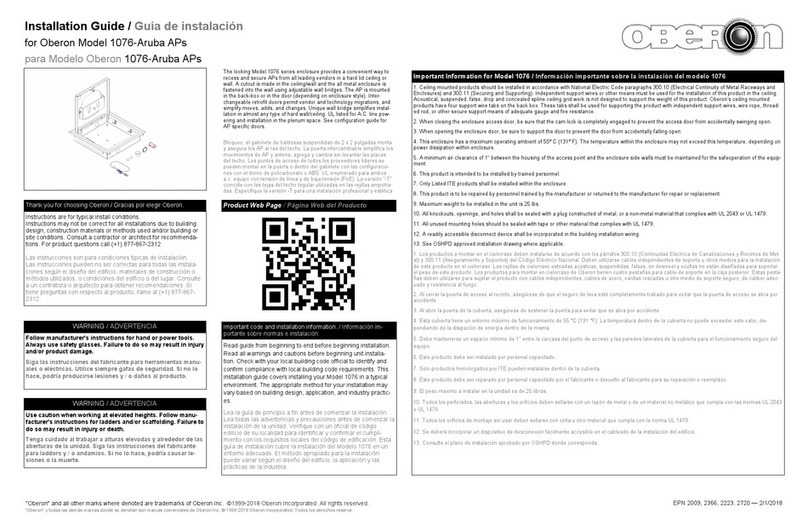
OBERON 1076-Aruba User manual

OBERON

OBERON 1076-Aruba User manual

OBERON 1022-00 User manual

OBERON

OBERON 1022-00 User manual

OBERON 33-1021-PMB-CVR User manual

OBERON

OBERON 33-1021-PMB-CVR User manual

OBERON 1020 Assembly instructions

OBERON

OBERON 1020 Assembly instructions

OBERON 1015-00 User manual

OBERON

OBERON 1015-00 User manual

Popular Wireless Access Point manuals by other brands

Intel Education Content Access Point user manual

Intel

Intel Education Content Access Point user manual

AirTies AP-301 user manual

AirTies

AirTies AP-301 user manual

IPmitter IPMIT450 quick start guide

IPmitter

IPmitter IPMIT450 quick start guide

TRENDnet TEW-740APBO user guide

TRENDnet

TRENDnet TEW-740APBO user guide

Teletronics International TT5800 Quick product guide

Teletronics International

Teletronics International TT5800 Quick product guide

LevelOne WAP-6011 user manual

LevelOne

LevelOne WAP-6011 user manual

APM ALINE-5801A+G Specification sheet

APM

APM ALINE-5801A+G Specification sheet

Avaya WLAN 8100 Series Installation

Avaya

Avaya WLAN 8100 Series Installation

NETGEAR WAC510 user manual

NETGEAR

NETGEAR WAC510 user manual

Aruba Networks IAP-175 installation guide

Aruba Networks

Aruba Networks IAP-175 installation guide

Edimax EW-7416APn Specifications

Edimax

Edimax EW-7416APn Specifications

D-Link DWL-8220AP - AirPremier Wireless Switch Dualband Access... install guide

D-Link

D-Link DWL-8220AP - AirPremier Wireless Switch Dualband Access... install guide

Moxa Technologies AWK-3121-SSC-RTG Quick installation guide

Moxa Technologies

Moxa Technologies AWK-3121-SSC-RTG Quick installation guide

NETGEAR WAX206 installation guide

NETGEAR

NETGEAR WAX206 installation guide

Symbol Spectrum24 Product reference guide

Symbol

Symbol Spectrum24 Product reference guide

Ruckus Wireless T610s Quick setup guide

Ruckus Wireless

Ruckus Wireless T610s Quick setup guide

Cisco WAP571 quick start guide

Cisco

Cisco WAP571 quick start guide

U4EA 001286 quick start guide

U4EA

U4EA 001286 quick start guide

manuals.online logo
manuals.online logoBrands
  • About & Mission
  • Contact us
  • Privacy Policy
  • Terms and Conditions

Copyright 2025 Manuals.Online. All Rights Reserved.