The echo unit will perform an automatic backup of the iQ.IMS or AudioReQuest server every evening/early
morning. The longest sync will take place after the device is connected for the first time, depending on the size of
the collection on the iQ.IMS or AudioReQuest. Subsequent syncs are much quicker as only changes made since
the previous sync are transferred.
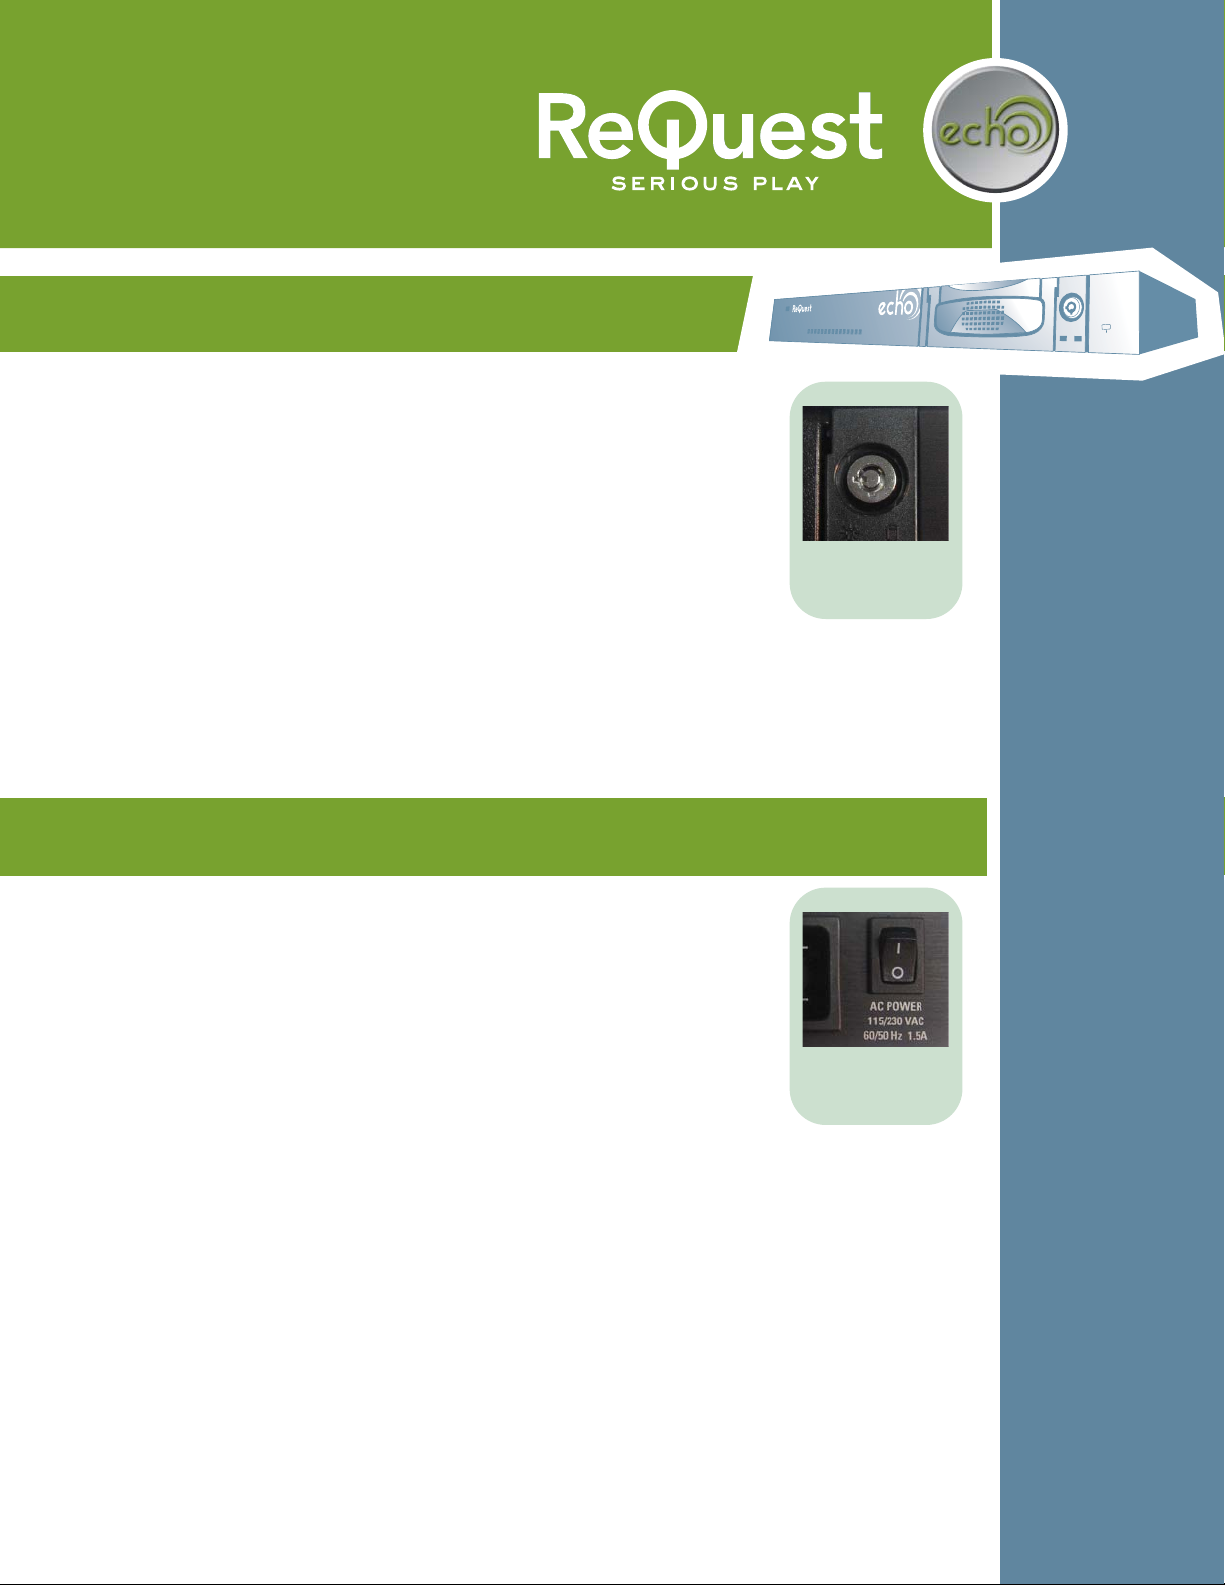
To prevent data corruption, it is very important that both the echo and iQ.IMS or AudioReQuest are powered off
before replacing a drive in the echo. If they are not, it is possible that the iQ.IMS or AudioReQuest will be unable
to detect the echo that it is connected to.
The echo takes added measures to keep the file system on its hard drive intact. In the event that an error is
detected, the echo will attempt to correct the problem. If the repair is successful, the echo will resume normal
operation. If the problem is detected on the AudioReQuest, the echo will NOT sync until the problem is corrected,
protecting the echo hard drive from also becoming corrupted.
echo will be listed in ARQLink under the information of the iQ.IMS or AudioReQuest that echo is connected to
and listed as a "Connected Device."
If an accident occurs where a large set of songs' metadata was edited or deleted, and the echo was successfully
synchronized the night before, the user can swap out the iQ.IMS or AudioReQuest drive with the echo drive to
restore the collection to the last synchronization from the night before.
© 2007 ReQuest Inc.
100 Saratoga Village Blvd
Suite 44
Ballston Spa, NY 12020
www.request.com/support
1-800-236-2812
Notes on the echo
Manual for the
Backup System
echo
Hardware Specifications
}1U chassis (rack mountable)
}USB Connection
}Dimensions: 17" (W) x 9.5" (D) x 1.75" (H)
}Weight: 12 lbs. (5.5 kg)
}Finish: black chassis with brushed aluminum metal faceplate
The lightning flash with arrowhead symbol,
within an equilateral triangle, is intended to alert
the user to the presence of uninsulated
dangerous voltage within the product’s
enclosure that may be of sufficient magnitude to
constitute a risk of electric shock to persons.
Warning: To reduce the risk of fire or electric
shock, do not expose this apparatus to rain or
moisture
The exclamation point within an equilateral
triangle is intended to alert the user to the
presence of important operating and
maintenance (servicing) instructions in the
literature accompanying the appliance.
TO REDUCE RISK OF ELECTRICAL SHOCK,
DO NOT REMOVE COVER. NO USER-
SERVICEABLE PARTS INSIDE. REFER SERVICING
TO QUALIFIED SERVICE PERSONNEL.
Read, keep and follow these instructions.
Do not use this device near water.
Device shall not be exposed to dripping or splashing, and no
objects filled with liquids shall be placed on the apparatus.
Clean only with a dry cloth.
Do not block any ventilation openings. Install according to the
manufacturer’s instructions.
Do not install near any heat sources such as radiators, heat
registers, stoves, or other device (including amplifiers) that
produce heat.
Do not defeat the safety purpose of the polarized or ground plug.
If the provided plug does not fit into your outlet, consult an
electrician regarding installation of a modern polarized outlet.
Protect the power cord from being walked on or pinched.
Only use attachments/accessories specified by the manufacturer.
Protect this device through the use of proper UPS or surge
protection equipment.
Refer all servicing to qualified service personnel.
IMPORTANT SAFETY WARNINGS
Accessories Included
}Power cable, USB Cable, key
1.
2.
3.
4.
5.
6.
7.
8.
9.
10.
11.