manuals.online logo
Brands
  1. Home
  2. •
  3. Brands
  4. •
  5. Restoration Hardware
  6. •
  7. Indoor Furnishing
  8. •
  9. Restoration Hardware Vintage Potting Bench User manual

Restoration Hardware Vintage Potting Bench User manual

Vintage Potting Bench
Assembly Instructions & Product Care
Before Assembly, make sure you have all parts and hardware listed
below. Unpack your new Vintage Potting Bench
surface and identify the following components:
HARDWARE
a: MALL L BRACKET 20x20
A:TOP VALANCE
b: CREW 3.5X30 B:
VALANCE ATTACHMENT 2PC
c: CREW 3.0X18 C:
FRONT VALANCE TRIM
d: MENDING PLATE D:
HELVE 3PC
e: LARGE L BRACKET 40x27 E:
HELF IDE
f: BOLT F:
CENTER BACK
g: CAM LOCK G:
DRAWER FRONT
h: DOWEL H:
DRAWER
i: HANDLE I:
DRAWER B
j: HINGE J:
DRAWER
K: WRENCH K:
TUB COVER
L:
TABLE UNIT
M:
LEFT IDE LEG
N:
RIGHT IDE LEG
O:
HELF DIVIDER
*There may be additional pieces
after assembly due to spare
parts.
P:
BOTTOM HELF OF TABLE
Q: MIDDLE HELF OF TABLE
R: TUB
Parts & Hardware Included
Before Assembly, make sure you have all parts and hardware listed
below. Unpack your new Vintage Potting Bench
on a protected, level
surface and identify the following components:
PARTS
A:TOP VALANCE
VALANCE ATTACHMENT 2PC
FRONT VALANCE TRIM
HELVE 3PC
HELF IDE
2PC
CENTER BACK
UPPORT
DRAWER FRONT
DRAWER
IDE 2PC
DRAWER B
ACK
DRAWER
BOTTOM
TUB COVER
TABLE UNIT
LEFT IDE LEG
RIGHT IDE LEG
HELF DIVIDER
BOTTOM HELF OF TABLE
Q: MIDDLE HELF OF TABLE
R: TUB
Parts & Hardware Included
Step 1: S elf Unit Assembly
Assemble VALANCE TRIM (part C) to VALANCE ATTACHMENT (parts B) with hardware g.
Attach HELF IDE (parts E) to HELVE (parts D) with Hardware g and h; attach CENTER
BACK UPPORT (part F) to HELVE (parts D) with Hardware b. Attach TOP VALANCE (part
A) to assembled shelves and VALANCE ATTACHMENT (parts B) with hardware g and h,
secure with hardware a and c.
Step 2: Drawer Assembly
Fasten DRAWER IDE (parts H) to DRAWER BACK (Part I) with Hardware b; Insert DRAWER
BOTTOM (part J) into assembled parts (parts H, I); attach DRAWER FRONT (part G) to
DRAWER IDE (parts H) with Hardware g and h; Install Drawer Handle (Hardware i) to
DRAWER FRONT (part G) using Hardware c. Install top half of Hinge (Hardware j) using
hardware c.
Step 3: Leg panels Assembly
Attach HELF DIVIDER (part O) onto BOTTOM HELF OF TABLE (part P) with Hardware b;
Attach HELF DIVIDER (part O) to TABLE UNIT (part L) with hardware b. Attach RIGHT and
LEFT IDE LEG (parts M & N) to BOTTOM HELF OF TABLE (part P) and TABLE UNIT (part L)
with Hardware h and f.
Step 4: Table Unit Assembly
Insert Assembled Drawer on to BOTTOM HELF OF TABLE (part P); secure Hinges (hardware
j) to BOTTOM HELF OF TABLE (part P) with Hardware c. Install bottom shelf (part Q).
Step 5: Connect S elf & Table
Install hardware h into assembled table unit, put assembled shelf unit onto dowels. ecure
with hardware d and c; secure with hardware g. If desired, secure with l brackets e and c.
Attach handles (hardware i) to drawer front with hardware c. Insert tub (part R) into
tabletop and cover with part K.
Illustrated teps
Step 1
Attach part C to p
art B with Hardware g (2 pcs)
Attach parts D to parts E with Hardware h (12 pcs) and g (12 pcs);
Attach part F to parts D
with Hardware b (3 pcs);
Attach assembled parts C
and B with Hardware b (4 pcs);
Attach part A to part B
with hardware h (4 pcs) and g (4pcs)
with hardware a (2pcs)and c (8pcs).
**Optional, secure assembled shelving unit to assembled base with
hardware c and e for more se
curity if not leaning against a wall.
Step 2
Fasten parts H to part I with Hardware b
(6pcs);
Insert part J into assembled parts H,I;
Attach part G to parts H with Hardware
g
Install Hardware i (1pc) to part G
using hardware c (4pcs)
Install Hardware j (2pcs) to part G
using Hardware
Step 3
Attach part P to part O with Hardware
b (3pcs);
Attach part O to part L with Hardware b
(3pcs)
correctly;
Attach M to assembled parts P
and L with Hardware F (4pcs);
Attach N to assembled parts P
and L with Hardware F (4pcs).
art B with Hardware g (2 pcs)
;
Attach parts D to parts E with Hardware h (12 pcs) and g (12 pcs);
with Hardware b (3 pcs);
and B with Hardware b (4 pcs);
with hardware h (4 pcs) and g (4pcs)
; secure
**Optional, secure assembled shelving unit to assembled base with
curity if not leaning against a wall.
(6pcs);
g
(4pcs) and h (4pcs);
using hardware c (4pcs)
using Hardware
c (6pcs).
b (3pcs);
(3pcs)
*ensure oriented
and L with Hardware F (4pcs);
and L with Hardware F (4pcs).
Step 4
Install part Q onto assembled parts L and P;
Insert the assembled box from tep 2 into assembled base and attach
part j using Hardware c (6pcs).
Step 5
Insert Hardware h (4pcs) into assembled shelf unit and put shelf unit on
the back of table secure with hardware g (2pcs);
Attach on both sides with mending plates d (2pcs) with Hardware c
(8pcs).
Attach Hardware i to drawer front using Hardware c (4pcs);
Install tub R and cover part K onto tabletop.
**Optional, if L brackets were used for extra security, secure wit ardware c and e.
Hardware and Parts
Caring for your Potting Bench
Your new potting bench is made of a sturdy, high qual
the texturized, vintage finish of the bench and the naturally occurring
combined with the
finish and stain colour give this piece its delightful rustic finish.
result of this finish, no maintenance is required. Exce
or washed with a cloth and warm water. No abrasive cleaners or chemicals should be us
quality hardwood. Its beauty comes from
the texturized, vintage finish of the bench and the naturally occurring
burs, butts and curls
finish and stain colour give this piece its delightful rustic finish.
As a
xcessive dirt and debris can be swept off
or washed with a cloth and warm water. No abrasive cleaners or chemicals should be us
ed.

Other Restoration Hardware Indoor Furnishing manuals
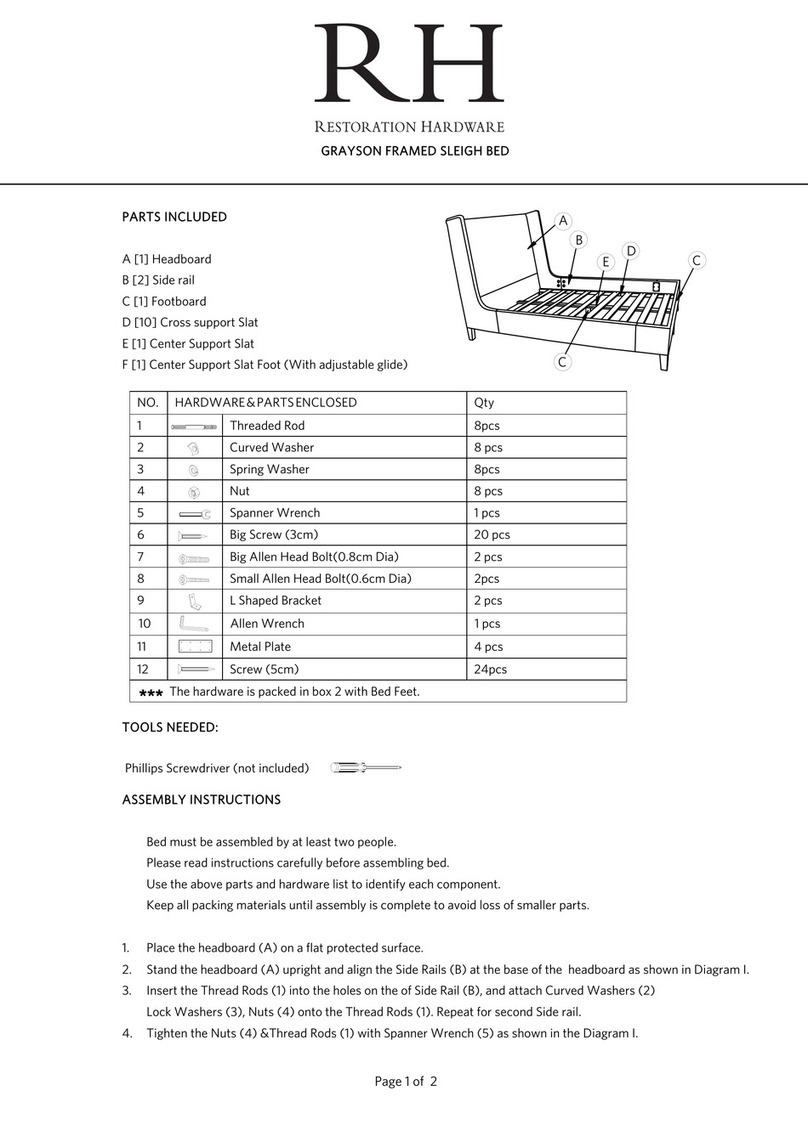
Restoration Hardware GRAYSON User manual

Restoration Hardware

Restoration Hardware GRAYSON User manual

Restoration Hardware Fleur-De-Lys Arch User manual

Restoration Hardware

Restoration Hardware Fleur-De-Lys Arch User manual

Restoration Hardware 101607 User manual

Restoration Hardware

Restoration Hardware 101607 User manual

Restoration Hardware Baby&Child Mercantile stacking bin User manual

Restoration Hardware

Restoration Hardware Baby&Child Mercantile stacking bin User manual

Restoration Hardware LATTICEWORK SHELVING User manual

Restoration Hardware

Restoration Hardware LATTICEWORK SHELVING User manual

Restoration Hardware RH Teen Laguna User manual

Restoration Hardware

Restoration Hardware RH Teen Laguna User manual

Restoration Hardware NICCOLO Instruction manual

Restoration Hardware

Restoration Hardware NICCOLO Instruction manual

Restoration Hardware Callum Full-Over-Full Bunk Bed User manual

Restoration Hardware

Restoration Hardware Callum Full-Over-Full Bunk Bed User manual

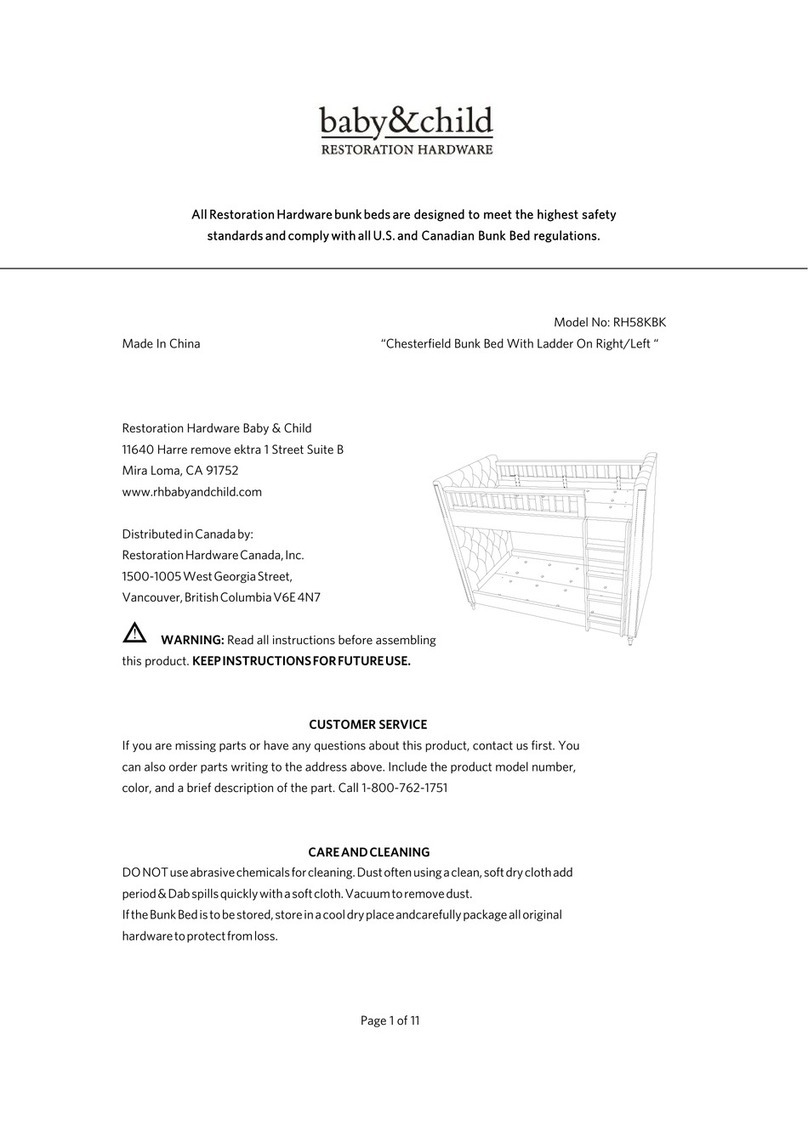
Restoration Hardware Baby & Child RH58KBK User manual

Restoration Hardware

Restoration Hardware Baby & Child RH58KBK User manual

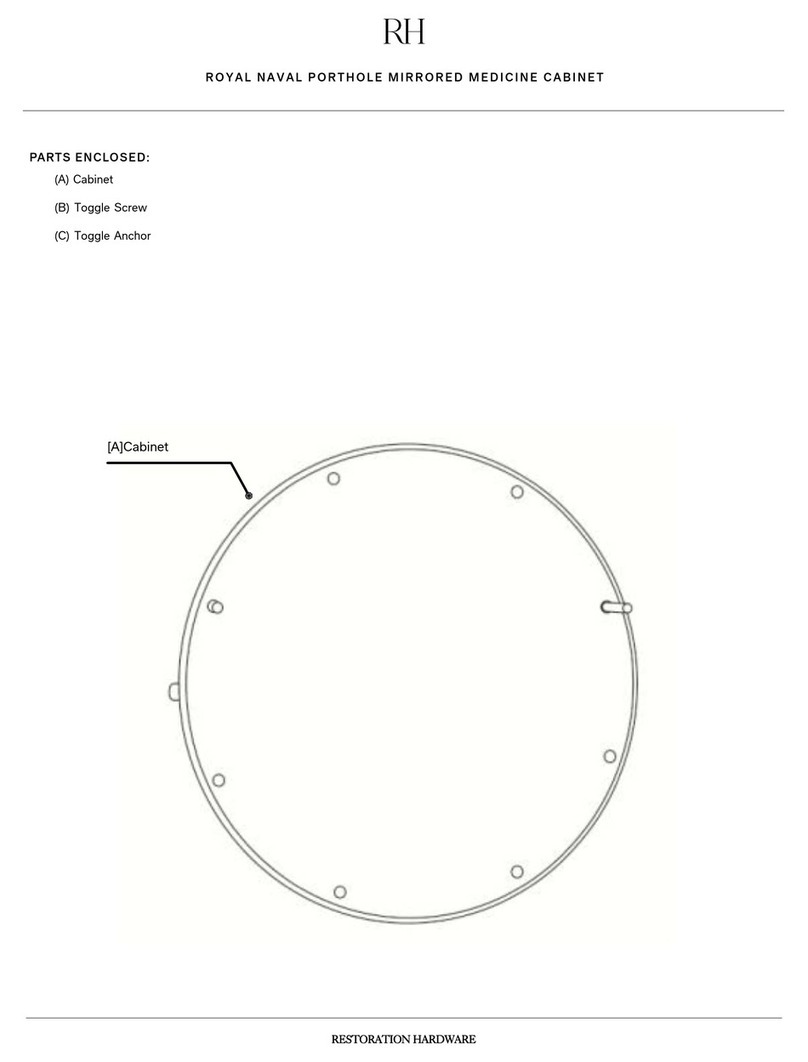
Restoration Hardware ROYAL NAVAL PORTHOLE MIRRORED MEDICINE... User manual

Restoration Hardware

Restoration Hardware ROYAL NAVAL PORTHOLE MIRRORED MEDICINE... User manual

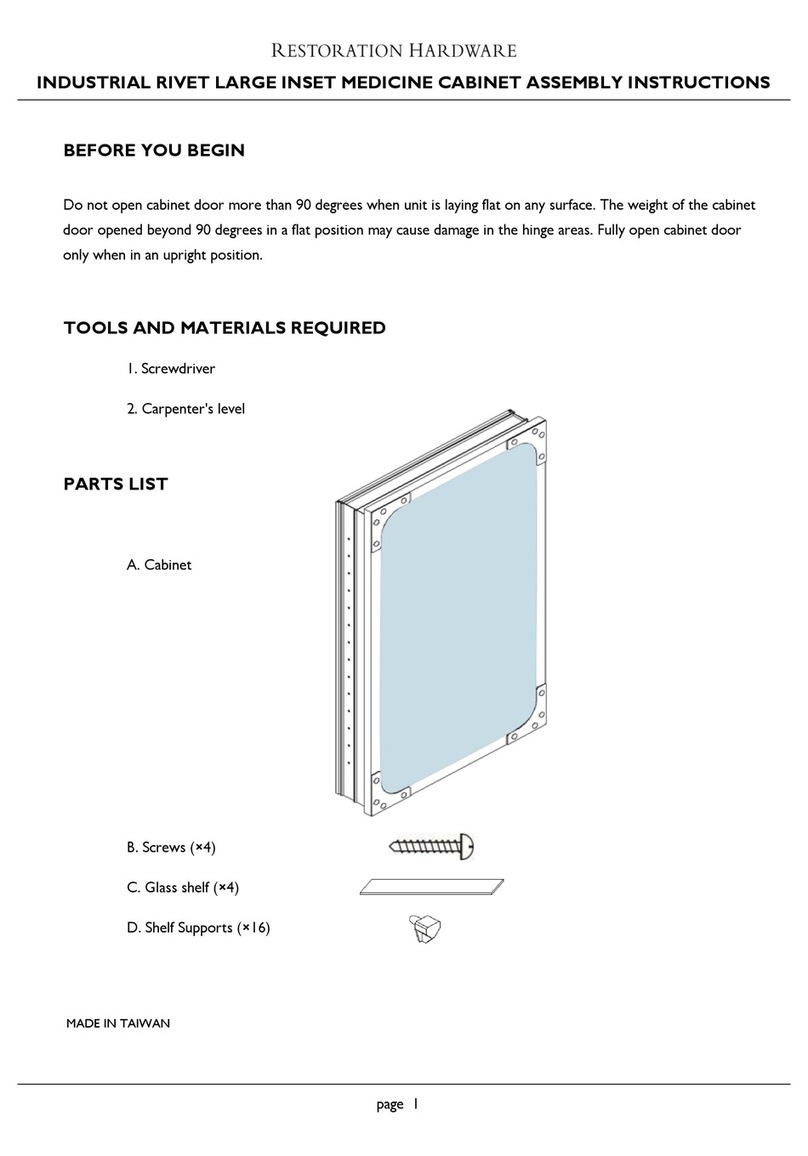
Restoration Hardware INDUSTRIAL RIVET LARGE INSET MEDICINE... User manual

Restoration Hardware

Restoration Hardware INDUSTRIAL RIVET LARGE INSET MEDICINE... User manual
Popular Indoor Furnishing manuals by other brands

Regency LWMS3015 Assembly instructions

Regency

Regency LWMS3015 Assembly instructions

Furniture of America CM7751C Assembly instructions

Furniture of America

Furniture of America CM7751C Assembly instructions

Safavieh Furniture Estella CNS5731 manual

Safavieh Furniture

Safavieh Furniture Estella CNS5731 manual

PLACES OF STYLE Ovalfuss Assembly instruction

PLACES OF STYLE

PLACES OF STYLE Ovalfuss Assembly instruction

Trasman 1138 Bo1 Assembly manual

Trasman

Trasman 1138 Bo1 Assembly manual

Costway JV10856 manual

Costway

Costway JV10856 manual
moss DESIGN Caisson Credenza Assembly instructions

moss DESIGN

moss DESIGN Caisson Credenza Assembly instructions

Aquaglide FULL DECK 15.0 owner's manual

Aquaglide

Aquaglide FULL DECK 15.0 owner's manual

AREBOS AR-HE-SW30 user manual

AREBOS

AREBOS AR-HE-SW30 user manual

Till-Hilft Fulda 87005.330 Assembly instructions

Till-Hilft

Till-Hilft Fulda 87005.330 Assembly instructions

Twoey Outside 2010 quick start guide

Twoey Outside

Twoey Outside 2010 quick start guide

Hettich Easys 200 operating instructions

Hettich

Hettich Easys 200 operating instructions

The bedboss RELAX 404 Series owner's manual

The bedboss

The bedboss RELAX 404 Series owner's manual

Oeseder Möbelindustrie Bern 991 720 Assembly instructions

Oeseder Möbelindustrie

Oeseder Möbelindustrie Bern 991 720 Assembly instructions

Costway HW68469 user manual

Costway

Costway HW68469 user manual

Next ALIX A27743 Assembly instructions

Next

Next ALIX A27743 Assembly instructions

BROSA Hans Assembly guide

BROSA

BROSA Hans Assembly guide

Prodigg MINIKA PBA015T-FUR installation manual

Prodigg

Prodigg MINIKA PBA015T-FUR installation manual

manuals.online logo
manuals.online logoBrands
  • About & Mission
  • Contact us
  • Privacy Policy
  • Terms and Conditions

Copyright 2025 Manuals.Online. All Rights Reserved.