manuals.online logo
Brands
  1. Home
  2. •
  3. Brands
  4. •
  5. Rev-A-Shelf
  6. •
  7. Indoor Furnishing
  8. •
  9. Rev-A-Shelf CO Series User manual

Rev-A-Shelf CO Series User manual

This manual suits for next models

4

Other Rev-A-Shelf Indoor Furnishing manuals
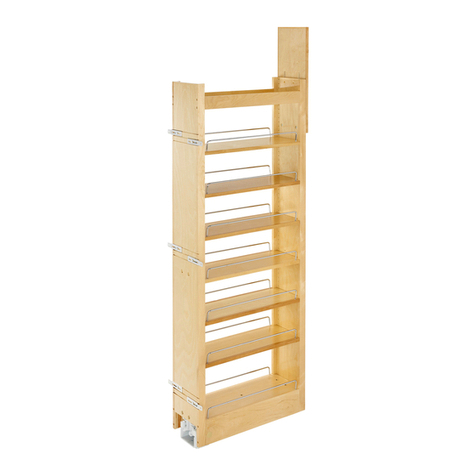
Rev-A-Shelf 448TP User manual

Rev-A-Shelf

Rev-A-Shelf 448TP User manual
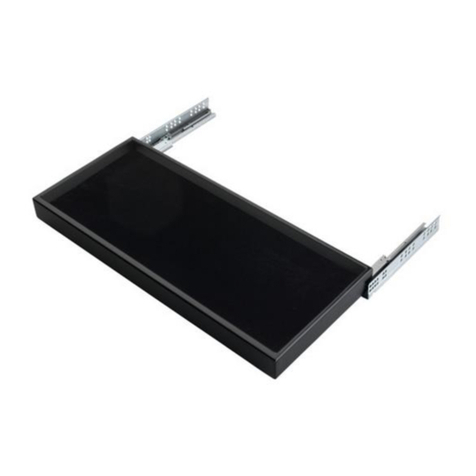
Rev-A-Shelf JEWELRY DRAWER User manual
Rev-A-Shelf

Rev-A-Shelf JEWELRY DRAWER User manual

Rev-A-Shelf 4WCDM Series User manual

Rev-A-Shelf

Rev-A-Shelf 4WCDM Series User manual
Rev-A-Shelf CHDSL-996-SN-1 User manual
Rev-A-Shelf

Rev-A-Shelf CHDSL-996-SN-1 User manual

Rev-A-Shelf 1550DM1-343-FL User manual
Rev-A-Shelf

Rev-A-Shelf 1550DM1-343-FL User manual

Rev-A-Shelf E-ZHIDER Instruction manual
Rev-A-Shelf

Rev-A-Shelf E-ZHIDER Instruction manual

Rev-A-Shelf 5330 Series User manual

Rev-A-Shelf

Rev-A-Shelf 5330 Series User manual
Rev-A-Shelf 447-BCBBSC-5C User manual

Rev-A-Shelf

Rev-A-Shelf 447-BCBBSC-5C User manual
Rev-A-Shelf 445 Series User manual

Rev-A-Shelf

Rev-A-Shelf 445 Series User manual
Rev-A-Shelf 9" Two-Tier Basket User manual
Rev-A-Shelf

Rev-A-Shelf 9" Two-Tier Basket User manual

Rev-A-Shelf Wood Classics 444 Series User manual
Rev-A-Shelf

Rev-A-Shelf Wood Classics 444 Series User manual

Rev-A-Shelf 5PD Series User manual

Rev-A-Shelf

Rev-A-Shelf 5PD Series User manual
Rev-A-Shelf ML-450SC-WS-1 User manual

Rev-A-Shelf

Rev-A-Shelf ML-450SC-WS-1 User manual
Rev-A-Shelf 448 Series User manual

Rev-A-Shelf

Rev-A-Shelf 448 Series User manual
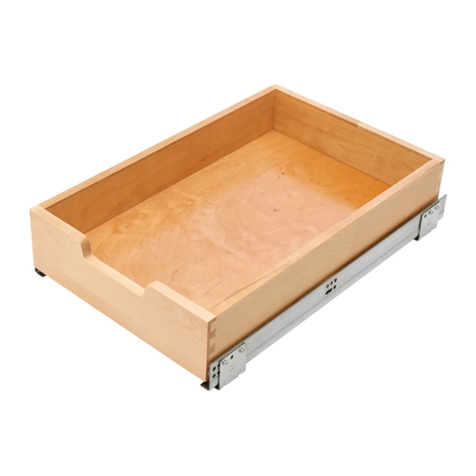
Rev-A-Shelf 4WDBSC Series User manual

Rev-A-Shelf

Rev-A-Shelf 4WDBSC Series User manual
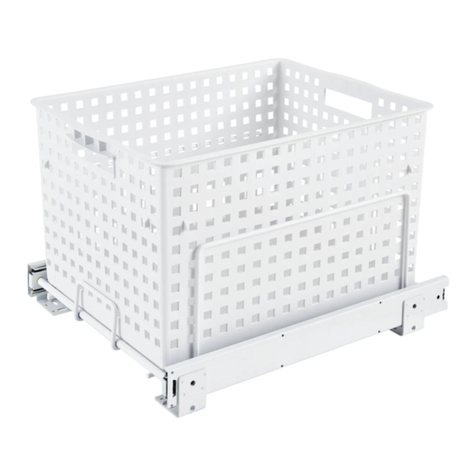
Rev-A-Shelf RV Series User manual

Rev-A-Shelf

Rev-A-Shelf RV Series User manual
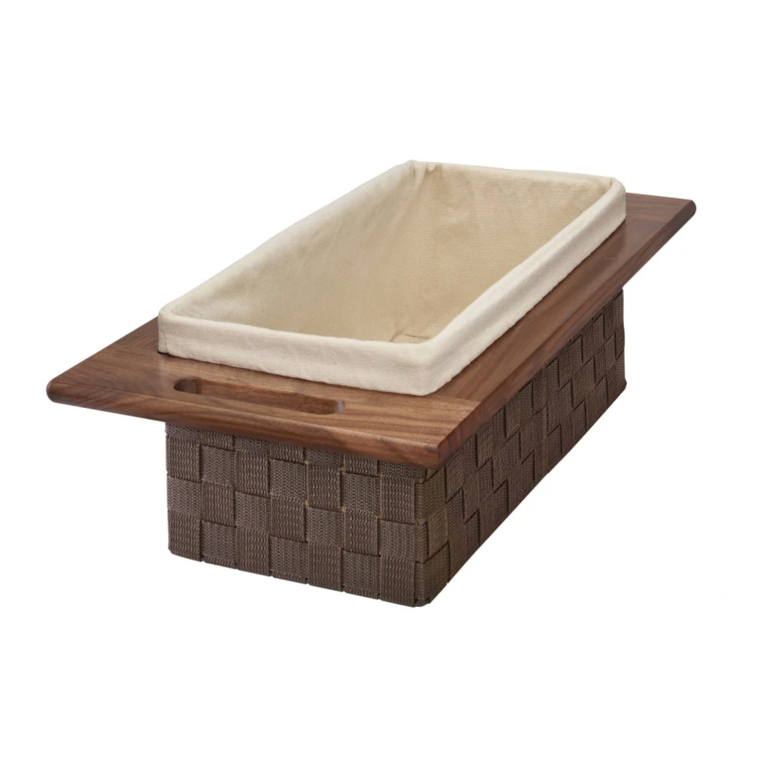
Rev-A-Shelf R.4WV.15WN User manual

Rev-A-Shelf

Rev-A-Shelf R.4WV.15WN User manual
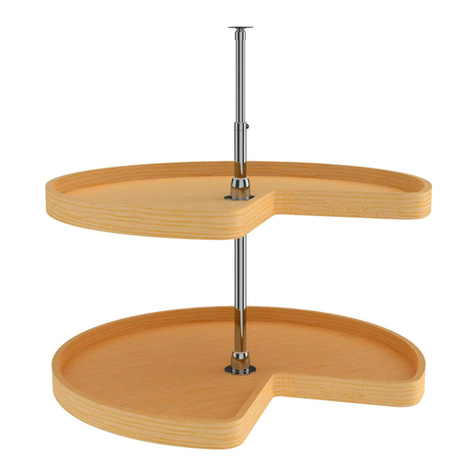
Rev-A-Shelf WLS Series User manual

Rev-A-Shelf

Rev-A-Shelf WLS Series User manual
Rev-A-Shelf 548 Series User manual

Rev-A-Shelf

Rev-A-Shelf 548 Series User manual
Rev-A-Shelf 441-12VSBSC-1 User manual

Rev-A-Shelf

Rev-A-Shelf 441-12VSBSC-1 User manual

Rev-A-Shelf WOVEN BASKET User manual

Rev-A-Shelf

Rev-A-Shelf WOVEN BASKET User manual

Rev-A-Shelf 432 Series User manual

Rev-A-Shelf

Rev-A-Shelf 432 Series User manual

Rev-A-Shelf 4WKB Series User manual

Rev-A-Shelf

Rev-A-Shelf 4WKB Series User manual

Rev-A-Shelf CTOHB-211319-CR-52 User manual

Rev-A-Shelf

Rev-A-Shelf CTOHB-211319-CR-52 User manual

Popular Indoor Furnishing manuals by other brands

Regency LWMS3015 Assembly instructions

Regency

Regency LWMS3015 Assembly instructions

Furniture of America CM7751C Assembly instructions

Furniture of America

Furniture of America CM7751C Assembly instructions

Safavieh Furniture Estella CNS5731 manual

Safavieh Furniture

Safavieh Furniture Estella CNS5731 manual

PLACES OF STYLE Ovalfuss Assembly instruction

PLACES OF STYLE

PLACES OF STYLE Ovalfuss Assembly instruction

Trasman 1138 Bo1 Assembly manual

Trasman

Trasman 1138 Bo1 Assembly manual

Costway JV10856 manual

Costway

Costway JV10856 manual
moss DESIGN Caisson Credenza Assembly instructions

moss DESIGN

moss DESIGN Caisson Credenza Assembly instructions

Aquaglide FULL DECK 15.0 owner's manual

Aquaglide

Aquaglide FULL DECK 15.0 owner's manual

AREBOS AR-HE-SW30 user manual

AREBOS

AREBOS AR-HE-SW30 user manual

Till-Hilft Fulda 87005.330 Assembly instructions

Till-Hilft

Till-Hilft Fulda 87005.330 Assembly instructions

Twoey Outside 2010 quick start guide

Twoey Outside

Twoey Outside 2010 quick start guide

Hettich Easys 200 operating instructions

Hettich

Hettich Easys 200 operating instructions

The bedboss RELAX 404 Series owner's manual

The bedboss

The bedboss RELAX 404 Series owner's manual

Oeseder Möbelindustrie Bern 991 720 Assembly instructions

Oeseder Möbelindustrie

Oeseder Möbelindustrie Bern 991 720 Assembly instructions

Costway HW68469 user manual

Costway

Costway HW68469 user manual

Next ALIX A27743 Assembly instructions

Next

Next ALIX A27743 Assembly instructions

BROSA Hans Assembly guide

BROSA

BROSA Hans Assembly guide

Prodigg MINIKA PBA015T-FUR installation manual

Prodigg

Prodigg MINIKA PBA015T-FUR installation manual

manuals.online logo
manuals.online logoBrands
  • About & Mission
  • Contact us
  • Privacy Policy
  • Terms and Conditions

Copyright 2025 Manuals.Online. All Rights Reserved.

INSTALLATION INSTRUCTIONS: COOKWARE ORGANIZER
12400 Earl Jones Way
Louisville, KY 40299
rev-a-shelf.com
Customer Service: 800-626-1126
CO AND 5CW2 SERIES
I-CO5CW2-0521
* CO-15 and 5CW2-1222 Series come with 7 Dividers and 1 Handle Bar.
CO-21 and 5CW2-2122 Series come with 14 Dividers and 2 Handle Bars
**Extra screws are provided in case one is lost or misplaced.
TOOLS REQUIRED:
20 MIN
ESTIMATED ASSEMBLY TIME:
CARE AND MAINTENANCE:
Clean with a damp cloth and wipe
parts dry.
PARTS LIST
No. Description Qty.
A Dividers* 7 14
B Handle Bar* 1 2
C U-Shaped Support Brackets 2
D Upper Slide Shelf 1
E Lower Slide Shelf 1
F #8 X 3/4” Truss Head Screws 4
G M4 X 8 Flat Head Machine Screws 16
H #8 x 1/2” Pan Head Wood Screws 5
A
CEF
GH
D
B
#2#2#2
Note 1: Be sure to measure cabinet opening and basket width to make sure basket will clearly pull out of the cabinet without interference.
Note 2: All cabinets are built and constructed differently, some have a built-in shelf that is not easily removeable. This organizer can still be
installed with the shelf in place, but note some taller items could hit the shelf when opening and closing.
WATCH TUTORIALS OF OUR
PRODUCTS BEING INSTALLED
WWW.REV-A-SHELF.COM/VIDEOS
2Customer Service: 800-626-1126 | rev-a-shelf.com
Begin by removing the slides from
the (2) baskets by pressing the
black release triggers on both
sides of the basket (See Figure A).
STEP 1
STEP 2
Attach the pair of bottom slides
to the bottom hole position of the
U-shaped support bracket using
(8) of the provided machine screws
(See Figure B).
Note: start with the circular hole
rst and then proceed to the
slotted hole.
FIG. A
#2#2#2
FIG. B
INSTALLATION INSTRUCTIONS: COOKWARE ORGANIZER 3
FIG. C
FIG. D
Now that all (4) slides are attached
to the support bracket, carefully
slide the entire unit into your
cabinet and move unit to the
opposite side of your cabinet
hinges to prevent interference
(See Figure D).
Attach the pair of top basket
slides to one of the (3) height
options of the U-shaped support
bracket using (8) of the provided
machine screws (See Figure C).
Note: Ensure the correct
installation position is being used
as shown in Figure C.
STEP 3
STEP 4
Correct Installation
Position
Hinge
#2#2#2
Height Position
Options
Customer Service: 800-626-1126 | rev-a-shelf.com
4
FIG. F
STEP 6
#2#2#2
FIG. E
STEP 5
1/4”
Using the provided 1/2” wood
screw, attach slide to face frame of
cabinet while making sure that the
front of the slide is 1/4” back from
the opening (See Figure E).
Note: Only install on one side
and not both.
if installing into a frameless
application you can simply use
the same 1/2” screw and install
into the side wall of the cabinet.
#2#2#2
Use the (4) 3/4” wood screws to
attach U-shaped unit to the oor
of the cabinet. (See Figure F).
5
INSTALLATION INSTRUCTIONS: COOKWARE ORGANIZER
Carefully re-engage the shelves into
the slides. Be careful not to force the
baskets into the slides as this could
cause damage (See Figure G).
Attach your wire dividers to your
lower basket. Slide them left or right
to accommodate your different sizes
of cookware (See Figure H).
STEP 8
STEP 9
FIG. G
FIG. H
Push the (2) rear metal sockets to
the rear of the cabinet and attach
both sides using the (4) 1/2” wood
screws (See Figure G).
Note: To ensure optimal
performance it is recommended
that the rear sockets are
perfectly aligned.
STEP 7 FIG. G
6
12400 Earl Jones Way
Louisville, KY 40299
rev-a-shelf.com
Customer Service: 800-626-1126
An optional Door Mount Kit (Sold Separately) will attach your cabinet door to
your Rev-A-Shelf product.
Part #
RV-DM17KIT-5
5WB-DMKIT
WATCH TUTORIALS OF OUR
PRODUCTS BEING INSTALLED
WWW.REV-A-SHELF.COM/VIDEOS
INSTRUCCIONES DE INSTALACIÓN: SERIE CO Y 5CW2
INSTRUCTIONS D’INSTALLATION: MODÈLES CO ET 5CW2
12400 Earl Jones Way
Louisville, KY 40299
rev-a-shelf.com
Customer Service: 800-626-1126
I-CO5CW2-0521
** Se proporcionan tornillos adicionales en caso de que uno se pierda o se extravíe.
VER VIDEOS DE
INSTALACIONES DE PRODUCTOS
REGARDER DES VIDÉOS
D’INSTALLATIONS DE PRODUITS
WWW.REV-A-SHELF.COM/VIDEOS
SERIE CO Y 5CW2 / MODÈLES CO ET 5CW2
* CO-15 and 5CW2-1222 Serie =7 Divisiones y 1 Manubrios. CO-15 and 5CW2-1222 Série =7 Diviseurs et 1 Poignée.
CO-21 and 5CW2-2122 Serie =14 Divisiones y 2 Manubrios. CO-15 and 5CW2-1222 Série =14 Diviseurs et 2 Poignée.
20 MIN
No. Descripción / La description Qty.
ADivisiones / Diviseurs* 7 14
BManubrios / Poignée* 1 2
CFerrures de supporten en U / Soportes en U 2
DPanier de la coulisse du haut /
Riel superior de la canasta
1
EPanier de la coulisse du bas /
Riel inferior de la canasta
1
F3/4” Tornillos para madera / 3/4” Vis á bois 4
GTornillos de máquina de cabeza plana M4 X 8 /
Vis mécanique à tête plate M4 X 8
16
H1/2” Tornillos para madera / 1/2” Vis a bois 5
A
CEFG
H
D
B
#2#2#2
INSTRUCCIONES DE INSTALACIÓN / INSTRUCTIONS D’INSTALLATION
Herramientas requeridas:
Outils Requis:
Tiempo estimado de ensamblado:
Durée de l’installation:
CUIDADO/ ENTRETIEN:
NOTA: Asegúrese de medir la apertura del gabinete y el ancho de la canasta para estar seguro de que la canasta podrá salir fuera del gabinete sin ninguna interferencia.
Assurez-vous de mesurer l’ouverture de l’armoire et la largeur du panier pour être sûr que le panier sorte de l’armoire sans problème.
NOTA: Todos los gabinetes estan echos y construidos diferente. Algunos tienen entrepaños internos que no son facilmente removibles. El organizador todavía se puede instalar con un entrepaño
puesto, pero algunos artículos más altos podrían chocar con el entrepaño al abrir ó cerrar el organizador.
Toutes les armoires sont construites différemment. Certaines armoires ont une étagère intégrée qui sera difcile à enlever. Cet organisateur peut quand même être installé avec l’étagère en place,
mais il faut noter que les articles les plus grands pourraient toucher l’étagère lors de l’ouverture et de la fermeture.
Limpie con un paño húmedo y
seque las partes.
Nettoyez avec un linge humide et
essuyez les piéces pour les secher
complétement.
LISTA DE PARTES / LISTE DES PIÈCES
8Customer Service: 800-626-1126 | rev-a-shelf.com
Comience por retirar las guías de
las dos (2) cestas presionando los
gatillos negros de liberación en
ambos lados de la cesta (véase la
gura A).
Commencez par retirer les
glissières des (2) paniers en
appuyant sur les boutons de
verrouillage noirs de chaque côté
du panier (voir illustration A).
PASO 1 / ÉTAPE 1
PASO 2 / ÉTAPE 2
Fije el par de deslizadores
inferiores sobre la posición del
oricio inferior del soporte de
sujeción en forma de U utilizando
ocho (8) de los tornillos para
máquina proporcionados (véase
la gura B).
Nota: primero comience con el
oricio circular y luego proceda
con el oricio ranurado.
Fixez les glissières inférieures en
vissant les (8) vis fraisées fournies
(voir illustration B) dans les trous de
la partie inférieure du support en
forme de U.
Remarque : Commencez par le
trou circulaire, puis passez au trou
rainuré.
FIG. A
FIG. B
INSTALLATION INSTRUCTIONS: COOKWARE ORGANIZER 9
FIG. C
FIG. D
Una vez que los cuatro (4)
deslizadores estén unidos al
soporte de sujeción, deslice con
cuidado toda la unidad hacia el
interior del gabinete y mueva
la unidad hacia el lado opuesto
de las bisagras del gabinete
con el n de evitar que haya
interferencias (véase la gura D).
Une fois les (4) glissières xées
au support, faites coulisser avec
précaution l’ensemble de l’unité
dans votre armoire en déplaçant
l’unité du côté opposé aux
charnières de l’armoire pour éviter
un blocage (voir illustration D).
Fije el par de deslizadores de
la canasta superior a una de
las tres (3) opciones de altura
del soporte de sujeción en
forma de U utilizando ocho (8)
de los tornillos para máquina
suministrados (véase la gura C).
Nota: Asegúrese de estar
utilizando la posición de
instalación correcta, tal como se
indica en la gura C.
Fixez la paire de glissières du
panier supérieur à l’une des (3)
hauteurs proposées sur le support
de xation en U à l’aide de (8) vis
fraisées fournies (voir illustration C).
Remarque : Assurez-vous de
respecter la position d’installation
recommandée, comme le montre
l’illustration C.
PASO 3 / ÉTAPE 3
PASO 4 / ÉTAPE 4
Posición de instalación correcta
Position d’installation correcte
Bisagra
Charnière
Opciones de posición de altura
Différentes hauteurs
Customer Service: 800-626-1126 | rev-a-shelf.com
10
FIG. F
PASO 6 / ÉTAPE 6
FIG. E
PASO 5 / ÉTAPE 5
1/4”
Con el tornillo para madera
de 1/2” suministrado, je el
deslizador al marco frontal del
gabinete asegurándose de que el
frente del deslizador esté a 1/4”
de la abertura (véase la gura E).
Nota: Sólo instale en un lado y
no en ambos.
Si se instala en una pieza
sin marco, puede utilizar
simplemente el mismo tornillo
de 1/2” e instalarlo en la pared
lateral del gabinete.
À l’aide de la vis à bois de 1/2 po
fournie, xez la glissière au cadre
de l’armoire en vous assurant que
l’avant de la glissière soit à 1/4 po
de l’ouverture (voir illustration E).
Remarque : Installez la glissière
d’un seul côté et non des deux.
Si vous l’installez dans une armoire
sans dormant, vous pouvez
simplement utiliser la même vis de
1/2 po pour l’installer dans la paroi
latérale de l’armoire.
Utilice los cuatro (4) tornillos
para madera de 3/4” para jar
la unidad en forma de U al suelo
del gabinete (véase la gura F).
Utilisez les (4) vis à bois de 3/4 po
pour xer l’unité en U au fond de
l’armoire. (Voir illustration F).