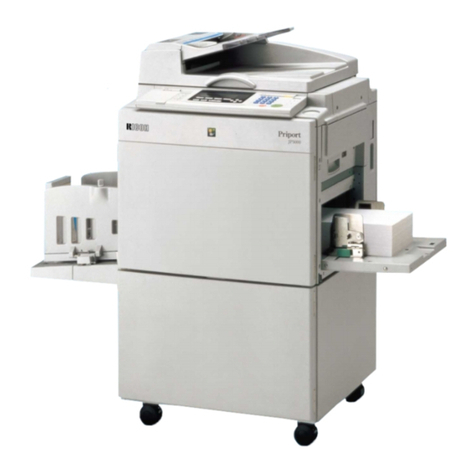
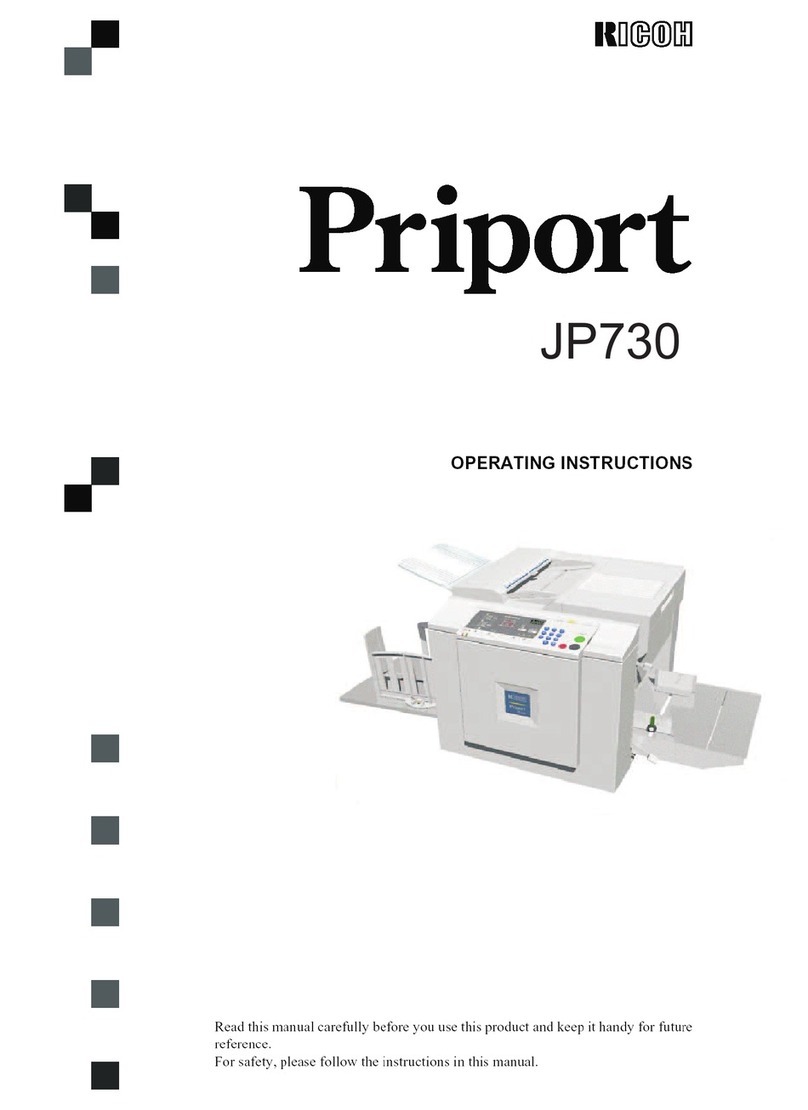
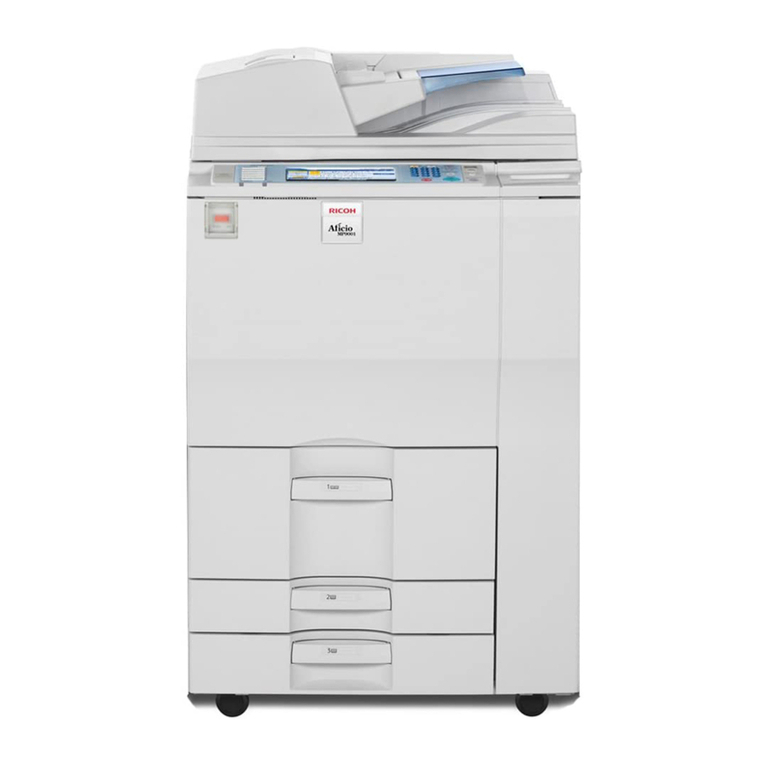
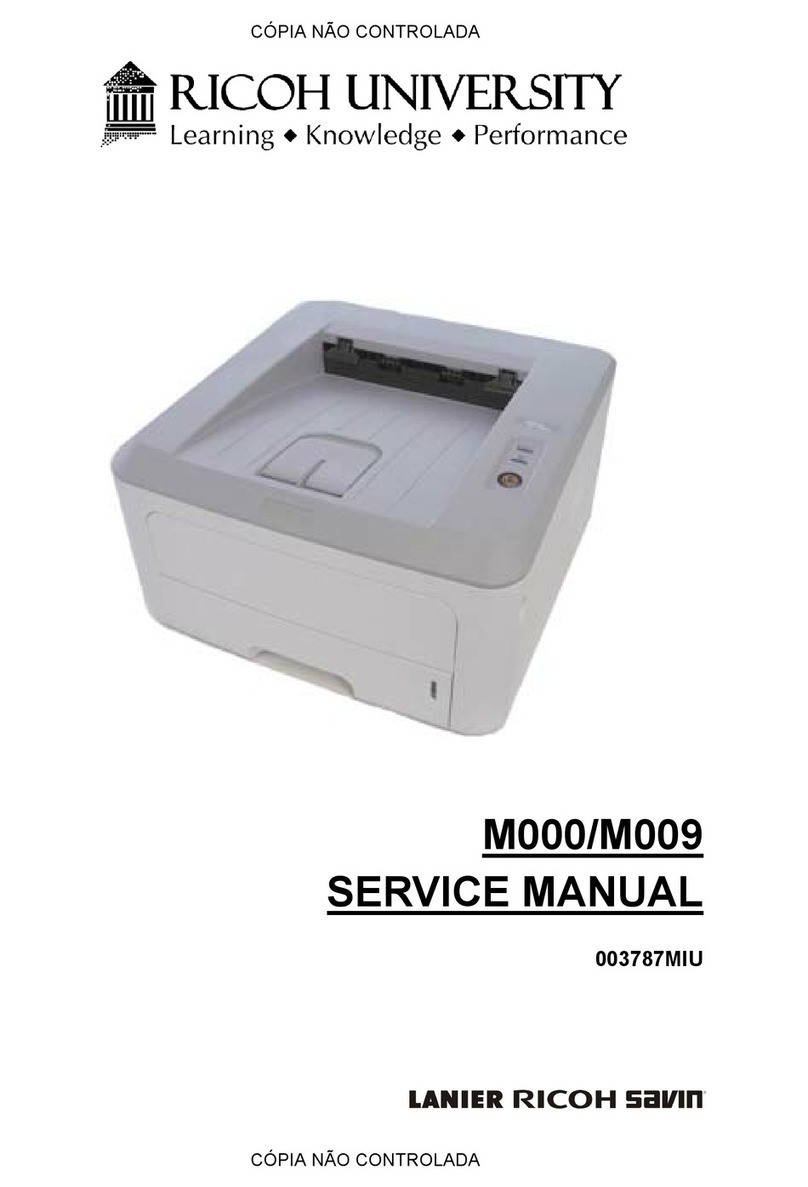
Ricoh C252 User manual

C252
SERVICE MANUAL
001701MIU
RICOH GROUP COMPANIES


C252
SERVICE MANUAL
RICOH GROUP COMPANIES
®
®


C252
SERVICE MANUAL
001701MIU


It is the reader's responsibility when discussing the information contained
within this document to maintain a level of confidentiality that is in the best
interest of Ricoh Corporation and its member companies.
NO PART OF THIS DOCUMENT MAY BE REPRODUCED IN ANY
FASHION AND DISTRIBUTED WITHOUT THE PRIOR
PERMISSION OF RICOH CORPORATION.
A
ll product names, domain names or product illustrations, including
desktop images, used in this document are trademarks, registered
trademarks or the property of their respective companies.
They are used throughout this book in an informational or editorial fashion
only and for the benefit of such companies. No such use, or the use o
f
any trade name, or web site is intended to convey endorsement or othe
r
affiliation with Ricoh products.
2003 RICOH Corporation. All rights reserved.


The Service Manual contains information
regarding service techniques, procedures,
p
rocesses and spare parts of office equipmen
t
distributed by Ricoh Corporation. Users of this
manual should be either service trained o
r
certified by successfully completing a Ricoh
Technical Training Program.
Untrained and uncertified users utilizin
g
information contained in this service manual to
repair or modify Ricoh equipment risk persona
l
injury, damage to property or loss of warrant
y
p
rotection.
Ricoh Corporation
WARNING


LEGEND
PRODUCT CODE COMPANY
GESTETNER LANIER RICOH SAVIN
C252 JP730
DOCUMENTATION HISTORY
REV. NO. DATE COMMENTS
* 6/2003 Original Printing


SM i C252
C252
TABLE OF CONTENTS
INSTALLATION
1. INSTALLATION............................................................................ 1-1
1.1 INSTALLATION REQUIREMENTS ...........................................................1-1
1.1.1 OPTIMUM ENVIRONMENTAL CONDITION....................................1-1
1.1.2 ENVIRONMENTS TO AVOID...........................................................1-1
1.1.3 POWER CONNECTION ...................................................................1-1
1.1.4 MINIMUM SPACE REQUIREMENTS...............................................1-2
1.1.5 DIMENSIONS...................................................................................1-2
1.2 INSTALLATION PROCEDURE .................................................................1-3
1.2.1 MAIN BODY .....................................................................................1-3
1.2.2 ADDITIONAL DRUMS (OPTION)...................................................1-12
1.2.3 INTERFACE BOARD (OPTION) ....................................................1-13
PREVENTIVE MAINTENANCE
2. PREVENTIVE MAINTENANCE.................................................... 2-1
2.1 MAINTENANCE TABLE ............................................................................2-1
REPLACEMENT AND ADJUSTMENT
3. REPLACEMENT AND ADJUSTMENT ........................................ 3-1
3.1 GENERAL CAUTION ................................................................................3-1
3.2 COVERS ...................................................................................................3-1
3.2.1 PANEL/FRONT COVERS ................................................................3-1
3.2.2 REAR COVER..................................................................................3-2
3.3 BOARDS ...................................................................................................3-3
3.3.1 MPU..................................................................................................3-3
3.3.2 PSU ..................................................................................................3-4
3.4 SCANNER .................................................................................................3-5
3.4.1 COVERS ..........................................................................................3-5
3.4.2 1ST, 2ND FEED ROLLER/CIS (CONTACT IMAGE SENSOR)........3-6
3.4.3 DOCUMENT SENSOR.....................................................................3-7
3.4.4 SCANNER MOTOR..........................................................................3-7
3.5 MASTER FEED .........................................................................................3-8
3.5.1 MASTER MAKING UNIT ..................................................................3-8
3.5.2 THERMAL HEAD..............................................................................3-9
3.5.3 THERMAL HEAD VOLTAGE ADJUSTMENT.................................3-11
3.5.4 MASTER END SENSOR ADJUSTMENT .......................................3-12
3.6 MASTER EJECT .....................................................................................3-13
3.6.1 MASTER EJECT UNIT ...................................................................3-13
3.6.2 MASTER EJECT ROLLERS...........................................................3-13

C252 ii SM
3.7 PAPER FEED..........................................................................................3-14
3.7.1 PAPER FEED ROLLER/FRICTION PAD .......................................3-14
3.7.2 PAPER FEED PRESSURE ADJUSTMENT ...................................3-15
3.7.3 PAPER SEPARATION PRESSURE ADJUSTMENT......................3-16
3.8 PRINTING ...............................................................................................3-17
3.8.1 PRESS ROLLER ............................................................................3-17
3.8.2 PAPER REGISTRATION ROLLER ................................................3-18
3.8.3 PRESS ROLLER RELEASE LEVER ADJUSTMENT .....................3-20
3.8.4 PRINTING PRESSURE ADJUSTMENT.........................................3-21
3.9 DRUM......................................................................................................3-22
3.9.1 PREPARATION..............................................................................3-22
3.9.2 CLOTH SCREEN............................................................................3-22
3.9.3 CLAMPER / METAL SCREEN .......................................................3-24
3.9.4 INK PUMP ADJUSTMENT .............................................................3-26
3.9.5 DOCTOR ROLLER GAP ADJUSTMENT .......................................3-28
3.9.6 INK DETECTION ADJUSTMENT...................................................3-29
3.10 PAPER DELIVERY................................................................................3-30
3.10.1 PAPER DELIVERY UNIT .............................................................3-30
3.10.2 DELIVERY BELT/PAPER EXIT SENSOR....................................3-31
3.10.3 VACUUM FAN MOTOR POSITION..............................................3-32
3.10.4 EXIT PAWL ADJUSTMENT .........................................................3-33
3.11 MAIN DRIVE..........................................................................................3-36
3.11.1 MAIN DRIVE TIMING BELT ADJUSTMENT ................................3-36
3.11.2 MAIN MOTOR PULLEY POSITION..............................................3-37
3.12 FIRMWARE UPDATE ...........................................................................3-38
TROUBLESHOOTING
4. TROUBLESHOOTING ................................................................. 4-1
4.1 ERROR CODES........................................................................................4-1
4.2 ELECTRICAL COMPONENT DEFECTS ..................................................4-2
4.3 FUSE, LED, VR, DIP-SW, AND TP TABLES ............................................4-4
4.3.1 BLOWN FUSE CONDITIONS ..........................................................4-4
4.3.2 LED’S ...............................................................................................4-4
4.3.3 VR’S .................................................................................................4-4
4.3.4 TEST POINTS ..................................................................................4-5
4.3.5 DIP SWITCHES................................................................................4-5
4.4 JAM DETECTION......................................................................................4-6
4.4.1 MASTER EJECT JAM (E JAM LOCATION INDICATOR) ................4-6
4.4.2 SCANNER JAM (P JAM LOCATION INDICATOR) ..........................4-7
4.4.3 MASTER FEED JAM (D JAM LOCATION INDICATOR) ..................4-8
4.4.4 DRUM JAM (B JAM LOCATION INDICATOR).................................4-9
4.4.5 PAPER FEED JAM (A JAM LOCATION INDICATOR + + )....4-10
4.4.6 PAPER DELIVERY JAM (C JAM LOCATION INDICATOR)...........4-11

SM iii C252
SERVICE TABLES
5. SERVICE TABLES....................................................................... 5-1
5.1 SERVICE PROGRAM MODE....................................................................5-1
5.1.1 SERVICE PROGRAM MODE OPERATION.....................................5-1
5.1.2 MAIN MENU NO.1: INPUT MODE ...................................................5-2
5.1.3 MAIN MENU NO.2: OUTPUT MODE ...............................................5-3
5.1.4 SP2-41: THERMAL HEAD SIGNAL OUTPUT (VHD SIGNAL).........5-3
5.1.5 MAIN MENU NO.3: TEST MODE.....................................................5-4
5.1.6 SP3-1: FIRMWARE SUFFIX INFORMATION ..................................5-4
5.1.7 MAIN MENU NO.6: ADJUSTMENT MODE ......................................5-4
5.1.8 SP6-42: IMAGE ADJUSTMENT PATTERN PRINT..........................5-5
5.2 DIP SWITCHES.........................................................................................5-6
5.2.1 OVERVIEW ......................................................................................5-6
5.2.2 DIPSW101 NO.1 TO 4 – PAPER REGISTRATION POSITION
ADJUSTMENT .................................................................................5-7
5.2.3 DIPSW101 NO.5 TO 8 – MASTER WRITING POSITION
ADJUSTMENT .................................................................................5-8
5.2.4 DIPSW102 NO.1 TO 3 – THERMAL HEAD ENERGY CONTROL ..5-9
5.2.5 DIPSW103 NO.1 TO 4 – SCANNING SPEED ADJUSTMENT.......5-10
5.2.6 DIPSW103 NO.5 TO 8 – MASTER FEEDING SPEED
ADJUSTMENT ...............................................................................5-11
DETAILED DESCRIPTIONS
6. DETAILD SECTION DESCRIPTIONS ......................................... 6-1
6.1 MECHANISM OVERVIEW ........................................................................6-1
6.1.1 MAJOR PARTS ................................................................................6-1
6.1.2 ELECTRICAL COMPONENT LAYOUT ............................................6-2
6.1.3 DRIVE LAYOUT ...............................................................................6-5
6.2 MASTER EJECT UNIT..............................................................................6-6
6.2.1 OVERVIEW ......................................................................................6-6
6.2.2 MASTER CLAMPER OPENING MECHANISM ................................6-7
6.2.3 MASTER EJECT ROLLER MECHANISM ........................................6-8
6.2.4 PRESSURE PLATE MECHANISM...................................................6-9
6.3 SCANNER UNIT......................................................................................6-10
6.3.1 SCANNER DRIVE ..........................................................................6-10
6.4 IMAGE PROCESSING ............................................................................6-11
6.4.1 IMAGE PROCESSING FLOW........................................................6-11
6.5 MASTER FEED .......................................................................................6-12
6.5.1 OVERVIEW ....................................................................................6-12
6.5.2 MASTER FEED MECHANISM .......................................................6-13
6.5.3 CLAMPER AND TENSION ROLLER MECHANISM.......................6-14
6.5.4 CUTTER MECHANISM ..................................................................6-15
6.5.5 MASTER SET COVER SENSOR...................................................6-16
6.6 DRUM......................................................................................................6-17
6.6.1 OVERVIEW ....................................................................................6-17

C252 iv SM
6.6.2 DRUM DRIVE MECHANISM ..........................................................6-18
6.6.3 INK SUPPLY MECHANISM............................................................6-19
6.6.4 INK ROLLER MECHANISM ...........................................................6-20
6.6.5 INK SUPPLY CONTROL ................................................................6-21
6.6.6 DETECTION OF MASTERS ON THE DRUM ................................6-22
6.7 PAPER FEED..........................................................................................6-23
6.7.1 OVERVIEW ....................................................................................6-23
6.7.2 PAPER FEED MECHANISM ..........................................................6-24
6.7.3 PAPER FEED / SEPARATION PRESSURE MECHANISM ...........6-25
6.7.4 REGISTRATION ROLLER MECHANISM.......................................6-26
6.7.5 REGISTRATION SENSOR CLEANING .........................................6-28
6.7.6 PRINTING PRESSURE MECHANISM ...........................................6-29
6.7.7 RE-FEEDING MECHANISM...........................................................6-29
6.7.8 PAPER TABLE MECHANISM ........................................................6-30
6.8 PAPER DELIVERY..................................................................................6-32
6.8.1 OVERVIEW ....................................................................................6-32
6.8.2 PAPER DELIVERY UNIT DRIVE MECHANISM.............................6-33
6.8.3 PAPER SEPARATION FROM THE DRUM ....................................6-34
6.8.4 EXIT PAWL DRIVE MECHANISM..................................................6-35
6.9 TIMING CHART.......................................................................................6-37
6.9.1 MASTER EJECT/MASTER FEED..................................................6-37
6.9.2 MASTER WRAPPING ....................................................................6-38
6.9.3 PRINTING ......................................................................................6-39
SPECIFICATIONS
SPECIFICATIONS............................................................................. 7-1
1. GENERAL SPECIFICATIONS....................................................................7-1

IMPORTANT SAFETY NOTICES
PREVENTION OF PHYSICAL INJURY
1. Before disassembling or assembling parts of the digital duplicator, make
sure that the power cord is unplugged.
2. The wall outlet should be near the printer and easily accessible.
3. If any adjustment or operation check has to be made with exterior covers off
or open while the main switch is turned on, keep hands away from electrified
or mechanically driven components.
HEALTH SAFETY CONDITIONS
1. If you get ink in your eyes by accident, try to remove it with eye drops or
flush with water as first aid. If unsuccessful, get medical attention.
2. If you ingest ink by accident, induce vomiting by sticking a finger down your
throat or by giving soapy or strong salty water to drink.
OBSERVANCE OF ELECTRICAL SAFETY STANDARDS
1. The digital duplicator must be installed and maintained by a customer
service representative who has completed the training course on those
models.
SAFETY AND ECOLOGICAL NOTES FOR DISPOSAL
1. Dispose of replaced parts in accordance with local regulations.
2. Used ink and masters should be disposed of in an environmentally safe
manner and in accordance with local regulations.

Symbols
This manual uses several symbols. The meaning of those symbols are as follows:
!See or Refer to
Core tech manual
Clip ring
E-ring
Screw
Connector

INSTALLATION
PREVENTIVE MAINTENANCE
REPLACEMENT AND ADJUSTMENT
TROUBLESHOOTING
SERVICE TABLES
DETAILED DESCRIPTIONS
SPECIFICATIONS
TAB
POSITION 2
TAB
POSITION 1
TAB
POSITION 3
TAB
POSITION 4
TAB
POSITION 6
TAB
POSITION 5
TAB
POSITION 8
TAB
POSITION 7

This manual suits for next models
1
Table of contents
Other Ricoh All In One Printer manuals
Ricoh
Ricoh Mira-PJ1 Quick start guide

Ricoh
Ricoh B064 SERIES User manual

Ricoh
Ricoh PRSPC342DN1 User manual

Ricoh
Ricoh Aficio SP 8200DN User manual

Ricoh
Ricoh Aficio MP W2400 User manual

Ricoh
Ricoh 8025e User manual

Ricoh
Ricoh Aficio DSm616 User manual

Ricoh
Ricoh IM 2702 User manual

Ricoh
Ricoh MP 2001L User manual

Ricoh
Ricoh PRO 907EX User manual

Ricoh
Ricoh DSm415 User manual

Ricoh
Ricoh BizWorkz 106 User manual

Ricoh
Ricoh M C250FWB User manual

Ricoh
Ricoh DX 3443 User manual

Ricoh
Ricoh Pro 8100S User manual

Ricoh
Ricoh Priport HQ9000 User manual

Ricoh
Ricoh MPC 1500sp User manual

Ricoh
Ricoh MP C401 User manual

Ricoh
Ricoh SP 311SFNw User manual

Ricoh
Ricoh D027 User manual