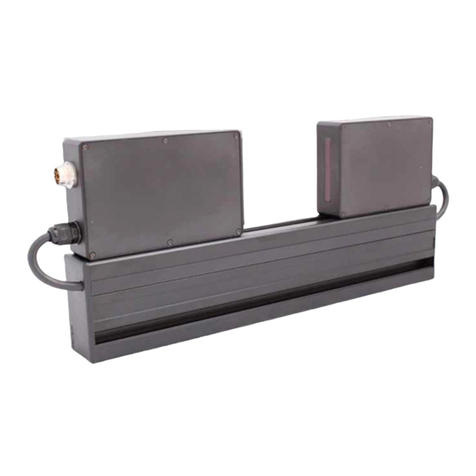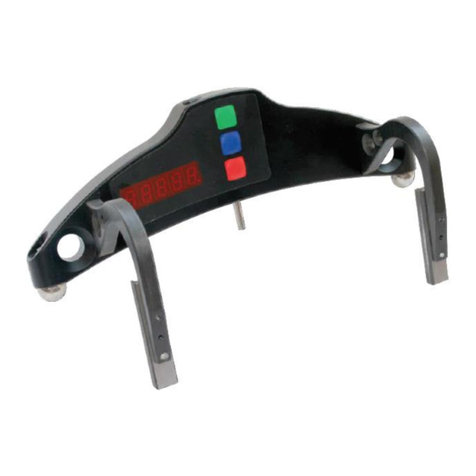
Back-to-back distance measuring gauge, IMR
IMR [Revision 2.0] 7th April 2014
9. Operation principle
The method of measurement is based on direct measurement the distance by
contactless laser sensor.
10. Working with the gauge
10.1. Gauge turn-on.
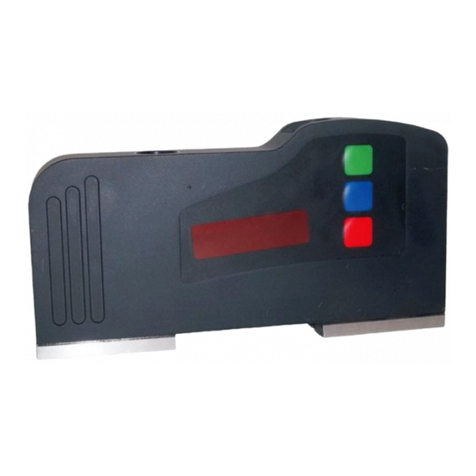
Press Red button to turn on the power. The display shows “ErrP” message if the ac-
cumulator battery voltage became lower then the control level. In this case the short-term
work is possible after pressing any key.
10.2. Single measurement.
To perform measurement, it is necessary to:
•turn the power on (press Red button). The display shows “- - - - -”;
•place the gauge on the rails between the wheels;
•make sure that the ball support is tight against the surface of the wheel and
side supports are adjacent to the flanges of the wheels;
•press Green button.
•in a 1 second the display will show the value of the back-to-back distance.
For viewing the result of measurement with indication discreteness of 0.01mm (it
is accessible only in a mode of direct indication) it is necessary to press Blue button,
thus displayed result will be shifted to the left on one digit. Next pressing Blue button will
lead to return of indication to a starting position:
10.3. Measurement with averaging
The program of the back-to-back distance calculation contains an averaging al-
gorithm that allows eliminating the surface defects influence on the distance measuring
result. All the results of metering, performed after the Red button pressing, are aver-
aged. The measurement is meant to be Green button pressing.
To carry out measurements it is necessary to
•turn the power on (press Red button). The display shows “- - - - -”;
•place the gauge between the wheels
•make sure the ball support is tight against the surface of the wheel and side
supports are adjacent to the flange of the wheels;
•press Green button;
•display shows the value of pressing counter “n x”, where x– quantity of av-
eraged values;
•in a 1 second display shows an average value over the set of metering (over
the quantity of Green button pressings)
•reinstall the gauge and repeat the measuring.
(The total quantity of measurements averaged in this way can run up to 9999.)
•Press Red button to reset averaging result at switching to another wheel.
For viewing the result of measurement with indication discreteness 0.01mm (it is
accessible only in a mode of direct indication) it is necessary to press Blue button, thus
displayed result will be shifted to the left on one digit. Next pressing Blue button will lead
to return of indication to a starting position.
