11. Service operation modes
This section contains the description of the modes for the check of device effi-
ciency and calibration. As erroneous actions in this mode can lead to invalid measure-
ment results, only specially trained personnel should perform such operations.
11.1. Calibration conditions
Calibration of the device is not necessary in the current work. It is neces-
sary only after producing, repairing and also after checking with negative result.
To perform calibration the following means are necessary:
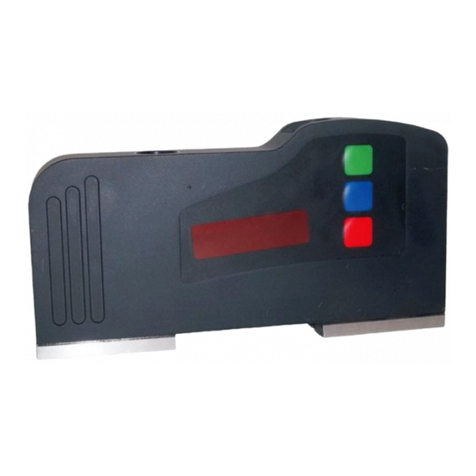
Calibration plate with the deviation from flatness less then ±0,5 um for 250
mm length (or Flat block RF510.11.000, figure 2);
Johansson gauge;
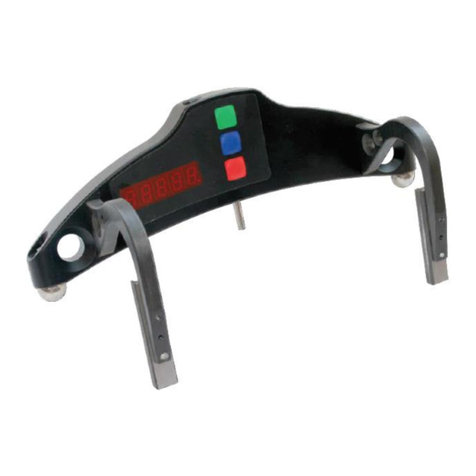
reference wheel of the known diameter (or Reference wheel block
RF510.11.ХХХХ, figure 3)
11.2. Get into operational modes
To get into the operational modes it is necessary to turn-off the device (press
Red button more then 3 seconds).
Keeping Green button in pushed position turn-on the device (press Red but-
ton).
Display shows “CLbr.0” message (the mode of calibration of the sensor's "0").
To get into this mode it is necessary to press Green button (see. p. 11.2).
For transition to next mode it is necessary to press Blue button.
Display shows “CLbr.b” message (the mode of device base calibration).
To get into this mode press Green button (see. p.11.3).
To get out the mode of calibration press Red button.
11.3. Calibration of the sensor zero
Zero calibration mode being enabled, the display shows the Johansson gauge
value used for calibration in increments of 0.5 µm.
If editing of the Johansson gauge value is not required, go to the next step. To
edit the Johansson gauge value, press the Blue button, and the digit to be ed-
ited starts blinking. Changing over between the digits is made by pressing the
Blue button while changing of values is made by pressing the Green button.
When editing is finished, press the Red button and confirm or cancel saving of
the parameter by pressing the Green button or Red button, respectively.
Press the Green button, and the Johansson gauge value starts blinking,
which means that the device must be placed onto a flat plate and a Johans-
son gauge with nominal value of the previous step must be placed under the
measuring tip. The Johansson gauge must be tightly fitted to the flat plate and
supports and balls of the device must be firmly forced against the plate.
Press the Green button, and the display shows current reading of the sensor
in its own coordinate system. By moving the device, assure that repeatability
of measurement results is obtained.


