INSTALLATION
CONNECT HARNESS
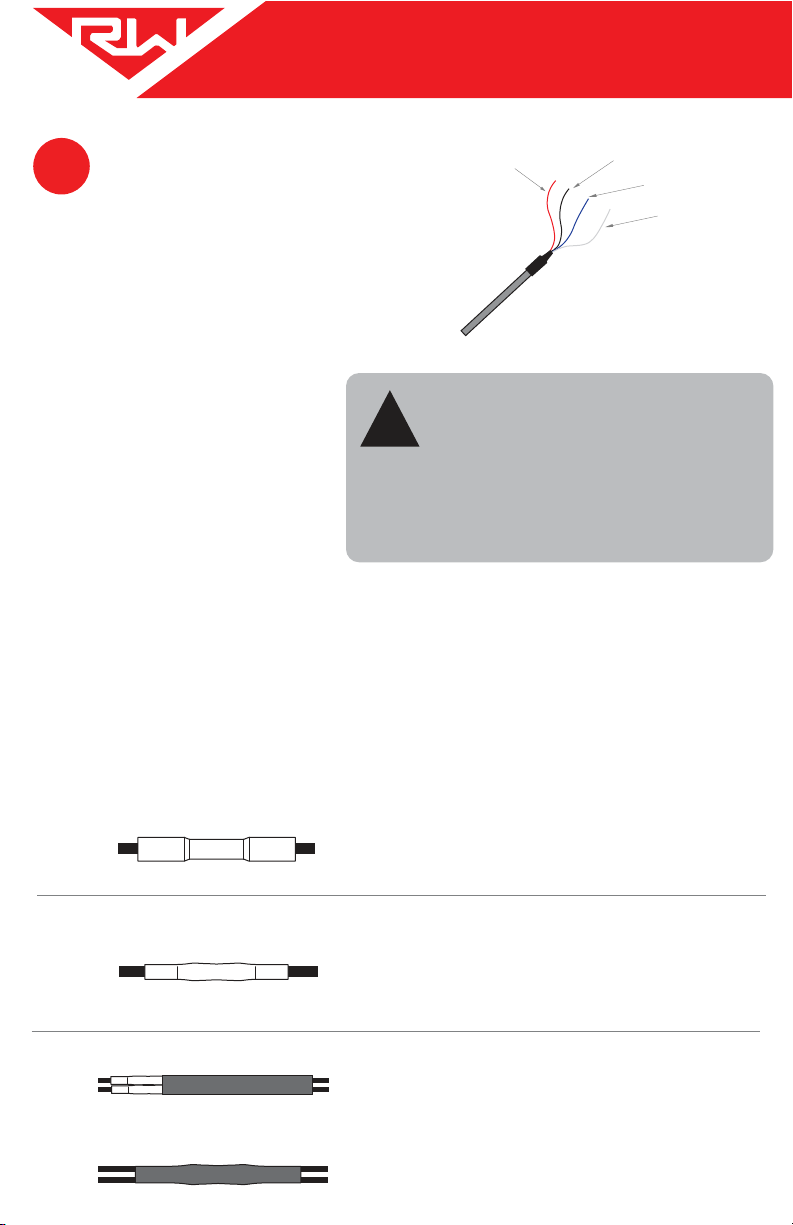
TO POWER / RS232:
The addional cable coming out
of the 12-pin socket is used to
power the scale and to
transmit/receive vehicle data.
Connect the RED wire to a
switched posive (+) power
source and the BLACK wire to
chassis ground (-). The required
supply voltage must be between
9 and 32 volts DC.
POWER (9-32V) GROUND
RS232 TX
RS232 RX
The white and blue wires are for
RS232 communicaon (use is
oponal). The BLUE wire is
output from the scale (TX) and
the WHITE wire is input to the
scale (RX). For more informaon
about this feature, please
contact Right Weigh Technical
Support listed on page 2.
DO NOT connect directly to a baery or
any constant power source, gauge should
be connected to a switched source so that
it can be disconnected from power when
not in use. Most users connect the power
to vehicle marker lights.
Electrical connecons MUST be insulated!
!
c
ELECTRICAL INSULATION:
Aer all connecons have
been made, heat shrink the
enre group of splices so that
it seals on the outer jacket of
both cables.
With a heat gun or heat torch,
heat the connector unl it
shrinks completely around
each wire end. Make sure you
do not burn the wire jacket.
After crimping and heat shrinking
Add heat shrink
Crimp each end of the wire
into the connector with a wire
crimp tool (tool not provided).
After heat shrinking
It is very important that all wiring connecons be made waterght.
Connecons which are not waterght can allow moisture to travel through
the individual strands of the wires and make it’s way into the scale, causing
permanent damage to the electronics.