P a g e | 2
1800 MY RILU www.rilu-e-bike.com.au
Welcome
Congratulation on your purchase of a RILU URBAN.
Your URBAN has two different ways of activating motor
power.
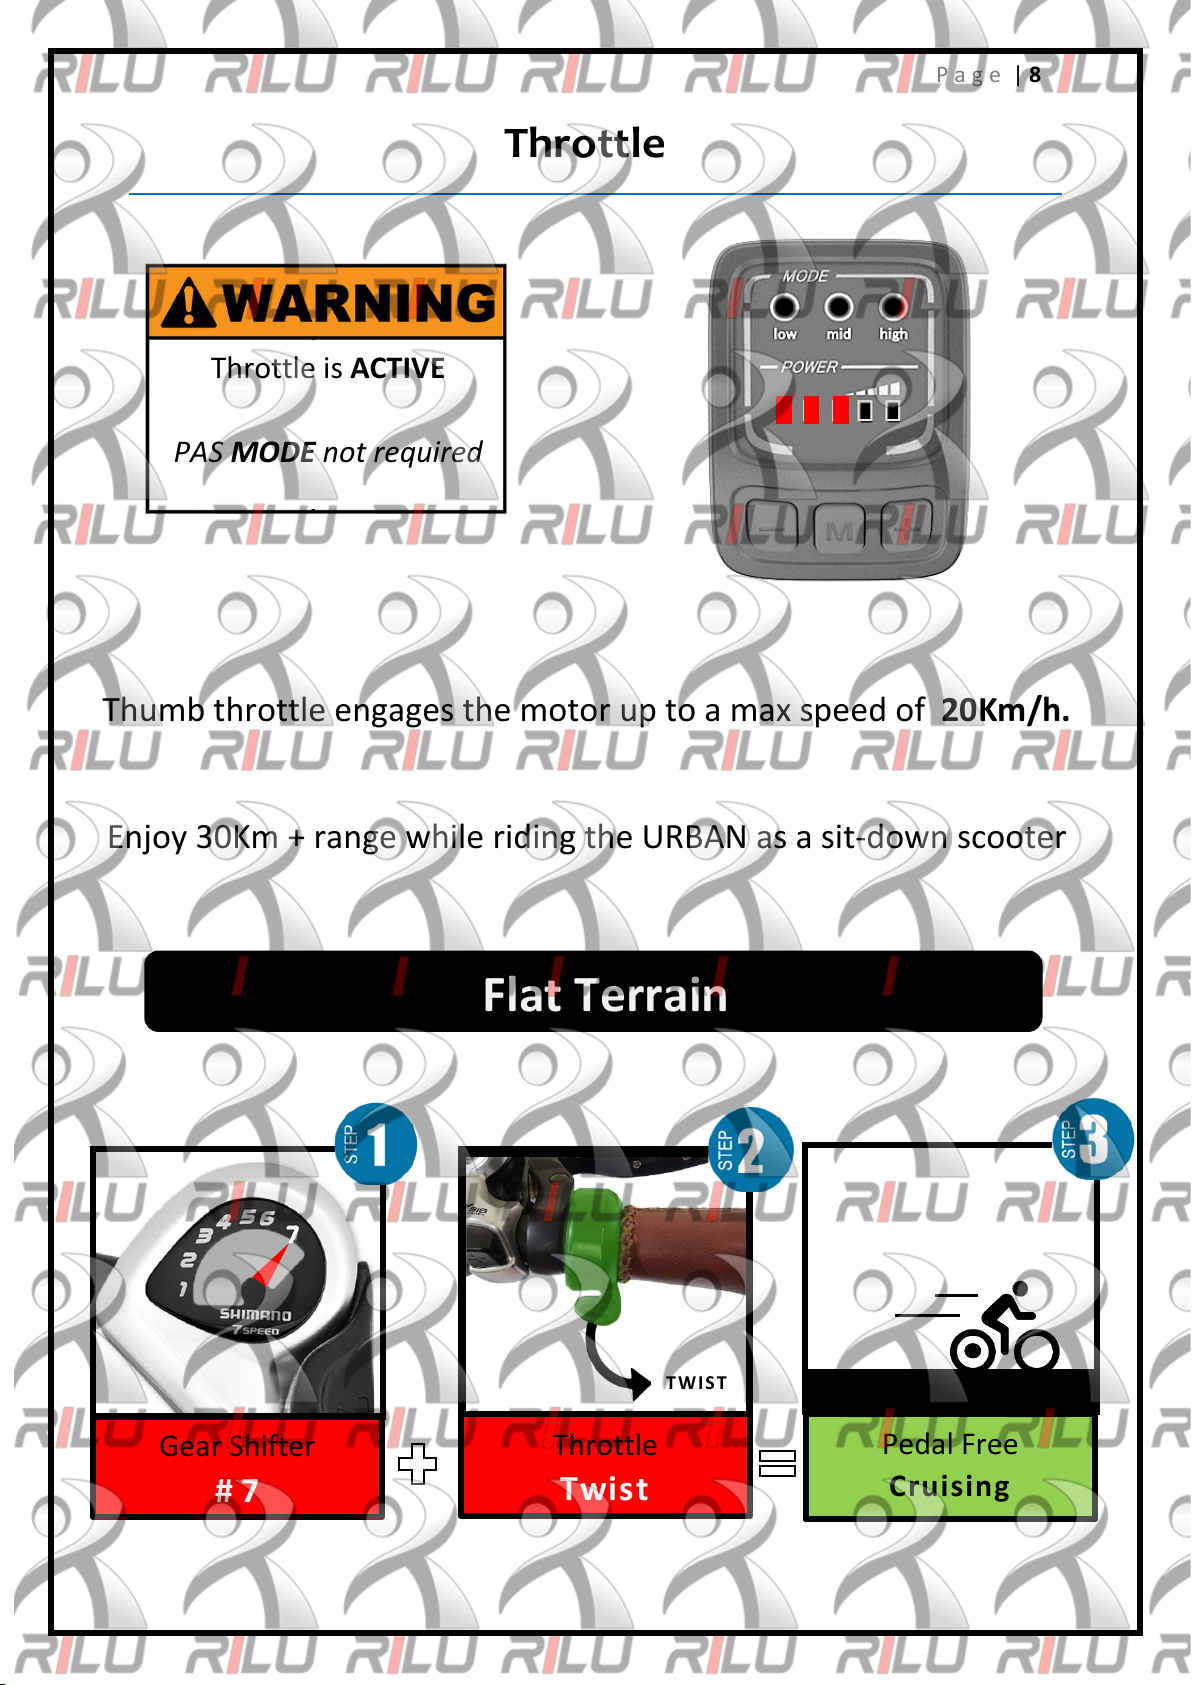
Throttle
Located on the right-hand side of the handlebar is a
thumb triggered throttle which enables you to control the
speed of the motor up to 20km/h without the need for
pedalling.
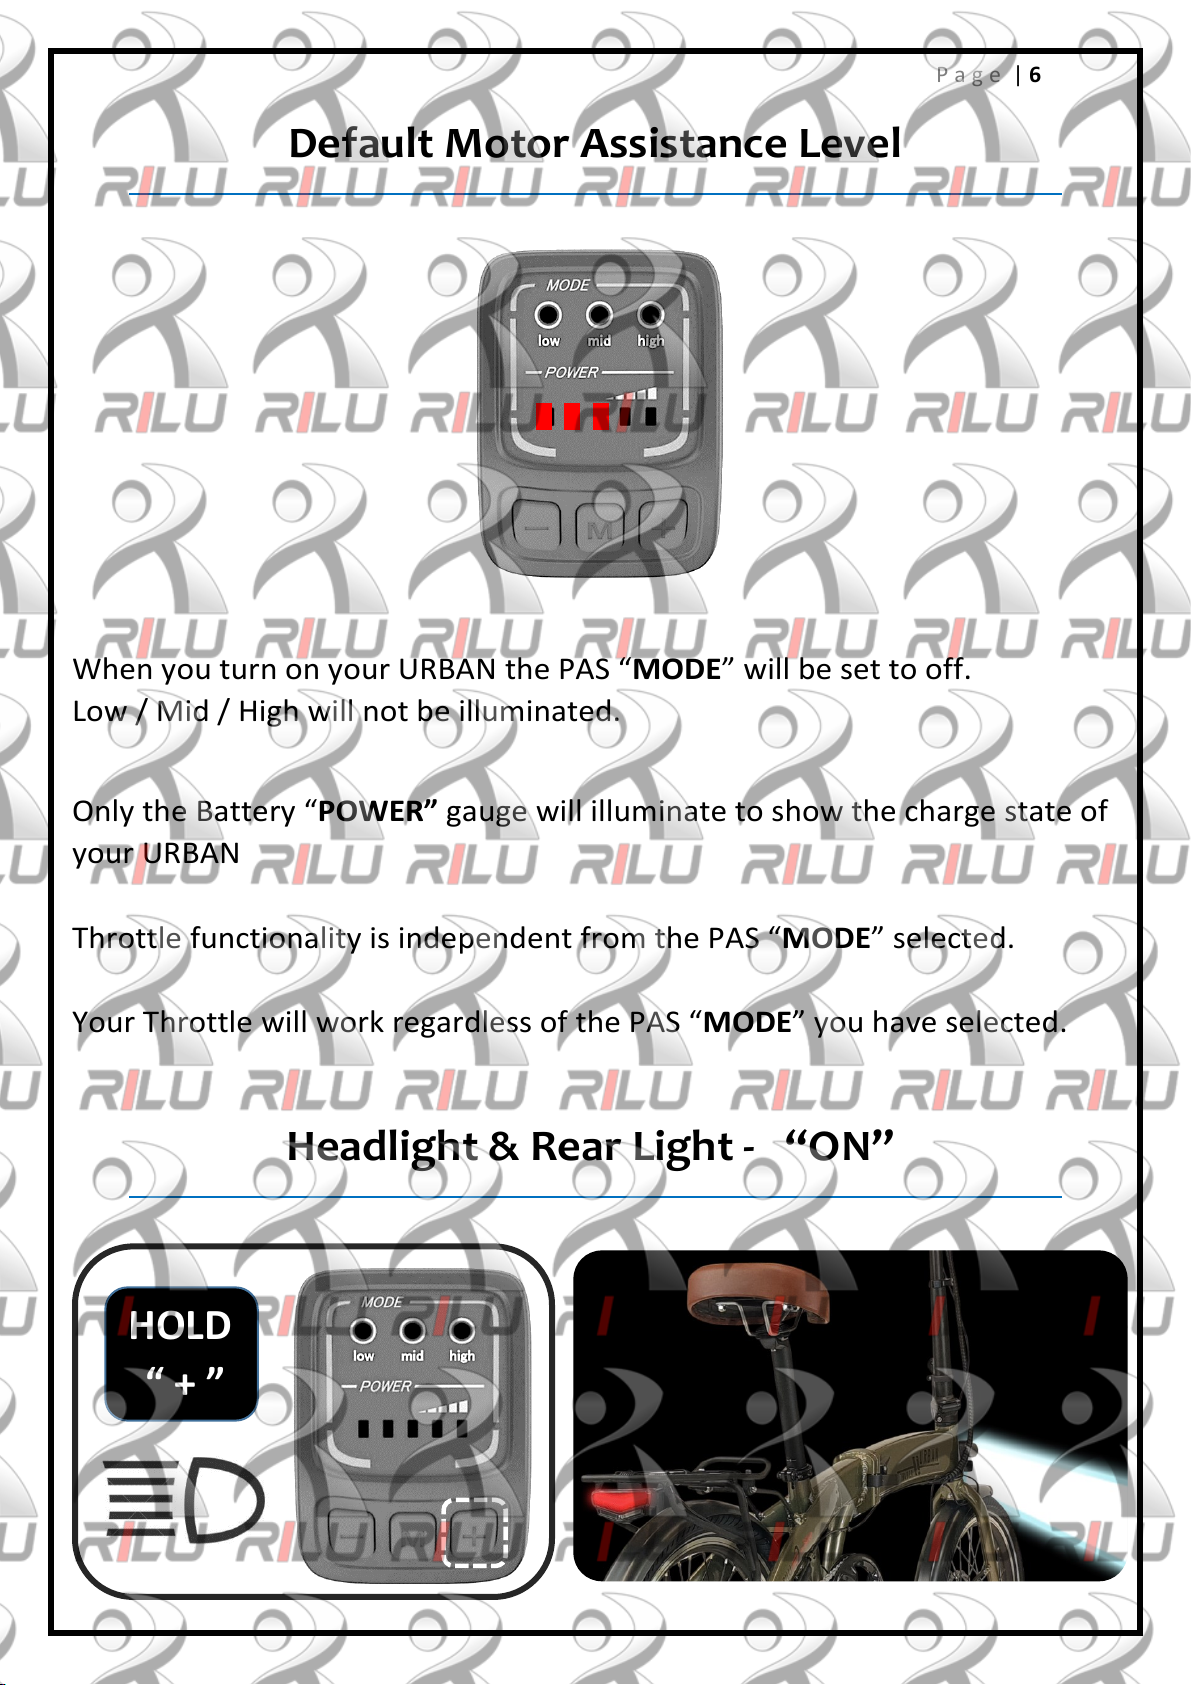
PAS
Built into your URBAN is a “Pedal Assistance Sensor”.
This automatically detect the speed at which you pedal
and moderates the ‘motors speed’ while riding.
The PAS has three different modes: Low / Mid / High that
can be selected via the LED display which is located on the
left-side of the handlebar.
When pedalling at PAS MODE: “High” the motor assists
the rider up to 25km/h.