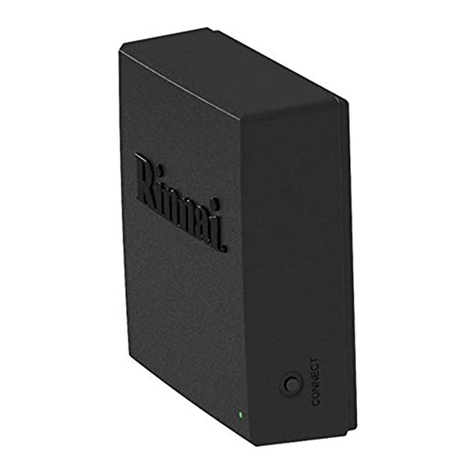
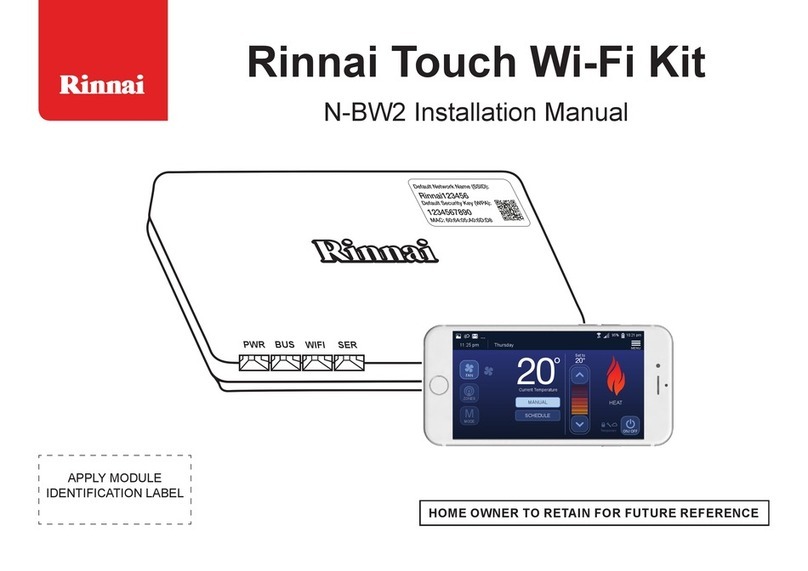
Rinnai Control-R User manual

Recirculaon with On-Demand Accessories User Guide 1
ENGLISH

Recirculaon with On-Demand Accessories User Guide
2
This manual provides detailed informaon on Rinnai’s on-demand
recirculaon accessories; it is designed for eld installers and is a
supplement to the Control-R™ Wi-Fi Module Installaon Manual
(supplied inside module package).
1 What is Recirculaon?.....................................3
Recirculaon Components ........................................ 3
Tankless Water Heaters with Circ-Logic.................... 4
How On-Demand Recirculaon Works.................... 5
Recirculaon with a Dedicated Return Line............. 8
Recirculaon with a Crossover Valve ................... 11
2 Let’s Get Started ........................................... 12
Step 1: Install Module.......................................... 12
Step 2: Connect Module to Water Heater and
Congure Sengs ...................................... 12
Step 2A: SENSEI™ Models .................. 13
Step 2B: Non-SENSEI™ Models........... 23
Step 3: Tesng Accessories with Circ-Logic............. 31
3Installaon Tips ............................................ 32
4Frequently Asked Quesons ......................... 33
Appendix A: Install the Module on a Wall ...........36
Appendix B: Addional Parameter Sengs.........38

Recirculaon with On-Demand Accessories User Guide 3
Circ-Logic is Rinnai’s recirculaon technology built into Rinnai Tankless
Water Heaters. Circ-Logic denes recirculaon paerns that coincide
with your hot water usage. Hot water is available when and where you
want it with the on-demand recirculaon components listed below.
Mounts in a convenient locaon, such as a kitchen
faucet or bathroom sink and operates the recirculaon
system by pushing the buon.
Mounts ush to the wall or in the corner and operates the
recirculaon system with the detecon of moon.
Turns o recirculaon and is available for purchase if
required by local building codes.
Start recirculaon with a simple voice
command with Amazon Alexa or Google Home.
Amazon, Alexa and all related logos are trademarks of Amazon.com,
Inc. or its aliates. Google Home is a trademark of Google LLC.
Once connected and the Rinnai app is downloaded, the
Rinnai Tankless Water Heater can be controlled from the
user’s smart phone or tablet.

Recirculaon with On-Demand Accessories User Guide
4
Models with Recirculaon Capability
With
Internal Pump
Without
Internal Pump
Circ-Logic is included in Rinnai’s
SE+ Series featuring Therma-
Circ360™ models (Super High
Eciency Plus RUR Models):
• RUR98i/e
• RUR160i/e
• RUR199i/e
Included in these models are an
internal recirculaon pump and
crossover valve.
The following models include Circ-
Logic, but require installaon of
an external recirculaon pump
(purchased separately):
• RLX94i
• RL75i/e (VC)
• RL94i/e (VC)
• RU80i/RUC80i and RU80e
• RU90e/RUC90i
• RU98i/RUC98i and RU98e
SENSEI™ Models:
• CU199i/e (Commercial)
• CU160i/e (Commercial)
• RU199i/e (Residenal)
• RU180i/e (Residenal)
• RU160i/e (Residenal)
• RU130i/e (Residenal)
Example image

Recirculaon with On-Demand Accessories User Guide 5
The on-demand accessory is acvated (push buon is pressed,
moon sensor acvated, etc.)
A request (not a command) is sent to the water heater to turn on
the pump. In other words, the push buon or moon sensor is
asking the water heater if the pump can turn on to start
recirculaon.
With built-in Circ-Logic, the water heater decides (based on me
intervals and current water temperature) if the pump can turn
on. The water heater either ignores or accepts the request from
the recirculaon accessory.
If the water heater accepts the request to start recirculaon, the
pump turns on and runs for ve minutes or unl the water
temperature is reached (whichever occurs rst).
Aer recirculaon completes, the pump enters into a mandatory
dormant (inacve) state. During this me, the pump will not
turn on for any reason, even if the push buon or moon
sensor is acvated.
The pump remains dormant for the congured me intervals.
See Visual Illustraon on Next Page

Recirculaon with On-Demand Accessories User Guide
6
IF REQUEST IS
ACCEPTED
SENDS
REQUEST
CAN THE
PUMP TURN ON?
Circ-Logic decides if
the pump will turn on
(based on congured
me intervals and
current water
temperature).
WATER HEATER
IGNORES OR
ACCEPTS REQUEST
Pump turns on and runs
for 5 minutes or unl
water temperature is
reached (whichever
occurs rst).
Pump turns o and enters into a
mandatory dormant (inacve) state.
DURING THIS TIME, THE PUMP
WILL NOT TURN ON FOR ANY
REASON, EVEN IF THE PUSH
BUTTON IS PRESSED
The pump remains dormant for the
congured me intervals.
PUMP ON
5 MIN. PUMP OFF
15 MIN.*
Push buon
is pressed.
On-Demand Recirculation Example
* 15 Minutes is an
example me frame
and is for illustrave
purposes only.
RECIRCULATION
CYCLE COMPLETE

Recirculaon with On-Demand Accessories User Guide 7
IMPORTANT: If an on-demand request is made while the
pump is dormant, the pump WILL NOT turn back on.
The ON signal is sll sent to the water heater for a 5-minute mer. If
the dormant period completes with me available on the Control-R™
mer, the pump will acvate for those remaining minutes (see
example below).
5-minute recirculaon mer aer the
on-demand accessory is acvated.
Interval when the on-demand
accessory is acvated.

Recirculaon with On-Demand Accessories User Guide
8
Pump OFF intervals (the amount of me the pump stays o) are
dierent for RUR models and non-RUR models:
• RUR models include an integrated recirculaon pump
• Non-RUR models that are equipped with Circ-Logic require
installaon of an external recirculaon pump
Rinnai Temperature
Seng °F
Typical Pump OFF Intervals (Minutes)
Economy Mode Comfort Mode
140 18 9
135 20 10
22 11
130
125 24 12
120 28 14
115 32 16
110 38 19
108 40 20
106 44 22
104 48 24
102 52 26
100 56 28
98 62 31
RUR Models (Include Internal Recirculaon Pump)

Recirculaon with On-Demand Accessories User Guide 9
• The push buon or moon sensor is acvated.
• If the water heater accepts the request, the pump runs for ve minutes
(or unl the water temperature is reached) and then turns o.
• The pump remains o in its mandatory dormant (inacve) state for 24
minutes in Comfort mode.
If using a dedicated return line, set the dip switches as outlined in the
Tankless water heater Installaon and Operaon Manual.
Note: Instead of dip switches, SENSEI™ units have parameter sengs.
Temperature Economy Comfort
104 48 24
Comfort mode is recommended with on-demand recirculaon
accessories as it cycles the pump more frequently, ensuring the loop
temperature remains higher.
1234512345
1—24 Minutes
Pump ON
5 Min.
Pump OFF
24 Min.
Pump runs for 5 minutes or unl water temperature
is reached (whichever occurs rst).
Pump ON
5 Min.
Pump WILL NOT turn on
TIP
IMPORTANT
If a push buon or moon sensor is acvated during
the mandatory dormant (inacve) state, the pump
WILL NOT turn back on.
• Aer 24 minutes, the push buon or moon sensor may be
acvated to turn on the pump.

Recirculaon with On-Demand Accessories User Guide
10
Rinnai Temperature
Seng °F
Typical Pump OFF Intervals (Minutes)
Economy Mode Comfort Mode
140 31 15
135 31 15
31 15
130
125 31 15
120 31 15
115 35 18
110 42 21
108 45 22
106 49 24
104 54 27
102 60 30
100 68 34
98 79 39
Non-RUR Models (External Recirculaon Pump Required)

Recirculaon with On-Demand Accessories User Guide 11
The table below illustrates pump OFF intervals for units using a
crossover valve.
Typical Intervals
Pump Status Long Loop Mode
(201—400 Ft) Short Loop Mode
(Up to 200 Ft)
ON 16 8
OFF Economy 10 10
Comfort 44
• The push buon or moon sensor is acvated.
• If the water heater accepts the request, the pump runs for 5 minutes
and then turns o.
• The pump remains o in its mandatory dormant (inacve) state for 4
minutes in Comfort mode.
Important: If a push buon or moon sensor is acvated during the
mandatory dormant (inacve) state, the pump will not turn back on.
• Aer 4 minutes, the push buon or moon sensor may be acvated to
turn on the pump.
1234512345
1234123414523
Pump ON
5 Min.
Pump ON
5 Min.
Pump OFF
4 Min.
Pump available and will turn on if push buon is
pressed (5-minutes is an example only)
Pump OFF
4 Min.
IMPORTANT
The internal pump in an RUR model runs based on me intervals
only and not water temperature (like dedicated return line
recirculaon systems).

Recirculaon with On-Demand Accessories User Guide
12
Not sure if you have a SENSEI™ or non-SENSEI™ water heater? Refer to
the Tankless Water Heaters with Circ-Logic secon for a complete list
of models.
Place magnec back
panel of module to side of
water heater.
(Indoor Water Heaters Only)
Refer to Appendix A for
detailed installaon
instrucons.
You will need:
• On-Demand Accessory and Baeries (supplied with purchase)
• Control-R™ Wi-Fi Module
• Phillips Head Screwdriver (eld-supplied)
Addional Items Required for SENSEI™ Water Heaters:
• Water Heater Controller Cable (included in water heater packaging)
• Two Wire Nuts (or other approved wire connectors) (eld-supplied)
• Wire Cuer/Stripper (oponal) (eld-supplied)
IMPORTANT
Before you begin, make sure recirculaon sengs are disabled
(turned o) on the tankless water heater. For instrucons, see
Appendix B → Recirculaon Sengs secon.

Recirculaon with On-Demand Accessories User Guide 13
Connect Module:
1. Unplug water heater power cord from power outlet.
2. Remove water heater front panel (use a Phillips Head screwdriver
to remove 4 screws securing the panel).
3. Connect module wires to PC Board located inside water heater by
compleng steps a, b, and c below.
a. If module comes with spade end connectors, cut spade end
connectors o the two module wires.
Next, strip insulaon o both ends.
b. Connect module wires to water heater controller cable
(included in water heater packaging) using wire nuts or other
approved wire connectors.

Recirculaon with On-Demand Accessories User Guide
14
c. Connect controller cable to PC Board through grommet
portal on boom, right side of water heater.
4. Plug water heater power cord into a power outlet.
Connect cable to PC Board
Insert controller cable through grommet portal

Recirculaon with On-Demand Accessories User Guide 15
6. Insert accessory baeries by following the steps below:
Press, then li UP cover
• Press/hold down push buon and insert two supplied
baeries at the same me.
Make sure + (plus) terminals are aligned correctly.
When baeries are installed, release the push buon.
+ (Plus)
terminals
Pair Accessory to Module:
5. Wait for module LED to turn RED.
While you are waing, connue
with next step. RED
• Press both sides.
Then, li and remove
cover.
Push Buon Baeries
Insert baeries
• Replace cover on push buon (cover ts in one direcon
only).

Recirculaon with On-Demand Accessories User Guide
16
7. When module LED is RED, press and hold down Connect buon on
MODULE unl LED turns GREEN. Then, release buon.
GREEN
PRESS AND HOLD
• Use a Phillips Head screwdriver to remove the front
cover.
• Insert the supplied baery while pressing down on the
accessory Connect buon at the same me.
Baery type is 2600mAh AA size Lithium-Thionyl Chloride
baery (3.6V or 3.7V).
Connect buon inside
Moon Sensor
Connect buon inside
Temperature Sensor
Moon Sensor/Temperature Sensor Baeries

Recirculaon with On-Demand Accessories User Guide 17
8. You have ve minutes to complete the bullets below:
9. If paired successfully, module LED quickly blinks GREEN and turns
RED.
RED
Moon Sensor and Temperature Sensor:
• Press and hold the Connect buon on the accessory
unl the accessory LED quickly ashes.
• Release the buon.
Push Buon:
• Press and hold down push buon.
• Push buon ashes three mes and
then rapidly ashes.
• Release push buon.

Recirculaon with On-Demand Accessories User Guide
18
10. Acvate on-demand accessory (press push buon, acvate moon
sensor, etc.).
Module LED quickly blinks GREEN and turns RED.
(This signies communicaon between on-demand accessory and
module.)
RED
IMPORTANT: Aer acvang on-demand accessory
(pressing push buon, acvang moon sensor, etc.),
DO NOT acvate it again unl 5-minute mer is
complete (as explained in next step).
Note: Place moon sensor where it cannot detect
movement.
11. Set a mer for 5 minutes.
(Use any type of mer, such as a watch
or the mer on a smart phone).
While waing, connue with next step.
5

Recirculaon with On-Demand Accessories User Guide 19
12. Press On/O buon on controller to turn OFF water heater.
IMPORTANT: Controller MUST be turned OFF for
remaining steps to work correctly.
13. Press and hold down A buon on PC Board for 1 second.
The controller turns ON.
14. Press Up arrow unl 04A appears
in display.
04A
Congure Water Heater Sengs to Comfort Mode:
OFF

Recirculaon with On-Demand Accessories User Guide
20
15. Press On/O buon unl 04
appears in display.
16. Press Up arrow unl 05A
appears in display.
05A
17. Press On/O buon unl 05
appears in display.
05
18. Comfort mode is selected.
To select addional parameters, see Appendix B.
When parameter sengs are complete, press and hold down
A buon on PC Board for one second to exit parameters. The
controller turns OFF.
Other manuals for Control-R
3
Table of contents
Other Rinnai Control Unit manuals