Riso ComColor FT Series User manual

067-36005
Please start by reading this guide.
It describes basic operations.
Quick Guide

CAUTION
This device is compliant with the substance emission inspec-
tions of the German environmental label "RAL-UZ205".
The "Safety Precautions" are provided in the User's Guide.
Be sure to read through them prior to use.
After reading this guide, keep it in handy for future reference.

1
Thank you for using a ComColor FT Series product.
This ComColor FT Series product is a network-compatible inkjet printer that performs high-speed, color
printing. This machine is equipped with a variety of functions designed to meet various customer needs,
such as the ability to print the data and monitor printer operations from a computer.
In addition, using the machine with the optional scanner provides additional functions such as copying
originals, saving and using the scanned data, and collectively copying multiple data scanned with dierent
settings as one job.
Preface
About the Guides
The following manuals are included with this machine.
About This Guide
(1) This guide may not be reproduced in whole or in part without the permission of RISO KAGAKU CORPORATION.
(2) The contents of this manual may be changed without prior notice due to product improvements.
(3) RISO KAGAKU CORPORATION shall not be liable for any consequence of using this guide or the machine.
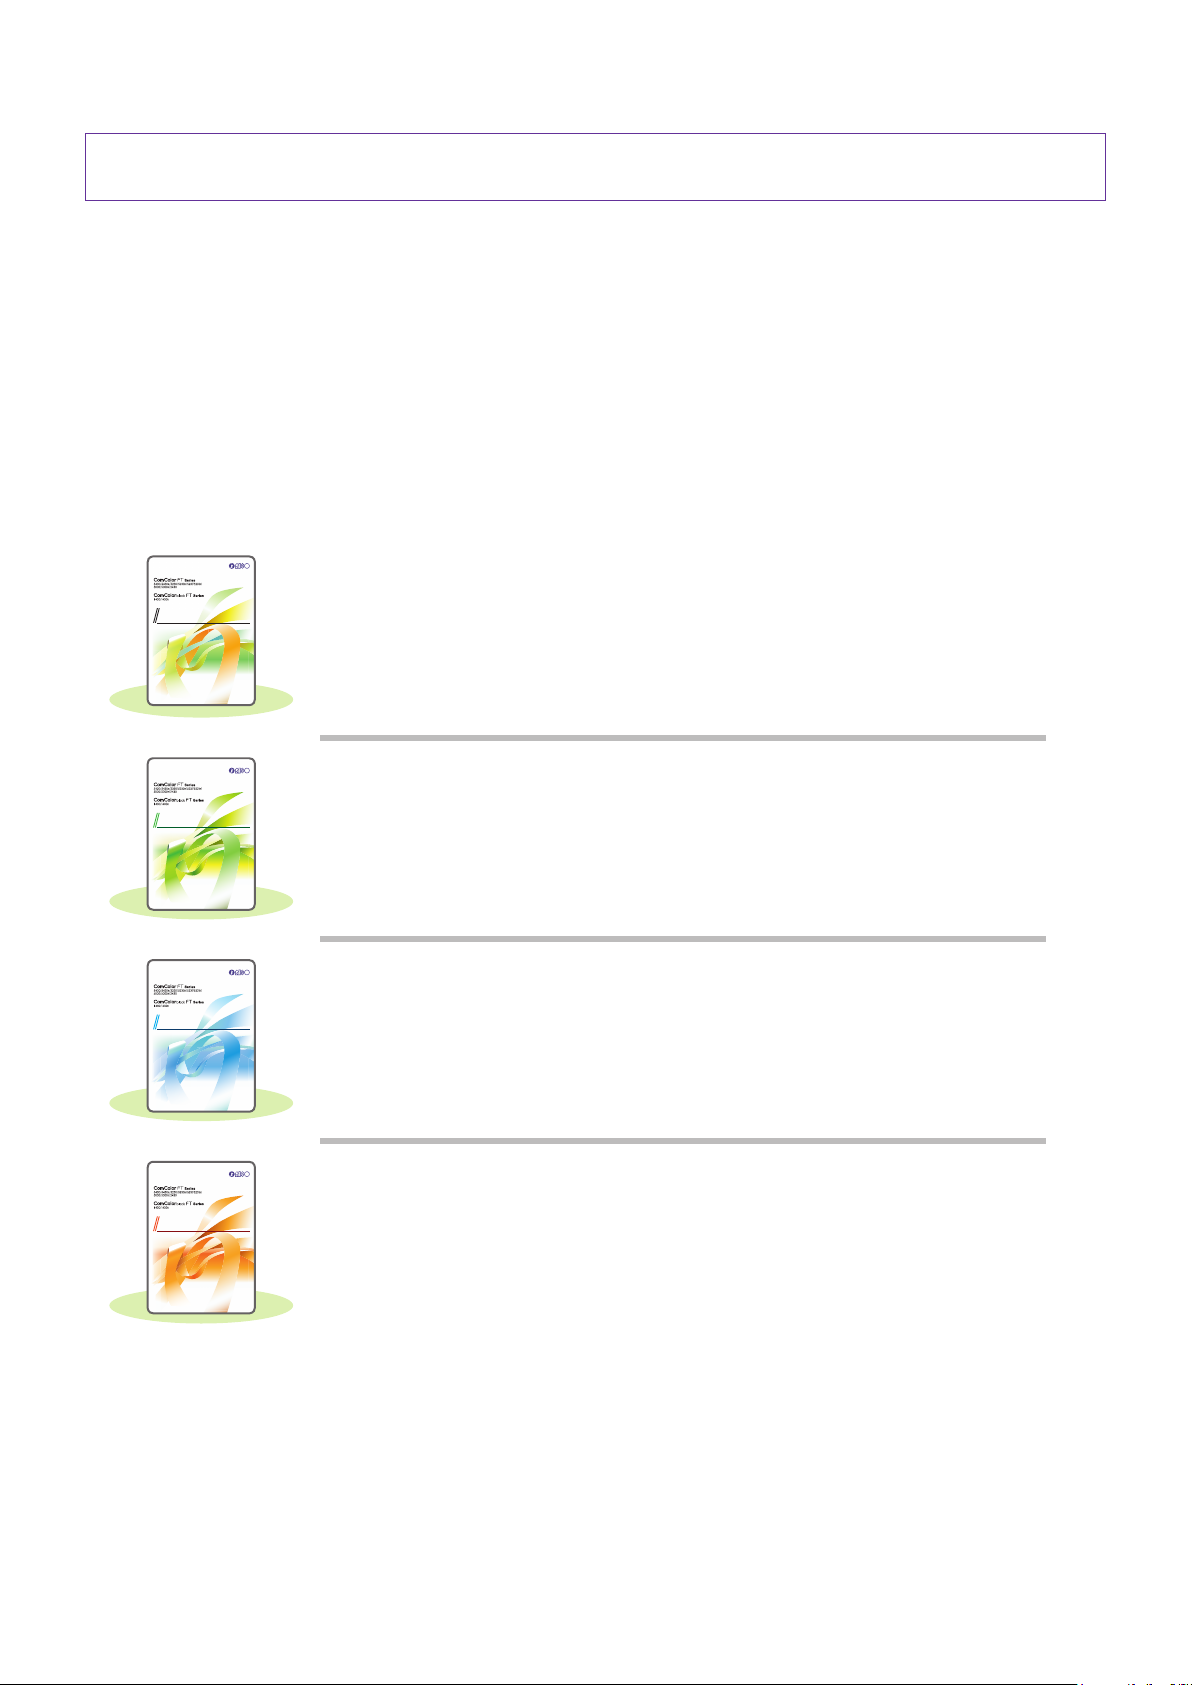
User's Guide
This guide describes handling precautions and specications, as well as the operations
and settings of each function.
Read this guide for a more detailed understanding of the machine.
Troubleshooting Guide
This guide describes the actions to take when a paper jam or other problem
occurs.
067-36005
Please start by reading this guide.
It describes basic operations.
Quick Guide
067-36006
This guide describes total operation features
and specifications.
User's Guide
This guide describes the machine settings and options (IC card reader, scanner, etc.)
to be performed by the administrator.
Administrator's Guide
067-36008
067-36007
This guide describes the action to take
when a paper jam or other problem occurs.
Troubleshooting Guide
Quick Guide (this guide)
This guide describes basic machine operations and how to replace consumables.
Keep this guide handy, such as near the machine, for easy reference.
Start by reading this guide.
Administrator's Guide
This guide describes the machine settings and optional equipment (IC card reader,
scanner, etc.) to be congured by the administrator.
ComColor FT Series Quick Guide

2
Symbols Used in This Guide
Indicates cautions that should be noted for safe use of this machine.
Indicates important items that should be noted or are prohibited.
Indicates useful or additional information.
Names of Keys and Buttons
The names of hard keys on the operation panel and buttons on the touch panel screen or computer window are
indicated with square brackets [ ].
● Operation panel
Example: Press the [Stop] key.
● Touch panel screen
Example: Touch [Color Mode].
● Computer window
Example: Select the
[Mixed Size Original]
check box.
Illustrations and Operating Procedures in This Guide
• The operating procedures, screenshots, and illustrations in this guide are for the ComColor FT5430 with the
optional scanner connected. This guide also assumes that each function is set to the factory setting, and that
[Login Setting] is set to [ON].
• The screenshots and illustrations in this guide may vary depending on the machine model and usage
environment, including the connected optional equipment.
Symbols, Notations, and Screenshots Used in This
Guide
ComColor FT Series Quick Guide

3
Preparation
►About This Machine ………………………………………………………………………4
►Turning On the Power ……………………………………………………………………6
►Using the Touch Panel ……………………………………………………………………7
►Logging In …………………………………………………………………………………8
►Loading Originals ………………………………………………………………………… 9
Getting Started
►Copying ………………………………………………………………………………… 10
Loading Orientation of Originals and Paper ………………………………………… 11
►About the Various Copying Functions ……………………………………………… 12
►Scanning………………………………………………………………………………… 14
What is the [Favorites] Function? ……………………………………………………… 15
►Printing ………………………………………………………………………………… 16
How to Print on Envelopes? …………………………………………………………… 18
►About the Various Printing Functions………………………………………………… 20
►Using Storage ………………………………………………………………………… 22
►Using a USB Flash Drive ……………………………………………………………… 24
Routine Care
►When Paper Runs Out ………………………………………………………………… 28
►When Ink Runs Out …………………………………………………………………… 30
►Scanner Care…………………………………………………………………………… 32
Useful Tips ………………………………………………………………………………… 33
Contents
ComColor FT Series Quick Guide

4
This section describes the main parts of the machine. For more information on each part name and function, see
the "User's Guide".
This Machine
About This Machine
Preparation
●Front cover
Open when paper is jammed or when
replacing an ink cartridge.
When Ink Runs Out►► p.30
●Standard tray
Load special paper (thick paper, envelopes,
etc.) here. You can also load plain paper.
When Paper Runs Out►► p.28
●Scanner (optional)
Use the scanner to copy or scan documents
that are read from the platen glass or the ADF.
Copying►► p.10
Scanning►► p.14
●Feed tray 1, Feed tray 2
Load the paper to be used for printing here.
Special paper (thick paper, envelopes, etc.)
cannot be loaded.
When Paper Runs Out►► p.28
●Operation panel
Use to perform operations or congure
settings.
The viewing angle can be adjusted for
improved visibility.
The USB port is located on the left side.
Operation Panel►► p.5
Using a USB Flash Drive►► p.24
●Face down tray
Printouts are output face down.
ComColor FT Series Quick Guide

5
You can operate the machine by using the touch panel and keys on the operation panel. To use a button on the
touch panel, touch it with your nger.
Operation Panel
Touch panel
Use to perform operations or congure settings.
Power key
When pressed, the power turns on and the
key lights up.
To turn o the power, press and hold the key.
Start key
Press this key to start an operation.
Numeric keys
Use these keys to enter numbers.
Login / Logout key
Press this key to log in or log out.
Home key
Press this key to return to the [Home] screen
(initial screen) from the screen for each
function.
Wake Up key
This key lights up when this machine is in
power saving mode.
Pressing this key when it is lit makes the
machine ready for operation.
Pressing this key when it is not lit puts the
machine into sleep state.
About This Machine
ComColor FT Series Quick Guide

6
Preparation
1. Press the [Power] key on the operation panel.
The [Home] screen is displayed after the startup screen.
The machine automatically enters power saving mode if
you leave it unattended for some time. Press the [Wake
Up] key to operate the machine.
Wake Up Power
Turning On the Power
Turn on the power to start the machine.
Reducing power consumption
You can reduce the machine's level of power consumption by using the power saving mode.
There are two types of states for the power saving mode.
• Backlight OFF
• Sleep (power consumption in the sleep state: [Standard] or [Low])
The amount of time that elapses before the machine enters each state, as well as the power
consumption value, are set by the administrator.
When [Low] is selected for [Power Consumption (in Sleep)], the machine consumes lower power than
when [Standard] is selected. However, there are some restrictions described below.
• The RISO Console cannot be displayed during sleep state.
• If you print on a network where Wake On LAN does not work, the printer does not wake up automatically. Be
sure to specify [MAC Address of the Printer] under the [Environment] tab of the printer driver.
It takes longer for the machine to resume operations after sleep state than backlight OFF state, but
power consumption is lower.
Recovery time LongShort
High
Low
Backlight OFF or Sleep [Standard]
93 W*2 or less
Sleep
[Low]
2 W or less
Standby
0.4 W or less
Ready state
95 W*1 or less
Power consumption
*1 80 W for 2-color or 1-color printer
*2 78 W for 2-color or 1-color printer
ComColor FT Series Quick Guide

7
Using the Touch Panel
Preparation
Selecting an Item
Touch a button to select an item.
Buttons and Sub Menu
View Selection Buttons
You can select whether to view the waiting
jobs as thumbnails or as a list.
: View as thumbnails.
: View as a list.
/ Buttons
Use these buttons to switch the view pages.
The current page and total number of pages
are displayed as a fraction.
/ Buttons
Use these buttons to switch the setting button
pages.
The current page and total number of setting
button pages are displayed.
Back Button
Touch this button to return to the initial screen
of each mode.
Sub Menu
You can edit or delete the settings for the
selected job.
Touch [More Menu] to display other
setting buttons ( , ) which are not
displayed on the initial screen.
ComColor FT Series Quick Guide

8
1. Press the [Login/Logout] key.
The [Login] screen is displayed.
The [Login] screen can be displayed regardless of the
mode button that is touched.
F2
F1
Login / Logout
2. Select the user name.
3. Enter your password and touch [Login].
To log out, press the [Login/Logout] key.
Login is required when using functions indicated with the (lock icon).
Logging In
When Logging In for the First Time
Change the temporary password provided by the administrator to a password of your own choosing.
1. Enter the temporary password on the [Password] screen, and touch [Login].
The [Change Password] screen is displayed.
2. Enter the new password and touch [Next].
3. Enter the new password again and touch [OK].
Preparation
ComColor FT Series Quick Guide

9
Types of Originals That Cannot Be Loaded in the ADF
The originals listed below cannot be scanned using the ADF. Set them on the platen glass.
• Originals that have been cut and pasted
• Originals with signicant wrinkling or curling
• Bent originals
• Glued originals
• Originals with holes
• Torn originals or originals with jagged edges
• Highly transparent originals such as transparencies
or tracing paper (Place a white piece of paper on the
back side of the original.)
• Originals with a coating on the front or rear, such as
art paper or coated paper
• Thermal paper used in facsimiles or word processors
• Originals with signicant bumps on the surface
Loading in the ADF
1. Load the original so that the side that you want to scan is facing up.
Slide the ADF original guides to match the width of the original.
Loading on the Platen Glass
1. Place the original so that the side that you want to scan is facing down.
Align the corner of the original with the arrow at the top left
corner of the glass.
If the original is extremely thin, the rear surface may be
visible in the image. You can prevent this by placing black
paper behind the original.
2. Close the original cover.
Loading Originals
Load the original in the ADF (auto document feeder) or place it on the platen glass.
If you used ink or correction uid on the original, make sure that it has fully dried before loading it.
Preparation
ComColor FT Series Quick Guide

10
1. Load the original.
2. Touch [Copy] on the [Home] screen.
3. Change the settings as needed.
Enter the number of copies using the numeric keys.
Touch [More Menu] to display other setting buttons that are
available when copying.
About the Various Copying Functions►► p.12
4. Press the [Start] key.
Start
This section describes the basic copy procedure.
Copying
Getting Started
ComColor FT Series Quick Guide

11
When you are copying on letterhead paper, envelopes, or other paper with a pre-printed logo, the orientation
of the original and paper is important.
The orientation of the original and paper is described below, using an example of copying a single-sided
original.
● Example of Loading Envelopes
On the touch panel, set [Original Orientation] to [Top Side Left].
Original orientation
Load originals so that the bottom
edge is scanned rst.
Envelope loading orientation
Load envelopes so that the bottom
edge enters the machine rst.
Output
orientation
● Example of Loading Letterhead Paper
On the touch panel, set [Original Orientation] to [Top Side Up].
If the optional stacking tray is connected, outputting printouts face up will become available.
Original orientation Paper loading orientation Output orientation
(when output face up)
Loading Orientation of Originals
and Paper
ComColor FT Series Quick Guide

12
This section describes some of the operations that you can perform using the copy functions of this machine.
For more information on each function, see the "User's Guide".
Sample Copy
Output one sample before making a large number of
copies.
This enables you to check the results and settings.
Scan Job Build
Collectively copy multiple data scanned with dierent
settings as one job.
Additional Copy
Copy the original that was just copied, again, without
re-scanning.
Duplex / Simplex
Specify how to scan originals and output copies.
You can save paper by copying on both sides of the
paper.
Sort
When making multiple copies of multi-page originals,
you can specify whether to copy by page or by set.
4
3
2
1
4
3
2
1
4
3
2
1
4
3
2
1
Mixed Size Original
Scan originals that consist of pages that vary in size.
About the Various Copying Functions
Getting Started
ComColor FT Series Quick Guide

13
Page Split
When copying double-spread pages of documents
such as booklets, split the pages into two parts (left
and right) and copy them separately.
Base Color Level
Make the background color (base color) lighter when
scanning an original with a background color.
Page Border
Add a border line in the margins of the paper.
This enables you to make posters and signs stand
out.
Slip Sheet
Insert a slip sheet between sets of copies.
This enables you to quickly separate a large amount
of meeting documents or handouts.
Staple (optional)
You can staple at the specied position.
The multifunction nisher or face down nisher
(optional) is required in order to use this function.
Stamp
Stamp the page number, date, and text on the header
or footer.
20XX/X/XX
About the Various Copying Functions
ComColor FT Series Quick Guide

14
1. Load the original.
2. Touch [Scan] - [PC] on the [Home] screen.
Select [Mail] to send the scanned data by e-mail, or
select [Console] to save the scanned data to the
internal hard disk of this machine.
3. Touch [Destination], and select the destination.
Change the settings as needed.
Touch [More Menu] to display other setting buttons that are
available when scanning.
To save data to a computer not listed in [Destination],
contact your administrator.
4. Press the [Start] key.
For more information on the procedure for sending the
scanned data with [Mail] and [Console], see the "User's
Guide".
Start
For scanning, you can select either [Mail], [PC], or [Console] as the destination for sending or storing the data.
In this section, the procedure for sending the data to a computer is described as an example.
Scanning
Getting Started
ComColor FT Series Quick Guide

15
The [Favorites] button is located in the top left area of screens such as the [Copy] screen or [Scan] screen.
Once you register your preferred settings in [Favorites], you can retrieve them whenever you like.
If you register frequently used settings, you can eliminate the need to congure the same settings each time.
What is the [Favorites] Function?
Press the [Start] key.
Copies are made using the registered settings.
Registering the current settings for future use
The procedure for registering settings to [Favorites] is described below, using copy settings as an example.
Retrieving [Favorites] settings for easy copying
Touch [Favorites] on the [Copy] screen. Select the desired settings, and touch [OK].
Touch [Custom Menu].
Touch [Create].
Check the settings, and touch [OK].
Enter the registration name, and touch
[OK].
The settings are registered to [Favorites].
ComColor FT Series Quick Guide

16
In this section, the procedure for printing from the Microsoft®Windows® 10 Notepad application is described as an
example.
Sending Data to This Machine
1. Click [Print...] in the [File] menu.
The menu and button names are dierent depending on
the application that you use.
2. Click [Preferences], and check the settings.
After conrming the settings, click [OK] and close the printer
driver screen.
About the Various Printing Functions►► p.20
Registering frequently used settings can be useful. You
can call up the specied values* just by clicking
[Restore user settings]. For more information, see the
"User's Guide".
* The specied value is indicated as a value that has
been changed from [Printer Properties].
3. Click [Print].
The print data is sent to this machine.
Printing
Getting Started
ComColor FT Series Quick Guide

17
At the factory settings, the machine starts printing automatically when you log in.
If printing does not start automatically when you log in, perform the procedure below.
Printing From This Machine
1. Touch [Print] on the [Home] screen.
2. Select the job.
Touch [Details] to display the details of the job.
3. Press the [Start] key.
Start
Printing
ComColor FT Series Quick Guide

18
The following describes how to print on No.10 Envelope size envelopes as an example.
The document data used here is set to the same size as the envelope and its orientation is set to Portrait.
When printing on envelopes, it is recommended that you connect the optional stacking tray and envelope
feeder.
Loading the Envelope
Load the envelope in the standard
tray.
Adjust the paper feed pressure
adjustment lever to suit "thick
paper".
Load the envelope so that the bottom edge (without the ap) enters the machine rst.
Specifying the Paper Size for the Standard Tray Using the Operation Panel
Touch [Home] screen - [System Info] - [Paper Tray Setting] - [Std Tray].
Consumables►► p.33
If you load an envelope the paper size of which cannot be selected from [Standard],
register your envelope size in [Custom Paper Entry] on the administrator menu.
Touch [OFF] in [Double-feed Check]
and then touch [Paper Size].
[Standard]: Touch envelope size you
select.
Touch [OK].
How to Print on Envelopes?
ComColor FT Series Quick Guide
Other manuals for ComColor FT Series
3
This manual suits for next models
11
Table of contents
Other Riso All In One Printer manuals

Riso
Riso 9630R User manual

Riso
Riso SF5 Series Operating instructions

Riso
Riso RP3700I User manual

Riso
Riso 9630R Service manual

Riso
Riso comcolor gd series Original instructions

Riso
Riso 390 User manual

Riso
Riso 9630 User manual

Riso
Riso MZ790U User manual

Riso
Riso 5230 Service manual

Riso
Riso 590 User manual