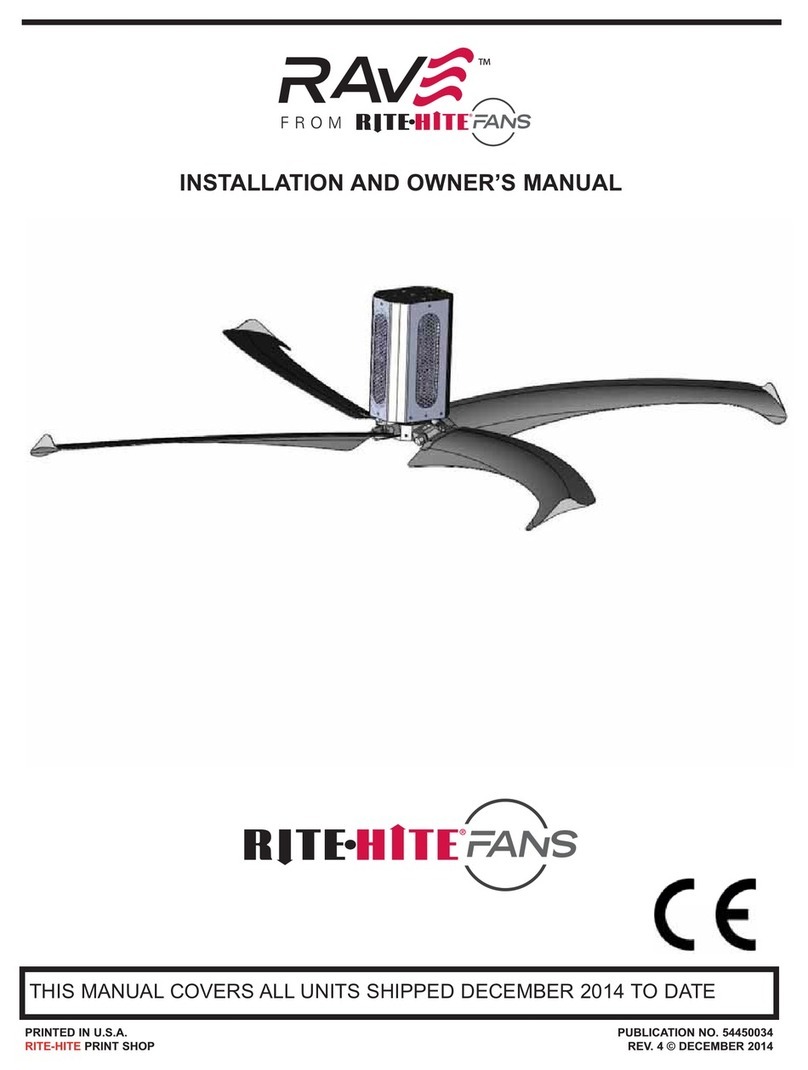
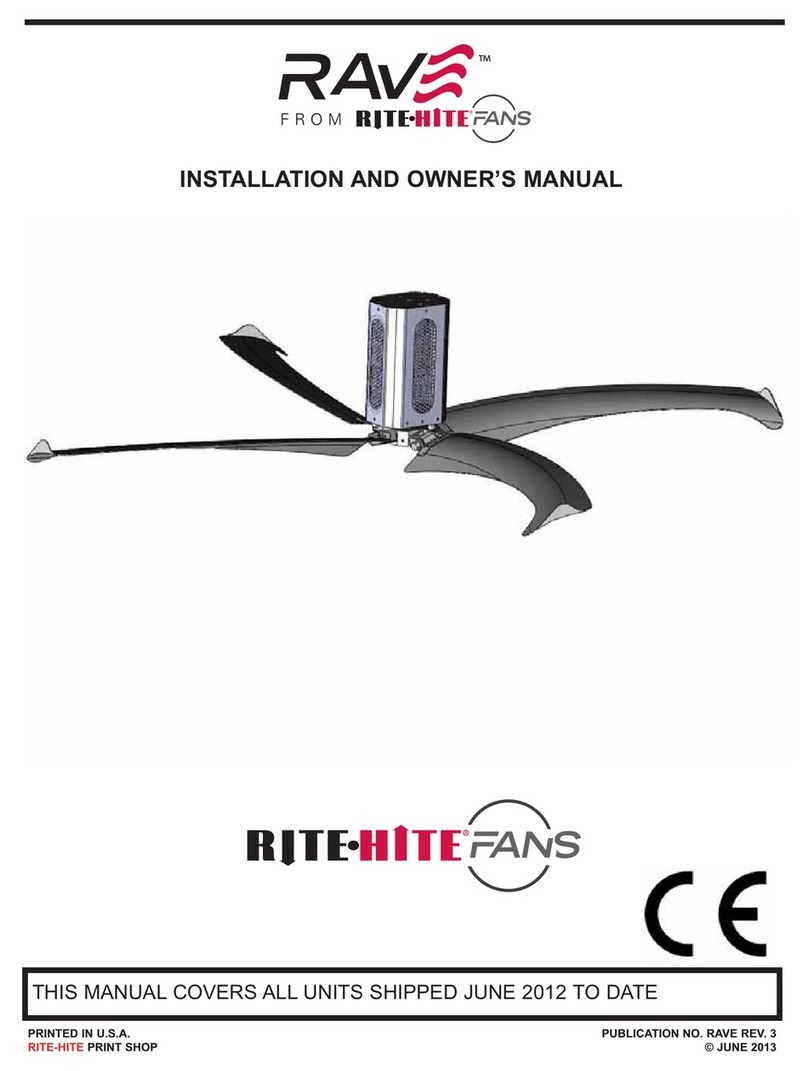
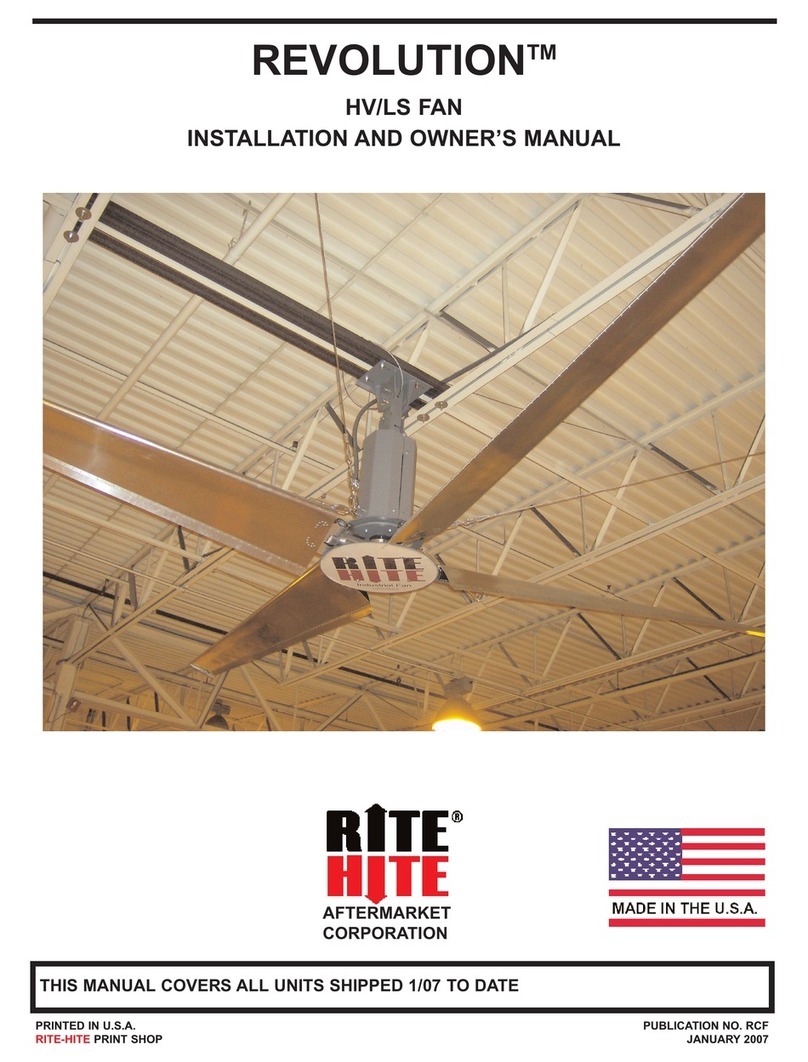
RITE-HITE REVOLUTION SP Installation instructions

INSTALLATION AND OWNER’S MANUAL
PRINTED IN U.S.A. PUBLICATION NO. RFSP - REV. 5
RITE-HITE PRINT SHOP DECEMBER 2010
This Manual Covers All Fans Shipped 1/07 to Date

SAFETY WARNINGS . . . . . . . . . . . . . . . . . . . . . . . . . . . . . . . . . . . . . . . . . . . . . . . . . . . . . . . . .3
UNPACKING OF PARTS . . . . . . . . . . . . . . . . . . . . . . . . . . . . . . . . . . . . . . . . . . . . . . . . . . . . . .4
TOOLS REQUIRED . . . . . . . . . . . . . . . . . . . . . . . . . . . . . . . . . . . . . . . . . . . . . . . . . . . . . . . . . .4
MOUNTING OF FAN . . . . . . . . . . . . . . . . . . . . . . . . . . . . . . . . . . . . . . . . . . . . . . . . . . . . . . . . .5
I BEAM & CEILING TRUSS MOUNTING . . . . . . . . . . . . . . . . . . . . . . . . . . . . . . . . . . . . . . . .6-7
ATTACHMENT OF MOTOR BRACKET & SAFETY CABLE . . . . . . . . . . . . . . . . . . . . . . . . . . .8
STABILIZATION CABLE . . . . . . . . . . . . . . . . . . . . . . . . . . . . . . . . . . . . . . . . . . . . . . . . . . . . . .9
BLADE ATTACHMENT . . . . . . . . . . . . . . . . . . . . . . . . . . . . . . . . . . . . . . . . . . . . . . . . . . . . . . .10
GUARDING THE FAN . . . . . . . . . . . . . . . . . . . . . . . . . . . . . . . . . . . . . . . . . . . . . . . . . . . . . . .11
MOTOR WIRING . . . . . . . . . . . . . . . . . . . . . . . . . . . . . . . . . . . . . . . . . . . . . . . . . . . . . . . . . . .12
CONTROL BOX WIRING . . . . . . . . . . . . . . . . . . . . . . . . . . . . . . . . . . . . . . . . . . . . . . . . . . . . .13
STOP CIRCUIT FOR MULTIPLE FANS (SCHNEIDER ELECTRIC) . . . . . . . . . . . . . . . . . . . .14
CONTROL BOX MOUNTING . . . . . . . . . . . . . . . . . . . . . . . . . . . . . . . . . . . . . . . . . . . . . . . . .16
LAMINATED BEAN KIT . . . . . . . . . . . . . . . . . . . . . . . . . . . . . . . . . . . . . . . . . . . . . . . . . . . . . .18
ANNUAL PLANNED MAINTENANCE . . . . . . . . . . . . . . . . . . . . . . . . . . . . . . . . . . . . . . . . . . .19
FAN NOISE . . . . . . . . . . . . . . . . . . . . . . . . . . . . . . . . . . . . . . . . . . . . . . . . . . . . . . . . . . . . . . .20
TROUBLESHOOTING . . . . . . . . . . . . . . . . . . . . . . . . . . . . . . . . . . . . . . . . . . . . . . . . . . . .21-22
PARTS LIST – CEILING BRACKET . . . . . . . . . . . . . . . . . . . . . . . . . . . . . . . . . . . . . . . . . . . .23
PARTS LIST – LOWER BRACKET – MOTOR BRACKET . . . . . . . . . . . . . . . . . . . . . . . . . . .24
PARTS LIST . . . . . . . . . . . . . . . . . . . . . . . . . . . . . . . . . . . . . . . . . . . . . . . . . . . . . . . . . . . . . .25
PARTS LIST – STABILIZATION CABLES-CONTROL BOXES . . . . . . . . . . . . . . . . . . . . . . . .26
PARTS LIST . . . . . . . . . . . . . . . . . . . . . . . . . . . . . . . . . . . . . . . . . . . . . . . . . . . . . . . . . . . . . . .27
PARTS LIST – LAMINATED BEAM KIT . . . . . . . . . . . . . . . . . . . . . . . . . . . . . . . . . . . . . . . . . .28
WARRANTY . . . . . . . . . . . . . . . . . . . . . . . . . . . . . . . . . . . . . . . . . . . . . . . . . . . . . . . . . . . . . . .32
PRODUCT INTRODUCTION
Thank you for purchasing the Revolution SP Fan from RITE-HITE®.
IMPORTANT
Read and understand contents of this manual prior to installation or operation of this equipment.
For best results, have this product serviced by your authorized RITE-HITE®.
NOTICE TO USER
Your local RITE-HITE®Representative provides the Planned Maintenance Program (P.M.P.) which can be fitted to your
specific operation. Call your local representative or RITE-HITE®at 1-414-355-2600 or toll free at 1-800-456-0600.
The RITE-HITE®products in this manual are covered by one or more of the following U.S. patents: 4,560,315 (RE:
32,968); 4,634,334; 4,692,755; 4,744,121; 4,819,770; 4,843,373; 4,865,507; 4,920,598; 4,995,130; 5,040,258;
5,440,772; 5,442,825; 5,453,735;
37,570); 5,882,167; 5,964,572;
6,116,839; 6,190,109;
6,488,464; 6,497,067;
HITE®, LEVEL-RITE®, THINMANTM
, SAFE-T-LIP®, HYDRACHEK®, WHEEL-LOKTM
, DOK-
®
, DUAL-DOK®,SAFE-T-STRUT and SAFE-T-GATE ®are trademarks of
®
.
TM
,DOK-COMMANDER , JUMBOTM
®
5,111,546; 5,212,846; 5,271,183; 5,299,386; 5,311,628; 5,323,503; 5,375,965;
5,531,557; 5,546,623; 5,553,987; 5,582,498; 5,664,930; 5,702,223; 5,762,459 (RE:
6,010,297; 6,052,268; 6,065,172; 6,070,283; 6,074,157; 6,085,375; 6,092,970; 6,106,212;
6,220,809; 6,627,016; 6,238,163; 6,322,310; 6,311,352; 6,360,394; 6,368,043, 6,431,819;
6,499,169; 6,505,713; 6,524,053; 6,634,049; 6,654,976; 6,676,360; and pending U.S. and foreign patent
applications. RITE-
LOK
RITE-HITE
2Pub. No. RFSP Rev. 5 - December 2010
REVOLUTION SP FAN
TABLE OF CONTENTS

SAFETY WARNINGS
This is the highest level statement. Failure to
follow the listed instructions will most likely
result in severe injury or death.
DANGER !!!
!
The statements used with this level of
warning deal with a safe operating
procedure. If the procedure is ignored, the
possibility of personal injury may exist.
CAUTION !!!
!
This is a statement of serious hazard. Failure to
follow the listed instructions could place the
individual at risk of serious injury or death.
WARNING !!!
!
IMPORTANT is used to draw attention
to a procedure that needs to be followed to
prevent machine or property damage.
IMPORTANT !!!
SAFETY WARNINGS
When working with electrical or electronic
controls, make sure that the power source has
been locked out and tagged according to OSHA
regulations and approved local electrical codes.
WARNING!!!
!
LOCKOUT/TAGOUT PROCEDURES
The Occupational Safety and Health Administration requires that, in addition to posting safety warnings and
barricading the work area, the power supply has been locked in the OFF position or disconnected. It is mandatory
that an approved lockout device is utilized. An example of a lockout device is illustrated above. The proper lockout
procedure requires that the person responsible for the repairs is the only person who has the ability to remove the
lockout device.
In addition to the lockout device, it is also a requirement to tag the power control in a manner that will clearfspy note
that repairs are under way and state who is responsible for the lockout condition. Tagout devices have to be
constructed and printed so that exposure to weather conditions or wet and damp locations will not cause the tag to
deteriorate or become unreadable.
RITE-HITE®does not recommend any particular lockout device, but recommends the utilization of a device that
meets OSHA standards (refer to OSHA regulation 1910.147). RITE-HITE®also recommends the review and
implementation of an entire safety program for the Control of Hazardous Energy (Lockout/Tagout). These regulations
are available through OSHA publication 3120.
REVOLUTION SP FAN
Pub. No. RFSP Rev. 5 - December 2010 3

COMPONENTS AND TOOLS
UNPACKING OF THE COMPONENTS
You should have received the following items:
(2) boxes of fan blades, they are packed (2) per box for a total of (4) blades – approximately 25
lb. (11.4 kg) per box.
(1) motor / hub assembly – approximately 80 lb. (36.4 kg)
(1) box containing miscellaneous mounting hardware and cables - approximately 25 lb. (11.4 kg)
(1) box containing the control box – approximately 35 lb. (15.9 kg)
Insure you have received all of the above items before installation begins. Notify the factory if
parts are missing or damaged.
TOOLS REQUIRED:
(2) 7⁄16" wrenches
(2) ½" wrenches
(1) 1 ¼" box end wrench
(1) 11⁄16" box end wrench
(2) ¾" wrenches
(1) Vice grip
(1) Large standard screwdriver
(1) Small standard screwdriver
(1) Torque wrench capable of 50 ft-lb
(1) Metric 7mm deep well socket - Only required for motor voltage change
(1) ¼" cable cutter
(4) 10 AWG electrical terminals for motor terminations
If you are mounting to support angles that span building joists, you will also need a
drill and a ½" drill bit.
REVOLUTION SP FAN
4Pub. No. RFSP Rev. 5 - December 2010

MOUNTING OF THE FAN
FAN WEIGHT AND TORQUE
The weight of the fan that will be suspended
from the ceiling is approximately 150 lbs.
(68.2 kg) and will generate torque of up to 150
ft-lb. (204 NM)
IMPORTANT!!!
FAN DISTANCE FROM CEILING AND
OBSTRUCTIONS
A combination of centrifugal force and air
pressure cause the blades to move upward
to their operating position. When the fan is
operating, measure the distance to possible
obstructions and mount the fan accordingly
using the diagram below to ensure the
blades will have proper clearance in all
areas when the fan is running. Whenever
possible allow 12" additional clearance to
IMPORTANT!!!
If the ceiling support structure is an open-web
design, all hanging dimensions can be taken
from the underside of the ceiling. If the ceiling’s
support structure is a solid beam or solid
channel, all measurements must be taken from
the bottom of the beam as the basis point for
the hanger dimension. If the roof is pitched,
this must be accounted for above the tips of
the blades. Failure to follow these guide lines
will result in limited air movement from the fan.
IMPORTANT!!!
FAN
DIAMETER
ft (mm)
MINIMUM
CLEARANCE
DIMENSION AT
FULL RPM
ft (mm)
8’ (2440 mm) 2’ (610 mm)
10’ (3050 mm) 3’ (915 mm)’
12’ (3660 mm) 3’ (915 mm)
REVOLUTION SP FAN
Pub. No. RFSP Rev. 5 - December 2010 5

I-BEAM AND TRUSS MOUNTING
I-BEAM MOUNTING
If the fan is being mounted to a building
support I-beam (6-13½ inches (152-343 mm)
wide) the fan can be mounted directly to the
beam with the brackets provided. Clamp the
brackets around the beam as shown using the
holes in the upper beam mounting bracket that
are closest to the edge of the beam. See
figure below. For beams that are larger than
the bracket, (greater than 13½ inches (343
mm) wide) clamp the bracket on one edge of
the beam and drill holes through the beam to
bolt the other side securely. Use only grade 8
hardware.
Use a level to ensure the extension tube is
hanging vertical.
CEILING TRUSS MOUNTING
(STRUCTURAL ANGLES)
Never mount the fan to only one building
joist. One joist will not provide the rigidity and
support necessary for the fan during operation.
When using a support channel to span (2)
building joists you must use material that will
securely support the fan. We recommend
using (2) pieces of 3" x 3" x .25" (76 mm x 76
mm x 7mm) angle. These angles should be
mounted in a way such that the fan can be
hung using the standard I-beam mounting
bracket. See the figure below. The angles
should be securely mounted to the building
joists to ensure the angles cannot move. Use
a level to ensure the extension tube is hanging
vertical.
REVOLUTION SP FAN
6Pub. No. RFSP Rev. 5 - December 2010

REVOLUTION SP FAN
Pub. No. RFSP Rev. 5 - December 2010 7
I-BEAM AND TRUSS MOUNTING CONTINUED
CEILING TRUSS MOUNTING
(RITE-HITE FORMED ANGLES)
Never mount the Revolution SP fan to only one
building joist. One joist will not provide the
rigidity and support necessary for the fan
during operation. The truss kit supplied by
Rite-Hite is designed to make the installation of
the kit easier. The two formed angles span
existing building trusses. The drawing below
shows how the brackets are used to secure the
angles to the building trusses while setting the
gap between the angles for the 3” (76mm) x 3”
(76mm) drop tube. There are several
mounting positions cut into the angles to allow
for flexibility in positioning the fan. When the
truss kit is ordered from Rite-Hite, the standard
I-beam ceiling bracket will not be provided.

MOTOR BRACKET
ATTACHMENT OF MOTOR BRACKET
The motor bracket attaches to the extension
tube with (2) ½" x 4½" long – grade 8 bolts,
washers and lock nuts. Position the motor
bracket so that one angle is on each side of the
extension tube. The bolts can be inserted
through the holes in the angles at the top of the
motor bracket and through the extension tube
and back through the second angle. Tighten
both lock nuts securely. When an extended
down tube is used, the smaller square tubing
(3" x 3") will telescope inside the larger square
tubing (3.5" x 3.5") The brackets on the top of
the motor bracket are bolted in slots to allow
the larger tube to bolt to the top of the motor.
The 3" x 3" tube should always bolt to the
ceiling bracket.
If the fan assembly is mounted directly to the
ceiling bracket without an extension tube, you
will need to purchase (4) ½" x ½" grade 8 bolts
locally to bolt the brackets together properfspy.
SAFETY CABLES
Cables are included with this kit to wrap
around the bolted brackets at the ceiling and
the top of the extension tube. A second
cable should be wrapped through the bottom
of the extension tube and through the top of
the motor housing. When installing with
adjustable length extension tubes, a third
cable should be used to secure the center
bolted joint of the extension tubes. These
cables support the fan to the ceiling if one of
the bolted joints were to come loose.
Secure the cables with the cable clamps that
are provided. See figures to the right.
IMPORTANT!!!
8Pub. No. RFSP Rev. 5 - December 2010
REVOLUTION SP FAN

INSTALLATION
STABILIZATION CABLES
Stabilization cables are necessary only when
extension tubes longer than 30" (762 mm)
are used. Cables are included with the kit to
attach the fan bracket back to the ceiling in
(4) locations. These cables will help to
stabilize the fan for any situations such as
cross winds or impacts which may otherwise
be strong enough to tilt the fan and cause
the blades to impact a ceiling joist or other
object. For the most support possible, attach
the cables to the ceiling at 90 degrees to
each other and as far away from the point
where the fan is mounted as possible. These
cables are secured at the ceiling with (2)
cable clamps and tightened with a
turnbuckle. Cut cable to length as required.
Make sure that the cables are attached in a
position that does not allow the blades to hit
the cables when the fan is operating. The
cables should be tightened (1) turn past hand
tight. Install cable clamp nuts away from
turnback as shown.
IMPORTANT!!!
Turnback
Cable Clamp Nuts
Pub. No. RFSP Rev. 5 - December 2010 9
REVOLUTION SP FAN

BLADE ATTACHMENT
The fan blades are set in place on the fan
hub. Raise the blade above the arm of the
hub and allow the blade to slide into the slot
provided on the hub. Each fan blade is then
attached to the hub with a 22 mm bolt that is
provided. Use a wrench to tighten the bolt
securely to 75 ft-lb (102 NM). Clean each
blade with a paper towel to remove
fingerprints and dirt before the blades are
installed. In the event a blade is damaged,
the damaged blade and the blade opposite
must be replaced. Replacement blades are
provided in pairs.
IMPORTANT!!!
FAN LEVELING
It is important to level the fan hub after blade
attachment. Level the hub by holding a level
across the center of the hub in all directions.
IMPORTANT!!!
INSTALLATION
REVOLUTION SP FAN
10 Pub. No. RFSP Rev. 5 - December 2010

INSTALLATION
REMOTE MOUNTED CONTROL
This is an 8"(203 mm)W x 10"(254 mm)H x 7"
(178 mm)Deep remote-mounted control box
with an on/off switch and a speed control dial.
Use this option when you need a control
station further away from the fan than the
recommended maximum of 200’. It can also
be used to control the on/off and speed of up
to 4 fans at one time. A station with (2)
switches is standard. Touch screen control
station is optional.
REMOTE STOP
INPUT FROM BUILDING CONTROL
SYSTEM
The Revolution Lite Fan can be given an
electronic stop command by removing the
jumper wire accross terminals LI4 and +24V
on the frequency drive and wiring a normally
closed relay into these same terminals. A
command to open the relay will stop the fan.
REMOTE STOP FOR OPEN AIR
ENVIRONMENT
When fans are used in open air environments,
it may be necessary to shut the fans down as
wind speed increases. These controls can be
wired similar to the remote stop feature above.
GUARDING THE FAN
A fan should be guarded if there is potential
for a person or object to come into contact
with moving blades. In some cases this
guarding can be a structure which is built
near the edge of the blades to keep fork
trucks and other objects from entering a
danger area. In other cases such as when
fans are mounted on low ceilings, it may be
necessary to build a “cage” around the fan
blades to insure objects do not come into
contact with the moving blades. It will be
best to mount this cage independent of the
fan and support it from the ceiling or columns
as necessary.
IMPORTANT!!!
Pub. No. RFSP Rev. 5 - December 2010 11
REVOLUTION SP FAN

MOTOR WIRING
The fan motor will receive three phase power
from the fan control box even if single phase
power is provided to the control box. Remove
the cover from the motor junction box. Change
the wire leads as necessary for high or low
voltage. See the diagrams on this page below
for the appropriate wiring.
CONDUIT RESTRICTIONS
AC supply lines for a controller MAY
share the same conduit with AC supply
lines for one or more additional
controllers.
AC supply lines for a controller and
output / motor leads for the same
controller or another controller MAY NOT
share the same conduit.
The conduit with the incoming power and the
conduit with the power going to the motor
should be separated by a minumun of 6”(152
mm)
Do not use solid core wiring of any size
or insulation class for controller output /
motor leads.
IMPORTANT!!!
Use one of the wire types listed below to
connect the fan control box to the motor.
Acceptable unshielded cable types:
THHN / THNW, rated for 600V and
75 deg. to 90 deg. Celsius
Acceptable shielded cable types:
RHH / RHW-2, rated for 600V and 75
deg to 90 deg. Celsius
Belden 29501 through 29507
RHH / RHW-2, tray rated for 600V
and 75 deg. to 90 deg. Celsius
Shawflex 2ACD / 3ACD or
equivalent.
IMPORTANT!!!
REVOLUTION SP FAN
12 Pub. No. RFSP Rev. 5 - December 2010

REVOLUTION SP FAN
Pub. No. RFSP Rev. 5 - December 2010 13
CONTROL BOX WIRING

REVOLUTION SP FAN
14 Pub. No. RFSP Rev. 5 - December 2010
STOP CURCUIT FOR MULTIPLE FANS (SCHNEIDER ELECTRIC)

REVOLUTION SP FAN
Pub. No. RFSP Rev. 5 - December 2010 15
REMOTE MOUNTED FAN FOR SCHNEIDER ELECTRIC

REVOLUTION SP FAN
16 Pub. No. RFSP Rev. 5 - December 2010
CONTROL BOX MOUNTING
Mount the control box securely to a wall or building column with appropriate anchors (not
provided). The box should not be greater than 200 ft. (61m) from the fan it is controlling. The fan
should be visible from where the control box is mounted. Mount the VFD control box in a location
where it will still be accessable for troubleshooting.
The electrical system (ground system, insulation etc.) must be verified by an authorized
electrician before fan is put into operation. The verification data should be entered in a record
and be stored by the customer.
RECOMMENDED FUSE RATINGS
Recommended Branch Recommended
Circuit Protection Incoming Service
Input Voltage Amps Amps
110-120V, 1PH, 60 Hz. 20A 20A
200-240V, 1PH, 60 Hz. 15A 15A
200-240V, 3PH, 60 Hz. 15A 10A
460-480V, 3 PH, 60 Hz. 15A 6A
380V, 3PH, 50 Hz. 15A 6A
575V, 3PH, 60 Hz. 10A 6A
INPUT WIRING
Bring the input wires into the bottom of the fuse block. Tighten the screws to secure the wires.
Insert the wires that are going to the motor into the contact blocks that are labeled U, V, W.
Insert the ground wire into the green contact block.
MOTOR RATING
Motor
Input Voltage Volts Freq. F.L.A
200-240V, 1PH, 60 Hz. 230 60 3.2
200-240V, 3PH, 60 Hz. 400 60 3.2
460-480V, 3 PH, 60 Hz. 460 60 1.6
380V, 3PH, 50 Hz. 380 50 1.8
Increasing the speed of the fan beyond
factory set limits is not recommended and
can shorten the life of the motor.
WARNING!!!
!

REVOLUTION SP FAN
Pub. No. RFSP Rev. 5 - December 2010 17
Shielded 6 wire 20 AWG cable recommended.
If power is lost and restored, the master
frequency drive will restart the frquency drive
only. Cycle the remote on/off switch to restart all
fans.
Ceiling mounted standard control boxes
should not be mounted inside the fan
diameter. A control box mounted above
a fan & inside the fan diameter can not
be locked out safely.
WARNING!!!
!
CAUTION !!! IMPORTANT!!!
!
CONTROL BOX

REVOLUTION SP FAN
18 Pub. No. RFSP Rev. 5 - December 2010
LAMINATED BEAM KIT(OPTIONAL)
The laminated beam brackets are through bolted with one bracket on each side of the laminated
(or concrete) beam. The standard ceiling mounting bracket should then be attached to this
bracket in the normal manner.
See picture on Parts List page.
LAMINATED BEAM KIT (OPTIONAL)

REVOLUTION SP FAN
ANNUAL PLANNED MAINTENANCE
RUN / TEST
Turn the power disconnect switch on the
control box to the ON position. Allow a few
seconds for the frequency drive to power up.
Turn the Fan Control to the ON position.
Watch the rotation of the fan. The fan should
turn clockwise when you are standing below
the fan looking up. If the rotation is the wrong
direction, disconnect power to the control box
and reverse two of the three wires from the
control box to the motor.
Adjust the fan speed to 30 hz. Count the
number of revolutions the fan makes in
1 minute. They should be approximately the
following:
12’ (2440 mm) Fans = 40 rpm
10’ (3050 mm) Fans = 50 rpm
8’ (3660 mm) Fans = 60 rpm
If the fans do not spin at these speeds, consult
factory for assistance.
FAN BLADE CLEANING
• Dirt and dust may be removed from the
blades by using a cloth or soft non-metallic
brush.
• Stubborn stains may be removed with a
cloth dampened with a mild detergent
solution. Do not use strong solvents.
FAN MOUNTING:
• Re-torque all fasteners [1/2-13 Grade 8 (98
ft-lbs)], [5/16-18 Grade 8 (29 ft-lbs)].
• Check the fan, including mounting supports
to make sure all hardware is tight and
shows no wear and tear.
CABLES:
• Re - Torque clamps.
• Check for fraying or wear.
GEAR REDUCER:
• Check for oil leaks. If leaks are present,
contact factory.
• Check oil level. The oil type is marked on
the gear case. Add oil if necessary.
MOTOR:
• Check motor for accumulated dust and dirt.
Remove using a brush or compressed air.
FAN CONTROLLER:
• Examine all terminal connections inside the
control box, tighten any loose connections.
• Use compressed air at 90~100 psi, to blow
loose debris and dust out of controller
interior.
When cleaning or attempting to re-torque you
must unplug or disconnect the fan and
controller from the power supply.
WARNING!!!
!
LOSS OF POWER
Both the disconnect and the ON/OFF
switches must be turned to the OFF
positions to restart the fan. Turn the
disconnect switch to the ON position.
Wait 5 seconds for the variable frequency
drive to power up before turning the fan
switch to the ON position.
IMPORTANT!!!
Pub. No. RFSP Rev. 5 - December 2010 19

REVOLUTION SP FAN
20 Pub. No. RFSP Rev. 5 - December 2010
1. Low pitched “rumbling” noise is commonly
from the gearcase. It will change pitch as
the fan increases in speed. Once the fan
reaches a set speed, the rumbling noise
should turn to white noise and blend into
its environment. The typical operating
range for a fan at full speed is 40-44 dbA.
2. High pitched noise is typically electrical
noise. This is the noise that many people
will detect. It is caused by the frequency
drive creating power for the fan motor, and
it will always be present with a motor that
is controlled by a variable-frequency drive.
3. Wind noise will be present because the fan
is moving a high volume of air. This will be
more evident if there are obstructions to
the air flow.
4. The attachment hardware sometimes
causes vibration noise. Take the
necessary steps to identify and eliminate
the vibration
FAN NOISE
Revolution Fans are engineered to utilize the full output of a 1 HP motor. So while they are quiet,
they do generate noise. The noise can be characterized in these ways:
Table of contents
Other RITE-HITE Fan manuals
Popular Fan manuals by other brands

Broan
Broan HRV150S Series user manual

Princess
Princess 352500 Instructions for use

enervent
enervent greenair Plaza eco EC Planning, installation and operational instructions manual

NuAire
NuAire AX installation manual

Vortice
Vortice Nordik Design 1S Instruction booklet

wolter
wolter RH operating instructions

Gorenje
Gorenje BVN WS Series Instructions for installation and use

STIEBEL ELTRON
STIEBEL ELTRON VCR 180 MC Operation and installation

Bimar
Bimar VT7-30B Instruction booklet

Incubator Warehouse
Incubator Warehouse Little Giant 9300 installation instructions

Perel
Perel CFANF45N user manual

Miele
Miele DUU 2900 Operating and installation instructions