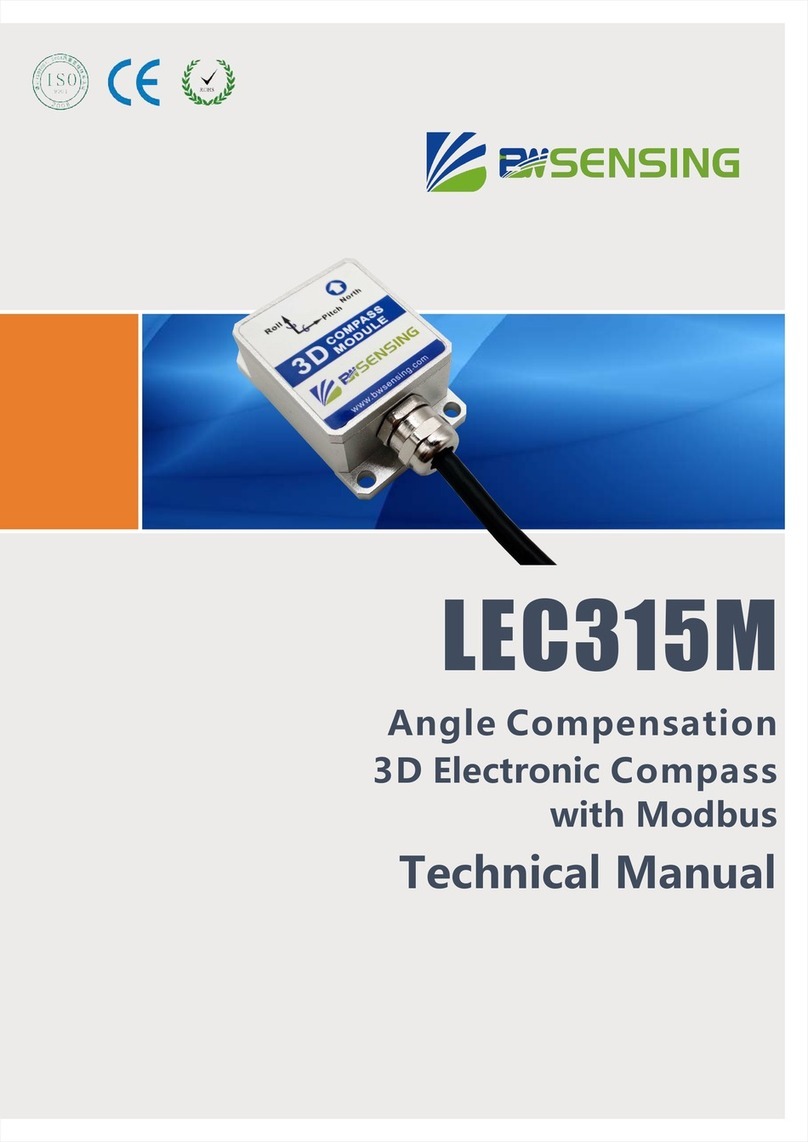
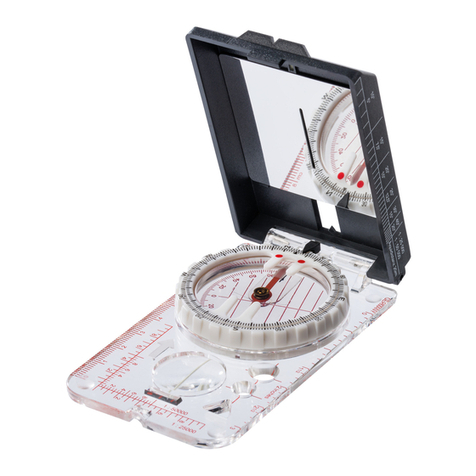
Riviera ZENITH 3 User manual

USER’S MANUAL - Magnetic compass for navigation RIVIERA type ZENITH 3 "
GENERAL FEATURES
Apparent diameter 3 "(80 mm)
Mounting: binnacle or flush
Dial gradation 5 °
Dial colors: black or blue
Front or rear reading
LED lighting 12V (24V on request),
blue color as standard
Anti-glare screen
Internal gimbal suspension
Built-in manual compensation
3 years warranty
100% repairable
Weight: 0,720 Kgs approx.
INSTALLATION
The way to install a Riviera magnetic compass differs depending on the model.
Please read the following carefully.
To install the purchased compass on board, in addition to the specific operations linked to the model and
indicated in the attachment, keep in mind the following:
1) Choose the installation site so that it is as far away as possible from magnetic fields, or other
moving ferrous masses.
2) Before connecting the two LED lighting wires to the on-board system, check the
correspondence of the network voltage.
3) At the end of the installation, have the compensation of the RIVIERA compass performed by
an authorized professional.
BINNACLE MOUNT MODELS
According to the models, follow the instructions contained:
only in Annex A for the assembly of models BZ3
FLUSH MOUNT MODELS
For the models that must be mounted flush by cutting a boat wall (BZ1, BZ4 and BZT), refer to the on
board mounting scheme contained in the box.
Dear Customer,
in thanking you for your preference and trust in our products, we wish to inform you that this marine
magnetic compass has been designed and built to perfection in the RIVIERA srl factory in Genoa.
After manual assembly, it was subjected to tests and quality controls in accordance with the
requirements of the Italian shipping register, RINA. It is made with materials that have proven to
guarantee its functioning aboard boats for many years.
Keep this manual together with the on-board documents.
CERTIFICATIONS
The MED Directive 2014/90 / EU (and its subsequent
amendments) covers the main equipment and materials that
are intended to be used on board seagoing (non-military)
vessels.
The distinctive marking for these products is the
"Wheelmark". The technical rules applicable to marine
equipment come from three sources: the Convention for the
Safety of Life at Sea (SOLAS), the Resolutions of the
International Maritime Organization (IMO) and the European
Standards (EN).
The RIVIERA class B compasses of the ZENITH type
(with the exception of the BZT model) have been
certified in accordance with MED 2014/90 EU.
RIVIERA ZENITH: This Type of compasses is
Certificated as lifeboats and rescue boats equipment.
Any MED certificate for the single compass must be
requested when ordering and cannot be issued after
supply.
Riviera Srl Genova - Via Inferiore Rio Maggiore, 4A - 16138 Genova (Italy) – Tel. +39 010 8355286 – [email protected] 1/2
Riviera Srl Genova
Via Inferiore Rio Maggiore, 4A
16138 Genova (Italy)
Tel. +39 010 8355286 – [email protected]
Azienda certificata ISO 9001 -

USER’S MANUAL - Magnetic compass for navigation RIVIERA type ZENITH 3 "
COMPENSATION & MAINTENANCE
Riviera compasses are calibrated for zone A. On request, when
ordering, they can be calibrated for zone B or C.
After installation on board, compass compensation must be carried out
by a professional authorized by the local Maritime Authority who will
operate on the screws accessible through the lower transverse holes.
Clean the Riviera compass with a soft cloth moistened with fresh
water.
REPAIR
For the purposes of forfeiture of the warranty terms and for your safety,
any repairs may be carried out only and exclusively by the
manufacturer. In case of need, please contact RIVIERA Srl -
This document is valid as a guarantee certificate.
The company RIVIERA srl Genoa guarantees that its compasses are built in a workmanlike manner and that they are free from manufacturing and
material defects.
If within 36 months from the date of manufacture (stamped on the flange) the product should show malfunctions, the company will repair or replace it, at
its sole discretion, free of charge.
The warranty is void if the damage is caused by improper use, incorrect installation or accidental breakage.
The warranty does not cover any costs deriving from assembly or disassembly of the products, transport of the same and expenses for technical
personnel, even if attributable to manufacturing defects.
In the event of a dispute, the competent court is the court of Genoa.
PACKAGING
The RIVIERA ZENITH compass is delivered in protective packaging
suitable for international shipping
1 box dim.16 x16 x16 cm - Total weight Kgs. 1,700
Riviera Srl Genova - Via Inferiore Rio Maggiore, 4A - 16138 Genova (Italy) – Tel. +39 010 8355286 – [email protected] 2/2
LIQUID
The liquid contained in the RIVIERA compasses is stable in the
temperature range from -30 ° to + 60 ° C. In this range there should be
no bubbles, this is guaranteed by an elastic membrane that
compensates for volumetric variations. The liquid is Shell SolD / 70
(petroleum).
ATTENTION: Never unscrew the filler plugs and screws for any
reason. The only screws to adjust are those of the compensators
(with a non-magnetic screwdriver). When the cut of the
compensator screws is in the horizontal position the
compensation is neutral, bringing the cut in the vertical position
is maximum.

ALLEGATO A (ATTACHMENT) - Istruzioni - (Instructions) BZ3
1.
2.
3.
4.
5.
Seguire scrupolosamente le indicazioni seguenti:
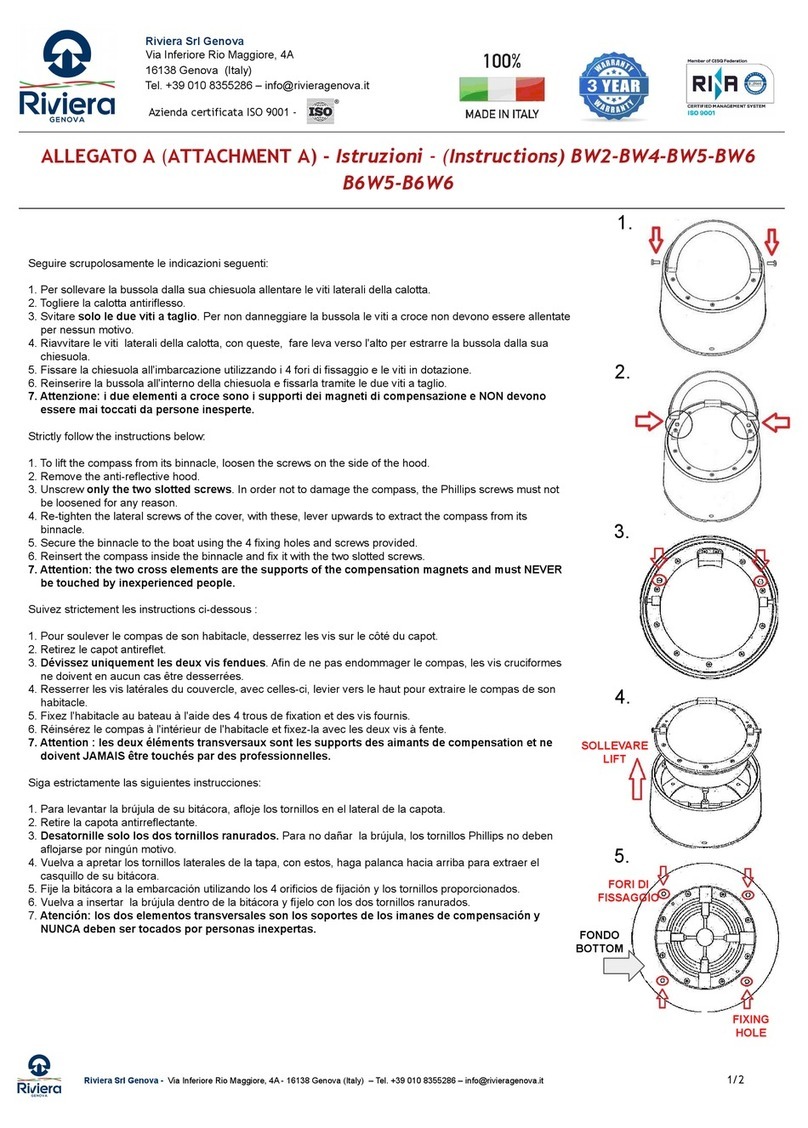
1. Per sollevare la bussola dalla sua chiesuola allentare le viti laterali della calotta.
2. Togliere la calotta antiriflesso.
3. Svitare solo le viti N°2 e N°5. Per non danneggiare la bussola, le altre viti a croce non devono essere
allentate per nessun motivo.
4. Estrarre la bussola dalla sua chiesuola.
5. Fissare la chiesuola all'imbarcazione utilizzando i 4 fori di fissaggio e le viti in dotazione.
6. Reinserire la bussola all'interno della chiesuola e fissarla tramite le viti N°2 e N°5.
7. Attenzione: i due elementi a croce sono i supporti dei magneti di compensazione e NON devono
essere mai toccati da persone inesperte.
Strictly follow the instructions below:
1. To lift the compass from its binnacle, loosen the screws on the side of the hood.
2. Remove the anti-reflective hood.
3. Unscrew only the screws N° 2 and N°5. In order not to damage the compass, the other Phillips screws
must not be loosened for any reason.
4. Extract the compass from its binnacle.
5. Secure the binnacle to the boat using the 4 fixing holes and screws provided.
6. Reinsert the compass inside the binnacle and fix it with the screws N°2 and N°5.
7. Attention: the two cross elements are the supports of the compensation magnets and must NEVER
be touched by inexperienced people.
Suivez strictement les instructions ci-dessous :
1. Pour soulever le compas de son habitacle, desserrez les vis sur le côté du capot.
2. Retirez le capot antireflet.
3. Dévissez uniquement les vis N°2 et N°5. Afin de ne pas endommager le compas, les autres vis
cruciformes ne doivent en aucun cas être desserrées.
4. Extraire le compas de son habitacle.
5. Fixez l'habitacle au bateau à l'aide des 4 trous de fixation et des vis fournis.
6. Réinsérez le compas à l'intérieur de l'habitacle et fixez-la avec les vis N°2 et N°5..
7. Attention : les deux éléments transversaux sont les supports des aimants de compensation et ne
doivent JAMAIS être touchés par des professionnelles.
Siga estrictamente las siguientes instrucciones:
1. Para levantar la brújula de su bitácora, afloje los tornillos en el lateral de la capota.
2. Retire la capota antirreflectante.
3. Desatornille solo los tornillos N°2 y N°5. Para no dañar la brújula, los otros tornillos Phillips no deben
aflojarse por ningún motivo.
4. Extraer el casquillo de su bitácora.
5. Fije la bitácora a la embarcación utilizando los 4 orificios de fijación y los tornillos proporcionados.
6. Vuelva a insertar la brújula dentro de la bitácora y fíjelo con los tornillos N°2 y N°5..
7. Atención: los dos elementos transversales son los soportes de los imanes de compensación y
NUNCA deben ser tocados por personas inexpertas.
Befolgen Sie strikt die folgenden Anweisungen:
1. Um den Magnetkompass aus seiner Halterung zu heben, lösen Sie die Schrauben an der Seite der Haube
2. Entfernen Sie die Antireflexhaube
3. Lösen Sie nur die schrauben N°2 und N°5. Um den Magnetkompass nicht zu beschädigen, dürfen die
anderen Kreuzschlitzschrauben keinesfalls gelöst werden.
4. Nehmen Sie den Magnetkompass aus seiner Hülle.
5. Befestigen Sie die Binnacle mit den 4 mitgelieferten Befestigungslöchern und Schrauben am Boot.
6. Setzen Sie die Buchse wieder in das Gehäuse ein und befestigen Sie sie mit den schrauben N°2 und N°5.
7. Achtung: Die beiden Querelemente sind die Träger der Kompensationsmagnete und dürfen
NIEMALS von unerfahrenen Personen berührt werden.
SOLLEVARE
LIFT
FORI DI
FISSAGGIO
FIXING
HOLE
Riviera Srl Genova - Via Inferiore Rio Maggiore, 4A - 16138 Genova (Italy) – Tel. +39 010 8355286 – [email protected] 1/2
Riviera Srl Genova
Via Inferiore Rio Maggiore, 4A
16138 Genova (Italy)
Tel. +39 010 8355286 – [email protected]
Azienda certificata ISO 9001 -
VISTA DALL’ALTO
VIEW FROM TOP

ALLEGATO A (ATTACHMENT) - Istruzioni - (Instructions) BZ3
Строго следуйте приведенным ниже инструкциям:
1. Чтобы снять магнитный компас с нактоуза, ослабьте винты сбоку бленды.
2. Снимите антибликовый колпак.
3. Отвинтите только винты N°2 и N°5. Чтобы не повредить втулку, другие винты Phillips не должны
быть распущен по любой причине.
4. Достаньте магнитный компас из футляра.
5. Прикрепите нактоуз к лодке с помощью 4 крепежных отверстий и винтов, входящих в комплект.
6. Вставьте втулку обратно в корпус и закрепите ее винтами № 2 и № 5.
7. Внимание: два поперечных элемента являются опорами компенсационных магнитов и
НИКОГДА не должны прикасаться к ним неопытными людьми.
SOLLEVARE
LIFT
FORI DI
FISSAGGIO
FIXING
HOLE
Riviera Srl Genova - Via Inferiore Rio Maggiore, 4A - 16138 Genova (Italy) – Tel. +39 010 8355286 – [email protected] 2/2
Riviera Srl Genova
Via Inferiore Rio Maggiore, 4A
16138 Genova (Italy)
Tel. +39 010 8355286 – [email protected]
Azienda certificata ISO 9001 -
1.
2.
3.
4.
5.
VISTA DALL’ALTO
VIEW FROM TOP
SCHEMA DI FORATURA (ON BOARD MOUNTING SCHEME)
tipo ZENITH BZ1 (Con Cover) - BZ4
Riviera Srl Genova - Via Inferiore Rio Maggiore, 4A - 16138 Genova (Italy) – Tel. +39 010 8355286 – [email protected] 1/1
Riviera Srl Genova
Via Inferiore Rio Maggiore, 4A
16138 Genova (Italy)
Tel. +39 010 8355286 – [email protected]
Azienda certificata ISO 9001 -
Cable passage hole eletrical
Cable passage hole eletrical only for the items:
solo per i modelli:
BZ4
solo per i modelli:
only for the items:

SCHEMA DI FORATURA (ON BOARD MOUNTING SCHEME)
tipo ZENITH BZ1 (Senza Cover) - BZT
Riviera Srl Genova - Via Inferiore Rio Maggiore, 4A - 16138 Genova (Italy) – Tel. +39 010 8355286 – [email protected] 1/1
Riviera Srl Genova
Via Inferiore Rio Maggiore, 4A
16138 Genova (Italy)
Tel. +39 010 8355286 – [email protected]
Azienda certificata ISO 9001 -
Cable passage hole eletrical
This manual suits for next models
4
Table of contents
Languages:
Other Riviera Compass manuals

Riviera
Riviera WHITE STAR 6 User manual

Riviera
Riviera POLARE 3 User manual

Riviera
Riviera BW2 User manual

Riviera
Riviera ARTICA 2 3/4 User manual

Riviera
Riviera URANIA 4 User manual

Riviera
Riviera Polare BP1 User manual

Riviera
Riviera ARTICA 2 3/4 User manual

Riviera
Riviera ZENITH BZ1 User manual

Riviera
Riviera ASTRA 4 User manual
Popular Compass manuals by other brands

SIRS Navigation
SIRS Navigation KCA0101C COMPONENT MAINTENANCE MANUAL WITH ILLUSTRATED PARTS LIST

Foshk
Foshk WS112 instruction manual

Furuno
Furuno Sc 50 Operator's manual

Raymarine
Raymarine Compass user guide

Magellan
Magellan Triton 500 - Hiking GPS Receiver Application notes

Bushnell
Bushnell 70-0001 instruction manual