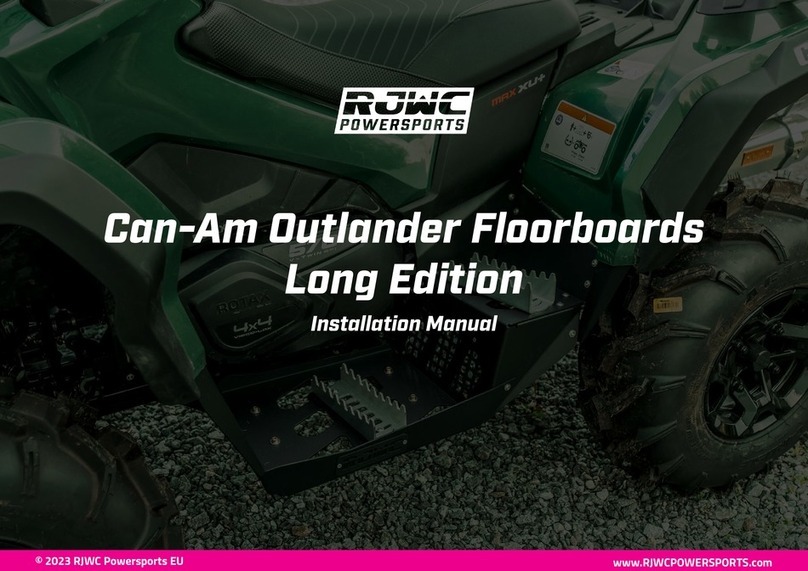
RJWC Can-Am Outlander Floorboards Short Edition User manual
Other RJWC Automobile Accessories manuals
Popular Automobile Accessories manuals by other brands
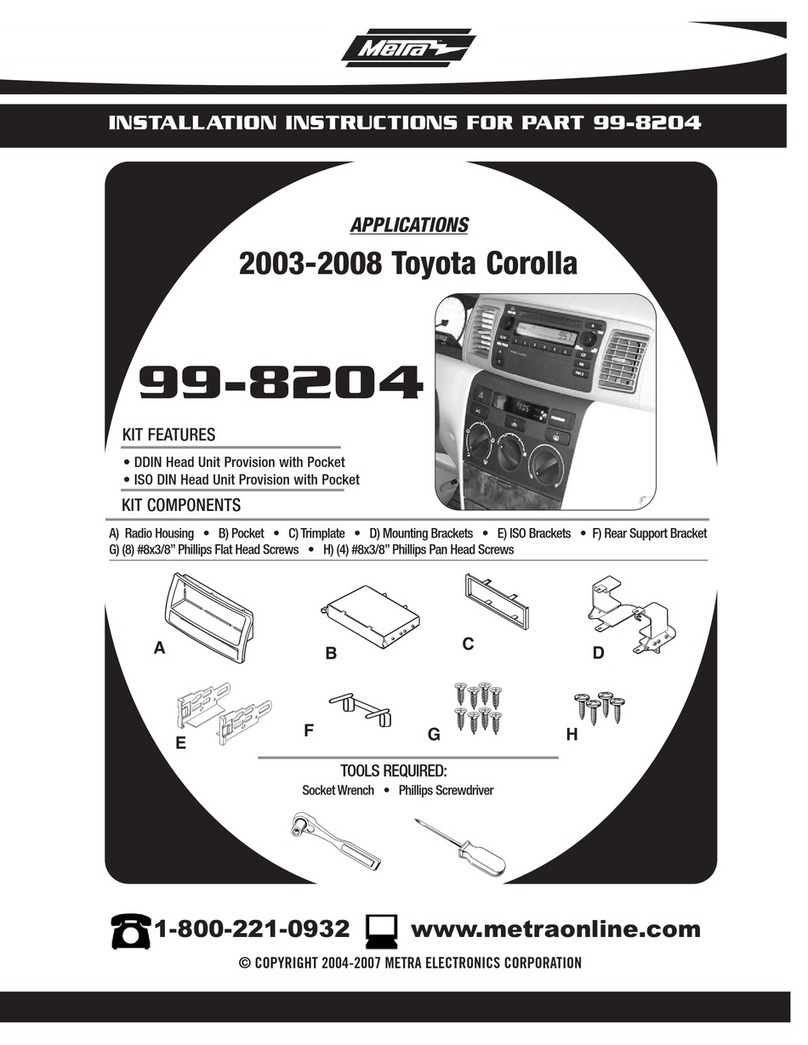
Metra Electronics
Metra Electronics 99-8204 installation instructions
Alpine
Alpine HCE-C115 owner's manual
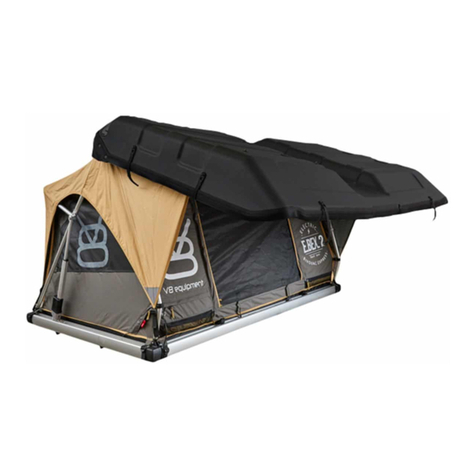
V8 equipment
V8 equipment E.BEX manual
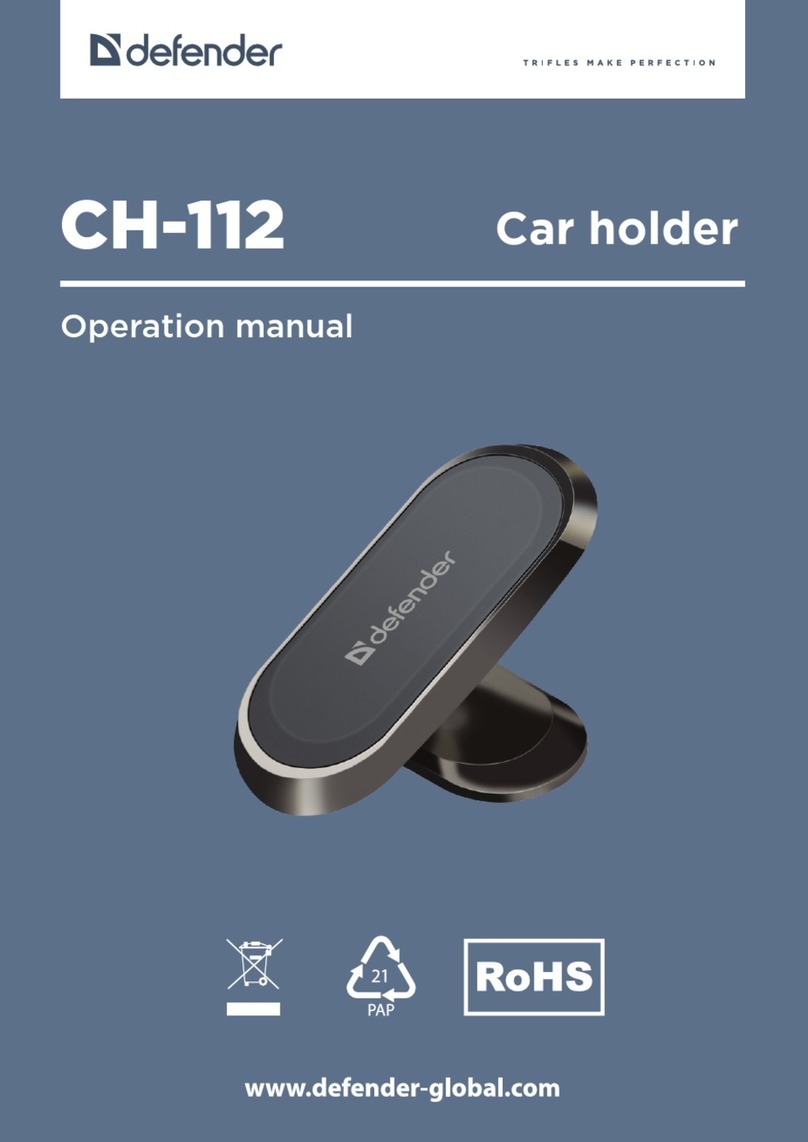
Defender
Defender CH-112 Operation manual

FABBRI PORTATUTTO
FABBRI PORTATUTTO 17514600 Assembly instructions

Whelen Engineering Company
Whelen Engineering Company L41E installation guide
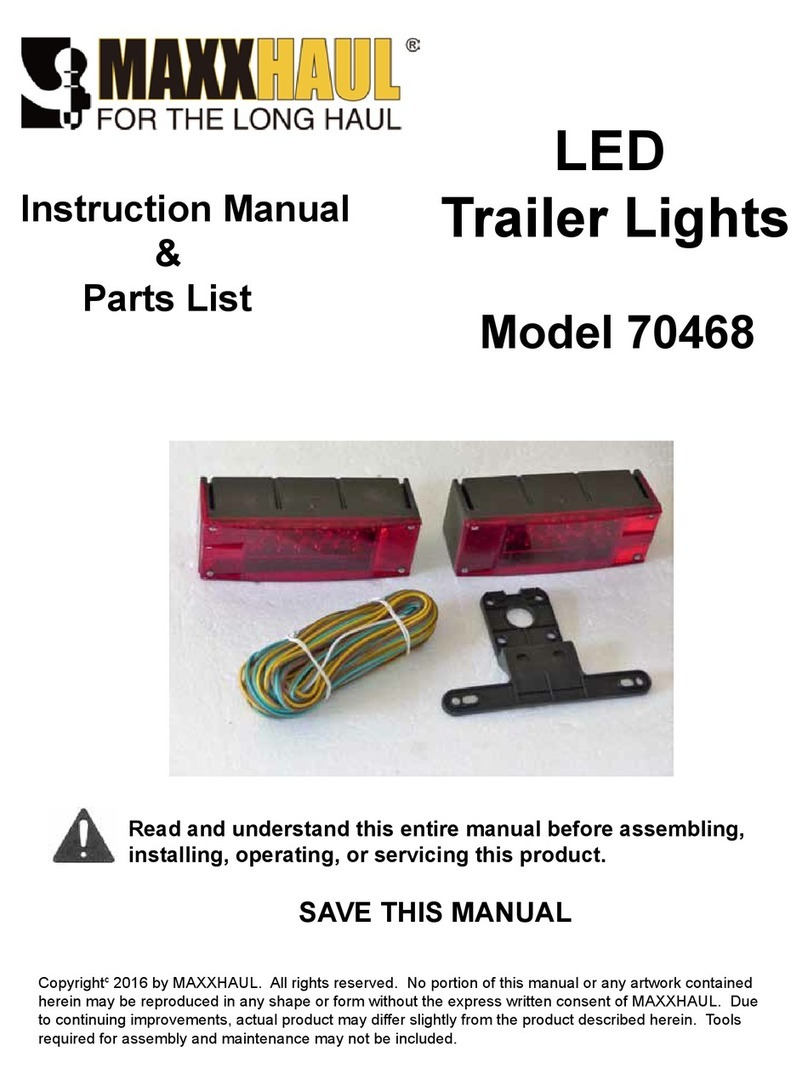
Maxxhaul
Maxxhaul 70468 Instruction manual & parts list

iDataLink
iDataLink maestro Rr install guide

Kargo Master
Kargo Master 4A98L-Rev 1 installation guide
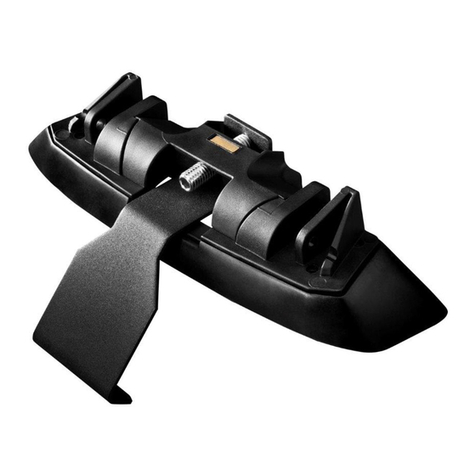
Whispbar
Whispbar K471W Fitting instructions
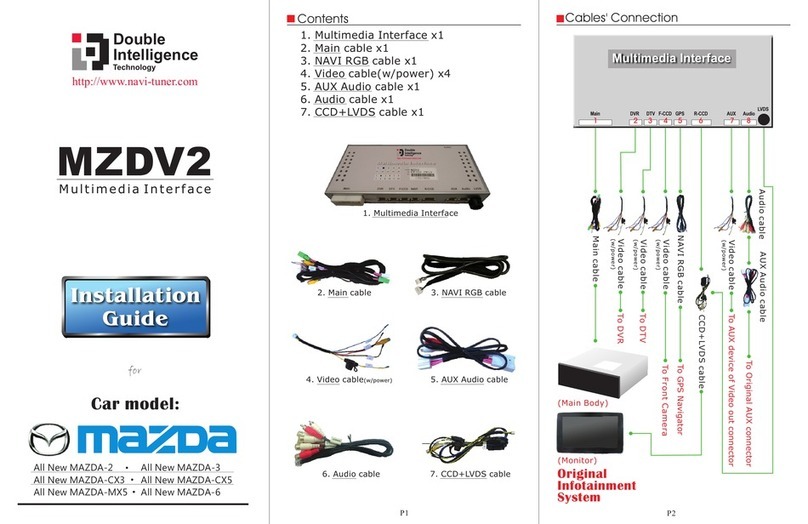
Double Intelligence Technology
Double Intelligence Technology MZDV2 installation guide
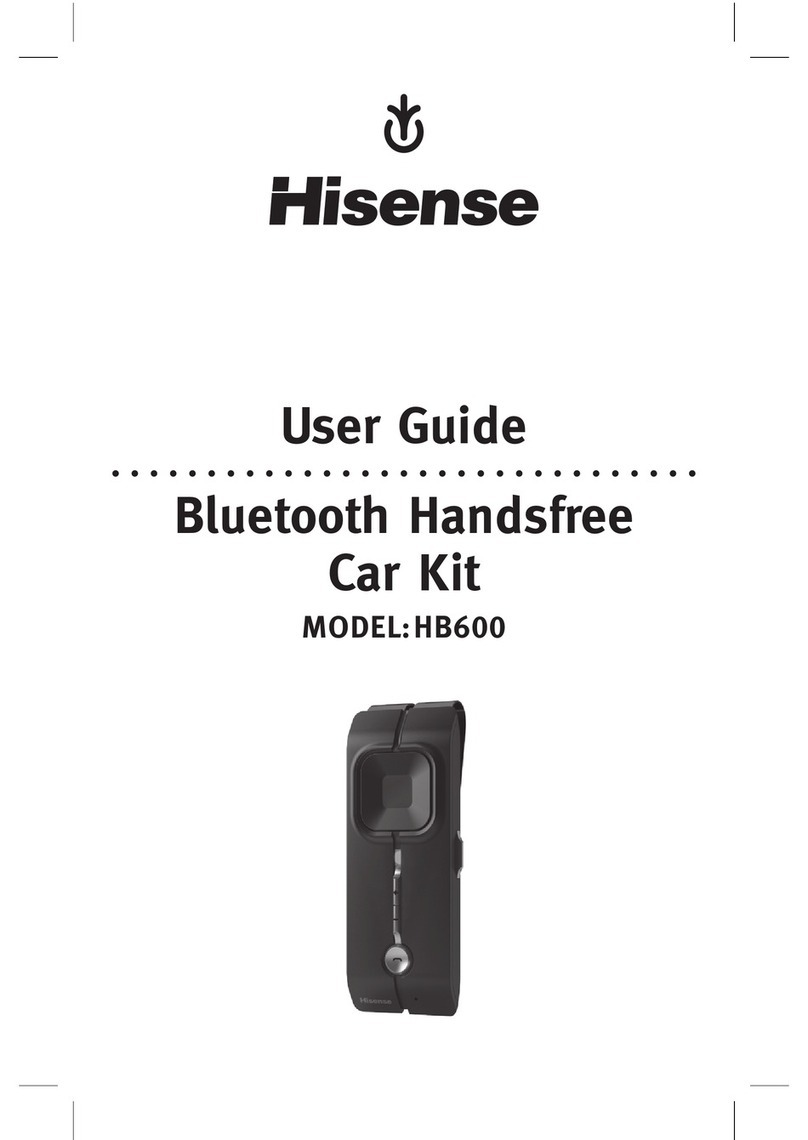
Hisense
Hisense HB600 user guide


