RJWC Can-Am Outlander Floorboards Long Edition User manual

www.RJWCPOWERSPORTS.com
© 2023 RJWC Powersports EU www.RJWCPOWERSPORTS.com
Can-Am Outlander Floorboards
Long Edition
Installation Manual
www.RJWCPOWERSPORTS.com
© 2023 RJWC Powersports EU www.RJWCPOWERSPORTS.com © 2023 RJWC Powersports EU www.RJWCPOWERSPORTS.com
© 2023 RJWC Powersports EU www.RJWCPOWERSPORTS.com
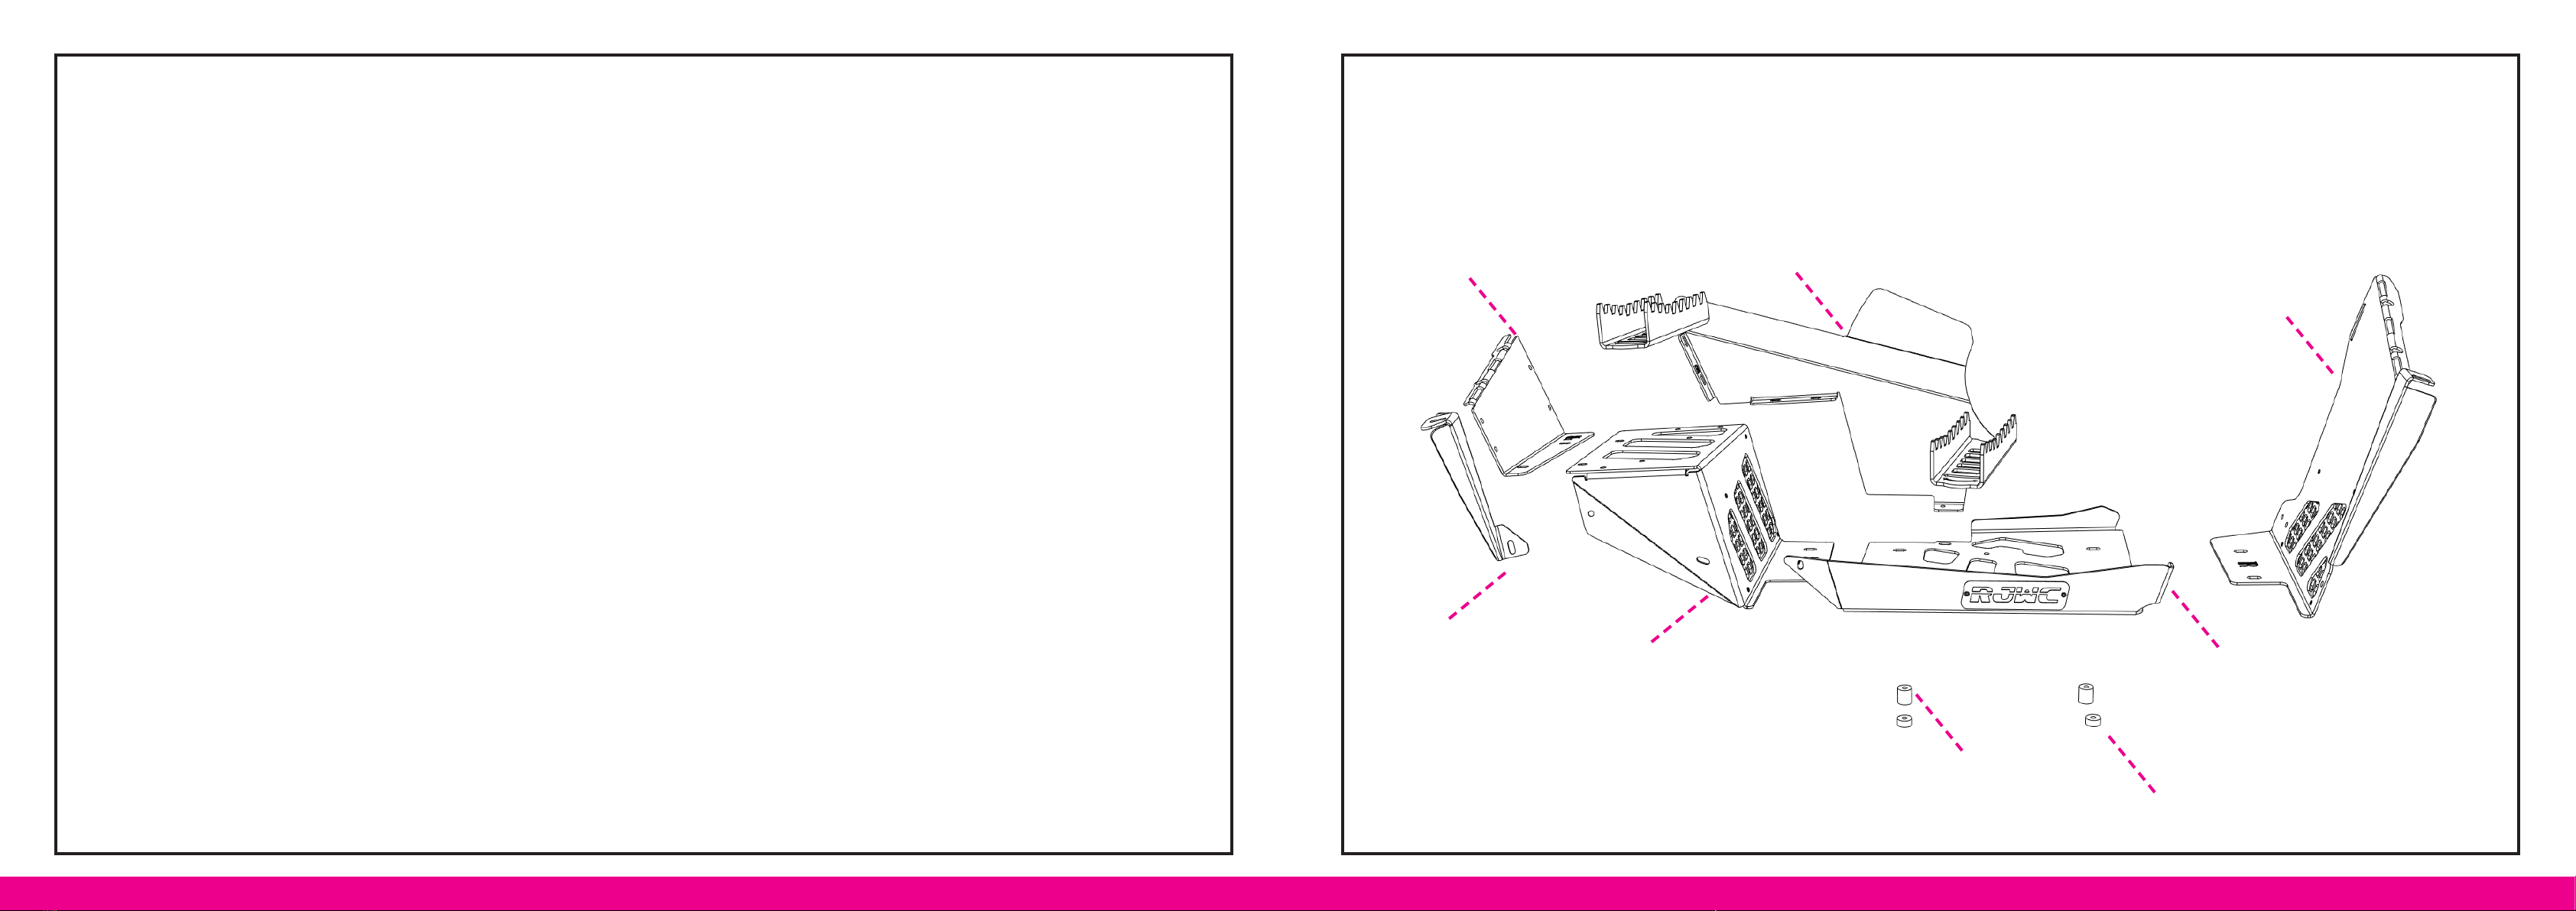
Outlander Long Floorboards
Installation Manual
Read carefully before installation!
Before starting installation, make sure your ATV is o, and has cooled down. To
start the installation of the RJWC Floorboards you will need to remove the stock
oorboards.
When unboxing the Floorboards, you will notice that each panel has a number,
followed by either an ‘L’ or an ‘R’. These correspond to the side of the machine
each panel will be installed on.
We recommend unpacking all the panels, and seperating them by RIGHT and
LEFT.
Don’t fully tighten all screws throughout the installation, minor adjustments may
need to be made - so as a last step, tighten all screws once the oorboards are in
place.
Tools Required:
- M10 Wrench
- Torx 30 Socket/ Screwdriver
Outlander Long Floorboards
Panel 1R/L
Panel 2R/LPanel 3R/L
Panel 4R/L
Panel 5R/L
Panel 6R/L
Shim 22m
Shim 9mm
Installation Tip!
We recommend following the Installation
Manual for one side of the Floorboard rst.
You can follow the steps using the ‘R’
Panels, 1R, 2R, 3R etc. to install the Right
Side.
You can then repeat the steps replacing
the ‘R’ with the ‘L’ panel. 1R, 2R and 3R
would become 1L, 2L and 3L.

www.RJWCPOWERSPORTS.com
© 2023 RJWC Powersports EU www.RJWCPOWERSPORTS.com © 2023 RJWC Powersports EU www.RJWCPOWERSPORTS.com
Step 1.
Panels: 1R/L, 2R/L, 3R/L, “Rubber Bracket Left”
- Pre-assemble panels 1R/L, 2R/L and 3R/L using the
M6x16 Flange Head screws and nuts - shown in the
highlighted circles
- Mount the “Rubber Bracket Left”. This bracket only
appears on the left side.
Step 2.
- Mount the pre-assembled panels onto the Right/Left ATV
frame, align the plastic to the Floorboard Panel and secure
with M6x16 Flange Head screws and nut underneath the
panel.

www.RJWCPOWERSPORTS.com
© 2023 RJWC Powersports EU www.RJWCPOWERSPORTS.com © 2023 RJWC Powersports EU www.RJWCPOWERSPORTS.com
Step 3.
Panels: 2x 22mm Spacers 2x 9mm Spacers
- Align the spacers underneath the oorboard, with the 22mm Spacers closer to
the machine, with the shorter 9mm spacers on the outside
- Secure the oorboards to the base frame with M6x30 screws for the 9mm Spacer
and the M6x40 screws for the 22mm Spacer.
- Repeat this for both sides.
Step 4.
Panels: 4R/L, 5R/L, 6R/L
- Secure the plates 4R/L, 5R/L and 6R/L to the frame.
- Make sure the lip of plate 4R/L goes under plate 3R/L.
- Use screws and nuts in the circled holes.

www.RJWCPOWERSPORTS.com
© 2023 RJWC Powersports EU www.RJWCPOWERSPORTS.com © 2023 RJWC Powersports EU www.RJWCPOWERSPORTS.com
Step 5.
Panels: Footgrips
- Install the Footgrips to both sides of the the Floorboard, make
sure that the ‘arrow’ on the Footgrip is positioned on the outside
facing part of the Floorboard.
- You can adjust the angle of the Footgrips before tightening them
in place.
Step 6.
Panels: Upper Bracket Left
- Install the Upper Bracket Left, to do this you will need
to drill a small 6mm hole in the plastic lip. You can mount
the bracket to the panel, and use the hole in the bracket
as a guideline on where to drill.
- Secure this in place with a M6x16 screw and nut.

www.RJWCPOWERSPORTS.com
© 2023 RJWC Powersports EU www.RJWCPOWERSPORTS.com © 2023 RJWC Powersports EU www.RJWCPOWERSPORTS.com
Step 7.
Panels: Bracket Back Left
- Mount the Bracket Back Left/ Right to the inside of
Panel 6L/R
- Use M6x16 Screws and nuts
Step 8.
Panels: Bracket Front Right
- Mount the Bracket Front Right, this holds to the
inner plastic screen. Use M6x16 screws and nuts to
fasten this bracket in place.

www.RJWCPOWERSPORTS.com
© 2023 RJWC Powersports EU www.RJWCPOWERSPORTS.com © 2023 RJWC Powersports EU www.RJWCPOWERSPORTS.com
Step 9.
Panels: 1L/R
- Make sure that the lip on the plastic panel on the rear of the
footboard slot into the 1L/R Panel
Step 10.
Panels:
- The completed Floorboard assembly should look like the below
image

© 2023 RJWC Powersports EU www.RJWCPOWERSPORTS.com
You have now completed the installation of
the Right Outlander Long Floorboard.
To install the Left Floorboard, follow the
steps and replace the ‘R’ Panel with the ‘L’
Panel. ‘1R’ becomes ‘1L’ etc.
Need help? Got a question? Or just want to tell us about your day:
Get in touch at: support@rjwc.se
Other RJWC Automobile Accessories manuals


Popular Automobile Accessories manuals by other brands

Baby Jogger
Baby Jogger CITY GO PD349056A Assembly instructions

I.SOUND
I.SOUND CAR CHARGER - DATASHEET 1 datasheet

FormFit
FormFit HD 9D 03-4 quick guide

Air-Bus
Air-Bus CARK-10 installation guide

Dirtydog 4x4
Dirtydog 4x4 DD-N-JK2-07R installation instructions

Black Hawk Automotive
Black Hawk Automotive BH6025 Operating instructions and parts manual

Freespirit
Freespirit Odyssey Series instruction manual

Schaudt
Schaudt EBL 226 C +OVP instruction manual

FRONIUS
FRONIUS Wattpilot Go 11 J quick start guide

FormFit
FormFit HD-13A13 installation instructions

MRHANDSFREE
MRHANDSFREE blue alert gold user manual

Continental Automotive Systems
Continental Automotive Systems UHI-5100 manual


