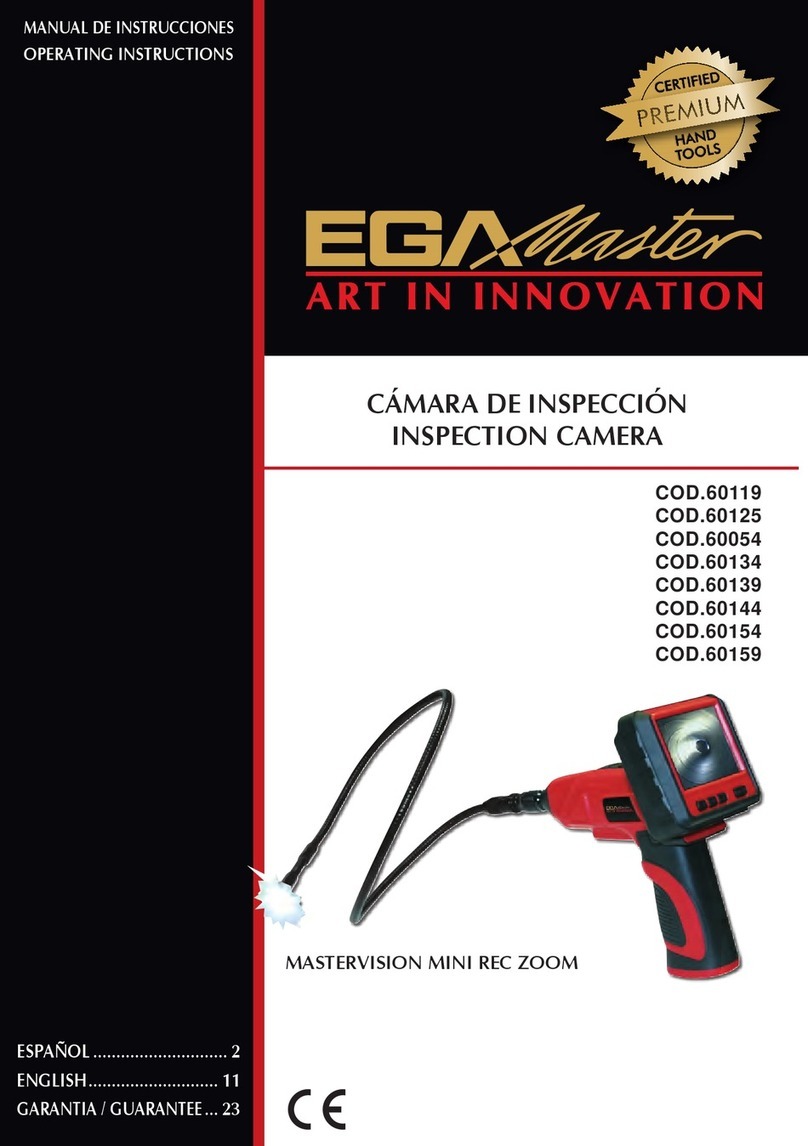
RND lab 355-00009 User manual

Distrelec Group AG, Grabenstrasse 6, 8606 Nänikon, Switzerland, T +41 44 944 99 11, inf[email protected], distrelec.com
USER MANUAL
Prior to use this product, please read this manual carefully to avoid any damage caused by error operation or improper use.

Introduction
Thank you for purchasing this product. Before use, please read carefully the instructions for
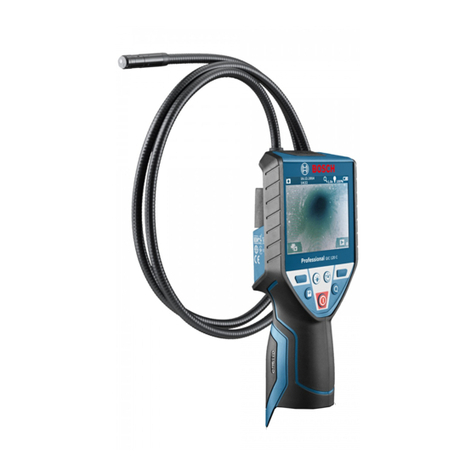
use. This product is a kind of device used as a tool, which is suitable for the detection of
pipelines, narrow spaces, installation of equipment or fixtures, vehicle maintenance, etc.,
providing real-time video viewing and output functions.
Product Features
• Real-time video playback and output;
• Mini 8mm waterproof LED Lens with 770mm flexible tube (Ben section of
tube is of 4.4mm diameter);
2.0X digital zoom capability;•
• 4.3 inch CD monitor;
• Adjustable brightness on screen and LED light;
• Image flip function (mirroring and 180 degree rotation)
• Accessories: Hook, Magnet, Mirror, Attachment fixture;
• Manufactured and tested to IP67 waterproof standard.
Packing List
Product User Manual Single Hook
Magnet Mirror Attachment Fixture
Distrelec Group AG, Grabenstrasse 6, 8606 Nänikon, Switzerland, T +41 44 944 99 11, inf[email protected], distrelec.com

Distrelec Group AG, Grabenstrasse 6, 8606 Nänikon, Switzerland, T +41 44 944 99 11, inf[email protected], distrelec.com
Structure
Mini waterproof
camera
Screen brightness
adjustment key
Flip/mirroring key
Color LED screen
Power indicator
ON/OFF key
LED light brightness
adjustment key
Zoom key
VIDEO output interface
Installation and Use
1. Open the battery compartment rear cover, install 4 AA batteries and press the
battery cover back (Figure 1); place two fingers simultaneously at the “OPEN”
positions and slightly dig inwards. After a “Click” sound is heard, release a lenght of
tube as required and then snap the rear cover back (Figure 2).
Battery
compartment
real cover
Figure
1
Figure
2

Distrelec Group AG, Grabenstrasse 6, 8606 Nänikon, Switzerland, T +41 44 944 99 11, inf[email protected], distrelec.com
2. Accessories Installation
(1) First place the single hook or mirror into the hole on the lens as indicated by the
arrow, and then push the attachment fixture to secure it (as shown below).
(2) First, insert the magnet into the attachment fixture, with the pointed end placed
into the hole on the lens as indicated by the arrow, and then tighten the attachment
fixture to secure it (as shown below).
Attachment fixture
Magnet
3. Press and hold the ON/OFF key for 5s until the power indicator lights up,
while the device enters the real-time video shooting screen; to turn it off, press and hold
the ON/OFF key for 5s again.
Battery level display ON/OFF key

Distrelec Group AG, Grabenstrasse 6, 8606 Nänikon, Switzerland, T +41 44 944 99 11, inf[email protected], distrelec.com
4. When the camera’s ambient light is inadequate, the LED light can be turned on
to adjust the brightness. As the brightness is adjusted to the maximum point,
press the brightness adjustment key again to restore.
LED brightness
adjustment key
5. Press the screen brightness adjustment key to manually adjust the screen
brightness. As the brightness is adjusted to the maximum point, press the
brightness adjustment key again to restore.
Screen brightness
adjustment

Distrelec Group AG, Grabenstrasse 6, 8606 Nänikon, Switzerland, T +41 44 944 99 11, inf[email protected], distrelec.com
6. The zoom key allows you to zoom in the image; press once to zoom in by 1.5
times, press again to zoom in by 2.0 times, and press once again to restore.
Zoom in by
1.5 times
Zoom key
Zoom in by
2.0 times
7. Press the flip/mirroring key to achieve mirroring and 180° flip of the video image.
Flip/mirroring key
Attentions
1. Pay attention to protection of the camera lens, wich shall not be folded by force and
shall not be broken off.
2. The camera Tube is waterproof while the receiver is not. Please protect it from water
and moisture.
3. When the product is not in use, remove the battery.

Distrelec Group AG, Grabenstrasse 6, 8606 Nänikon, Switzerland, T +41 44 944 99 11, inf[email protected], distrelec.com
Technical Parameters
Items Specs
Camera Diameter
Image Sensor
Effective Pixel
Horizontal View Angle
Tube Lenght
IP Grade
Power Supply
Display Dimensions
Image Zoom Ratios
Video Formats
Power Consumption
Product Dimensions
Operating Temperature
Storage Temperature
Operating Humidity
Weight
8mm
1/9”, CMOS
640*480 pixels
45±5°
770mm
IP67(excluding the joint part)
AA x 4
4.3” TFT LCD inch
X1.5, X2
NTSC and PAL
1.5W(MAX)
180*36*89mm
-10~+50°C
-20~+60°C
15%~85% RH
325±5g
*Above parameters are subject to minor changes without prior notice.
FCC Certification Info
Note: This equipment has been tested and found to comply with the limits for a Class B digital
device, pursuant to part 15 of the FCC Rules. These limits are designed to provide reasonable
protection against harmful interference in a residential installation. This equipment generates,
uses and can radiate radio frequency energy and, if not installed and used in accordance with
the instructions, may cause harmful interference to radio or television reception, which can be
determined by turning the equipment off and on, the user is encouraged to try to correct the
interference by one or more of the following measures:

Distrelec Group AG, Grabenstrasse 6, 8606 Nänikon, Switzerland, T +41 44 944 99 11, inf[email protected], distrelec.com
-Reorient or relocate the receiving antenna.
-Increase the separation between the equipment and receiver.
-Connect the equipment into an outlet on a circuit different from that to which the receiver is
connected.
-Consult the dealer or an experienced radio/TV technician for help.
Changes or modifications not expressly approved by the party responsible for compliance could void
the user’s authority to operate the equipment.
This device complies with Part 15 of the FCC Rules. Operation is subject to the following two
conditions:
(1) this device may not cause harmful interference, and (2) this device must accept any interference
received, including interference that may cause undesired operation.
Table of contents
