manuals.online logo
Brands
  1. Home
  2. •
  3. Brands
  4. •
  5. Robern
  6. •
  7. Indoor Furnishing
  8. •
  9. Robern M Series User manual

Robern M Series User manual

1rev. 08/04/2017 © 2017 Robern, Inc.209-1197_C ROBERN M SERIES FULL LENGTH W/ SAFESEAL GASKET 800.877.2376 www.robern.com
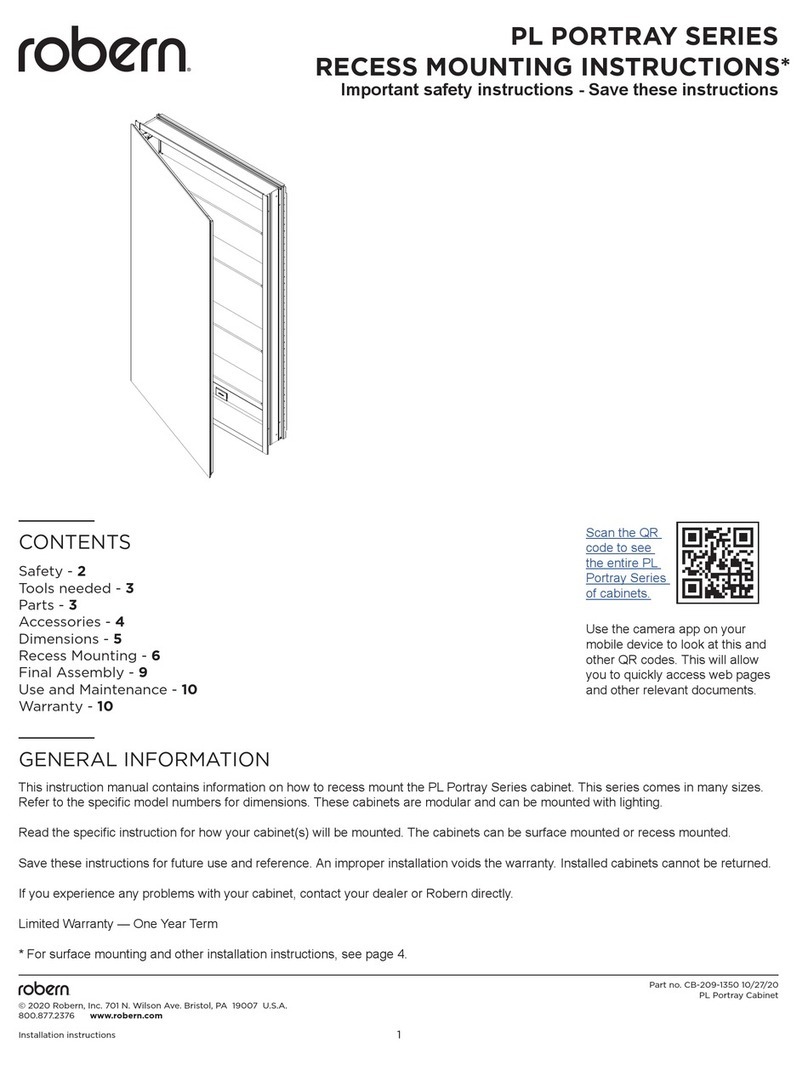
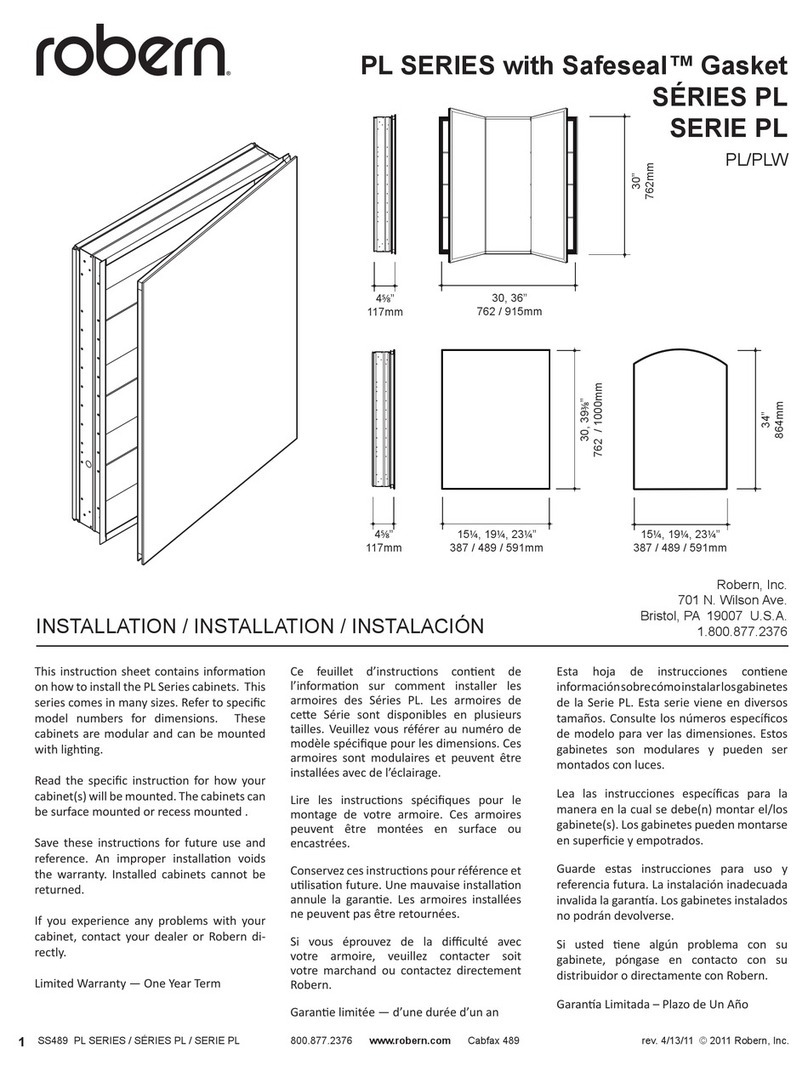
This instrucon sheet contains informaon
on how to install the M Series cabinets. This
series comes in many sizes. Refer to specic
model numbers for dimensions. These
cabinets are modular and can be mounted.
Read the specic instrucon for how your
cabinet(s) will be mounted. The cabinets
can be surface mounted, recess mounted
or semi recess mounted. Electrical opons
may be provided with your cabinet(s)
Save these instrucons for future use and
reference. An improper installaon voids
the warranty. Installed cabinets cannot be
returned.
If you experience any problems with your
cabinet, contact your dealer or Robern di-
rectly.
Limited Warranty — One Year Term
ROBERN M SERIES FULL LENGTH CABINET
w/ Safeseal™ Gasket
Robern, Inc.
701 N. Wilson Ave.
Bristol, PA 19007 U.S.A.
1.800.877.2376
Installation / Installation / Instalación
Ce feuillet d’instrucons conent de
l’informaon sur comment installer les
armoires des Séries M. Les armoires de
cee Série sont disponibles en plusieurs
tailles. Veuillez vous référer au numéro de
modèle spécique pour les dimensions. Ces
armoires sont modulaires.
Lire les instrucons spéciques pour le
montage de votre armoire. Ces armoires
peuvent être montées en surface,
encastrées ou semi-encastrées. Des opons
électriques peuvent être oertes pour votre
armoire.
Conservez ces instrucons pour référence et
ulisaon future. Une mauvaise installaon
annule la garane. Les armoires installées
ne peuvent pas être retournées.
Si vous éprouvez de la diculté avec
votre armoire, veuillez contacter soit
votre marchand ou contactez directement
Robern.
Garane limitée — d’une durée d’un an
Esta hoja de instrucciones conene
información sobre cómo instalar los
gabinetes de la Serie M. Esta serie
viene en diversos tamaños. Consulte los
números especícos de modelo para
ver las dimensiones. Estos gabinetes son
modulares.
Lea las instrucciones especícas para la
manera en la cual se debe(n) montar el/
los gabinete(s). Los gabinetes pueden
montarse en supercie, empotrados y
semiempotrados. Se pueden proporcionar
opciones eléctricas con su(s) gabinete(s).
Guarde estas instrucciones para uso y
referencia futura. La instalación inadecuada
invalida la garana. Los gabinetes instalados
no podrán devolverse.
Si usted ene algún problema con su
gabinete, póngase en contacto con su
distribuidor o directamente con Robern.
Garana Limitada – Plazo de Un Año
70”
1778mm
4 5
/8, 6 5
/8, 8 5
/8”
118, 168, 219mm
15 1
/4, 19 1
/4”
387, 489
2rev. 08/04/2017 © 2017 Robern, Inc.209-1197_C ROBERN M SERIES FULL LENGTH W/ SAFESEAL GASKET 800.877.2376 www.robern.com
Parts / Pièce / Partes
DESIGNED & ASSEMBLED
BRISTOL, PA US A
HOMEOWNERSGUIDE
[217-1262]
Homeowners Guide
Le Guide du propriétaire
Guía del Propietario (1) Accessory Tray
(1) Plateau à Accessoires
(1) bandeja de accesorios
(7) Glass Shelf
(7) Tablette en verre
(7) Estante de vidrio
(1) Razor / Phone Holder
(1) titulaire rasoir / téléphone
(1) titular de la maquinilla de afeitar / teléfono
[SS131]
(32) Shelf Clip
(32) plateau clip
(32) estante clip
[SS134]
(100) Hole Plug
(100) Bouchon pour trou
(100) Tapón para los agujeros
[SS672]
(12) Screw Cap
(12) Bouchon de vis
(12) Tapa a rosca
Homeowners Kit
Les propriétaires Kit
Los propietarios de viviendas Kit
Hardware Bag
Sac De Quincaillerie
Bolsa De Accesorios
MSMK70- for surface mounting*
MSMK70- pour un montage en surface*
MSMK70- para montaje en supercie*
MGKIT70 for ganging*
MGKIT70 pour amalgamer*
MGKIT70 acoplados*
[SS666]
(6) Hinge Clip
(6) Pinces pour charnières
(6) Sujetadores de Bisagra
(2) Z Mounting Bars
(2) barre de montage en Z
(2) barra de montaje en “Z”
(2) Glass Side Panel
(2) Panneau latéral de verre
(2) Panel lateral de vidrio
[SS674]
(12) #10 x 2" Screw
(12) 51mm hélice
(12) 51mm tornillo
[SS680]
(6) Wall Anchors
(6) ancrages muraux
(6) ancla de pared
[SS712]
(3) Top Clip
(3) Top Clip
(3) Top Clip
[SS676]
(24) #10 x 1/2Screw
(24) #10 x 1/2 hélice
(24) #10 x 1/2 tornillo
* optional /optionnel / opcional
[SS672]
(24) Screw Cap
(24) Bouchon de vis
(24) Tapa a rosca
[SS674]
(6) #10 x 2" Screw
(6) 51mm hélice
(6) 51mm tornillo (8) Block Connectors
(8) blocs de connexion
(8) Bloques de Conectores
(2) Z Mounting Bars
(2) barre de montage en Z
(2) barra de montaje en “Z”
[SS680]
(18) Wall Anchors
(18) ancrages muraux
(18) ancla de pared
[SS712]
(9) Top Clip
(9) Top Clip
(9) Top Clip
[SS676]
(36) #10 x 1/2Screw
(36) #10 x 1/2 hélice
(36) #10 x 1/2 tornillo
[SS672]
(36) Screw Cap
(36) Bouchon de vis
(36) Tapa a rosca
[SS674]
(18) #10 x 2" Screw
(18) 51mm hélice
(18) 51mm tornillo
3
rev. 08/04/2017 © 2017 Robern, Inc.
209-1197_C ROBERN FULL LENGH CABINET W/ SAFESEAL GASKET 800.877.2376 www.robern.com
Content / Contenu / Contenido
INSTALLATION
PARTS
DIMENSIONS
ELECTRIC OPTION
RECESSED MOUNTING
SEMI RECESSED
SURFACE MOUNTING
GANGING CABINETS
RECESS GANGING
SURFACE GANGING
DOOR ASSEMBLY
CARE AND CLEANING
WARRANTY
page [1]
[2]
[4]
[5]
[8]
[10]
[11]
[15]
[16]
[19]
[22]
[23]
[24]
REMARQUES
PIÈCES
DIMENSIONS
OPTION ÉLECTRIQUE
MONTAGE ENCASTRÉ
SEMI-ENCASTRÉ
MONTAGE EN SURFACE
AMALGAME D’ARMOIRES
AMALGAME ENCASTRÉ
AMALGAME EN SURFACE
PORTE ASSEMBLAGE
SOIN ET ENTRETIEN
GARANTIE
page [1]
[2]
[4]
[5]
[8]
[10]
[11]
[15]
[16]
[19]
[22]
[23]
[24]
NOTAS
PARTES
DIMENSIONES
OPCIÓN ELÉCTRICA
MONTAJE EMPOTRADO
SEMIEMPOTRADO
MONTAJE EN SUPERFICIE
GABINETES ACOPLADOS
ACOPLAMIENTO EMPOTRADO
ACOPLAMIENTO EN SUPERFICIE
PUERTA ASAMBLEA
USO Y MANTENIMIENTO
GARANTÍA
página [1]
[2]
[4]
[5]
[8]
[10]
[11]
[15]
[16]
[19]
[22]
[23]
[24]
Model Numbers / Numéros de modèle / Números de modelo
Use the chart Below to learn how to build an M Series Cabinet Model number. This chart references the model number for a 16" W x
70" H x 6" D M Series cabinet with Interior Light and Electric/USB. Consult the Robern Price Book for a complete list of model num-
bers.
Utiliser le tableau ci-dessous pour apprendre à construire un numéro de modèle d'armoire de série M. Ce tableau se rapporte au numéro de modèle
pour une armoire série M de 16" l x 70" H x 6" P, avec une lampe intérieure un USB/électrique. Consulter le catalogue des prix Robern pour obtenir
une liste complète des numéros de modèles.
Use la siguiente tabla para ver cómo construir un gabinete número de modelo Serie M. Esta tabla hace referencia al número de modelo de un gabi-
nete Serie M de 16" de ancho x 70" de altura x 6" de profundidad con luz interior enchufe eléctrico/USB. Consulte la lista completa de números de
modelo en la lista de precios Robern.
M C 16 70 D6 FP L E2
Product / Produit / Producto M = M Series / Séries M / Serie M
C = Cabinet / Armoire / Gabinete
16" / 406mm
20" / 508mm
70" / 1778mm
D4 = 4 5/8"/ 118mm
D6 = 6 5/8"/ 168mm
D8 = 8 5/8"/ 219mm
FP = Flat, Plain / Plat, Uni / Llanura
FB = Flat, Beveled / Plat, Biseau / Biselada plana
## = Decorative Glass or Digital Wood / la couleur du verre décoratif / cristal decorativo
L = Left / Gauche / Izquierda
R = Right / Droite / Derecha
Blank = Non-Electric / Non-électrique / No eléctrico
E2 = Electric, Interior Light, USB / Électrique, Lumière intérieure / Eléctrico, Luz interior
Depth / Profondeur / Profundidad
Width / Largeur / Ancho
Hinge Side / côté charnière / lado de la bisagra
Category / Catégorie / Categoría
Door Style / Style de porte / tilo de la puerta
Height / Hauteur / Altura
Options / les options / opciones
4rev. 08/04/2017 © 2017 Robern, Inc.
209-1197_C ROBERN FULL LENGTH CABINET W/ SAFESEAL GASKET 800.877.2376 www.robern.com
* Subtract 3/4” (19mm) from the total width and height (A and B) to determine the rough opening for recessing cabinets.
* Soustraire 3/4” (19 mm) de la longueur et de la largeur totale (A et B) pour déterminer l’ouverture brute pour les armoires encastrées.
* Substraiga 3/4" (19mm) del ancho y altura totales (A y B) para determinar la abertura rústica para empotrar gabinetes.
D4 = minimum 4“ required / D4 = 4” minimum requis / D4 = 4" (102mm) como mínimo requeridas
D6 = minimum 6“ required / D6 = 6” minimum requis / D6 = 6" (152.4mm) como mínimo requeridas
D8 = minimum 8“ required / D8 = 8” minimum requis / D8 = 8" (203.2mm) como mínimo requeridas
A*
B*
MC2070
19 1/4”
(489mm)
15 1/4”
(387mm)
MC1670
70”
(1778mm)
70”
(1778mm)
A
B
D
D
3 7/8”
(98mm)
8 3/8”
(213mm)
D
Wire Access Hole
Trou D’Accès Du Câble
Agujero De Acceso Del Cable
Bottom Rear of Cabinet
Partie Infriéure Arrière De L’Armoire
Parte Inferior Trasera Del Gabinete
C
46 11/16”
(1189mm)
DIMENSIONS / DIMENSIONS / DIMENSIONES
Determine overall cabinet dimensions. If
recessing the cabinet, determine rough-in
dimensions. See chart for specic model di-
mensions.
Déterminez les dimensions globales de
l’armoire. Pour une armoire encastrée, dé-
terminer les dimensions brutes. Voir le tab-
leau pour les dimensions spéciques selon le
modèle.
Determina gabinete dimensiones totales. Si
empotrar gabinete, determinar las dimen-
siones aproximadas-in. Vea la tabla para las
dimensiones especicas del modelo.
1-1
5
rev. 08/04/2017 © 2017 Robern, Inc.
209-1197_C ROBERN FULL LENGH CABINET W/ SAFESEAL GASKET 800.877.2376 www.robern.com
If an electrical opon is provided, all wiring
should be done by a qualied licensed electrician.
WARNING: To reduce the risk of electrical
shock, shut o power before wiring the cabinet.
CAUTION: Requires 120 VAC 20 Amp circuit.
Up to 4 cabinets can be wired to the circuit.
CAUTION: This product must be connect-
ed to a grounded, metal permanent wiring
system or an equipment-grounding conduc-
tor must be run with the circuit conductors
and connected to the equipment grounding
terminal or lead on the product.
CAUTION: An Electrical opon cabinet
must be wired to a 20 Amp GFI (Ground
Fault Interrupter) circuit breaker when
used in bathrooms and all other locaons
required by the Naonal Electric Code.
CAUTION: Maximum shelf load 34 LBS
These instrucons are for recess mounng
your cabinet. Remove and store the door
with corner guards prior to installaon.
Go to page 22 for instrucon on removing
door.
1. Remove the access screws at the boom
of the outlet shelf. Remove lens by gently
prying up on the front edge of the lens, then
liing up and out. Remove outlet shelf for
access to electrical connecons by pulling
boom towards you, then liing up.
2. Feed electric wire through access hole
in the back of cabinet. Space inside outlet
shelf is at a premium; be sure to keep eld
wire length to a minimum.
Si une opon électrique est fournie, tout le lage
doit être fait par un électricien qualié et licencié.
AVERTISSEMENT : Pour réduire le risque de
choc électrique, couper l’alimentaon avant de
procéder au lage de l’armoire.
AVERTISSEMENT : Nécessite un circuit de 20
ampères à 120Vca. On peut brancher jusqu’à 4
armoires sur le circuit.
AVERTISSEMENT : Ce produit doit être
branché dans un système de câblage en métal
permanent et mis à la terre adéquatement, ou un
conducteur de mise à la terre doit être couru avec
les conducteurs du circuit et raccordé au terminal
de mise à la terre de l’équipement ou sur la borne
appropriée sur le produit.
AVERTISSEMENT : Une armoire avec opon
électrique doit être connectée à un circuit à
disjoncteur de défaut à la terre (DFT) de 20
ampères lorsqu’elle est ulisée dans une salle de
bain et dans tous les autres emplacements exigés
par le Code électrique naonal.
AVERTISSEMENT: Tabelee poids maximum
15.4 KG
Ces instrucons sont pour un montage
encastré de votre armoire. Rerez et
rangez la porte avec les protège coins
avant l’installaon.
Aller à la page 22 pour obtenir des
instrucons sur la dépose de la porte.
1. Rerez les 2 vis d’accès situées sur la pare
inférieure de la tablee externe. Rerez la
tablee de prise pour accéder aux connecons
électriques.
2. Faire passer le l électrique à travers le trou
d’accès à l’arrière de l’armoire.
Si se proporciona una opción eléctrica, todo el
cableado debe ser realizado por un electricista
calicado.
ADVERTENCIA: Para reducir el riesgo de
electrocución, apague la electricidad antes de
conectar el gabinete.
PRECAUCIÓN: Requiere un circuito de 120
VAC 20 Amp. Hasta 4 gabinetes se pueden
conectar al circuito.
PRECAUCIÓN: Este producto debe conectarse
a un sistema de cableado permanente de
metal con bajada a erra o se debe colocar un
conductor de bajada a erra del equipo con los
conductores de circuito y conectarse a la terminal
de bajada a erra del equipo o cable principal del
producto.
PRECAUCIÓN: Un gabinete de opción Eléctrica
debe ser conectado a un cortacircuitos IFT
(Interruptor de Falla a Tierra) de 20 Amp cuando
se use en baños y en todas las demás ubicaciones
requeridas por el Código Eléctrico Nacional.
PRECAUCIÓN: empo máximo de
conservación carga 34 libras
Estas instrucciones son para el montaje
empotrado de su gabinete. Rere y
almacene la puerta con protecciones de
esquinas antes de la instalación.
En la página 22 consulte las instrucciones
acerca de cómo desmontar la puerta.
1. Rere los dos tornillos de acceso en la parte
inferior del estante de enchufe. Rere el estante
de enchufe para tener acceso a las conexiones
eléctricas.
2. Pase el cable eléctrico a través del oricio
de acceso en la parte trasera del gabinete.
ELECTRIC OPTION / OPTION ÉLECTRIQUE / OPCIÓN ELÉCTRICA 1-3
12

Other manuals for M Series

1

This manual suits for next models

2

Other Robern Indoor Furnishing manuals

Robern UPLIFT UC3027 User manual

Robern

Robern UPLIFT UC3027 User manual

Robern Uplift Tech User manual

Robern

Robern Uplift Tech User manual

Robern R3 CB-RC1620D4FP1 User manual

Robern

Robern R3 CB-RC1620D4FP1 User manual

Robern PL Series User manual

Robern

Robern PL Series User manual

Robern PL PORTRAY Series User manual

Robern

Robern PL PORTRAY Series User manual

Robern Cartesian Vanity User manual

Robern

Robern Cartesian Vanity User manual

Robern MT20D4MD User manual

Robern

Robern MT20D4MD User manual

Robern UPLIFT CABINET UC3627FPL Quick start guide

Robern

Robern UPLIFT CABINET UC3627FPL Quick start guide

Robern 209-1375 06 User manual

Robern

Robern 209-1375 06 User manual

Robern AIO Series User manual

Robern

Robern AIO Series User manual

Robern PC1230D4T Series User manual

Robern

Robern PC1230D4T Series User manual

Robern V14 Series User manual

Robern

Robern V14 Series User manual

Robern PL Series User manual

Robern

Robern PL Series User manual

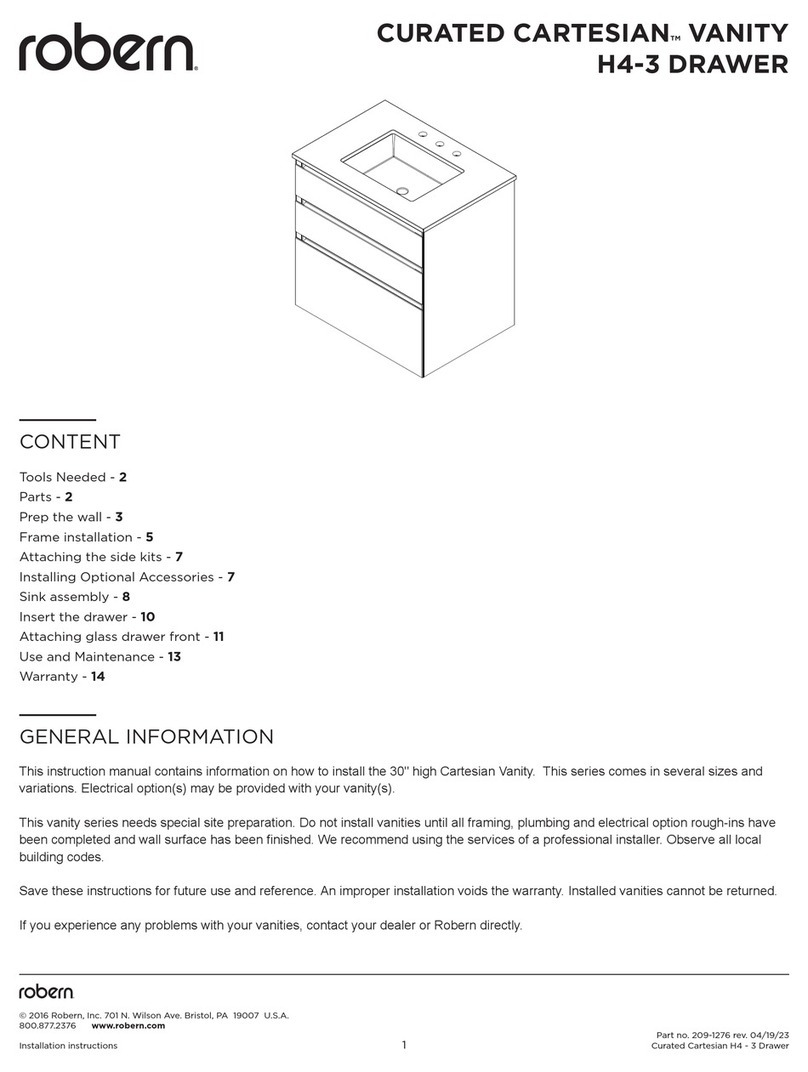
Robern CURATED CARTESIAN VANITY H4-2 DRAWER User manual

Robern

Robern CURATED CARTESIAN VANITY H4-2 DRAWER User manual

Robern VALEG24H3D21T84 User manual

Robern

Robern VALEG24H3D21T84 User manual

Robern 7M0008WUFN76S User manual

Robern

Robern 7M0008WUFN76S User manual

Robern VP30H3D21A11N76 User manual

Robern

Robern VP30H3D21A11N76 User manual

Robern MAIN LINE CABINET Series User manual

Robern

Robern MAIN LINE CABINET Series User manual

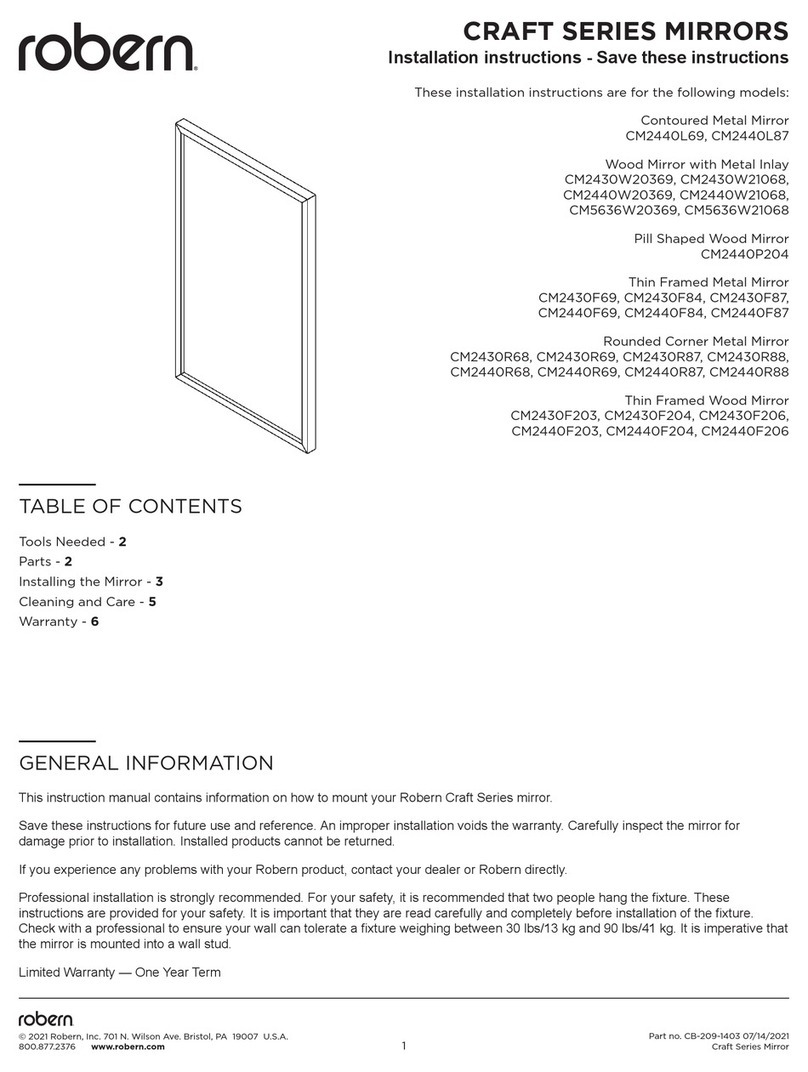
Robern CRAFT Series User manual

Robern

Robern CRAFT Series User manual

Robern CURATED CARTESIAN H4-3 User manual

Robern

Robern CURATED CARTESIAN H4-3 User manual

Robern UPLIFT CABINET UC3027FPL Quick start guide

Robern

Robern UPLIFT CABINET UC3027FPL Quick start guide

Robern UPLIFT TECH CABINET User manual

Robern

Robern UPLIFT TECH CABINET User manual

Robern MURRAY HILL Series User manual

Robern

Robern MURRAY HILL Series User manual

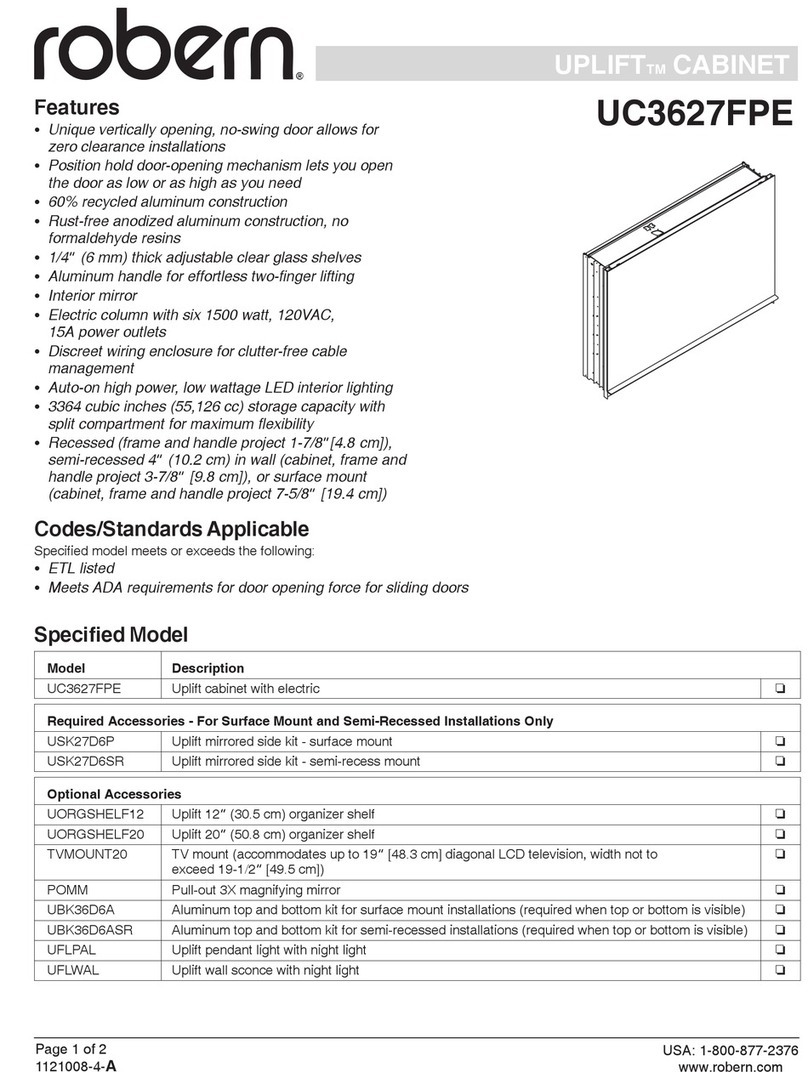
Robern UPLIFT CABINET UC3627FPE Quick start guide

Robern

Robern UPLIFT CABINET UC3627FPE Quick start guide

Popular Indoor Furnishing manuals by other brands

Regency LWMS3015 Assembly instructions

Regency

Regency LWMS3015 Assembly instructions

Furniture of America CM7751C Assembly instructions

Furniture of America

Furniture of America CM7751C Assembly instructions

Safavieh Furniture Estella CNS5731 manual

Safavieh Furniture

Safavieh Furniture Estella CNS5731 manual

PLACES OF STYLE Ovalfuss Assembly instruction

PLACES OF STYLE

PLACES OF STYLE Ovalfuss Assembly instruction

Trasman 1138 Bo1 Assembly manual

Trasman

Trasman 1138 Bo1 Assembly manual

Costway JV10856 manual

Costway

Costway JV10856 manual

moss DESIGN Caisson Credenza Assembly instructions

moss DESIGN

moss DESIGN Caisson Credenza Assembly instructions

Aquaglide FULL DECK 15.0 owner's manual

Aquaglide

Aquaglide FULL DECK 15.0 owner's manual

AREBOS AR-HE-SW30 user manual

AREBOS

AREBOS AR-HE-SW30 user manual

Till-Hilft Fulda 87005.330 Assembly instructions

Till-Hilft

Till-Hilft Fulda 87005.330 Assembly instructions

Twoey Outside 2010 quick start guide

Twoey Outside

Twoey Outside 2010 quick start guide

Hettich Easys 200 operating instructions

Hettich

Hettich Easys 200 operating instructions

The bedboss RELAX 404 Series owner's manual

The bedboss

The bedboss RELAX 404 Series owner's manual

Oeseder Möbelindustrie Bern 991 720 Assembly instructions

Oeseder Möbelindustrie

Oeseder Möbelindustrie Bern 991 720 Assembly instructions

Costway HW68469 user manual

Costway

Costway HW68469 user manual

Next ALIX A27743 Assembly instructions

Next

Next ALIX A27743 Assembly instructions

BROSA Hans Assembly guide

BROSA

BROSA Hans Assembly guide

Prodigg MINIKA PBA015T-FUR installation manual

Prodigg

Prodigg MINIKA PBA015T-FUR installation manual

manuals.online logo
manuals.online logoBrands
  • About & Mission
  • Contact us
  • Privacy Policy
  • Terms and Conditions

Copyright 2025 Manuals.Online. All Rights Reserved.