manuals.online logo
Brands
  1. Home
  2. •
  3. Brands
  4. •
  5. Robert Juliat
  6. •
  7. Lighting Equipment
  8. •
  9. Robert Juliat 1459 FLO User manual

Robert Juliat 1459 FLO User manual

VALIDATION : 21.11.08
1459 "FLO" & 1159 "VICTOR"
MSR 1800W HOT RESTRIKE FOLLOWSPOTS /
PROJECTEURS DE POURSUITE MSR 1800W
AMORCAGE A CHAUD
DN30934901 VERSION FLO : V1
VERSION VICTOR : V2a
GPAO/Diffusion PDF/DocTec/DN30934901_dt_FLO_VICTOR.pdf
TECHNICAL FILE / DOSSIER TECHNIQUE :
FLO
VICTOR
ii NOTES
iii
You have in your possession a ROBERT JULIAT followspot. We would like to congra-
tulate you on your choice.
The performance of the followspot depends on the care you'll give to its maintenance.
We advise you to read this manual and then keep it for reference.
Do not hesitate to come up with suggestions; it's thanks to you that our products will
continue to improve.
Thank you.
ROBERT JULIAT
Vous venez de prendre possession de votre nouveau projecteur de poursuite et nous
vous remercions de votre choix.
Le résultat que vous en obtiendrez dépendra pour beaucoup du soin que vous appor-
terez à son entretien, aussi nous vous conseillons de lire ces quelques pages qui ont
été écrites à votre intention et de les conserver en cas de nécessité.
Ne manquez pas de nous faire part de vos idées ou suggestions; c’est grâce à vous
que le produit pourra évoluer.
Merci de votre attention.
ROBERT JULIAT
iv CONTENTS
A TECHNICAL DATA
User's instructions...........................................................................A - 1
The identification plates. .................................................................A - 3
Connections (FLO)...........................................................................A - 5
Connections (VICTOR). ...................................................................A - 7
Placing the lamp & switching on/off................................................A - 9
Admissible lamps. .........................................................................A - 11
B MAINTENANCE
Reflector, aspheric lens, spark-gap and filters................................B - 1
Trouble shooting. ...........................................................................B - 3
C SPARE PARTS LIST
Complete lighting unit (VICTOR) .................................................... C - 1
6 way colour changer unit - Boomerang (VICTOR)........................ C - 2
6 way colour changer unit - Push/Pull (VICTOR)............................ C - 3
Complete lighting unit (FLO)........................................................... C - 4
6 way colour changer unit - Push/Pull (FLO).................................. C - 5
Lens tube (VICTOR)..................................................................C - 6 & 7
Lens tube inner parts (VICTOR)...................................................... C - 8
Lens tube (FLO)......................................................................C - 9 & 10
Lens tube inner parts (FLO).......................................................... C - 11
Lens tube inner parts (FLO & VICTOR)......................................... C - 12
Manual dimmer...........................................................................C - 13A
Lamp housing & inner parts (VICTOR).......................................... C - 14
Electrical diagram - Lamp house (VICTOR).................................. C - 15
Lamp housing & inner parts (FLO)................................................ C - 16
Electrical diagram - Lamp house (FLO)........................................ C - 17
Lamp housing inner parts .......................................... C - 18, 19, 20, 21
Electrical diagram - Trapdoor 1800W........................................... C - 22
Iris cassette .................................................................................. C - 23
Section:
Section:
Section:
v
SOMMAIRE
A UTILISATION
Consignes d'utilisation. ..................................................................A - 2
Les plaques signalétiques. .............................................................A - 4
Raccordements (FLO).....................................................................A - 6
Raccordements (VICTOR)...............................................................A - 8
Mise en place de la lampe & mise en marche/extinction.............A - 10
Lampes admissibles.....................................................................A - 12
B ENTRETIEN
Miroir, lentille asphérique, éclateur et filtres...................................B - 2
Diagnostic de dysfonctionnement..................................................B - 4
C NOMENCLATURE
Poursuite complète (VICTOR)........................................................ C - 1
Changeur 6 couleurs - type boomerang (VICTOR)........................ C - 2
Changeur 6 couleurs - type à tirettes "PUSH/PULL" (VICTOR) ....... C - 3
Poursuite complète (FLO).............................................................. C - 4
Changeur 6 couleurs - type à tirettes "PUSH/PULL" (FLO) ............. C - 5
Zoom (VICTOR)........................................................................C - 6 & 7
Pièces intérieures zoom (VICTOR)................................................. C - 8
Zoom (FLO)............................................................................C - 9 & 10
Pièces intérieures zoom (FLO)..................................................... C - 11
Pièces intérieures zoom (FLO & VICTOR).................................... C - 12
Obturateur manuel.....................................................................C - 13A
Lanterne & pièces intérieures (VICTOR) ..................................... C - 14
Schéma électrique - Lanterne (VICTOR) ..................................... C - 15
Lanterne & pièces intérieures (FLO) ............................................ C - 16
Schéma électrique - Lanterne (FLO) ........................................... C - 17
Pièces intérieures lanterne......................................... C - 18, 19, 20, 21
Schéma électrique - Trappe 1800W............................................ C - 22
Cassette iris................................................................................. C - 23
Section:
Section:
Section:
Section A - 1
robert juliat Route de Beaumont F 60530 Fresnoy-en-Thelle - phone: +33 (0)3.44.26.51.89 - fax: +33 (0)3.44.26.90.79 - www.robertjuliat.fr
Robert Juliat reserve the right to change or alter any of the items detailed on this page, to increase or improve manufacturing techniques without prior notice.
TECHNICAL FILE
1800W MSR FOLLOWSPOTS
VICTOR
USER’S INSTRUCTIONS
Please read all instructions before using this lighting fixture.
Besides the instructions indicated on this page, you must adhere to the relevant health and safety
requirements of the appropriate EU Directives.
This fixture is in compliance with section 17: Lighting appliance for theatre stages, television, cinema
and photograph studios. Standards NF EN 60598-1 and NF EN 60598-2-17.
This fixture is rated as IP20, and is for indoor use only.
LIGHTING UNIT.
• Disconnect from the mains before any servicing. Warning, high voltage ignition.
• DANGER : The discharge lamp emits short ultraviolet radiation waves which are harmful to skin and eyes.
Use only fully enclosed in the fixture and never observe the lamp directly.
• The protection screens, lenses or U.V. filters must be replaced if there is any visual damage to the
point where their performance is reduced, for example, by cracks or deep scratches.
• The lamp must be replaced if it has been damaged or deformed by the heat.
• Check that the lamp voltage corresponds to the mains voltage used. Do not use a lamp with power
that is an incorrect type or voltage to the one that is indicated on the lamp housing or packaging.
• Make sure the fixture has correctly mounted on an appropriate support.
• When hung or flown the fixture must be secured by another hanging accessory (such as a safety
cable or bond) that is a suitable length.
• The safety bond or cable must be securely attached at the back of the fixture. It must be as short
as possible or rolled up a few times to ensure that the fixture does not travel any distance if dislodged.
• Movable accessories (barndoors, HMI shutters, spill rings etc.) must also be secured with a suitable
safety cable or bond at the front of the fixture.
• Take into account the weight of both the fixture and the accessories when choosing the strength of
the attachment point and the safety cable or bond.
• U.V. rays: Protect your eyes.
• Do not open the lighting fixture when the lamp is on. Both the lamp and lamp housing heat up when
powered: wait until the fixture is cold before servicing.
• Do not tamper with the design of the fixture or any of its safety features.
• Tighten the electrical mains cable connections regularly. Replace mains cable with an identical one if damaged.
• Use only with correct power supply.
• Use only when bulb is in place.
• Keep well away from flammable material.
• Do not use outside. Do not cover. Do not permit the fixture to get wet.
• If the fixture has fans, make sure they are working correctly. If fans are not working, turn the fixture
off immediately and service as necessary.
• If the fixture has filters they must be cleaned frequently.
• Do not obstruct air vents.
• Keep optical parts clean.
POWER SUPPLY.
• Disconnect from the mains before any servicing
• Mains connection only, do not connect to an "electronic output" (dimmer, static relay...).
• Do not use outside. Do not cover.
• The power supply has circuit breakers, which should always be kept accessible.
• There is no maximum distance between the lighting unit and the power supply. Even though the
distance needs to be known for the cable used (except CDM-T lamp fixture : 3 meters).
• Check the mains voltage.
These products have been built to conform to European standards relating to professional lighting
equipment. Any modification made to our products will void the manufacturer's warranty.
Not for residential use.
Only qualified technicians are permitted to service these fixtures.
Thank you for your attention.
robert juliat Route de Beaumont F 60530 Fresnoy-en-Thelle - phone: +33 (0)3.44.26.51.89 - fax: +33 (0)3.44.26.90.79 - www.robertjuliat.fr
Le constructeur se réserve la possibilité de modifier ses matériels sans avis préalable. Les renseignements mentionnés sur cette notice sont donnés à titre indicatif et ne sauraient présenter de caractère contractuel.
DOSSIER TECHNIQUE
POURSUITES MSR 1800W Section A - 2
VICTOR
CONSIGNES D’UTILISATION
•
•
•
•
•
•
•
•
•
•
•
•
•
•
•
•
•
•
•
•
•
•
•
•
•
•
•
•
•
•
Avant de mettre l’appareil en service, veuillez lire ces consignes d’utilisation.
Outre les consignes d’utilisation figurant dans la présente notice, vous devrez respecter les prescriptions
générales de sécurité et de prévention des accidents édictées par le législateur.
L’appareil auquel est attachée cette notice rentre dans la section 17 : Luminaires pour éclairage de scènes
de théâtre, des studios de télévision, de cinéma et de photographie. NF EN 60598-1 et NF EN 60598-2-17.
Ces appareils sont considérés IP20 réservés à une utilisation intérieure.
PROJECTEUR.
Isoler électriquement avant toute intervention. Attention, amorçage haute tension.
DANGER : Les lampes à décharge utilisées dans ces appareils émettent des rayons ultraviolets
dangereux pour les yeux et la peau. A utiliser uniquement dans les appareils prévus pour ces lampes,
ne jamais s'exposer directement à la lampe.
Les écrans de protection, les lentilles ou les filtres à ultraviolets doivent être remplacés s’ils sont
visiblement endommagés au point que leur efficacité en soit diminuée, par exemple par des fêlures ou des
rayures profondes.
La lampe doit être remplacée si elle a été endommagée ou déformée par la chaleur.
Ne pas utiliser de lampes de type ou de puissance autres que celle indiquée.
Veiller à ce que le projecteur soit monté avec un support approprié.
En position suspendue (crochet, boulon...), l’appareil doit obligatoirement être assuré par une suspension
auxiliaire (élingue, chaîne...) convenablement dimensionnée et ancrée à l’arrière de l’appareil. La liaison
devra être effectuée au plus court, au besoin avec plusieurs tours si la longueur de l’élingue ou de la
chaîne le nécessite.
Les accessoires amovibles (coupe-flux, volets HMI...) doivent également être assurés par une élingue de
taille appropriée, ancrée à l’avant de l’appareil. Tenir compte de leur poids pour la charge d’accrochage.
Ne pas ouvrir l’appareil sous tension.
Emission de rayons UV : protéger votre vue.
Lampe et supports chauds, attendre que l’appareil soit froid avant toute intervention.
Ne pas modifier la sécurité.
Resserrer régulièrement les connexions et contrôler l’état des câbles. Si le câble est détérioré, le remplacer
par un câble identique.
Vérifier l’éloignement minimum d’une matière inflammable.
Ne pas utiliser à l'extérieur, ne pas couvrir.
Utiliser l’appareillage d’alimentation approprié.
Ne pas mettre sous tension sans lampe en place
Si l’appareil comporte un ou plusieurs ventilateurs, vérifier qu’ils fonctionnent bien - Si un
dysfonctionnement apparaît à ce niveau, couper immédiatement et effectuer les contrôles nécessaires.
Si l’appareil comporte des filtres, les dépoussiérer régulièrement.
Ne jamais boucher les passages d’air.
Ne pas toucher les lampes et l'intérieur des miroirs avec les doigts. Nettoyer les lentilles et les
lampes avec de l'alcool.
Dépoussiérer fréquemment les miroirs avec un chiffon doux, sec et propre.
ALIMENTATION.
Isoler électriquement avant toute intervention.
Raccordement direct secteur - Ne pas raccorder sur une sortie "électronique" gradateur, relais statique...
Ne pas utiliser à l'extérieur, ne pas couvrir.
L’alimentation comportant des organes de protection doit toujours être facilement accessible.
Il n’y a pas, en principe, de distance maximum entre projecteur et alimentation, pour autant que l’on tienne
compte de cette distance pour la section du câble utilisé (Excepté CDM-T : 3 mètres maximum).
Contrôler la tension secteur.
Appareils réalisés en conformité avec les directives européennes de normalisation appliquées au matériel
d’éclairage professionnel. Toute modification du produit dégage la responsabilité du constructeur.
Impropre à l'usage domestique.
Matériel professionnel : Intervention par technicien qualifié.
Merci de votre attention.
Section A - 3
robert juliat Route de Beaumont F 60530 Fresnoy-en-Thelle - phone: +33 (0)3.44.26.51.89 - fax: +33 (0)3.44.26.90.79 - www.robertjuliat.fr
Robert Juliat reserve the right to change or alter any of the items detailed on this page, to increase or improve manufacturing techniques without prior notice.
TECHNICAL FILE
1800W MSR FOLLOWSPOTS
FLO / VICTOR
- Identification plate situated on the 1800W MSR followspot.
Example :
THE IDENTIFICATION PLATES.
- Identification plate situated on the 1800W power supply unit (P.S.U.):
Units :
- Dimensions = metre (m) millimetre (mm). - Frequency = Hertz (Hz).
- Weight = kilogram (kg). - Power = Watt (W).
- Intensity = Ampere (A). - Temperature = Degree Celsius (°C).
- Voltage = Volt (V).
1 Logo, manufacturer's name and origin of the product.
2 Lighting unit's reference & name.
3 Serial number.
4 European conformity.
5 Net weight without accessories.
6 Technical characteristics :
- MODELE = Light unit model.
- VERS. = The unit version & lamp power.
- PSU = The type of power supply unit necessary.
- P = Maximum power input.
- IP 20 = indoor use ONLY.
- UL= Nominal lamp voltage at the lamp terminal.
- IL= Nominal intensity of the lamp.
- t°a = Surrounding temperature.
- t°c = Maximum external temperature of the unit.
7 Restrictive operating position : front view.
8 Minimum distance between a flammable
material and the lighting unit.
9 Gobo size.
10 Admissible lamps & type of lamp base accepted.
11 WEEE directive label.
12 User's instructions.
1 Power supply description.
2 Power supply reference & technical characteristics :
- MOD. = Unit model.
- VERS. = The unit version.
- Uin = Nominal voltage input.
- Iin = Nominal intensity.
- COS = Dephasing between the voltage & current.
- Pa = Power absorbed.
- t°a = Surrounding temperature.
- t°c = Maximum external temperature of the unit.
- IP 20 = Indication of protection :
IP20 = indoor use ONLY.
3 Logo, manufacturer's name and origin of the product.
4 Serial number.
5 European conformity.
6 Net weight.
7 WEEE directive label.
8 User's instructions.
User's instructions :
read the previous page
attentively.
2
8
11
12 6795
1
10 34
3.5m
DE40794902
GOBO
"A" SIZE
PHILIPS : MSR 1800 DE
BASE / CULOT : S Fc 15,5 - 6
180
www.robertjuliat.fr
robert juliat
Made in the EU - France -
N° SERIE
SERIAL N°
ATTENTION PROJECTEUR HMI - PRECAUTIONS D'UTILISATION.
WARNING! HMI SPOTLIGHT - OPERATING INSTRUCTIONS.
• Avant de mettre l'appareil en service, veuillez lire les consignes d'utilisation.
•Amorçage haute tension: mise hors tension obligatoire avant toute intervention.
•Emission de rayons U.V.: Protéger votre vue.
•Lampe et support chauds: attendre que l'appareil soit froid avant toute intervention.
•Intervention par technicien qualifié.
•Read user's instructions before using this lighting unit.
•High voltage ignition: disconnect from the mains before any servicing.
•U.V. rays : Protect your eyes.
•Bulb and holder hot: wait until the unit is cold, before servicing.
•Service only by qualified personnel.
MODELE
PSU/ALIM
VERS.
MAGN/ELEC
COMPATIBLE
P
1800W 20
IP
t°a t°c
40°C 230°C
SERIAL N° / N° SERIE
MODELES : 1459 "FLO" / 1159 "VICTOR"
1
57
2
3 4
6
8
ALIMENTATION POUR LAMPE A DECHARGE
DISCHARGE LAMP POWER SUPPLY UNIT
robert juliat
Made in the EU - France -
www.robertjuliat.fr
MOD.
VERS.
Uin Iin
COS Pa
t°a t°c IP
A40839701
Lire le manuel avant utilisation - Utilisation et maintenance par professionnel
uniquement / Read manual before use - Service only by qualified personnel.
N° SERIE / SERIAL
230V 50Hz Ph+N
20
40°C 50°C
max. 8,5A
A1 1800 / XX
1955VA
0,85
robert juliat Route de Beaumont F 60530 Fresnoy-en-Thelle - phone: +33 (0)3.44.26.51.89 - fax: +33 (0)3.44.26.90.79 - www.robertjuliat.fr
Le constructeur se réserve la possibilité de modifier ses matériels sans avis préalable. Les renseignements mentionnés sur cette notice sont donnés à titre indicatif et ne sauraient présenter de caractère contractuel.
DOSSIER TECHNIQUE
POURSUITES MSR 1800W Section A - 4
FLO / VICTOR
- La plaque signalétique montée sur la poursuite MSR 1800W.
LES PLAQUES SIGNALÉTIQUES.
- La plaque signalétique montée sur l'alimentation 1800W pour :
Unités utilisées :
- Dimensions = mètre (m) millimètre (mm). - Fréquence = Hertz (Hz).
- Poids = kilogramme (kg). - Puissance = Watt (W).
- Intensité = Ampère (A) milliampère (mA). - Température = Degré Celsius (°C).
- Tension = Volt (V).
1 Le sigle, nom du constructeur et l'origine du
produit.
2 Référence du projecteur.
3 N° de série.
4 Conformité Européenne.
5 Poids net sans accessoire.
6 Caractéristiques technique :
- MODELE = Référence du projecteur.
- VERS. = Version du projecteur.
- ALIM = Type d'alimentation nécessaire.
- P = puissance maximum autorisée.
- IP 20 = utilisation intérieure uniquement.
- UL= Tension norminale de la lampe.
- IL= Intensité norminale de la lampe.
- t°a = température ambiante.
- t°c = température maximum extérieure de la
carrosserie.
7 Positions restrictives d'utilisation:
en vue de face.
8 Distance minimum d'une matière inflammable
par rapport à l'appareil.
9 Taille de gobo accepté.
10 Type de lampes admissibles.
11 Marquage directive DEEE.
12 Consignes d'utilisation.
1 Description d'alimentation.
2 Référence d'alimentation & caractéristiques techniques:
- MOD. = Modèle du projecteur.
- VERS. = Version de l'appareil.
- Uin = Tension nominale.
- Iin = Intensité nominale.
- Cos = Déphasage entre tension et courant.
- Pa = Puissance absorbée.
- t°a = température ambiante.
- t°max = température maximum extérieure sur
la carrosserie.
- IP = Indice de protection :
IP20 = utilisation intérieure uniquement .
3 Le sigle, nom du constructeur et l'origine du produit.
4 N° de série.
5 Conformité Européenne.
6 Poids net.
7 Marquage directive DEEE.
8 Consignes d'utilisation.
Consignes d'utilisation :
lire attentivement la page
précédente.
2
8
11
12 6795
1
10 34
3.5m
DE40794902
GOBO
"A" SIZE
PHILIPS : MSR 1800 DE
BASE / CULOT : S Fc 15,5 - 6
180
www.robertjuliat.fr
robert juliat
Made in the EU - France -
N° SERIE
SERIAL N°
ATTENTION PROJECTEUR HMI - PRECAUTIONS D'UTILISATION.
WARNING! HMI SPOTLIGHT - OPERATING INSTRUCTIONS.
• Avant de mettre l'appareil en service, veuillez lire les consignes d'utilisation.
•Amorçage haute tension: mise hors tension obligatoire avant toute intervention.
•Emission de rayons U.V.: Protéger votre vue.
•Lampe et support chauds: attendre que l'appareil soit froid avant toute intervention.
•Intervention par technicien qualifié.
•Read user's instructions before using this lighting unit.
•High voltage ignition: disconnect from the mains before any servicing.
•U.V. rays : Protect your eyes.
•Bulb and holder hot: wait until the unit is cold, before servicing.
•Service only by qualified personnel.
MODELE
PSU/ALIM
VERS.
MAGN/ELEC
COMPATIBLE
P
1800W 20
IP
t°a t°c
40°C 230°C
SERIAL N° / N° SERIE
MODELES : 1459 "FLO" / 1159 "VICTOR"
1
57
2
3 4
6
8
ALIMENTATION POUR LAMPE A DECHARGE
DISCHARGE LAMP POWER SUPPLY UNIT
robert juliat
Made in the EU - France -
www.robertjuliat.fr
MOD.
VERS.
Uin Iin
COS Pa
t°a t°c IP
A40839701
Lire le manuel avant utilisation - Utilisation et maintenance par professionnel
uniquement / Read manual before use - Service only by qualified personnel.
N° SERIE / SERIAL
230V 50Hz Ph+N
20
40°C 50°C
max. 8,5A
A1 1800 / XX
1955VA
0,85
Exemple :
Section A - 5
robert juliat Route de Beaumont F 60530 Fresnoy-en-Thelle - phone: +33 (0)3.44.26.51.89 - fax: +33 (0)3.44.26.90.79 - www.robertjuliat.fr
Robert Juliat reserve the right to change or alter any of the items detailed on this page, to increase or improve manufacturing techniques without prior notice.
TECHNICAL FILE
1800W MSR FOLLOWSPOTS
FLO
Power supply unit
(P.S.U.)
CONNECTIONS.
Mains voltage.
- Check the conformity of the power supply unit C .
Rating plate 10 : Lamp power.
Lighting unit / Power supply connection.
- Connect the lighting unit's power cable B by passing it
inside the yoke.
- Leave a little slack and then block the cable B into the lock d .
- Place the lamp into position - refer to section A - 9.
- Connect the cable 2 to the mains.
CAUTION - For your security !
- Never open the lamp house's bonnet and trapdoors
when the lighting unit is on.
- Do not change the safety switches.
- Never connect to a dimmable channel.
- Use only when the lamp is in place.
DESCRIPTION.
A 1800W Hot restrike followspot.
B Lighting unit's power cable.
Cable 18G 1,5mm2, length 3m equipped
with 16 x 16A male HARTING connector.
C Power supply unit.
1- EF HARTING 16 x 16A - 2 latch connector.
2- Mains cable socket.
3- Time meter.
4- General 16A circuit breaker (E.C).
- General 15A circuit breaker (UL/CSA).
5- 5 x 20 Fuse holder (2A 250V).
6- Mains, checklight.
7- "ON/OFF" switch.
8- Lamp ON, checklight.
If the lamp's checklight is OFF when the switch is
ON, the lighting of the lamp has failed.
Repeat the operation - refer to section A - 9.
9 & 10 - Rating plate.
Make sure the fan is working correctly
when switching on the unit.
A
B
C
FLO
d
3
8
1
9
10
7
6
5
4
2
C
robert juliat Route de Beaumont F 60530 Fresnoy-en-Thelle - phone: +33 (0)3.44.26.51.89 - fax: +33 (0)3.44.26.90.79 - www.robertjuliat.fr
Le constructeur se réserve la possibilité de modifier ses matériels sans avis préalable. Les renseignements mentionnés sur cette notice sont donnés à titre indicatif et ne sauraient présenter de caractère contractuel.
DOSSIER TECHNIQUE
POURSUITES MSR 1800W Section A - 6
FLO
RACCORDEMENTS.
Alimentation.
Tension secteur.
- Contrôler la conformité de l'alimentation C .
Plaque signalétique 10 : Puissance de la lampe.
Raccordement Projecteur / Alimentation.
- Raccorder le câble B projecteur/alimentation en passant
celui-ci à l'intérieur de la fourche - verrouiller les sécurités.
- Clipser le câble B dans la bride maintien câble d en laissant
le mou nécessaire.
- Mettre la lampe en place - voir section A - 10.
- Raccorder le câble 2 au secteur.
ATTENTION - Pour votre sécurité !
- Ne jamais ouvrir le capot et les portes de lanterne,
projecteur allumé.
- Ne pas modifier les sécurités.
- Ne jamais raccorder sur un circuit gradué.
- Ne pas amorcer sans lampe.
DESCRIPTION.
A Poursuite 1800W amorçage à chaud.
B Cordon d'alimentation du projecteur.
Câble 18G 1,5mm2, longueur 3m équipé
avec un connecteur HARTING 16 x 16A mâle.
C Boîtier d'alimentation.
1- EF HARTING 16 x 16A, 2 verrous.
2- Embase pour cordon secteur.
3- Compteur horaire.
4- Disjoncteur général 16A bipolaire (C.E).
- Disjoncteur général 15A bipolaire (UL/CSA).
5- Porte fusible 5 x 20 (2A 250V).
6- Voyant de présence secteur.
7- Interrupteur à bascule (ON/OFF).
8- Témoin lampe ON.
Si interrupteur en position ON et témoin éteint,
l'allumage de la lampe a échoué.
Recommencer l'opération - voir section A - 10.
9 & 10 - Identification de l'alimentation.
A chaque mise en route: vérifier le bon
fonctionnement du ventilateur.
A
B
C
FLO
d
3
8
1
9
10
7
6
5
4
2
C
Section A - 7
robert juliat Route de Beaumont F 60530 Fresnoy-en-Thelle - phone: +33 (0)3.44.26.51.89 - fax: +33 (0)3.44.26.90.79 - www.robertjuliat.fr
Robert Juliat reserve the right to change or alter any of the items detailed on this page, to increase or improve manufacturing techniques without prior notice.
TECHNICAL FILE
1800W MSR FOLLOWSPOTS
VICTOR
Power supply unit
(P.S.U.)
CONNECTIONS.
Mains voltage.
- Check the conformity of the power supply unit C .
Rating plate 10 : Lamp power.
Lighting unit / Power supply connection.
- Connect the lighting unit's power cable B by passing it
inside the yoke.
- Leave a little slack and then block the cable B into the lock d .
- Place the lamp into position - refer to section A - 9.
- Connect the cable 2 to the mains.
CAUTION - For your security !
- Never open the lamp house's bonnet and trapdoors
when the lighting unit is on.
- Do not change the safety switches.
- Never connect to a dimmable channel.
- Use only when the lamp is in place.
DESCRIPTION.
A 1800W Hot restrike followspot.
B Lighting unit's power cable.
Cable 18G 1,5mm2, length 3m equipped
with 16 x 16A male HARTING connector.
C Power supply unit.
1- EF HARTING 16 x 16A - 2 latch connector.
2- Mains cable socket.
3- Time meter.
4- General 16A circuit breaker (E.C).
- General 15A circuit breaker (UL/CSA).
5- 5 x 20 Fuse holder (2A 250V).
6- Mains, checklight.
7- "ON/OFF" switch.
8- Lamp ON, checklight.
If the lamp's checklight is OFF when the switch is
ON, the lighting of the lamp has failed.
Repeat the operation - refer to section A - 9.
9 & 10 - Rating plate.
Make sure the fan is working correctly
when switching on the unit.
A
B
C
d
3
8
1
9
10
7
6
5
4
2
C
robert juliat Route de Beaumont F 60530 Fresnoy-en-Thelle - phone: +33 (0)3.44.26.51.89 - fax: +33 (0)3.44.26.90.79 - www.robertjuliat.fr
Le constructeur se réserve la possibilité de modifier ses matériels sans avis préalable. Les renseignements mentionnés sur cette notice sont donnés à titre indicatif et ne sauraient présenter de caractère contractuel.
DOSSIER TECHNIQUE
POURSUITES MSR 1800W Section A - 8
VICTOR
RACCORDEMENTS.
Alimentation.
Tension secteur.
- Contrôler la conformité de l'alimentation C .
Plaque signalétique 10 : Puissance de la lampe.
Raccordement Projecteur / Alimentation.
- Raccorder le câble B projecteur/alimentation en passant
celui-ci à l'intérieur de la fourche - verrouiller les sécurités.
- Clipser le câble B dans la bride maintien câble d en laissant
le mou nécessaire.
- Mettre la lampe en place - voir section A - 10.
- Raccorder le câble 2 au secteur.
ATTENTION - Pour votre sécurité !
- Ne jamais ouvrir le capot et les portes de lanterne,
projecteur allumé.
- Ne pas modifier les sécurités.
- Ne jamais raccorder sur un circuit gradué.
- Ne pas amorcer sans lampe.
DESCRIPTION.
A Poursuite 1800W amorçage à chaud.
B Cordon d'alimentation du projecteur.
Câble 18G 1,5mm2, longueur 3m équipé
avec un connecteur HARTING 16 x 16A mâle.
C Boîtier d'alimentation.
1- EF HARTING 16 x 16A, 2 verrous.
2- Embase pour cordon secteur.
3- Compteur horaire.
4- Disjoncteur général 16A bipolaire (C.E).
- Disjoncteur général 15A bipolaire (UL/CSA).
5- Porte fusible 5 x 20 (2A 250V).
6- Voyant de présence secteur.
7- Interrupteur à bascule (ON/OFF).
8- Témoin lampe ON.
Si interrupteur en position ON et témoin éteint,
l'allumage de la lampe a échoué.
Recommencer l'opération - voir section A - 10.
9 & 10 - Identification de l'alimentation.
A chaque mise en route: vérifier le bon
fonctionnement du ventilateur.
A
B
C
d
3
8
1
9
10
7
6
5
4
2
C
Section A - 9
robert juliat Route de Beaumont F 60530 Fresnoy-en-Thelle - phone: +33 (0)3.44.26.51.89 - fax: +33 (0)3.44.26.90.79 - www.robertjuliat.fr
Robert Juliat reserve the right to change or alter any of the items detailed on this page, to increase or improve manufacturing techniques without prior notice.
TECHNICAL FILE
1800W MSR FOLLOWSPOTS
FLO / VICTOR
PLACING THE LAMP.
User's precautions:
- Use only Philips MSR 1800DE lamp.
- Disconnect from the mains.
- Lamp is cold.
- Avoid touching the bulb of the lamp.
- Open the side trapdoors of the lamp house.
- Use only when lamp is in place.
Preparing the lamp:
- Unscrew the nuts 1 without completely taking them off.
Installing the lamp :
- Place the lamp into the contacts 2 and
the tip-off in the upper position D .
- Tighten the nuts 1 firmly, by hand.
Warning : A bad lamp tightening can cause
a bad contact and a defective
ignition. Check regularly that the
nuts 1 are well tightened.
Lamp :
Warning - Do not use a lamp, if the diameter
of the bulb is greater than Ø28,5mm.
- No matter in what the position of the circuit breaker 3 ,
make sure that the mains checklight 4 is ON.
- Engage the circuit breaker 3 .
- Press the switch 5 to "ON" .
- To switch the lamp off, press the switch to the "OFF" position.
Warning : • Carry out the connections before
connecting to the mains (refer to section A - 5 or 7).
• Let the lamp house fan run for 10 min before switching
the circuit breaker off.
Ø28,5mm Maxi
180
1
2
2
1
A
B
C
E
D
A B C D E
Disconnect from the mains before any servicing.
Service only by qualified technician.
4
3
5
SWITCHING ON /OFF
robert juliat Route de Beaumont F 60530 Fresnoy-en-Thelle - phone: +33 (0)3.44.26.51.89 - fax: +33 (0)3.44.26.90.79 - www.robertjuliat.fr
Le constructeur se réserve la possibilité de modifier ses matériels sans avis préalable. Les renseignements mentionnés sur cette notice sont donnés à titre indicatif et ne sauraient présenter de caractère contractuel.
DOSSIER TECHNIQUE
POURSUITES MSR 1800W Section A - 10
FLO / VICTOR
MISE EN PLACE DE LA LAMPE.
Précautions d'emploi:
- Utilisation exclusive de la lampe Philips MSR 1800DE.
- S'assurer d'être hors tension - débrancher.
- Lampe froide.
- Éviter de toucher le bulbe de la lampe.
- Ouvrir les portes latérales de la lanterne.
- Ne pas amorcer sans lampe.
Préparation de la lampe:
- Desserrer les écrous 1 sans les retirer complètement.
Mise en place de la lampe :
- Positionner la lampe dans les contacts 2 ,
l'évent vers le haut D .
- Serrer fortement ( à la main ) les écrous 1 .
Attention : Un mauvais serrage peut entraîner un faux
contact et un amorçage défectueux.
Vérifier périodiquement le serrage de
ces écrous 1 .
Lampe :
Attention - Ne pas utiliser de lampe dont le diamètre
du bulbe serait supérieur à Ø28,5mm.
Ø28,5mm Maxi
180
1
2
2
1
A
B
C
E
D
A B C D E
- Vérifier que le voyant 4 est allumé quelque soit la position
du disjoncteur 3 .
- Enclencher le disjoncteur 3 ,
- Mettre l'interrupteur 5 sur "ON".
- Pour éteindre la lampe, mettre l'interrupteur sur "OFF".
- Laisser le ventilateur de la lanterne tourner pendant 10 min avant de couper le disjoncteur.
Attention : • Effectuer les raccordements avant de
connecter le secteur ( voir section A - 6 ou 8 ).
• Laisser le ventilateur de la lanterne tourner pendant
10 min avant de couper le disjoncteur.
Isoler électriquement avant toute intervention.
Intervention par technicien qualifié.
4
3
5
MISE EN MARCHE / EXTINCTION
Section A - 11
robert juliat Route de Beaumont F 60530 Fresnoy-en-Thelle - phone: +33 (0)3.44.26.51.89 - fax: +33 (0)3.44.26.90.79 - www.robertjuliat.fr
Robert Juliat reserve the right to change or alter any of the items detailed on this page, to increase or improve manufacturing techniques without prior notice.
TECHNICAL FILE
1800W MSR FOLLOWSPOTS
FLO / VICTOR
ADMISSIBLE LAMPS :
PHILIPS: MSR 1800 DE
Manufacturer's recommendations:
• Read attentively the manufacturer's instructions.
• Positioning of the lamp and connecting the power supply require great care. To make sure there is a good
conduction of current, the mechanical support and the electrical connections must be free form dirt and corrosion.
The clamps and brackets must be checked whenever the lighting unit has been transported.
• The lamp emits ultraviolet radiation. Direct exposure can be harmful to your health.
• It is recommended to avoid air draughts, also avoid exposing the lighting unit to bad weather.
• Use only when bulb in place
Technical characteristics:
User's precautions:
• The lamplife, as given by the manufacturer, is a theoretic lamplife duration as "in laboratory conditions",
a cycle based on 3 hours on / 1 hour off. Briefer cycles reduce the duration of the lamplife.
• In operating conditions, it is uncommon, for the lamp to still be fully efficient after 200 to 300 hours.
Its efficiency can decrease by 30%.
• Premature wearing of lamp under performing conditions is mainly due to frequent switching on. Better leave
the lamp on, through the performance, rather than switching it on repeatedly. ( The lamplife is reduced about
1 hour, each time the lamp is switched on ). It is advised to wait for 10 minutes before switching on again.
(This extends the duration of the lamp.)
New lamp:
• To achieve a good ionization of a new lamp, when using it for the first time, it is recommended to leave it on
for a few hours.
• Preserve carefully the guarantee slip of the lamp, as it may be asked for in the event of a dispute.
Thank you.
Nominal absorbed voltage.............................................................................1800 W
Voltage use:..............................................(European standard) 230/245 Volts 50Hz
Voltage use:............................................(North American standard) 208 Volts 60Hz
Minimum voltage of the power supply.............................................................198 V
(Below this charge = possible ignition failure).
Voltage at the terminals of the lamp.................................................................100 V
Amperage through the lamp.............................................................................. 20 A
Luminous flux..........................................................................................145 000 lm
Luminous efficacy........................................................................................ 80 lm/W
Colour temperature................................................................................6000 Kelvin
Base.........................................................................................................SFa 15,5-6
Manufacturer’s rated life............................................................................750 hours
robert juliat Route de Beaumont F 60530 Fresnoy-en-Thelle - phone: +33 (0)3.44.26.51.89 - fax: +33 (0)3.44.26.90.79 - www.robertjuliat.fr
Le constructeur se réserve la possibilité de modifier ses matériels sans avis préalable. Les renseignements mentionnés sur cette notice sont donnés à titre indicatif et ne sauraient présenter de caractère contractuel.
DOSSIER TECHNIQUE
POURSUITES MSR 1800W Section A - 12
FLO / VICTOR
LAMPES ADMISSIBLES :
PHILIPS: MSR 1800 DE
Recommandations du constructeur:
• Bien lire la notice du constructeur.
• La mise en place de la lampe et la connexion des alimentations requièrent un soin particulier.
Les surfaces de contact du support et des connexions électriques ne doivent pas comporter d'impuretés
ou de traces de corrosion afin de pouvoir assurer un bon passage du courant. Vérifier aussi la bonne
fixation des pièces de blocage et des mâchoires après chaque déplacement du projecteur.
• La lampe émet un rayonnement ultra-violet. Une exposition directe peut porter préjudice à votre santé.
• Il est recommandé d'éviter les courants d'air. Éviter également d'exposer le projecteur aux intempéries.
• Ne pas essayer d'amorcer sans lampe en place.
Caractéristiques techniques:
Précaution d'emploi:
• La durée de vie donnée par le constructeur est une durée de vie théorique pour une utilisation dite de
"laboratoire" sur la base d'un cycle de 3 heures allumées / 1 heure éteinte, des cycles plus brefs réduisent
la durée de vie.
• En condition d'utilisation il est rare qu'une lampe reste opérationnelle au-delà de 200 à 300 heures ; son
rendement pouvant diminuer jusqu'à 30 %.
• L'usure prématurée de la lampe, en utilisation spectacle, est essentiellement due à la fréquence des
amorçages. Il est souvent préférable de maintenir une lampe allumée durant tout un spectacle plutôt que de
procéder à des allumages répétés. (Chaque allumage réduit la durée de vie de lampe d'environ 1 heure.)
• L'équipement du projecteur permet en théorie un réamorçage à chaud, il est cependant recommandé d'attendre
10 minutes avant d'effectuer un nouvel amorçage. (Ceci permet de prolonger la durée de vie de la lampe.)
Lampe neuve:
• Afin de réaliser une bonne ionisation de la lampe, il est conseillé, à la première mise en route de laisser
fonctionner celle-ci quelques heures en marche continue.
• Conserver précieusement la carte de garantie de la lampe, elle vous sera demandée en cas de contestation.
Merci
Puissance nominale absorbée .............................................................1800 Watts
Tension d'utilisation: ..............................(Standard Européen) 230/245 Volts 50Hz
Tension d'utilisation: ............................(Standard Nord Américain) 208 Volts 60Hz
Tension minimale d'alimentation............................................................... 198 Volts
(Au-dessous de cette tension = défaut d'amorçage possible).
Tension aux bornes de la lampe..................................................................... 100 V
Courant traversant la lampe..............................................................................20 A
Luminosité de la lampe...........................................................................145 000 lm
Efficacité lumineuse ................................................................................... 80 lm/W
Température de couleur.........................................................................6000 Kelvin
Culot........................................................................................................SFa 15,5-6
Durée de vie théorique............................................................................750 heures
Section B - 1
robert juliat Route de Beaumont F 60530 Fresnoy-en-Thelle - phone: +33 (0)3.44.26.51.89 - fax: +33 (0)3.44.26.90.79 - www.robertjuliat.fr
Robert Juliat reserve the right to change or alter any of the items detailed on this page, to increase or improve manufacturing techniques without prior notice.
TECHNICAL FILE
1800W MSR FOLLOWSPOTS
FLO / VICTOR
Disconnect from the mains before any servicing.
Service only by qualified technician.
2
1
1
3
9°7°
1119
- Remove the colour frame from the slot 1 .
- For changing a colour, open the 4 clips 2 .
- Cut out a colour 3 : Ø 207.
- For a longer gel life, it is recommended to place the darker
colours towards the front of the followspot and the I.R. filter
(set to Cold Beam).
CHANGING THE COLOUR FRAMES AND COLOURS.
MAINTENANCE
ASPHERIC LENS & REFLECTOR.
- Disconnect from the mains.
- Unscrew the four screws 1 and unplug the Earth
link 2 then remove the lamp house bonnet 3 .
- Unlock 4 and remove the aspheric holder 5
and the reflector holder 6 .
- Clean the lenses 7 and the reflector 8 with a soft
dry cloth.
- Remount all in reverse order.
- Clean in the same way the lenses in the lens tube.
CAUTION : DO NOT TOUCH THE INNER AND OUTER
PART OF THE MIRROR WITH BARE HANDS.
SPARK-GAP.
- Disconnect from the mains.
- Open the lamp house bonnet.
- Check the distance of the electrodes that should be 1mm.
(If you notice a larger gap, then please contact the ROBERT
JULIAT's technical department). 1 mm
1
4
5
7
8
6
4
3
2
robert juliat Route de Beaumont F 60530 Fresnoy-en-Thelle - phone: +33 (0)3.44.26.51.89 - fax: +33 (0)3.44.26.90.79 - www.robertjuliat.fr
Le constructeur se réserve la possibilité de modifier ses matériels sans avis préalable. Les renseignements mentionnés sur cette notice sont donnés à titre indicatif et ne sauraient présenter de caractère contractuel.
DOSSIER TECHNIQUE
POURSUITES MSR 1800W Section B - 2
FLO / VICTOR
2
1
1
3
9°7°
1119
Isoler électriquement avant toute intervention.
Intervention par technicien qualifié.
- Echange de l'ensemble porte-filtre 1 .
- Echange du filtre : ouvrir les 4 clips 2 .
- Découpe des filtres 3 : Ø 207.
- Pour prolonger la durée de vie des gélatines, il est
préférable d'utiliser les couleurs les plus foncées à l'avant
de la poursuite et le filtre I.R. (en position Cold Beam).
ECHANGE DES FILTRES & DES PORTES-FILTRES
1
4
5
7
8
6
4
3
2
LENTILLE ASPHÉRIQUE & MIROIR.
- S'assurer d'être hors tension.
- Dévisser les 4 vis 1 et débrancher le fil de
terre 2 puis retirer le capot de la lanterne 3 .
- Desserrer le verrou 4 .
- Retirer l'ensemble porte-lentille 5 et
porte-miroir 6 .
- Essuyer la lentille 7 et miroir 8
avec un chiffon doux et sec.
- Remonter l'ensemble en sens inverse du démontage.
- Nettoyer de la même façon les lentilles à l'intérieur du zoom.
ATTENTION :
NE PAS TOUCHEZ LE MIROIR ( INT. ET EXT.) A MAINS NUES.
ENTRETIEN
ÉCLATEUR.
- Isoler électriquement.
- Ouvrir le capot lanterne.
- Contrôler la distance entre les électrodes qui doit être de
1mm. (Si un écart s'est créé dans le temps veuillez prendre
contact avec le service S.A.V. ROBERT JULIAT).
1 mm
Section B - 3
robert juliat Route de Beaumont F 60530 Fresnoy-en-Thelle - phone: +33 (0)3.44.26.51.89 - fax: +33 (0)3.44.26.90.79 - www.robertjuliat.fr
Robert Juliat reserve the right to change or alter any of the items detailed on this page, to increase or improve manufacturing techniques without prior notice.
TECHNICAL FILE
1800W MSR FOLLOWSPOTS
FLO / VICTOR
TROUBLE SHOOTING.
OPERATION SYMPTOMS POSSIBLE CAUSES SOLUTIONS
THE POWER
SUPPLY UNIT
1 Mains checklight.
2 "ON-OFF" switch.
3 Lamp ON,
checklight.
5 Fuse
No light coming
through the
lamp house.
Checklight 1 does
not light up when the
power supply unit is
connected.
The checklight 3 does
not light up when 1
is on.
Hard striking.
No power.
The switch is OFF.
Automatic breaker and
transformer are OFF.
Check the Spark-gap.
Check the mains and
cable connections +
electrical diagram, refer to
pages A-5, C-17/18 &
C-20/21.
Repeat the operation,
refer to page A7.
Turn ON the automatic
breakers, refer to page A-7.
Bad contact. Harting plug
power supply / Head.
Side trapdoors are not
closed.
Check the connections,
refer to page A-5.
Make sure the doors are
properly closed. Adjust the
position of the mini-circuit
breaker.
Lamp is badly mounted.
Ignition failure.
(igniter, Spark-gap).
Open colour unit at the
front of the lighting unit.
Colour changer unit
closed.
Iris cassette closed.
Refer to page A-5 and A-7.
Mirrors and lenses not
in right condition or
not in place.
fan is not working.
No air aspirated or exhausted in the
lamp house.
Bad quality light beam.
No light in the zoom side.
(lamp house lit).
No light coming through the lamp house.
HEAD
(Checklight 3 off).
(Checklight 3 on).
HEAD
Refer to page B-1.
Check iris blades are open
when turning the handle.
Refer to page B-1.
Refer to pages A-7 and
A-9.
Refer to page B-1.
The lamp doesn’t light
up. Fuse blown out. Change the fuse 5 .
Refer to page A-5
WARNING : Do not use the lighting unit if the fan is not working.
(Note: The fan doesn't work until the lamp and checklight 3 are ON.)
2
3
1
5

This manual suits for next models

1

Other Robert Juliat Lighting Equipment manuals

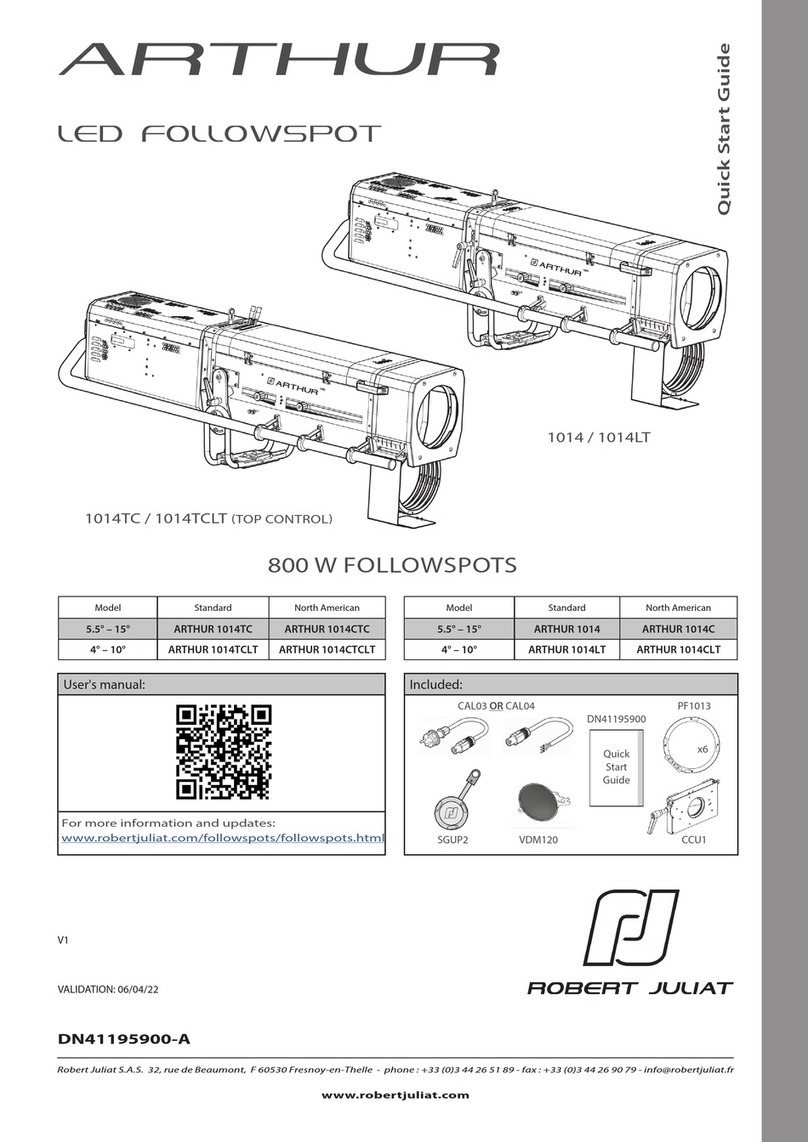
Robert Juliat ARTHUR 1014TC User manual

Robert Juliat

Robert Juliat ARTHUR 1014TC User manual

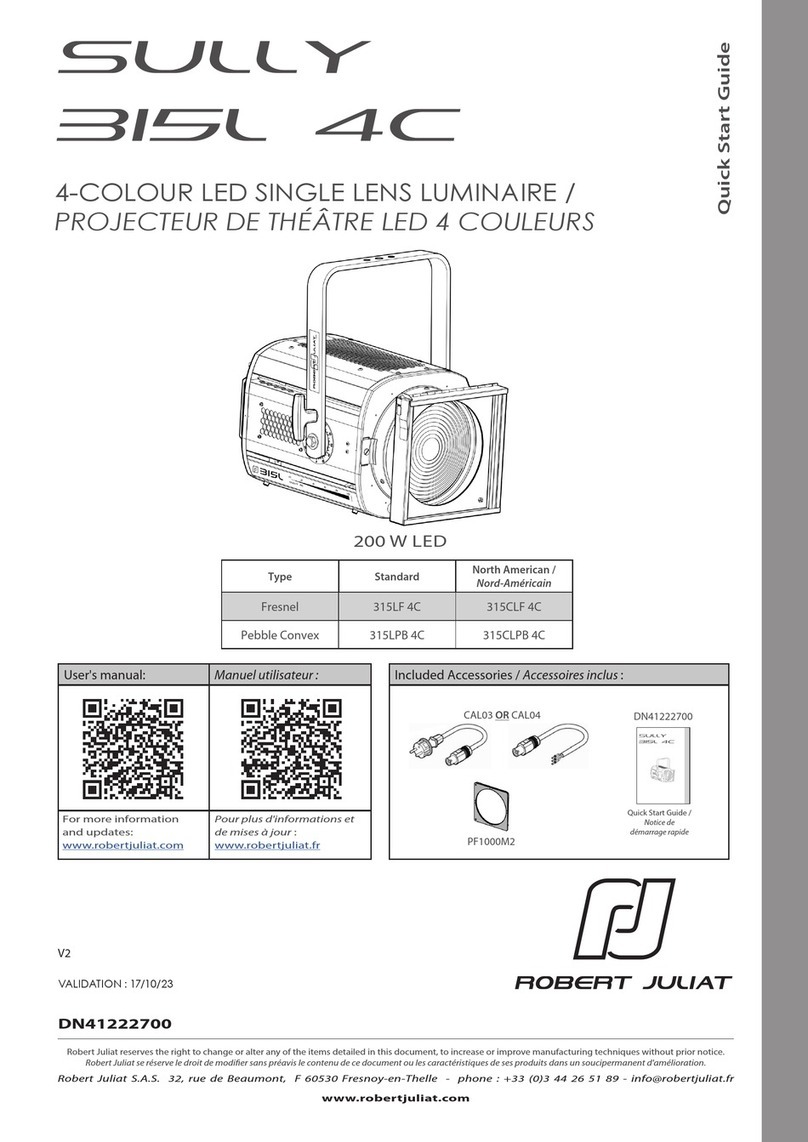
Robert Juliat SULLY 315L 4C User manual

Robert Juliat

Robert Juliat SULLY 315L 4C User manual

Robert Juliat ALICE 1469TC User manual

Robert Juliat

Robert Juliat ALICE 1469TC User manual

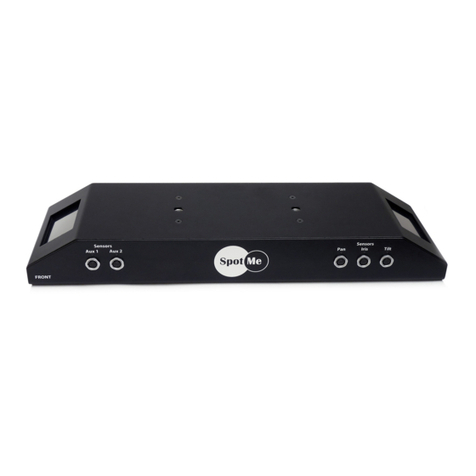
Robert Juliat SPOTME User manual

Robert Juliat

Robert Juliat SPOTME User manual

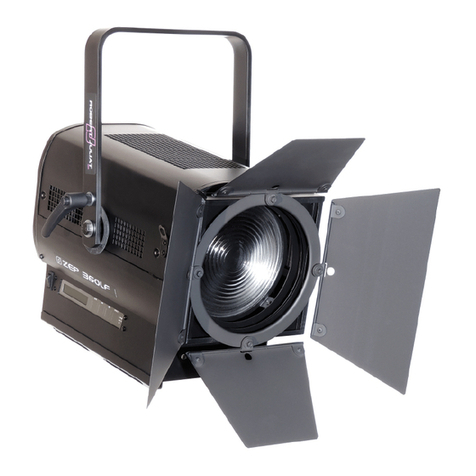
Robert Juliat ZEP 360 User manual

Robert Juliat

Robert Juliat ZEP 360 User manual

Robert Juliat 1011+ User manual

Robert Juliat

Robert Juliat 1011+ User manual

Robert Juliat CHARLES 964SX User manual

Robert Juliat

Robert Juliat CHARLES 964SX User manual

Robert Juliat ROXIE User manual

Robert Juliat

Robert Juliat ROXIE User manual

Robert Juliat ALEX User manual

Robert Juliat

Robert Juliat ALEX User manual

Robert Juliat SULLY 1156 User manual

Robert Juliat

Robert Juliat SULLY 1156 User manual

Robert Juliat CIN'K 326 LFV User manual

Robert Juliat

Robert Juliat CIN'K 326 LFV User manual

Robert Juliat Sully T/650SX Manual

Robert Juliat

Robert Juliat Sully T/650SX Manual

Robert Juliat ARAMIS+ 1013+ M User manual

Robert Juliat

Robert Juliat ARAMIS+ 1013+ M User manual

Robert Juliat SUPER KORRIGAN User manual

Robert Juliat

Robert Juliat SUPER KORRIGAN User manual

Robert Juliat SULLY 650SX Series User manual

Robert Juliat

Robert Juliat SULLY 650SX Series User manual

Robert Juliat ZEP 360CLF User manual

Robert Juliat

Robert Juliat ZEP 360CLF User manual

Robert Juliat ARAMIS 1013+ User manual

Robert Juliat

Robert Juliat ARAMIS 1013+ User manual

Robert Juliat ARTHUR User manual

Robert Juliat

Robert Juliat ARTHUR User manual

Robert Juliat 1011+ F User manual

Robert Juliat

Robert Juliat 1011+ F User manual

Robert Juliat TIBO 535 User manual

Robert Juliat

Robert Juliat TIBO 535 User manual

Robert Juliat ATHOS User manual

Robert Juliat

Robert Juliat ATHOS User manual

Robert Juliat 1015 B User manual

Robert Juliat

Robert Juliat 1015 B User manual

Robert Juliat 1015 B User manual

Robert Juliat

Robert Juliat 1015 B User manual

Popular Lighting Equipment manuals by other brands

Memostar LineFit T5 LED AC150PS1T5 operating instructions

Memostar

Memostar LineFit T5 LED AC150PS1T5 operating instructions

TECshow reefTEC user manual

TECshow

TECshow reefTEC user manual

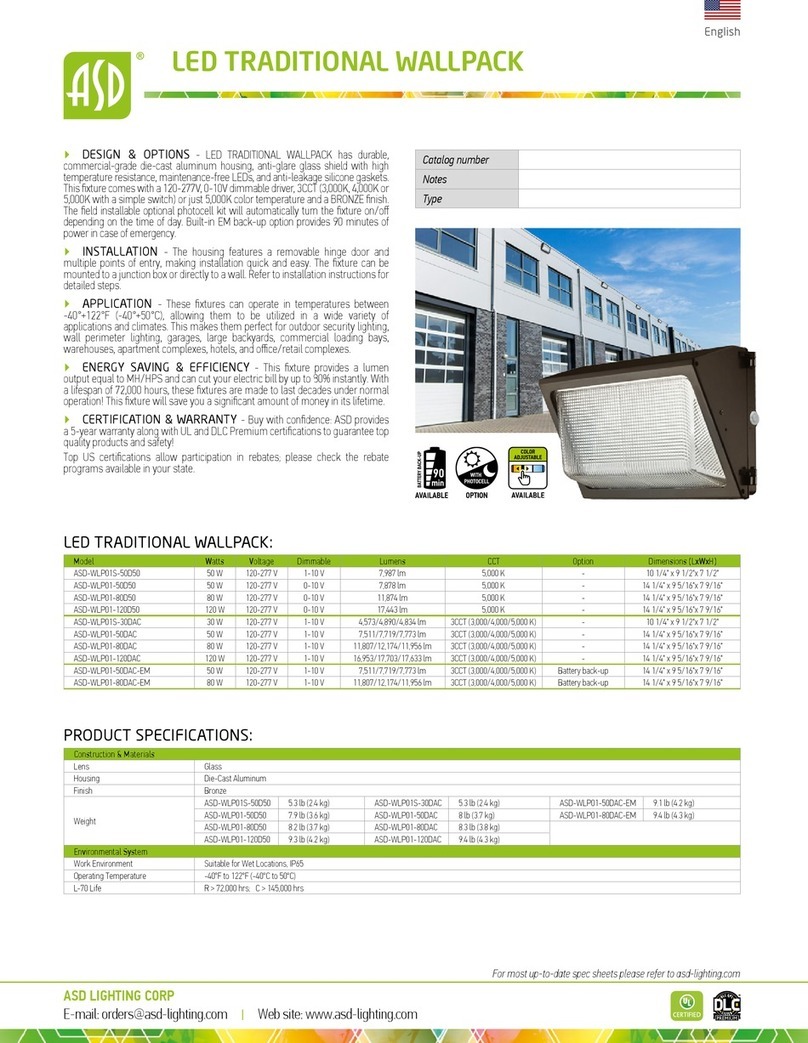
ASD ASD-WLP01S-50D50 manual

ASD

ASD ASD-WLP01S-50D50 manual

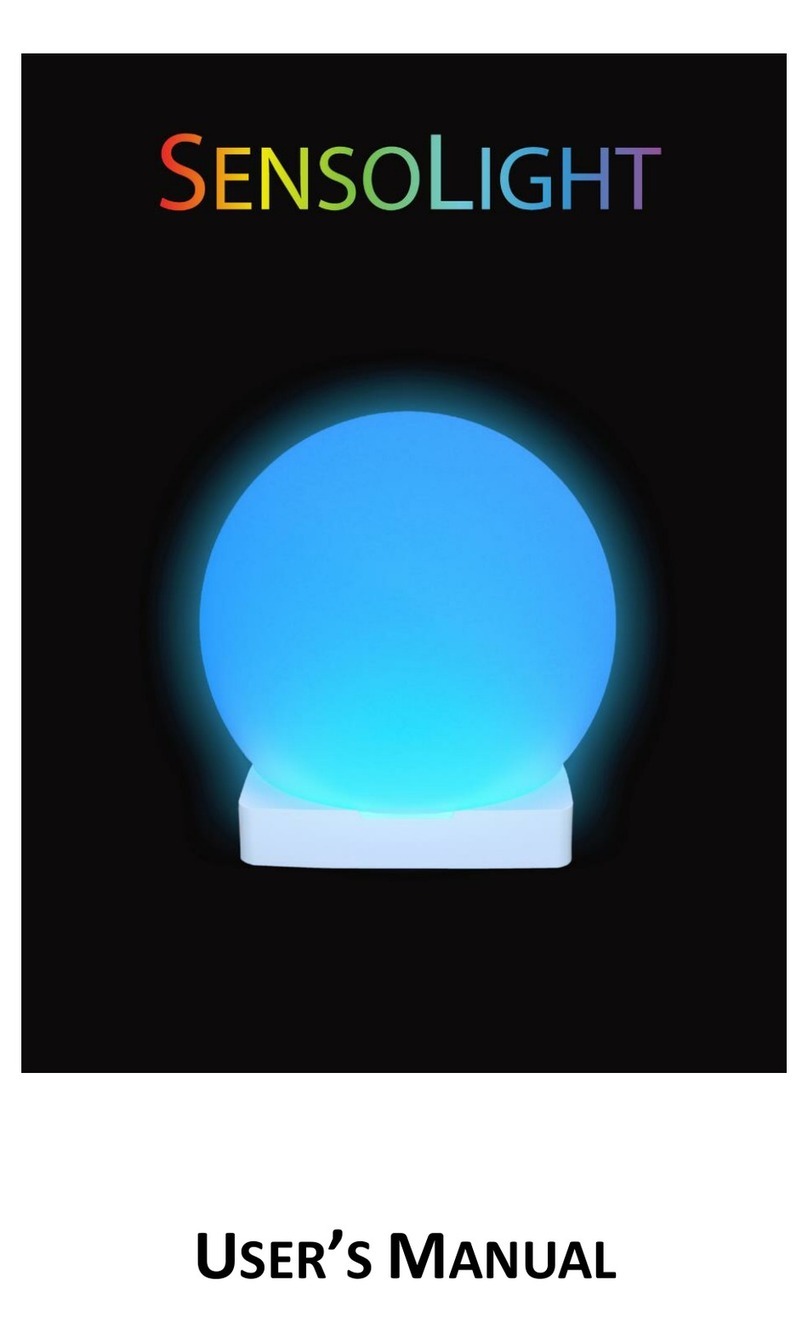
Sensortech SENSOLIGHT SPH-20 user manual

Sensortech

Sensortech SENSOLIGHT SPH-20 user manual

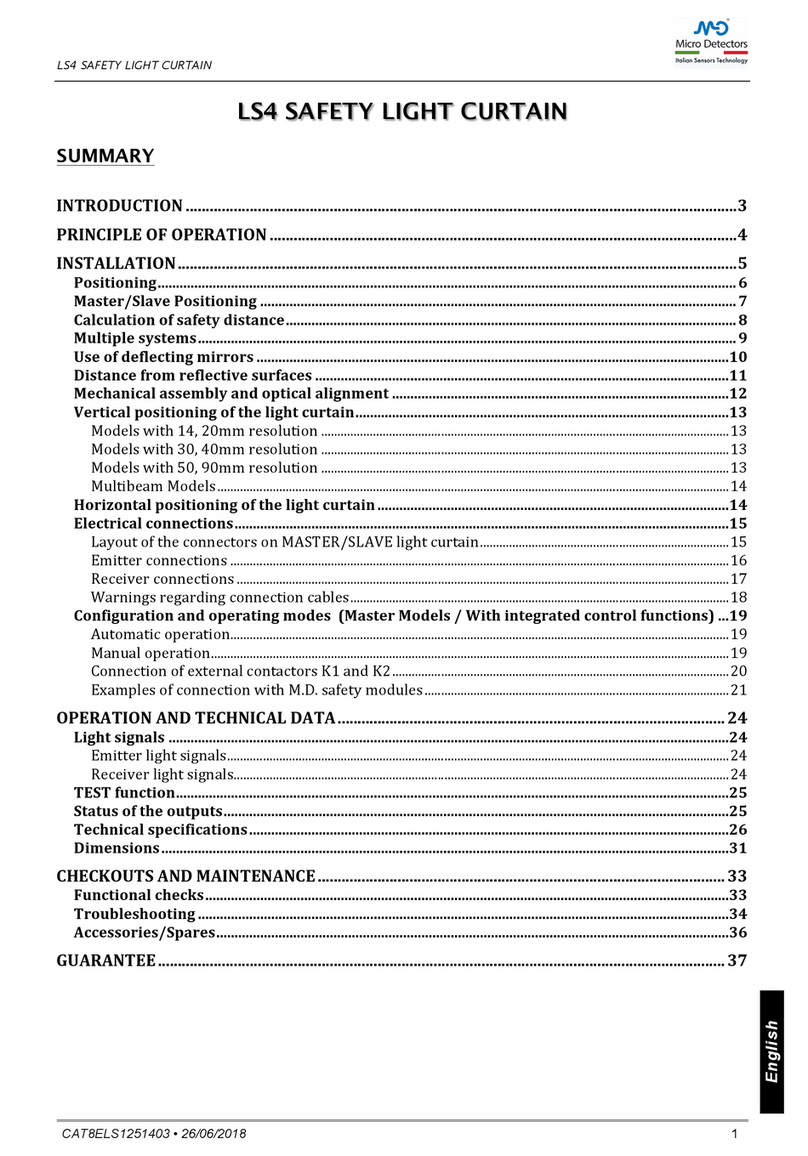
Micro Detectors LS4 Series manual

Micro Detectors

Micro Detectors LS4 Series manual

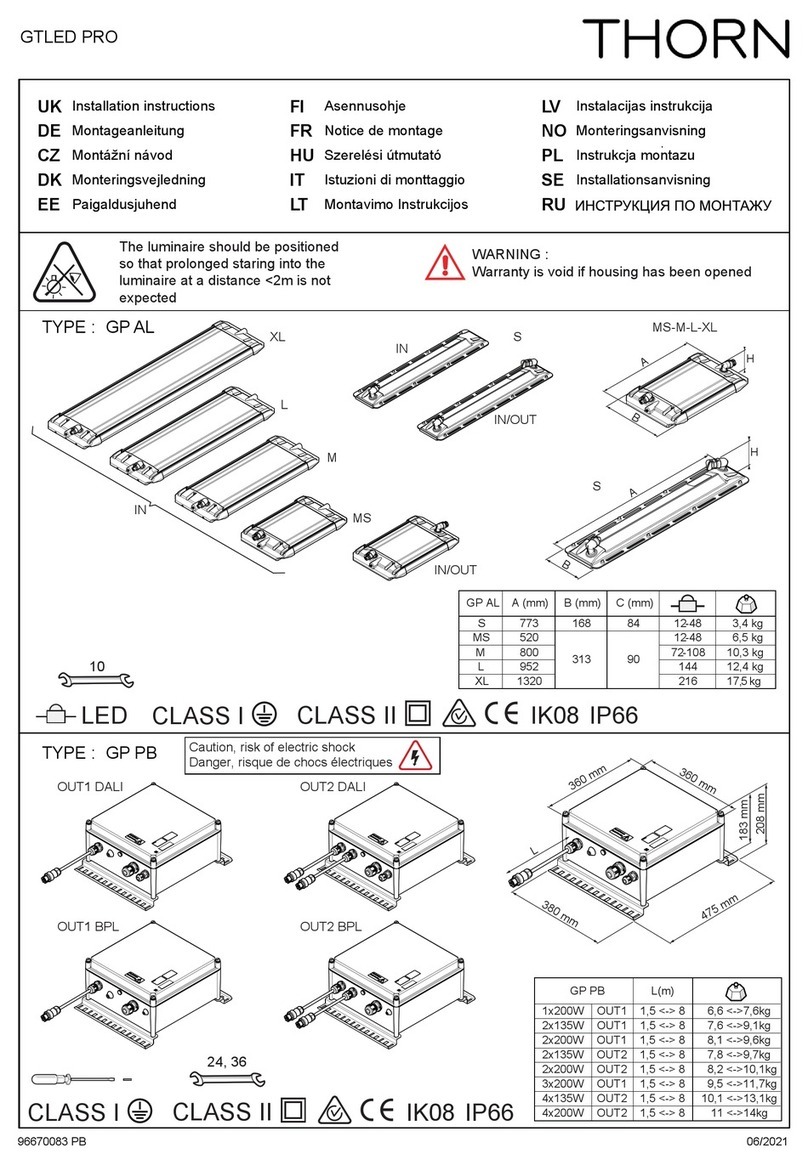
Thorn GTLED PRO installation instructions

Thorn

Thorn GTLED PRO installation instructions

Iluminarc Ilumipod Inground Tri-12 IP Quick reference guide

Iluminarc

Iluminarc Ilumipod Inground Tri-12 IP Quick reference guide

First Choice 55820 installation instructions

First Choice

First Choice 55820 installation instructions

IKEA ARSTID manual

IKEA

IKEA ARSTID manual

LIGMAN PRAGUE 1 installation manual

LIGMAN

LIGMAN PRAGUE 1 installation manual

Digilin Slot 25 installation guide

Digilin

Digilin Slot 25 installation guide

Elation Design LED 36 Tri-Brick manual

Elation

Elation Design LED 36 Tri-Brick manual

Cooper Lighting METALUX HBSPMS installation instructions

Cooper Lighting

Cooper Lighting METALUX HBSPMS installation instructions

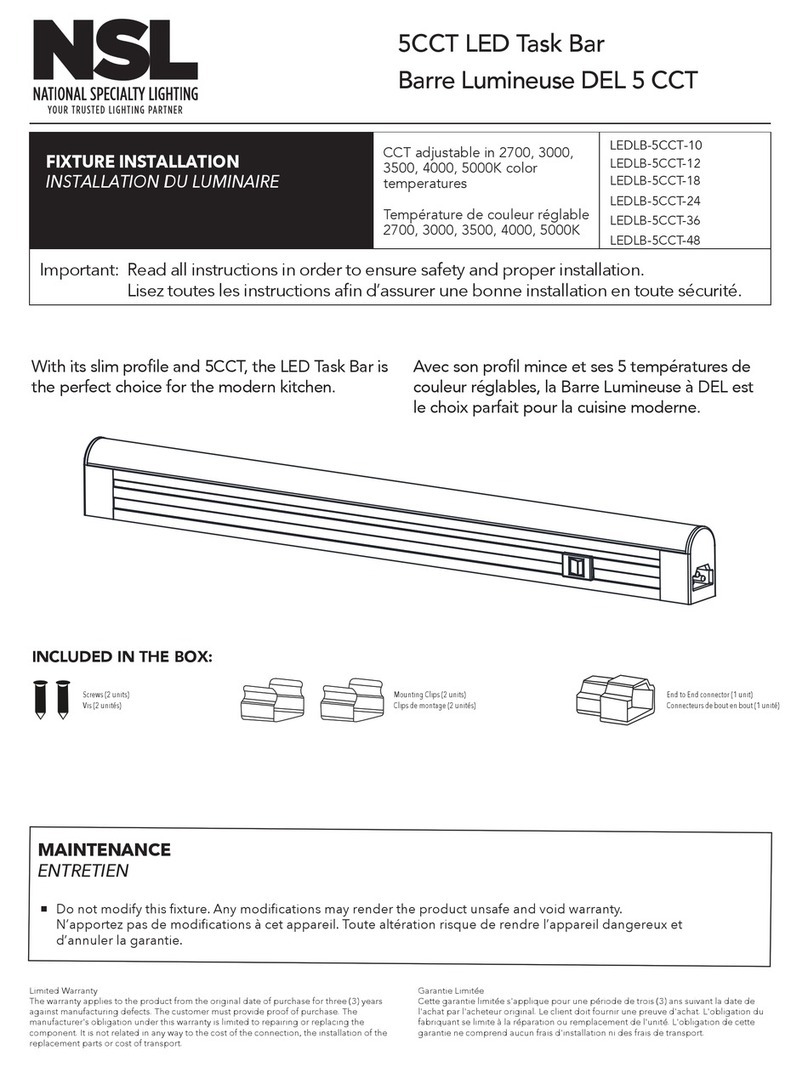
NSL LEDLB-5CCT-10 manual

NSL

NSL LEDLB-5CCT-10 manual

Somogyi Elektronic home FKKF 02 instruction manual

Somogyi Elektronic

Somogyi Elektronic home FKKF 02 instruction manual

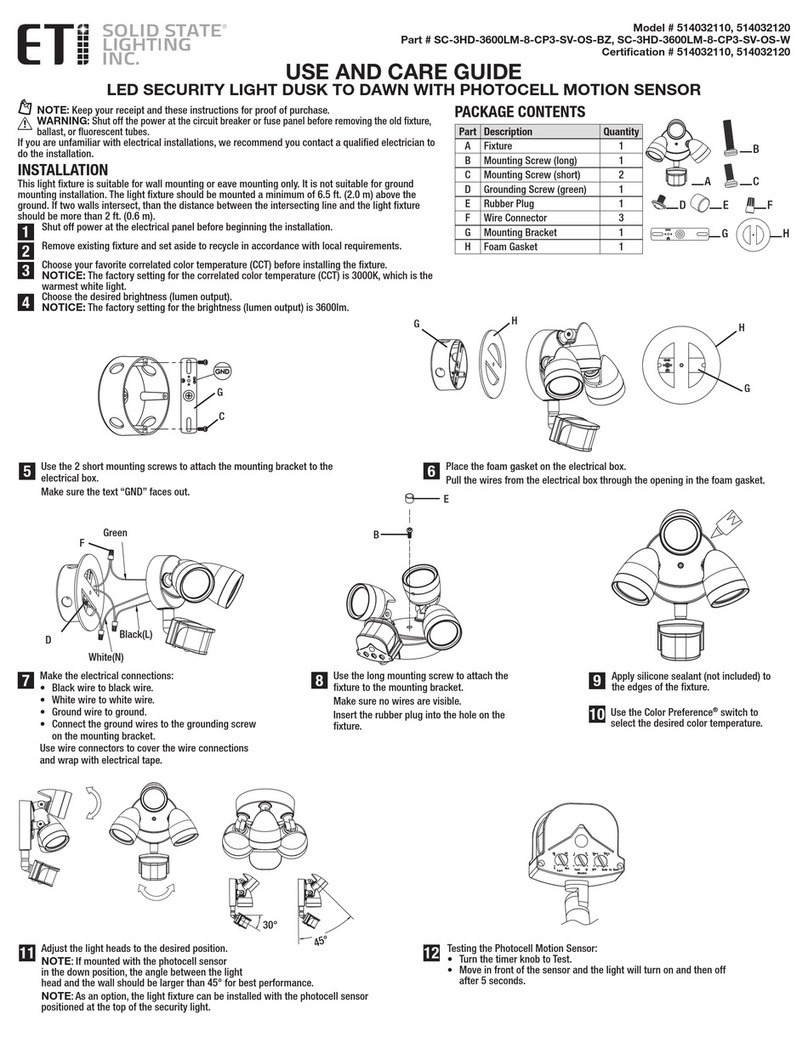
ETI 514032110 Use and care guide

ETI

ETI 514032110 Use and care guide

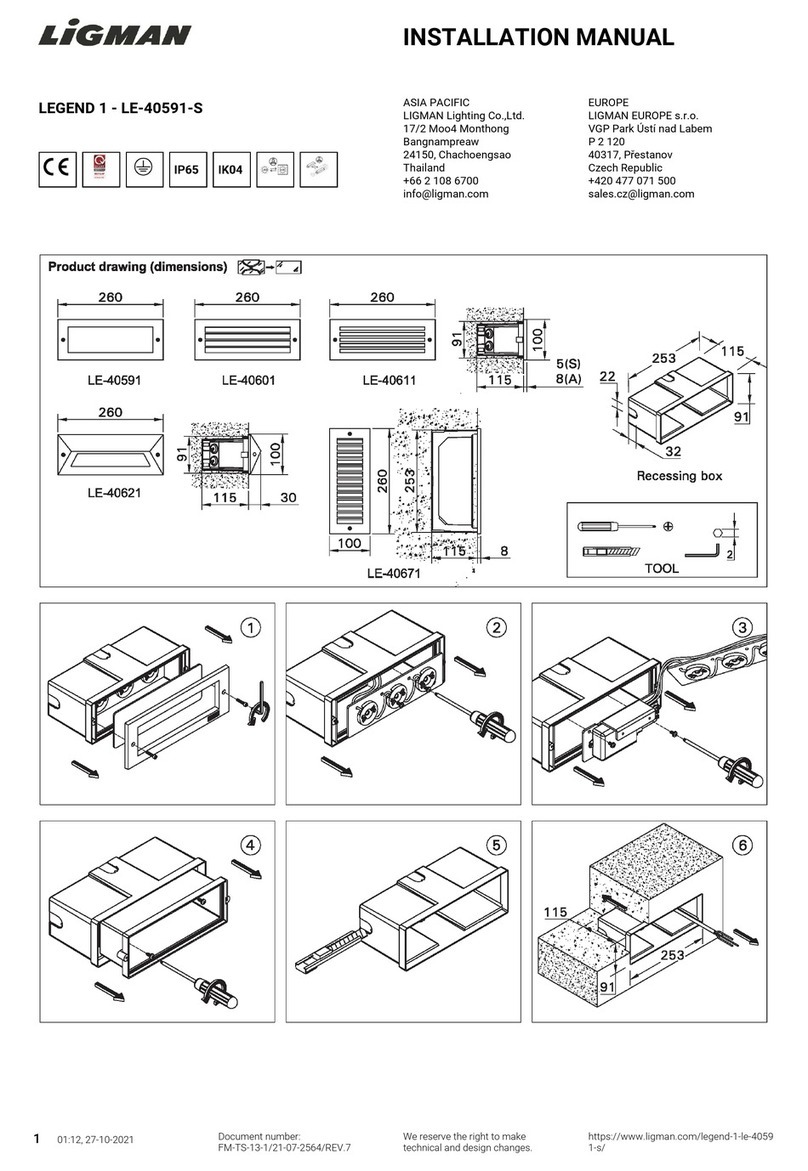
LIGMAN LEGEND 1 installation manual

LIGMAN

LIGMAN LEGEND 1 installation manual

Philips hue Centris user manual

Philips

Philips hue Centris user manual

manuals.online logo
manuals.online logoBrands
  • About & Mission
  • Contact us
  • Privacy Policy
  • Terms and Conditions

Copyright 2025 Manuals.Online. All Rights Reserved.