Robic M903 User manual

1
Robic M903 Bright View Timer Instructions
DO NOT USEOUTDOORS.
DO NOT USE AROUND WATER OR IN HUMID ENVIRONMENTS.
THANK YOU for buying the M903 Bright View Timer. Your purchase brings you a World-Class Timer
with a high resolution LED display which can be seen easily from far away. In order to ensure that you receive the
maximum enjoyment from your timer, BEFORE USING, PLEASE TAKE A MOMENT TO REVIEW THIS
OPERATION GUIDE TO FULLY UNDERSTAND HOW YOUR TIMER WORKS.
The M903 comes with many fine features which include:
Ultra bright 6 inch LED display; easily seen from 100 feet away
Countdown timer from 100 minutes
1/100 second resolution up to/down from 60 seconds
Pause & time out timing with loud completion alarm
Three preset countdown times of 45, 20 & 12 minutes
Count up timer from one second to 100 minutes
Hangs on the wall or sits on a tabletop
Remote control activation
Operates on AC power; adapter included
Important!
The M903 is not water resistant. It should not be exposed to rainfall, casual water or high humidity. It
should also be used within the temperature range of 50-85° F. Exposure to temperatures outside this range will
cause this product to not operate.
The M903 should not be exposed to sunlight over an extended period of time (more than 6 hours). It
should also not be dropped, knocked over or damaged in any manner. It is a very sensitive timepiece and it may
not function properly if it should receive a blow.
Please Note: Dropping or damaging the M903 will void the Product Warranty!
Pushbutton Location and Operation
A: Timer pushbuttons
On/Off
On/Off
Power on, Power off
Power Interface
Parameter setting
Start/pause; Press to increase mins/secs by 1
Silence Alarm; Press to decrease minutes/seconds by 1
Match Code
2
Operation of Remote Control
Use the Remote Control to Operate the Robic M903-Here is a summary of
pushbutton functions.
“1” “1”
- ON / OFF turns the power & display On & Off.
“2”
“2”
– SELECT function –SET Countdown Time –RESET to zero or Preset
Countdown Time
“3”
“3”
- START / PAUSE/ STOP is used to start & stop the timer. Increases
minutes & seconds for the Countdown Timer
“4”—
“4”
Decreases minutes and seconds for the Countdown Timer
Using the AC Adaptor/Turning On the Timer
Your Robic M903 operates on AC power current. To use the AC adaptor, insert the double pronged cord into the
adaptor unit. Then insert the round plug into the side of the M903 as illustrated above. Insert the power plug into
the AC outlet.
Power the Unit On by pressing and holding the On/Off button on the side of the timer. The LED will illuminate
with 8888. After 2 seconds the display will change to 0000 and the M903 will be in Count up Mode.
You may turn the display on or off by pressing “1” on the remote. Time will continue to run even while the display
is off (disappears).
Match Code on the Remote Control
The remote control needs to be matched with the timer before operation. To change the remote, please clear the
match code first, then match with the timer. The match code operation only can occur during Reset (“0000”) status.
To proceed:
a. Remote control match. Please press thebutton on the Timer once. The timer will show “L” on the screen.
The timer will sound a continuous audible tone (sound like “di”). Press any button on the remote. Then, the “L”
will blink for three times a triple “di” tone emitted from the Timer. This confirms the match code operation is
successful.
b. Clearing the code. Press and hold the button on the Timer for several seconds. The timer will sound a
continuous audible tone (sound like “di”). Then, the timer will display “LCL”. Press and hold the button for 18
seconds, the sound will silence. This confirms the code was successfully cleared.
Audible Beep Tone and Silent Operation
Pressing button “4” on the remote while not in Set operation will turn the audible completion alarm signal on and
off.
Alarm Armed (i.e. set to go off): “AL on” will show on the screen with a sound of “di”.
Silent operation: “AL--” will show on the screen.

3
Using the Count Up Timer
With the display set at 00:00, press “3”to start & stop the count up timer. You may Start and Stop the timer as
many times as necessary. The timer will count up to 99 minutes and 59 seconds.
The display will show time in seconds and 1/100 seconds for the first 60 seconds. After that, it will display
minutes and seconds.
While the timer is stopped, you may reset it to 00:00 by pressing and holding “2”for greater 2 seconds.
Using the Countdown Timer
While the Timer is reset to all zeroes, the display reads 0000, press “2”to enter the Countdown Timer…by
pressing “2”, you will mode through these functions:
Preset Countdown Time
You may select from preset countdown times of 45 minutes, 20 minutes or 12 minutes by pressing “2”.
Setting a Custom Countdown Time
With the timer Reset, enter your own Countdown Time from one second to 99 minutes 59 seconds by pressing and
holding “2” for > 2 seconds. The minutes digits will begin to flash. Increase the value by pressing and holding
“3” or decrease by pressing and holding “4”.After the minutes are set press“2”and the seconds will appear
flashing. Increase the value by pressing and holding “3” or decrease the value by pressing and holding “4”.
Operating the Countdown Timer
Start and stop the countdown timer as many times as necessary by pressing “3”. You may reset the timer anytime
it is stopped by pressing “2”for > 2 seconds.
The M903 will countdown to zero and sound a loud 10 second alarm upon completion. You can silence the alarm
by pressing any pushbutton.
It will automatically reset the preset time. Press and hold “2” for 2 seconds to reset to 00:00.
Important Note: When the timer reaches 60 seconds or a preset time of less than 60 seconds is selected, the M903
will begin timing in 1/100 second resolution down to zero.
For example: 45 seconds should be entered and the timer started, the display will begin at 44.99 seconds.
4
LIMITED WARRANTY
OUR BASIC POLICY
Marshall–Browning International Corporation (MBI Corp.) warrants to the original owner, this timer (excluding
battery, lanyard, clip, band or strap) for the period of 90 days from the original purchase date. This limited
warranty is given by MBI Corp. and not by the dealer from whom the timepiece was purchased.
______________________________________________________________________
THE WARRANTY PROCESS – WHAT IS COVERED BY THE WARRANTY
If the timepiece develops a manufacturing defect within the ninety day limited warranty period, it will be either
repaired or replaced (at MBI Corp.’s option) with a timepiece of equal value, providing the original owner submits
the following:
1. Proof of purchase, i.e. a validated store receipt showing date of purchase.
2. A check or money order (no cash, please) in the amount of $15.00 to cover the cost of shipping and handling.
WHAT IS NOT COVERED BY THE WARRANTY
MBI Corp. will not repair defects of damages caused by or showing evidence of:
1. Improper or unauthorized service.
2. Misuse, tampering, abuse or mistreatment of the timepiece.
3. Damage to the case or viable cracking of the lens.
4. Moisture damage, if the product is a non-water-resistant timepiece.
MBI Corp. is not liable for incidental or consequential damages. Some states do not allow the exclusion or
limitation of incidental or consequential damages, so the above limitations may not apply to you.
YOUR RIGHTS UNDER IMPLIED WARRANTIES AND STATE LAW.
MBI Corp. limits the duration of any warranty implied by state law, including the implied warranty of
merchantability, to ninety days from the date of original purchase. Some states do not allow limitations on how
long an implied warranty lasts, so the above limitations may not apply to you. This warranty gives you specific
legal rights, and you may also have other rights which vary from state to state.
CARING FOR YOUR TIMER
Proper care of your timer will provide many years of enjoyment. We recommend that:
1. The lens be replaced immediately if it becomes damaged, as contamination from dust, moisture, and other
foreign substances will damage the module.
2. If the timer is not marked “water-resistant,” avoid immersing or exposing it to water, steam, or other forms
of moisture.
WHEN YOU REQUIRE SERVICE
If your timer ever requires factory servicing, you can send it directly to:
MBI CORP, c/o Integracore 7280 Oakley Industrial Blvd., Fiarburn, GA 30291
We strongly recommend that when sending it through the mail, you send the product insured, return receipt
requested, so that if a problem in shipping arises, you can trace it through the originating post office. You will be
billed for all services deemed out of warranty; and since we reserve the right to substitute with a replacement
product of equal or greater value, NEVER include a personal item, such as a watchband, with the repair request.
Robic…Timers & Pedometers for champions at every level! Please call (203) 264-2702 for a free catalog.
www.robictimers.com
Other Robic Timer manuals

Robic
Robic SC-888 User manual

Robic
Robic SC-502T User manual
Robic
Robic SC-848W User manual
Robic
Robic SC-502T User manual
Robic
Robic SC-606W User manual
Robic
Robic SC-554 User manual
Robic
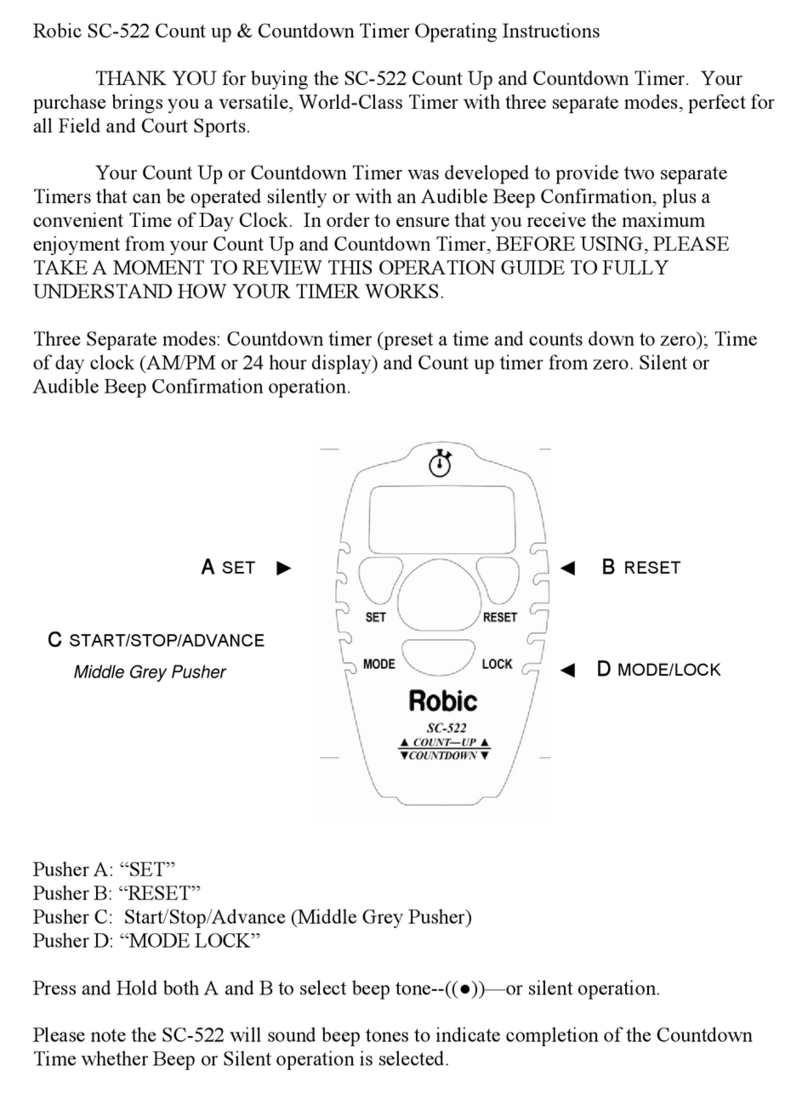
Robic SC-522 User manual
Robic
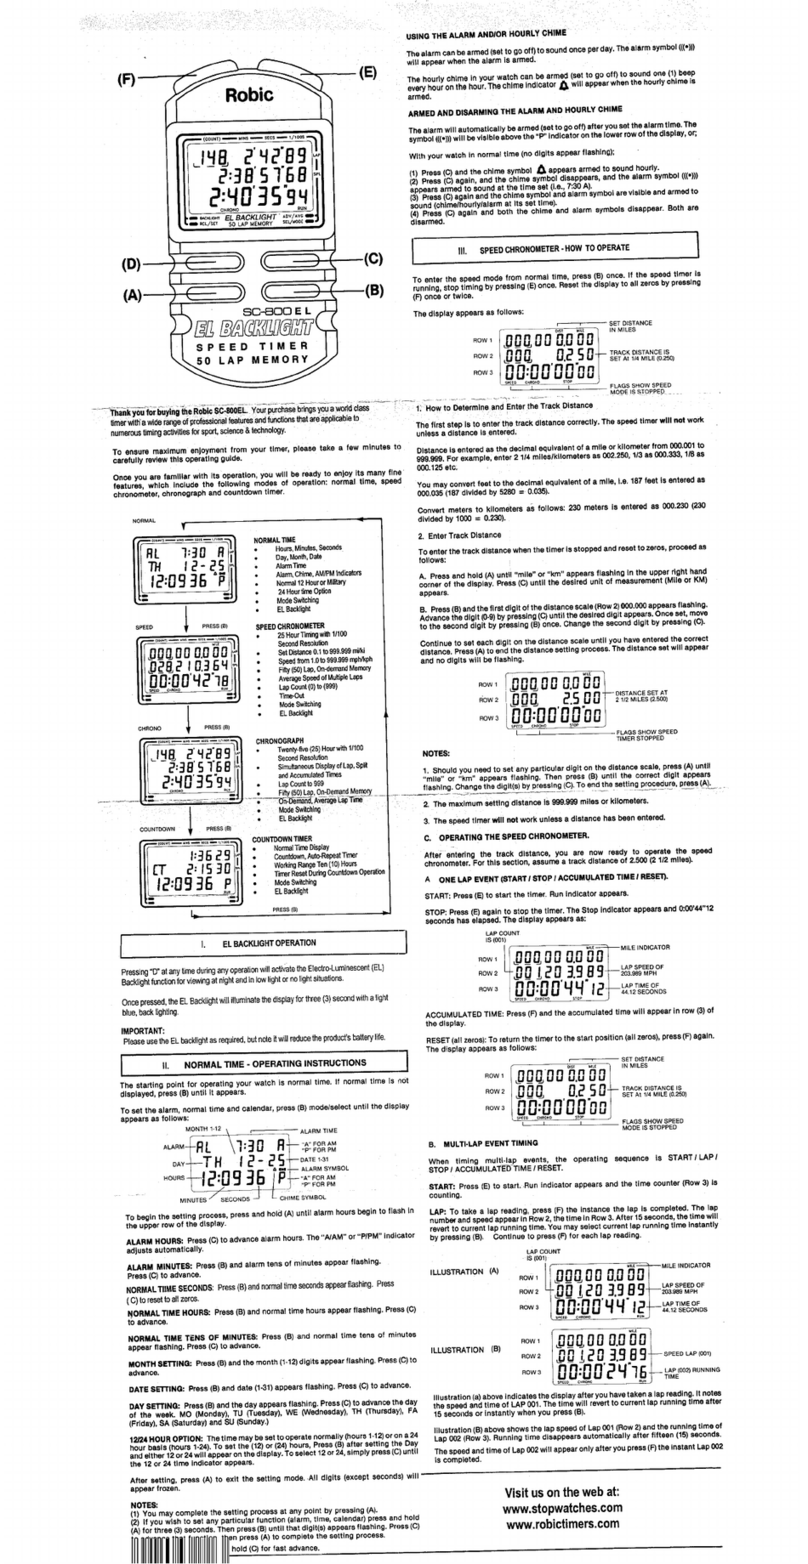
Robic EL BACKLIGHT SC-800 EL User manual
Robic
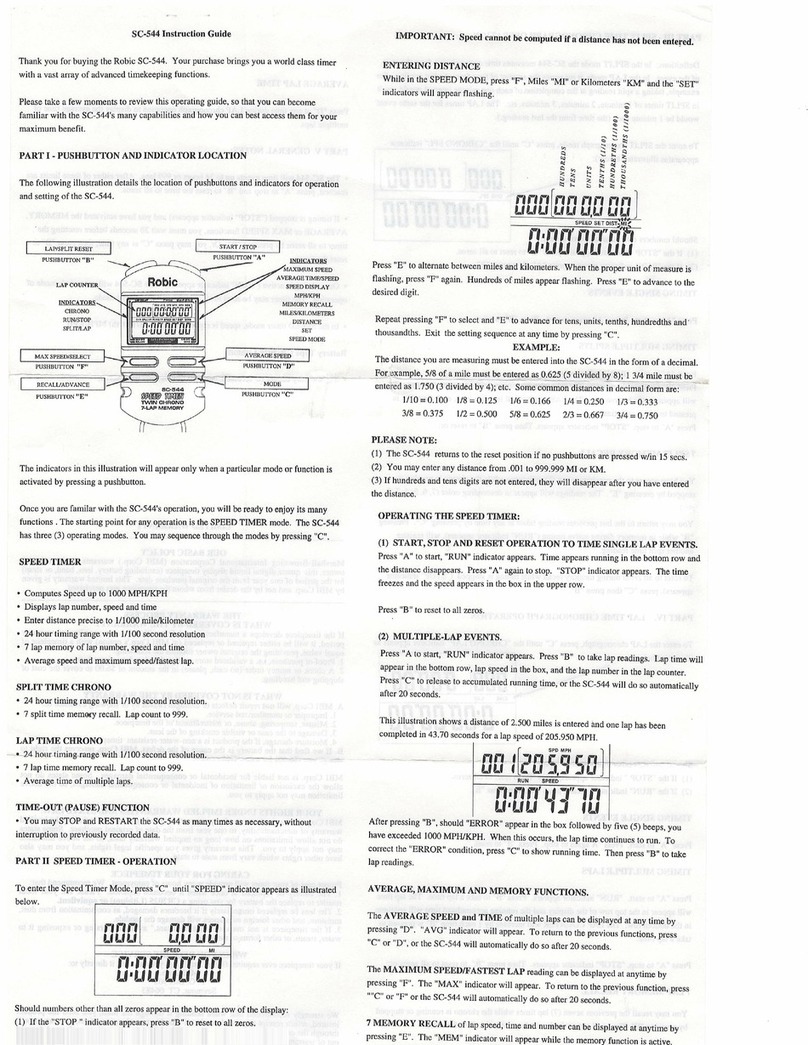
Robic SC-544 Manual
Robic
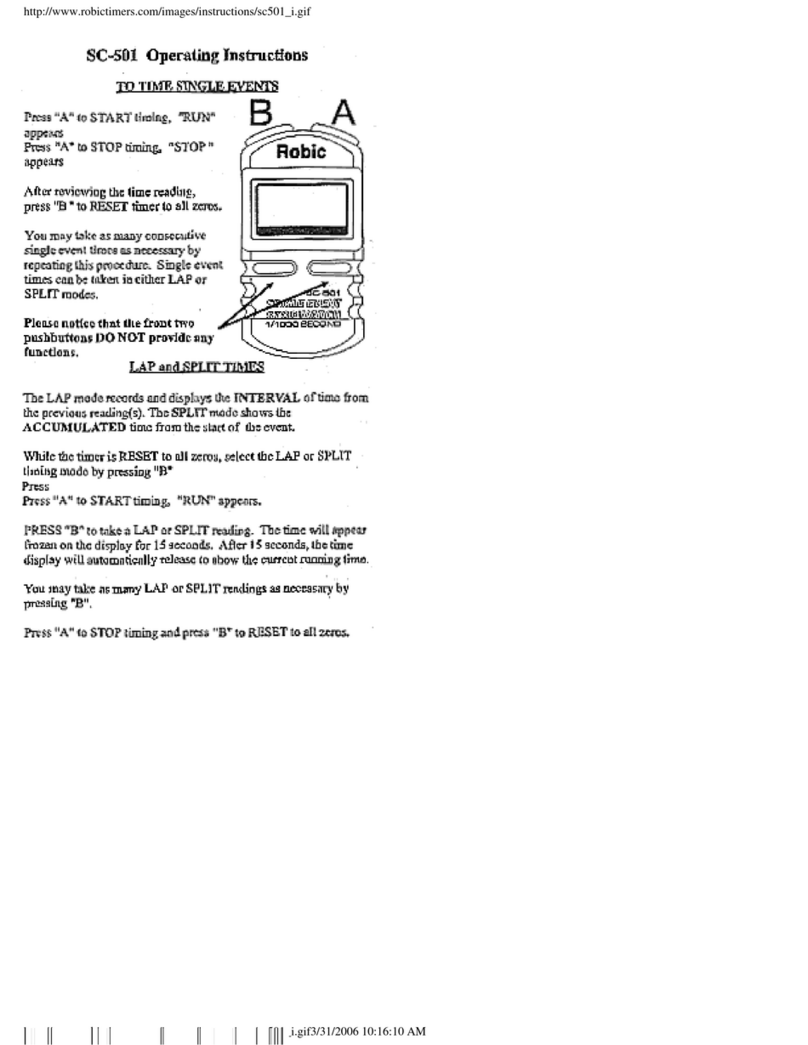
Robic SC-501 User manual
