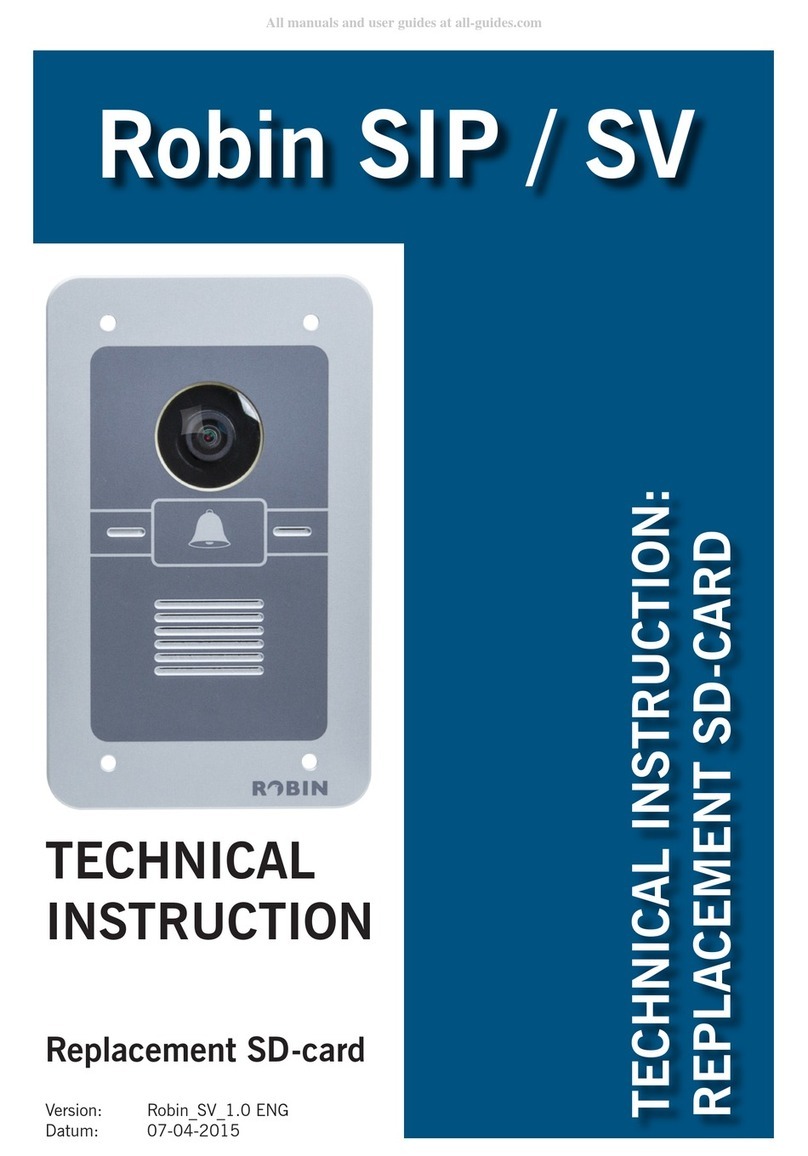
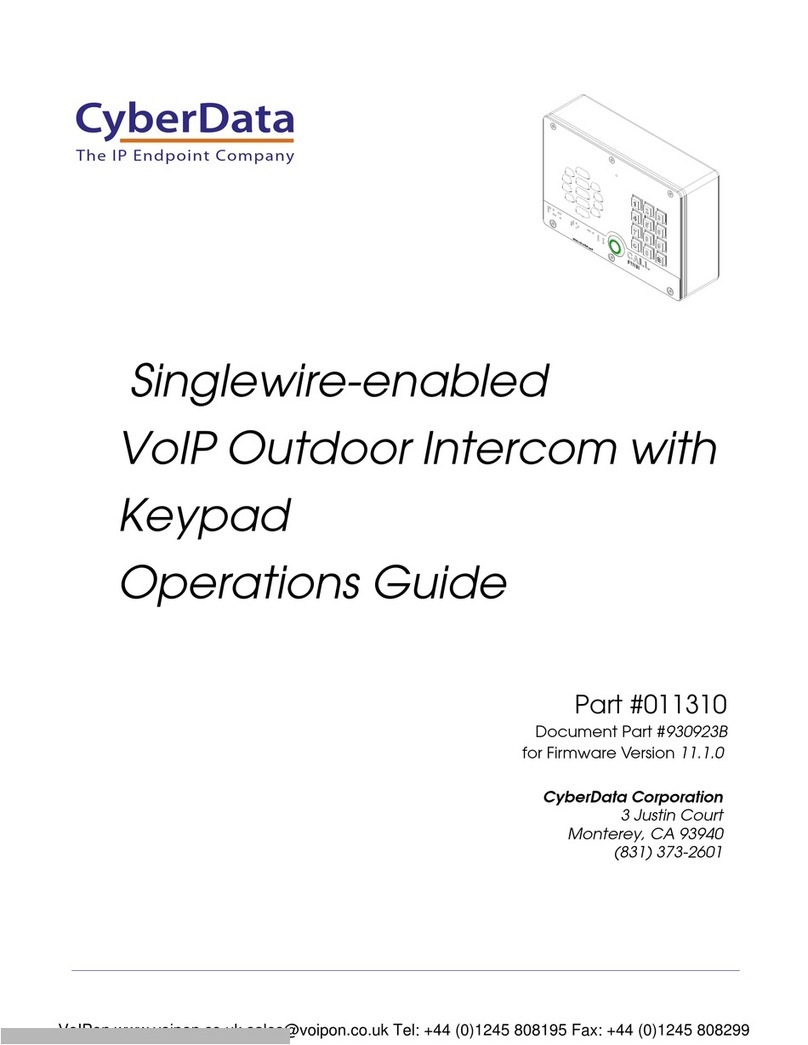
Robin SlimLine User manual

Software version 1.0.0 or higher
Manual version: 1.0.0
Date: 28-03-2022
User Manual
Robin SlimLine
Robin SlimLine ‘for Teams’

gf1
1
Manual Robin SlimLine ENG - v. 1.0.0

gf2
2
Manual Robin SlimLine ENG - v. 1.0.0
About this manual
This manual describes the installation and programming of the Robin SlimLine SIP intercom
firmware version 1.0.0). You can update the software of the Robin to the latest version. For
instructions on updating see page 51 of this manual.
This manual applies to:
Robin SlimLine SIP
Robin SlimLine SIP for MS Teams
The Robin SlimLine SIP for MS Teams is an optimized intercom for use with the CyberGate service
of CyberTwice.
If you have any questions after reading this manual, please contact us at:
website: www.robintele.com
support website: support.robintele.com
Important safety information
Take the following security measures when using a Robin:
The use of port forwarding in routers / firewalls to access the Robin door phones is strongly
discouraged. Use the Robin door phones on the local network (LAN) only
Change at first use the passwords of both the ‘admin’ and the ‘user’ (in the menu -System-
Security-), it is recommended to change them regularly
Use strong passwords (minimum 12 characters long)
Configure the used PBX / VoIP provider to only allow the Robin door phone to call its
programmed destination numbers using the white-list function in the PBX / VoIP provider
Update the Robin door phone regularly
A
About this manual

gf3
3
Manual Robin SlimLine ENG - v. 1.0.0
Table of Contents
1 Introduction 5
1.1 Robin SmartView / ProLine SIP Door Intercom 5
1.2 Robin features 5
2 Operation 8
2.1 Operating the door phone 8
2.1.1 Robin SlimLine SP 8
2.2 Answering 8
2.3 Controlling the built-in door opener 8
3 Installation 9
3.1 Package contents of the Robin SlimLine Surface mount 9
3.2 Package contents of the Robin SlimLine Flush mount 10
3.3 Surface mounting instructions 10
3.4 Flush mounting instructions 11
4 System installation 12
4.1 Requirements prior to installation 12
4.2 Power-on the Robin 12
5 Configuration 14
5.1 Logging in to the Robin 14
5.2 Configuration of the Robin 15
5.2.1 Telephony 16
5.2.1.1 Telephony / SIP 16
5.2.1.2 Telephony / Teams (Robin ‘for Teams’) 19
5.2.1.3 Telephony / Phonebook 21
5.2.1.4 Telephony / Call settings 24
5.2.1.5 Telephony / Call log 27
5.2.1.6 Telephony / Control 27
5.2.2 Audio 28
5.2.2.1 Audio / Settings 28
5.2.2.2 Audio / Detection 29
5.2.3 Video 30
5.2.3.1 Video / Live 30
5.2.3.2 Video / Settings 31
5.2.3.3 Video / Overlay 32
5.2.3.4 Video / Motion 33
5.2.4 Network 34
5.2.4.1 Network / Status 34
5.2.4.2 Network / Settings 35
5.2.4.3 Network / HTTP 36
5.2.4.4 Network / Mail 37
5.2.4.5 Network / NAT 38
5.2.4.6 Network / RTSP 40
I
Index

gf4
4
Manual Robin SlimLine ENG - v. 1.0.0
5.2.5 System 42
5.2.5.1 System / Device 42
5.2.5.2 System / Clock 43
5.2.5.3 System / Events 44
5.2.5.4 System / Security 48
5.2.5.5 System / Schedules 50
5.2.5.6 System / Software 51
5.2.5.7 System / Streams 52
5.2.5.8 System / Switch 53
5.2.5.9 System / Info 55
5.2.5.10 System / Debug 56
5.2.5.11 System / Logs 57
6 Support 58
Appendix A, Electronic lock 59
I
Index

gf5
5
Manual Robin SlimLine ENG - v. 1.0.0
1 Introduction
1.1 Robin SlinLine SIP Door Intercom
Integrated functions
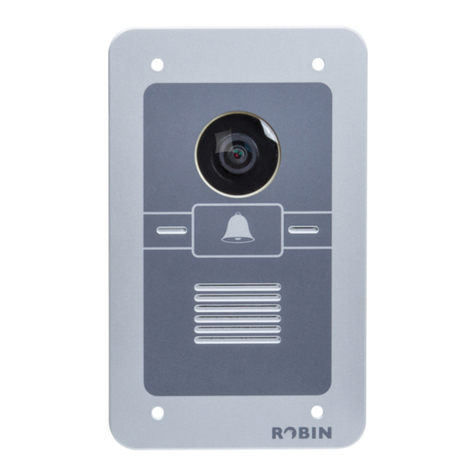
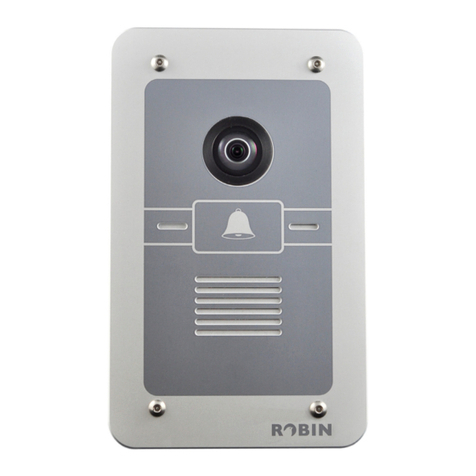
The Robin SlimLine SIP has many integrated functions in one single device:
Telephone device with one button
SIP support for audio and video
High-Definition, full colour camera with a wide-angle lens
Security camera with movement- and audio detection
RTSP streaming (audio and video)
Door opener
Advanced event mechanism
Extended API (Application Programming Interface)
1.2 Robin features
Easy to install
A single module is all that has to be mounted; there are no extra modules necessary.
Simple operation
The Robin can be programmed to dial a predefined phone extension when the button is pressed.
Audio and video will be available during the call and the door opener relay of the Robin can be
activated using DTMF.
SIP communication
The Robin uses the Session Initiation Protocol (SIP). This means that the intercom can be
connected to any IP-PBX or VoIP provider that supports the SIP protocol.
Robin for MS Teams
The Robin for MS Teams is a special version of the Robin SlimLine. It is developed to communicate
with Microsoft Teams using the CyberGate service of CyberTwice and can’t be used with a SIP-PBX
or VoIP provider.
I
Introduction

gf6
6
Manual Robin SlimLine ENG - v. 1.0.0
High-quality sound reproduction
Thanks to the advanced audio DSP in the Robin, its sound quality is exceptionally good without any
echo or interference.
Microsoft Teams support
The Robin can be connect to a Microsoft Teams environment using the CyberGate service of
CyberTwice. CyberGate offers audio and video support to Microsoft Teams. A Microsoft Teams user
can communicate, see the person at the door and open the door remotely. For more information
about CyberGate, see the website: cybertwice.com
Door opener
The potential free relay switch (dry contact) embedded in the Robin is activated by typing in a key
combination at the dialled device. The key combination can be specified in the WEB interface of the
Robin. The relay can be used to open a door, a gate or a barrier.
Video support
A real-time video image of the person using the Robin is displayed on the screen of the H.264
compatible videophone, softphone or Microsoft Teams client as soon as a call is answered.
High-Definition video quality
The integrated camera of the Robin is capable of displaying the video image in High-Definition. A
maximum of three simultaneous video streams are supported.
Security camera function
The integrated camera can also be used for surveillance purposes. The Robin is able to deliver the
video stream to many Video Management Software systems (VMS) in two formats, MJPEG and
H.264 (RTSP).
Picture To Email
The Robin features Picture To Email. It can send an e-mail containing the captured picture of the
visitor to an email address of choice. The document: How-To_Picture2Email_ENG.pdf describes the
configuration of this function.
You can also download this document on our support site: http://support.robintele.com
I
Introduction

gf7
7
Manual Robin SlimLine ENG - v. 1.0.0
No separate power supply
The Robin is powered via Power over Ethernet (PoE IEEE 802.3af). This eliminates the need for a
separate power supply; connection to a PoE network switch or Midspan is all that is necessary.
Web-based configuration
The Robin can be configured on a PC or Mac via a web browser (e.g. Firefox, Chrome, Safari).
Using a web browser, modification of all the settings for the Robin is easy.
Compatible with WEBRelay
The Robin is compatible with an external IP relays, the ControlByWeb WEBRelay Quad-LS. This
external device is equipped with 4 build-in relays and can be connected to the LAN. The ‘Events’
mechanism in the Robin can control the four relays (page. 44).
I
Introduction

gf8
8
Manual Robin SlimLine ENG - v. 1.0.0
2 Operation
2.1 Operating the door phone
To ring the door phone, press on the button on the Robin. The unit will play a ringing sound and the
defined call destination will be called. It will also dim the button illumination when the button is
pressed.
2.2 Answering
You answer a call initiated by the Robin by answering the phone that is being called. In case
you use a H.264 compatible videophone, softphone or MS Teams client the video picture of the
integrated camera is displayed on the screen of the phone.
2.3 Controlling the built-in door opener
The built-in door opener is controlled with predefined keys on the telephone set that answers the
call. When you activate the door opener, the attached door, gate, barrier, etc. will open.
You can change the default DTMF code to open the door in the interface of the Robin in the menu
-System-Switch- (default code: ##).
O
Operation

gf9
9
Manual Robin SlimLine ENG - v. 1.0.0
3 Installation
There are two versions of the Robin SlimLine, one for surface mount installation and one for flush
mount installation.
For Surface mount installation, a surface mount box is nessecary (sold seperately), for a Flush
mount installation, a flush mount box is nessecary (sold seperately).
3.1 Package contents of the Robin SlimLine Surface mount
The Robin SlimLine for Surface mount
1 bottom screw
4 screws
4 wall plugs (6mm)
Engravable label
Double-sided tape for the label
Connector with cable-ends for connecting the build in relay
I
Installation

gf10
10
Manual Robin SlimLine ENG - v. 1.0.0
3.2 Package contents of the Robin SlimLine Flush mount
The Robin SlimLine for Flush mount
4 screws
Engravable label
Double-sided tape for the label
Connector with cable-ends for connecting the build in relay
3.3 Surface mounting instructions
Follow the step-by-step plan described below for problem-free mounting of the Robin.
Step-by-step plan:
1. Mount a square built-in box in the wall (not supplied). Note: match the screws with the
holes of the rear cover to see if the square built-in box is compatible.
2. Feed the cables (Ethernet and (optional) door lock wires) through the built-in box.
3. Mount the rear cover to the built-in box. Note: Make sure the back of the rear cover is flush
(without any gaps) with the wall.
4. Connect the Ethernet cable to the Robin SlimLine.
5. Optional - connect the cable for operating the door switch to the supplied connector and
connect the connector to the Robin.
6. Position the Robin in- and upward in the rear cover.
7. Fix the device securely in place using the screw in the bottom of the rear cover.
I
Installation

gf11
11
Manual Robin SlimLine ENG - v. 1.0.0
3.4 Flush mounting instructions
Follow the step-by-step plan described below for problem-free mounting of the Robin.
Step-by-step plan:
1. Mount the Robin built-in box in the wall. Note: Create a drain hole in the wall (see
drawing).
2. Feed the cables (Ethernet and (optional door lock) wires) through the built-in box.
3. Connect the Ethernet cable to the Robin SlimLine.
4. Optional - connect the cable for operating the door switch to the supplied connector and
connect the connector to the Robin.
5. Mount the Robin using the four supplied screws.
I
Installation

gf12
12
Manual Robin SlimLine ENG - v. 1.0.0
4 System installation
4.1 Requirements prior to installation
Network connection with PoE (Power over Ethernet) is used to power the Robin; the power
supply must be 802.3af compatible.
PC with web browser.
The following web browsers are supported:
- FireFox
- Safari
- Google Chrome
4.2 Power-on the Robin
Connect the Ethernet cable connected to the Robin to a network switch with Power over Ethernet or
use a midspan and a standard network switch. The Robin will boot automatically (this can take up
to 30 seconds).
! Note: The length of the Ethernet cable may not exceed 100 metres. This is a limit of the Ethernet
standard. !
We assume here that the network supports DHCP; if so, all settings such as the IP addresses,
netmask, gateway and DNS are automatically populated.
DHCP is a default setting of the Robin. If the network does not offer DHCP, the network details must
be set manually.
S
System Installation

gf13
13
Manual Robin SlimLine ENG - v. 1.0.0
Windows users:
Copy the ‘Robin Discovery Utility’ software to a PC that is connected to the network. Start the
‘Robin Discovery Utility’ software and click the “Play” button. The software will scan for Robin
devices in the network. When a Robin is detected, it is displayed in the list. Double-click on the
detected Robin you would like to configure; the web interface for the selected Robin will show.
Mac / Linux users:
Enter the IP address of the Robin in the address bar of the web browser that is installed on your PC
in order to access the web interface.
The Robin can now be configured via the web interface (see Chapter 5, Configuration).
S
System Installation

gf14
14
Manual Robin SlimLine ENG - v. 1.0.0
5 Configuration
5.1 Logging in to the Robin
The Robin can be used accessed as an ‘Administrator’ or as a ‘User’.
The Administrator can configure all settings of the Robin. To initially configure the Robin you
will need to login as an Administrator.
The User can only watch live video and optionally control the door opener. A User can’t
modify settings of the Robin.
The login credentials can be changed in the web interface of the Robin. The default credentials are:
Administrator - Login: admin, Password: 123qwe
User - Login: user, Password: has to be be set by an Administrator
! Note: Change the password immediately after installation, both the Administrator and the User,
(menu -System-Security-). The use of strong passwords is highly recommended !
The Robin will warn you when the default password for the Administrator hasn’t been changed yet
when logging in and will keep warning you until the default password is changed.
C
Configuration

gf15
15
Manual Robin SlimLine ENG - v. 1.0.0
5.2 Configuration of the Robin
The configuration program for the Robin features 5 sections; ‘Telephony’, ‘Audio’, ‘Video’, ‘Network’
and ‘System’.
‘Telephony’
In the ‘Telephony’ section, configure all of the settings that are required for the
communication part of the Robin.
‘Audio’
In the ‘Audio’ section, various modifications to the sound and sound processing features of
the Robin can me made.
‘Video’
In the ‘Video’ section, optimise the image quality, view the live video and set the motion
detection settings.
‘Network’
In the ‘Network’ section, view and change the network configuration settings for the Robin.
‘System’
In the ‘System’ section, view and change the settings that influence standard operation of the
Robin. It also contains the log files section for problem diagnosing.
! Note: In the Robin software you’ll note ’APPLY SETTINGS’ buttons. Use these buttons to confirm
and activate all the modified settings. !
C
Configuration

gf16
16
Manual Robin SlimLine ENG - v. 1.0.0
5.2.1 Telephony
5.2.1.1 Telephony / SIP
Enter the data required for registering on a SIP-PBX, a VoIP provider or MS Teams.
! Note: If the Robin is used for a direct connection (Peer2Peer / P2P) to the telephone handset
(without using an SIP-PBX or VoIP provider), registration is not required. !
C
Configuration

gf17
17
Manual Robin SlimLine ENG - v. 1.0.0
SIP registration
Enable Teams mode
SIP protocol
SIP proxy / registar
SIP proxy port number
Line ID
Authentication Username
Password
Register
Expires
Registration status
Activate the Microsoft Teams mode. The necessary
audio and video settings for Microsoft Teams and the
CyberGate service are set automatically
Select the SIP protocol, UDP or TCP, UDP is default
Enter the IP address or hostname for the SIP-PBX or
VoIP provider
Enter the IP port number for the SIP-PBX or VoIP
provider
Enter the Line-ID. If not available, use the same
name as the ‘Authentication Username’
Enter the username for registration to the SIP-PBX or
VoIP provider
Enter the password for registration to the SIP-PBX or
VoIP provider
Activates or deactivates registration to for registration
to the SIP-PBX or VoIP provider
Period of time during which the SIP door intercom
can register.
Shows registration status
C
Configuration

gf18
18
Manual Robin SlimLine ENG - v. 1.0.0
SIP advanced:
Outbound proxy
Outbound proxy host
Outbound proxy port
DNSsrv
---------------------------------
DSCP Class
SIP DSCP Class
Audio RTP DSCP Class
Video RTP DSCP Class
---------------------------------
Audio RTP port start
Audio RTP port end
Video RTP port start
Video RTP port end
RTP port random
Keep alive
Enable REFER
Select this option when a SIP proxy server is used
Enter the IP address or hostname of the proxy server
Enter the IP port of the proxy server
Select this option when DNSsrv is used
------------------------------------------------------------------
The DSCP class is used for Quality of Service.
Select the DSCP class for all SIP traffic
Select the DSCP class for RTP audio
Select the DSCP class for RTP video
------------------------------------------------------------------
Enter the lowest IP port that may be used for the
RTP audio stream
Enter the highest IP port that may be used for the
RTP audio stream
Enter the lowest IP port that may be used for the
RTP video stream
Enter the highest IP port that may be used for the
RTP video stream
Use random RTP ports (within the specified range)
Enable keep alive packages
Accept ‘REFER’ packages (off by default)
C
Configuration

gf19
19
Manual Robin SlimLine ENG - v. 1.0.0
5.2.1.2 Telephony / Teams (Robin ‘for Teams’)
The Robin ‘for Teams’ versions feature a -Telephony-Teams- menu.
In this menu you can configure the Robin with your CyberGate subscription details found in the
admin portal of the CyberGate.
Access the CyberGate admin portal here: https://admin.cybergate.cybertwice.com
C
Configuration
This manual suits for next models
1
Table of contents
Other Robin Intercom System manuals
