manuals.online logo
Brands
  1. Home
  2. •
  3. Brands
  4. •
  5. Rockler
  6. •
  7. Power Tools Accessories
  8. •
  9. Rockler Router Table XL Box Joint Jig User manual

Rockler Router Table XL Box Joint Jig User manual

Router Table XL Box
Joint Jig Instructions
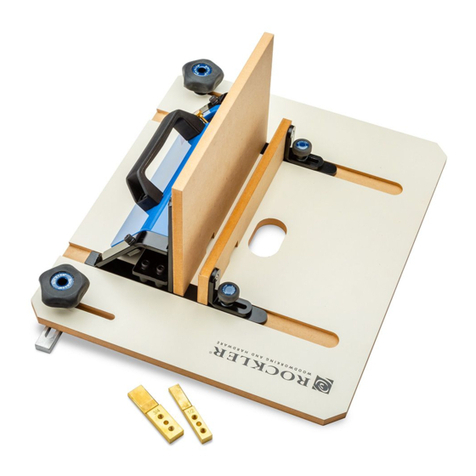
Congratulations on the purchase of your new Router Table XL Box Joint Jig! It securely holds larger
workpieces and allows you to cut clean 1/2"and 3/4"box joints for larger projects such as cases and
trunks. For safe and effective operation of the jig, please read the instructions fully before starting.
2
PARTS LIST - RAIL COPING SLED Quantity Quantity
10
9
10
3
1
4
2
5
6
8
714
12
17
16
13
15
20
21
19
18
11 14
1 MDF Base 1
2 3/4" Indexing Key 1
3 1/2" Indexing Key 1
4 #4-3/8" Screw 2
5 5/16"-18 x 1/2" Bolt 2
6 Miter Slot Bars 2
7 Large Washer 2
8 5-Star Knob 2
9Sacrifical Front Fence 1
10 Sacrifical Back Fence 1
11 5/32"-5/8" Screw 2
12 5/32"-3/4" Screw (Sliding Bracket) 2
13 3-Star Knob 2
14 Small Washer 6
15 5/32-3/4" Screw (Side Sled Bracket) 2
16 Front Sliding Bracket 2
17 Side Sled Brackets 2
18 Corner Brackets 2
19 1/4-20 x 1/2" Hex Bolt 6
20 1/4-20 x 3/4" Screw 2
21 Handle 1
22 Allen Key M5 1
3
Assembly
1. With the desired bit (1/2" or 3/4" in diameter) in your
router, position the jig on your router table so the bit
comes through the oblong hole. For best results, use
an up-cut spiral bit (57813 and 63008, sold separately).
Fig. 1.
2. Install the appropriate indexing key in the jig (i.e., the
1/2" key for 1/2" box joints and the 3/4" key for 3/4"
box joints). Be sure to install the key with the flat edge
toward the router bit.
3. Slide the backer sled assembly into the slots in the
MDF base. It might be a tight fit at first. To calibrate the
sled so it won’t bind, slightly loosen the socket head cap
screws at the top of the steel frame. Then gently push
and pull the sled in a slightly twisting motion and
retighten the hex screws. Repeat until the sled slides
smoothly. Fig. 2.
Note: Make sure the washers are installed correctly
so that the screws don’t extend past the bottom of
the sled’s runners and grind into the MDF base. Also,
double-check that the sacrificial fences are not rubbing
too much on the jig, preventing a smooth glide.
Some slight sanding may be necessary.
4. Adjust the height of the router bit above the surface of
the MDF base to match the thickness of your stock plus
a little extra for sanding flush. Fig. 3.
Note: If using the XL Box Joint Jig on a router table
equipped with a router lift, you can drill a hole in the
MDF base to provide access for the adjustment handle.
5. Adjust the gap between the bit and the indexing key to
equal the diameter of the bit. 1/2" box joints, for
example, would require a 1/2" gap between the 1/2"
router bit and the 1/2" indexing key. To adjust the gap,
move the jig side-to-side in the miter track. Then lock
it in place with the 5-star knobs. For best results, use
Rockler’s Precision Brass Setup Bars (36918, sold
separately). Fig. 4.
Note: Use a test piece to be sure your settings are
correct and your joints fit tightly. Fig. 4
Fig. 3
Fig. 2Fig. 1
4Distributed by Rockler Companies, Inc.
©2014 Rockler Woodworking and Hardware
50322
Rev 12/14
Check Rockler.com for updates. If you have further questions, please contact
our Technical Support Department at 1-800-260-9663 or support@rockler.com
Cutting Instructions:
6. Lay out all four sides of your box with the inside faces
up. Label each piece on the inside face and mark the
top and bottom edges.
7. Position workpiece (A) against the sled’s rear sacrificial
fence, with the inside face forward and the top edge
flush against the indexing key’s left edge. If desired,
secure the workpiece to the rear sacrificial fence
with clamps.
8. Slide the sled’s front sacrificial fence against the
workpiece and tighten the knobs to lock it in place.
The fit shouldn’t be too tight; you need to be able to
lift and move the workpiece while cutting the box
joint fingers.
9. Use the easy-to-grip handle to slide the sled forward
and make the first cut. (You will cut through both
front and back sacrificial fences, as well.) Fig. 5.
10. For successive cuts, reposition workpiece (A) with the
previous cut over the indexing key. Repeat. Fig. 6.
11. To make the first cut in the adjacent side piece (B), use
the original piece (A) as a spacer. Flip piece (A) so that
the top edge is positioned as shown in Fig. 7. (The
inside face of piece (A) will now be facing the back
of the jig.). Butt the second piece (B), inside facing out,
against the first. Secure in position and make the cut.
12. Remove the original piece (A), push the second
piece (B) against the indexing key, secure in position
and make the second cut. Fig. 8. For successive cuts,
reposition workpiece B with the previous cut over the
indexing key. Repeat.
13. To make the cuts in workpieces C and D, repeat
steps 7 - 12.
Note: The box joint finger pattern on the box’s front
and back panels should be the same. The two side
panels should also match.
T = Top
B = Bottom
B
D
A C
T B
T B
B T
B T
B
T
B
T
T
B
T
B
Fig. 8
Fig. 7
Fig. 6
Fig. 5
A
Backer with
sacrifical face
T
T B
A
TT
AB
TB
B

Other Rockler Power Tools Accessories manuals

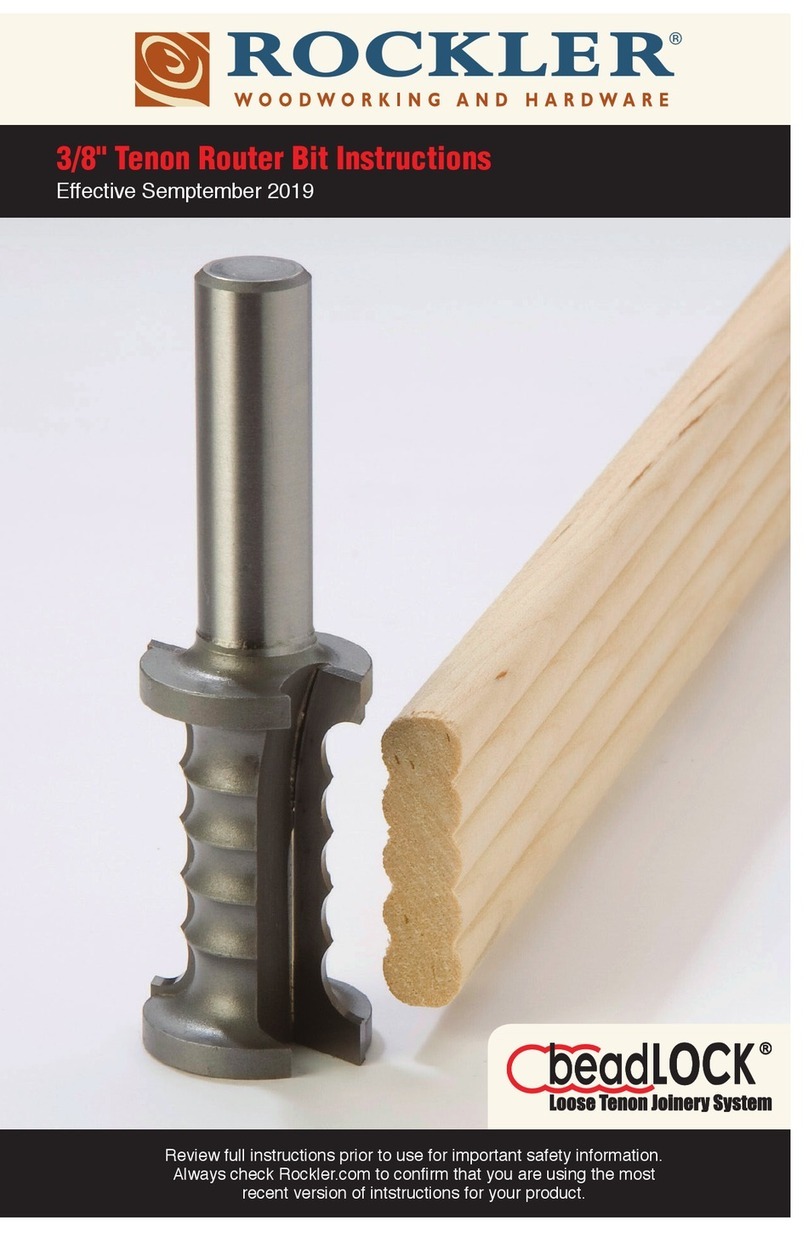
Rockler 3/8 Tenon Router Bit User manual

Rockler

Rockler 3/8 Tenon Router Bit User manual

Rockler ProFence 47905 User manual

Rockler

Rockler ProFence 47905 User manual

Rockler 27712 User manual

Rockler

Rockler 27712 User manual

Rockler 57896 User manual

Rockler

Rockler 57896 User manual

Rockler 57510 User manual

Rockler

Rockler 57510 User manual

Rockler Pro Lift User manual

Rockler

Rockler Pro Lift User manual

Rockler 22796 User manual

Rockler

Rockler 22796 User manual

Rockler Router Table Spline Jig User manual

Rockler

Rockler Router Table Spline Jig User manual

Rockler XL Router Table Box Joint Jig User manual

Rockler

Rockler XL Router Table Box Joint Jig User manual

Rockler Dust RIGHT User manual

Rockler

Rockler Dust RIGHT User manual

Rockler Trim Router Table User manual

Rockler

Rockler Trim Router Table User manual

Rockler 59032 User manual

Rockler

Rockler 59032 User manual

Rockler Power Tool Mobile Base User manual

Rockler

Rockler Power Tool Mobile Base User manual

Rockler 52885 User manual

Rockler

Rockler 52885 User manual

Popular Power Tools Accessories manuals by other brands

Ego Power+ RTA2300 Operator's manual

Ego Power+

Ego Power+ RTA2300 Operator's manual

Incra Wonder Fence owner's manual

Incra

Incra Wonder Fence owner's manual

Fortum Proffesional 4770651 Translation of the original user manual

Fortum Proffesional

Fortum Proffesional 4770651 Translation of the original user manual

Record Power SC Series Original instruction manual

Record Power

Record Power SC Series Original instruction manual

Victaulic VE226 Power Drive Kit installation instructions

Victaulic

Victaulic VE226 Power Drive Kit installation instructions

Hilti DC-EX 125/5inch M operating instructions

Hilti

Hilti DC-EX 125/5inch M operating instructions

Endura TRILENNIUM Series Installation

Endura

Endura TRILENNIUM Series Installation

Bubble Magic Pollen Tumbler Replacement manual

Bubble Magic

Bubble Magic Pollen Tumbler Replacement manual

Kobalt 85024 manual

Kobalt

Kobalt 85024 manual

Textron Greenlee 921 instruction manual

Textron

Textron Greenlee 921 instruction manual

Menzer RE 3000 KIT instructions

Menzer

Menzer RE 3000 KIT instructions

Bosch 18SG-7 quick start guide

Bosch

Bosch 18SG-7 quick start guide

Mapal HydroChuck Short manual

Mapal

Mapal HydroChuck Short manual

Senco Duraspin DS230 operating instructions

Senco

Senco Duraspin DS230 operating instructions

Bosch FS 125 Original instructions

Bosch

Bosch FS 125 Original instructions

Enerpac REB-5 instruction sheet

Enerpac

Enerpac REB-5 instruction sheet

PowerCare 52-207-010401-PL Use and care guide

PowerCare

PowerCare 52-207-010401-PL Use and care guide

TREND MT/JIG instruction manual

TREND

TREND MT/JIG instruction manual

manuals.online logo
manuals.online logoBrands
  • About & Mission
  • Contact us
  • Privacy Policy
  • Terms and Conditions

Copyright 2025 Manuals.Online. All Rights Reserved.