INSTRUCTIONS FOR:
MOBILE OIL DRAINER WITH
PROBES 35LTR AIR DISCHARGE
MODEL No: AK456DX
Thank you for purchasing a Sealey product. Manufactured to a high standard this product will, if used according to these instructions
and properly maintained, give you years of trouble free performance.
1. SAFETY INSTRUCTIONS
IMPORTANT: PLEASE READ THESE INSTRUCTIONS CAREFULLY. NOTE THE SAFE OPERATIONAL REQUIREMENTS, WARNINGS & CAUTIONS.
USE THE PRODUCT CORRECTLY AND WITH CARE FOR THE PURPOSE FOR WHICH IT IS INTENDED. FAILURE TO DO SO MAY CAUSE
DAMAGE AND/OR PERSONAL INJURY AND WILL INVALIDATE THE WARRANTY. PLEASE KEEP INSTRUCTIONS SAFE FOR FUTURE USE.
2. INTRODUCTION
3. SPECIFICATION
1.1. GENERAL SAFETY
WARNING! Ensure Health & Safety, local authority, and general workshop practice regulations are adhered to when using this
equipment.
Familiarise yourself with the application and limitations of the oil drainer, as well as the potential hazards.
WARNING! Disconnect the drainer from the air supply before changing accessories, servicing or performing any maintenance.
Maintain the drainer in good condition (use an authorised service agent).
Replace or repair damaged parts. Use genuine parts only. Unauthorised parts may be dangerous and will invalidate the warranty.
Keep the work area clean, uncluttered and ensure there is adequate lighting.
Keep the drainer clean for best and safest performance.
Maintain correct balance and footing. Ensure the floor is not slippery and wear non-slip shoes.
WARNING! While extracting high temperature oils, keep hands, face and body protected using suitable personal protective equipment.
Keep children and unauthorised persons away from the work area.
WARNING! Ensure correct air pressure is maintained and not exceeded.
Keep air hose away from heat, oil and sharp edges. Check air hose for wear before each use, and ensure that all connections are secure.
DO NOT extract caustic or flammable products.
DO NOT use the drainer for any purpose other than that for which it is designed.
DO NOT operate the drainer if any parts are damaged or missing as this may cause failure and/or personal injury.
DO NOT stand on the drainer.
DO NOT adjust or tamper with the safety valve.
DO NOT move the drainer by the hose, or yank the hose from the air supply.
DO NOT place attachments close to your face (especially eyes, ears, etc.) and do not point hose at other persons or animals.
DO NOT allow untrained persons to operate the drainer.
DO NOT operate the drainer when you are tired or under the influence of alcohol, drugs or intoxicating medication.
DO NOT leave the drainer operating unattended.
DO NOT direct air from the air hose at yourself or others.
When not in use, disconnect from the air supply, vent reservoir and store in a safe, dry, childproof area.
Dispose of waste oil in accordance with local authority regulations.
WARNING! DO NOT pollute the environment by allowing uncontrolled discharge of waste oil.
DANGER! DO NOT release drain pan clamp lever when there is pressure in the reservoir as pipe and drain pan will be
propelled upward with force. This could result in damage and/or serious injury.
4. ASSEMBLY
Steel fabricated 35ltr reservoir. Height adjustable steel drain pan, fitted with grid filter. Features gravity feed reservoir with air discharge hose.
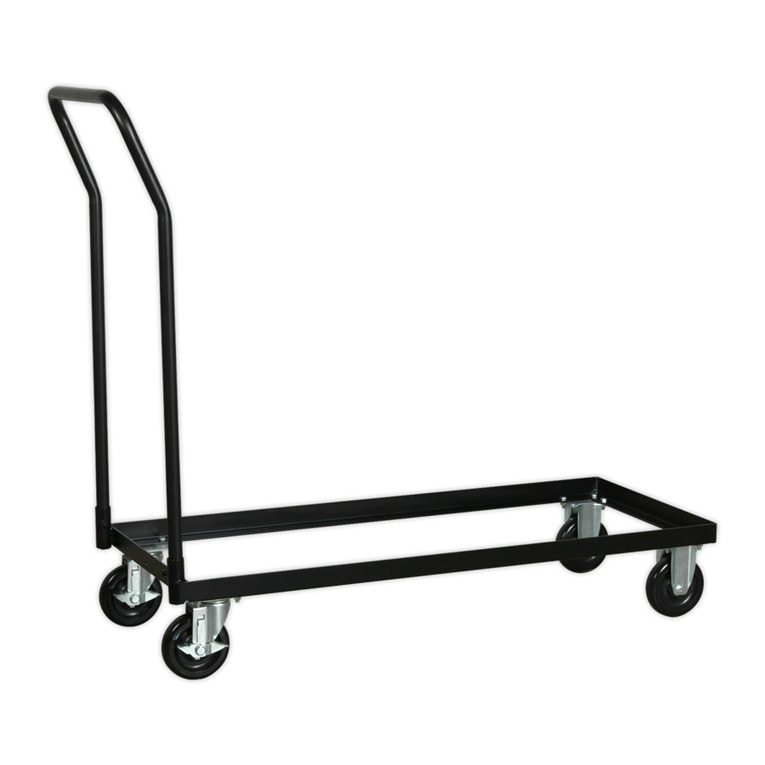
Includes quick-release oil dipstick probes, powered by venturi suction pump. Fitted with heavy-duty wheels and castors for easy mobility.
Model No: ............................................................................ AK456DX
Capacity......................................................................................... 35ltr
Minimum Height to Pan............................................................ 935mm
Maximum Height to Pan......................................................... 1420mm
Gravity Feed.................................................................................. YES
Suction Probe................................................................................ YES
Gravity Discharge............................................................................ NO
Air Discharge................................................................................. YES
(The numbers in brackets refer to the parts diagram.)
4.1 Wheels. Slide a fixed wheel (30) onto each stub axle and retain them with the circlips provided (29). Bolt the two castors (24) to the
front brackets at the base of the tank using the two washers (23) and two dome nuts provided (22).
4.2 Handle. Slide the chrome handle (37) into the two tubular retainers welded onto the back of the tank. Retain the handle using the two
socket cap bolts provided.
4.3 Probe storage tube. Screw the self tapping screw provided into the hole halfway down the probe container tube (12). Insert the tube
into the retaining rings welded to the side of the tank until the screw head comes to rest on the upper ring. Insert the set of three
probes (10), through the probe seat (11) at the top of the probe container tube.
4.4 Column and Oil Collection bowl. Take the steel collection tube (9) and wrap the threaded end with PTFE tape.
Connect the tube to the Collection Bowl (1) by screwing it into the valve fitting on the underside of the bowl and fully tighten. Slide the
locking ring (4) onto and up the steel tube (9) and hold it in place with the locking bolt (5). Insert the tube with bowl attached through
the clamp fitting (6) and down into the tank. Set the required height for the bowl and tighten the clamp fitting (See also fig.2D). Loosen
the locking ring (4). Slide it down onto the clamp fitting and retighten.
Original Language Version AK456DX Issue No.1 14/06/10
