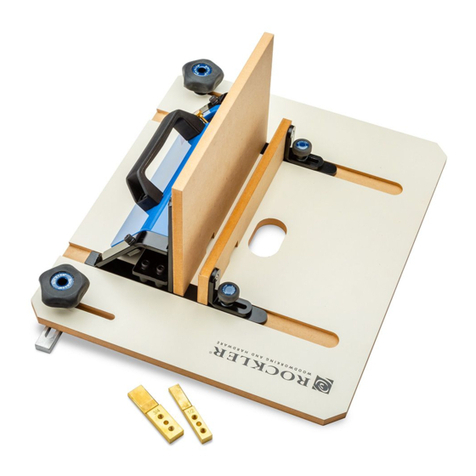
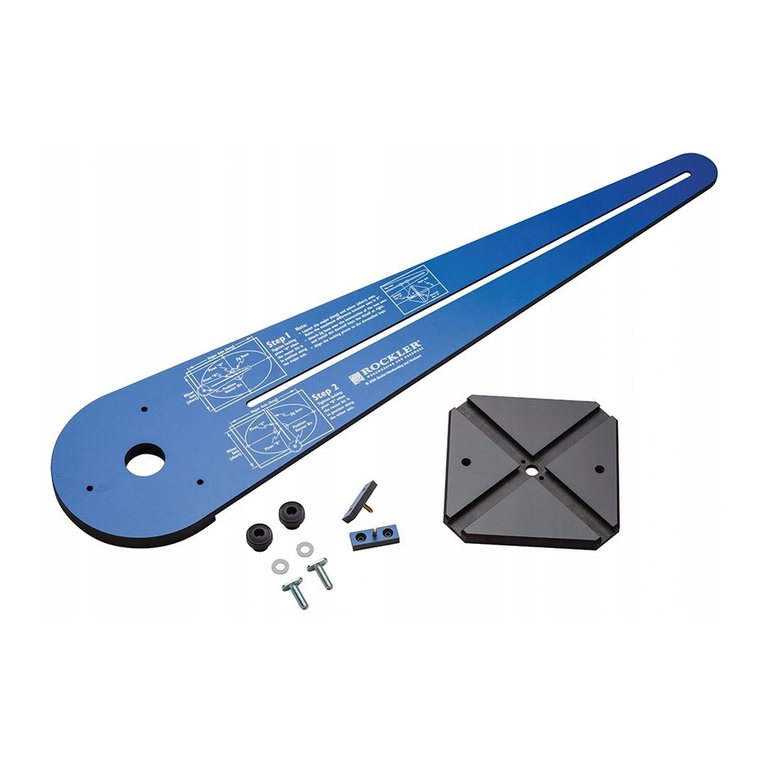
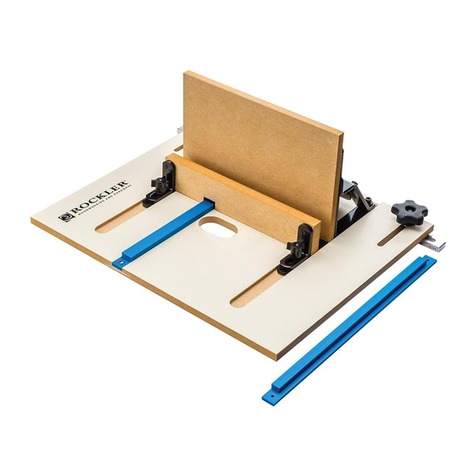
Rockler Router Table Spline Jig User manual

Router Table Spline
Jig Instructions
Review full manual instructions prior to use for important safety information.
Always check Rockler.com to conrm that you are using the most recent manual version for your product.
Clamps have been removed for clarity.

2
This product is designed for specific applications as defined in the instructions and should not be modified and/or used for any
other applications. Before using the Router Table Spline Jig, read, understand and follow all instructions and safety information
provided. KEEP THESE INSTRUCTIONS FOR FUTURE REFERENCE.
GENERAL SAFETY WARNINGS
BP0617
> Always confirm that you are using the most recent version
of the Instructions and safety warnings for your product. To
find the most recent version, find the product page on
Rockler.com and click on the link to the Instructions.
> For any tool used in conjunction with this product,
always read, understand and follow the instructions
and safety warnings in the owner’s manual for that tool.
If you do not have the owner’s manual, obtain one from
the tool’s manufacturer before using it with this product.
> Before using this product, review and verify that all
tools to be used with it have safety equipment
installed and are in proper working order as
defined by the tools’ owner’s manuals.
> Do not use this product until you have read and
are confident you understand:
• Jig Setup (p. 3);
• Cut Spline Slots (pp. 4-5);
• Add Fence Extensions for Narrow Stock (pp. 6);
• Add Splines (pp. 6-7).
> Do not use this product in any manner other than
what is described in these instructions. Use only
recommended accessories.
> Remain alert and use good judgment when using
this tool. Do not use this tool if you are in any way
impaired by medications, alcohol, drugs or fatigue.
> Dress appropriately and remove all jewelry, secure
loose clothing and tie up long hair before using
this tool.
> It is the sole responsibility of the purchaser of this
product to ensure that any third party whom you
allow to use this product reads and complies with all the
instructions and safety precautions outlined in this
manual prior to use.
> Maintain these instructions and warnings as long as
you own the product. Keep this booklet in a place where
it will be readily available for reference.
> The user assumes all risk and responsibility for the
proper use of this product and for ensuring product
suitability for intended application.
> Always wear safety glasses in compliance with ANSI
safety standards and hearing protection and follow all
standard shop safety practices, including:
• Keep your work area well lit and clean;
• Unplug all power tools before making any
adjustments or changing accessories;
• Use dust collection tools and dust face masks to
reduce exposure to dust;
• Use accessory safety equipment such as
featherboards, push sticks and push blocks
whenever appropriate;
• Do not use power tools in explosive
environments (e.g., in the presence of
flammable liquids, fumes or dust);
• Keep children and bystanders away from
the tool operating area;
• Maintain proper footing at all times and
do not overreach;
•Do not force the tool.
> These warnings and instructions do not represent the
total of all information available regarding tool safety,
use and technique. Please read the full manual before
using this product and always seek out opportunities to
learn more and improve your skills and knowledge.
Drilling, sawing, sanding or machining wood
products can expose you to wood dust, a substance known
ot the State of California to cause cancer. Avoid inhaling
wood dust or use a dust mask or other safeguards for
personal protection. For more information go to
www.P65Warnings.ca.gov/wood.
Danger indicates a hazardous situation that, if not avoided, will result in death or serious injury.
Warning indicates a hazardous situation that, if not avoided, could result in death or serious injury.
Caution indicates a hazardous situation that, if not avoided, may result in minor or moderate injury
or property damage.
Notice indicates important or helpful information and/or user tips.
3
Jig Setup
1. With the bit you will use to cut the spline slots installed in a
table-mounted router, place the jig base on the router table
so that the bit extends through the center opening and the
expandable bars are in the miter track.
2. Adjust the base to roughly center the bit in relation to the
large opening and the black line on the face.
3. Place the centering gauge in the narrow slot and slide it up
against the shaft of the router bit. The “V” will center the base
with the bit. Fig. 1.
Jig Base
Sled
Centering
Gauge
Left Fence
Right Fence
Centering Gauge
shown attached
to fence
Fig. 1
Knobs for
tightening
4. Tighten the knobs to lock the base in the miter track. Back
the centering gauge away from the bit, lift it out and return it
to its storage area on the jig’s sled. Fig. 1.
Tighten knobs fully to ensure sled is
securely mounted on the router table. Failure to tighten
knobs adequately could lead to serious injury.

4
Cut Spline Slots
1. Determine your spline spacing. At each spline location, use a
square to draw lines to locate the center of the spline slot.
Make the lines at least 41⁄2" long so you’ll be able to see
them when the workpiece is in the jig. Mark all spine
locations. Also mark a line on a test board that’s the
same width as your workpiece. Fig. 2.
2. Place the sled part of the jig on the base, making sure that the
sled’s runners are in the corresponding slots in the base.
3. With the sled backed away from the bit, clamp the test board
in the sled, aligning the line on the board with the centerline
on the sled. Fig. 3.
Fig. 3
Fig. 2
Make sure knobs have been tightened fully
and the sled is securely mounted on the router table. Failure
to tighten knobs adequately could lead to serious injury.
4. Slide the fences against the sides of the test board and tighten
the knobs to secure them in place. (For boxes too wide to fit
between both fences, the left fence can be removed. The right
fence must remain on the jig at all times for safe operation.)
Fig. 4.

5
5. Turn on the router. Push the sled forward through the bit and
then pull it back to rout a test slot. Fig. 5.
Safety note: Keep your fingers outside the fences.
Fig. 4
Fig. 5
6. Check the cut location and depth and make any
necessary adjustments.
7. Place the workpiece in the jig, clamping it to the sled
for increased stability. Make your first cut.
8. Rotate the workpiece to cut spline slots at that setting in the
remaining corners.
9. For symmetrically spaced off-center cuts, set the jig and rout
the first four spline slots, then flip the workpiece to rout four
slots equidistant from the other edge.
Keep fingers outside the fences and
away from the router bit. Failure to do so could lead to
serious injury.

6
Add Fence Extensions for Narrow Stock
1. Extra support is helpful when working with narrow stock for
projects such as picture frames. First, follow Steps 1-3 above
to mark spline locations.
2. Cut square or rectangular extensions from flat scrap wood
or sheet stock.
3. Attach the extensions with appropriately sized screws driven
through the four holes in each fence. Fig. 6.
4. Rout the spline slots as detailed in Steps 4-8 above.
Add Splines
For Dovetail Splines
1. To cut the splines, you will use the same dovetail bit you used
to cut the slots, this time with your router installed in a router
table with a fence. Set the bit height 1/16" greater than the
depth of the spline slots.
2. Position the router table fence so that about only 30% of the
cutter extends beyond the fence face. This is only a starting
point; you will need to fine-tune the fence position through
trial and error.
3. Select stock that is thicker than the maximum width of the
dovetail bit you used to cut the spline slots. For example, if
you used a 1/2" bit, the stock should be at least 5/8" thick.
4. Routing a test piece on edge and taking care to keep the stock
tight against the fence, make a pass on each side. Test the
fit in the spline slot. (The goal is a fit that’s snug but not overly
tight.) Fig. 7.
Fig. 7
Fig. 6
Fig. 8

7
5. If the spline doesn’t fit, adjust the fence position slightly and
make more test cuts. Repeat until you arrive at the right
setting, then rout your splines.
Fig. 10
Fig. 9
Check Rockler.com for updates to these instrutions. If you have
further questions, please contact our Technical Support Department
at 1-800-260-9663 or support@rockler.com
Use a push stick to move material through
the blade to keep hands away from blade. Failure to do so
could lead to serious injury.
6. Use a push stick to rip the dovetailed section of the spline
blank(s) from the rest of the stock and cut into shorter pieces.
Fig. 8.
7. Apply glue to the splines and slots and install the splines. Let
glue dry. Fig. 9.
8. Trim splines flush to box sides, then sand smooth. Fig. 10.
For Straight Splines
1. Cut or obtain appropriately dimensioned stock. (The fit should
be snug but not overly so.)
2. Apply glue to the splines and slots and install the splines.
Let glue dry.
3. Trim splines flush to box sides with flush-cut saw,
then sand smooth.

Distributed by Rockler Companies, Inc.
©2017 Rockler Woodworking and Hardware
59288
Rev 06/17
Table of contents
Other Rockler Power Tools Accessories manuals

Rockler
Rockler 57510 User manual

Rockler
Rockler XL Router Table Box Joint Jig User manual

Rockler
Rockler 52885 User manual

Rockler
Rockler Pro Lift User manual

Rockler
Rockler 22796 User manual

Rockler
Rockler 27712 User manual

Rockler
Rockler Trim Router Table User manual

Rockler
Rockler Dust RIGHT User manual

Rockler
Rockler 57896 User manual

Rockler
Rockler ProFence 47905 User manual
Popular Power Tools Accessories manuals by other brands

Gloria
Gloria CUT & BRUSH user manual

DeWalt
DeWalt DXSTA2CM instruction manual

Dynabrade
Dynabrade Lightweight Dynastraight 13101 Important operating, maintenance and safety instructions

Hilti
Hilti TE DRS-Y Original operating instructions

Wolfcraft
Wolfcraft 5121 manual

Scell-it
Scell-it Rivenutdrill user manual