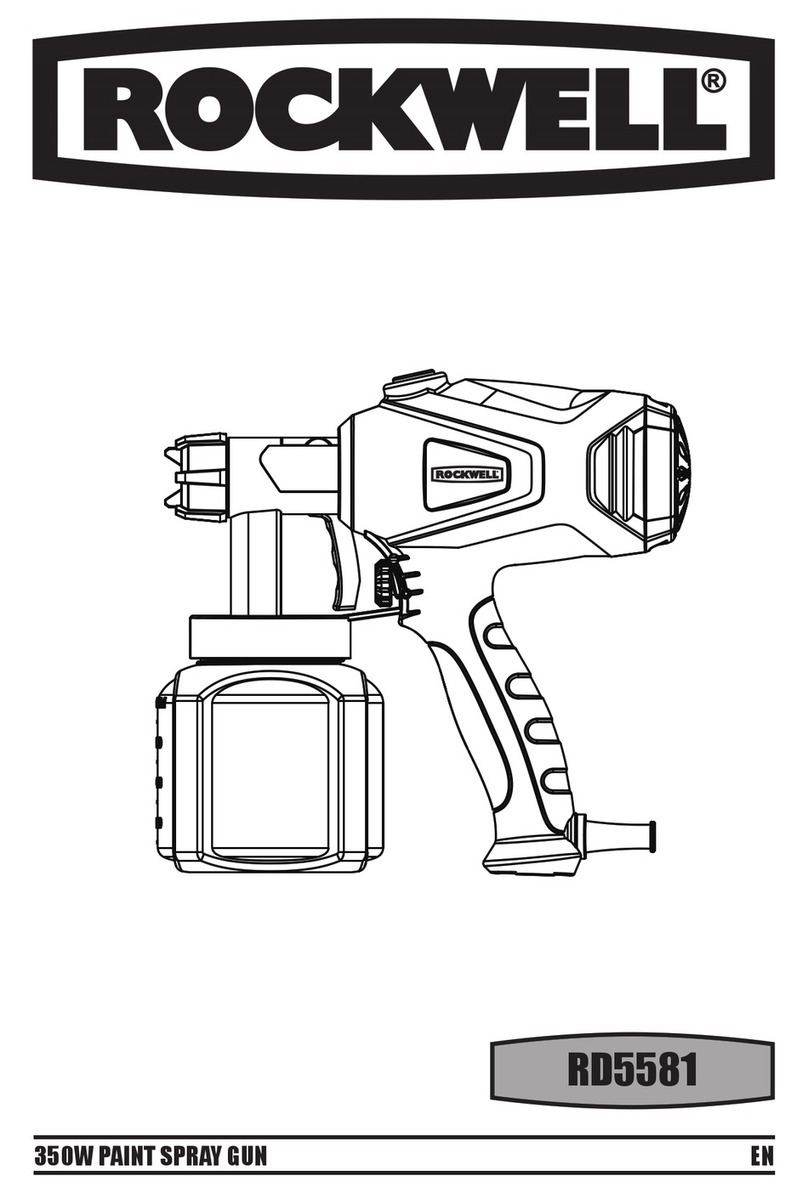
Rockwell RD5582 User manual

RD5582
PAINT SPRAY GUN EN

RD5582
21 3 4 5
6
7
108
11 12 13
9

RD5582
�╚└� 25.400
C1 C2 D
E F G1
G2 H
G3
B1 B2
A

4
PAINT SPRAY GUN EN
5-15cm
A
B
I1 I3I2

5
PAINT SPRAY GUN EN
COMPONENT LIST
ACCESSORIES
Viscosity cup 1
Nozzle cleaning needle 1
Air hose 1
Shoulder strap 1
We recommend that you purchase your accessories
listed in the above list from the same store that sold
you the tool. Refer to the accessory packaging for
further details. Store personnel can assist you and
offer advice.
PRODUCT SAFETY
GENERAL POWER TOOL SAFETY
WARNINGS
WARNING! Read all safety warnings,
instructions, illustrations and specications provided
with this power tool. Failure to follow all instructions listed
below may result in electric shock, re and/or serious injury.
Save all warnings and instructions for future reference.
The term “power tool” in the warnings refers to your mains-
operated (corded) power tool or battery-operated (cordless)
power tool.
1) Work area safety
a) Keep work area clean and well lit. Cluttered or dark
areas invite accidents.
b) Do not operate power tools in explosive atmospheres,
such as in the presence of ammable liquids, gases
or dust. Power tools create sparks which may ignite the
dust or fumes.
c) Keep children and bystanders away while operating a
power tool. Distractions can cause you to lose control.
1Trigger
2Flow rate adjustment screw
3Spray gun
4Air hose
5On / Off switch
6Blower
7Container
8Air cap
9Nozzle
10 Cap nut
11 Viscosity cup
12 Nozzle cleaning needle
13 Shoulder strap
Not all the accessories illustrated or described are included in standard delivery.

6
PAINT SPRAY GUN EN
2) Electrical safety
a) Power tool plugs must match the outlet. Never modify
the plug in any way. Do not use any adapter plugs with
earthed (grounded) power tools. Unmodied plugs and
matching outlets will reduce risk of electric shock.
b) Avoid body contact with earthed or grounded
surfaces, such as pipes, radiators, ranges and
refrigerators. There is an increased risk of electric
shock if your body is earthed or grounded.
c) Do not expose power tools to rain or wet conditions.
Water entering a power tool will increase the risk of
electric shock.
d) Do not abuse the cord. Never use the cord for carrying,
pulling or unplugging the power tool. Keep cord away
from heat, oil, sharp edges or moving parts. Damaged
or entangled cords increase the risk of electric shock.
e) When operating a power tool outdoors, use an
extension cord suitable for outdoor use. Use of a cord
suitable for outdoor use reduces the risk of electric
shock.
f) If operating a power tool in a damp location is
unavoidable, use a residual current device (RCD)
protected supply. Use of an RCD reduces the risk of
electric shock.
3) Personal safety
a) Stay alert, watch what you are doing and use
common sense when operating a power tool. Do not
use a power tool while you are tired or under the
inuence of drugs, alcohol or medication. A moment
of inattention while operating power tools may result in
serious personal injury.
b) Use personal protective equipment. Always wear eye
protection. Protective equipment such as dust mask,
non-skid safety shoes, hard hat, or hearing protection
used for appropriate conditions will reduce personal
injuries.
c) Prevent unintentional starting. Ensure the switch is in
the off-position before connecting to power source
and/or battery pack, picking up or carrying the tool.
Carrying power tools with your nger on the switch or
energising power tools that have the switch on invites
accidents.
d) Remove any adjusting key or wrench before turning
the power tool on. A wrench or a key left attached to a
rotating part of the power tool may result in personal
injury.
e) Do not overreach. Keep proper footing and balance at
all times. This enables better control of the power tool in
unexpected situations.
f) Dress properly. Do not wear loose clothing or
jewellery. Keep your hair, clothing and gloves away from
moving parts. Loose clothes, jewellery or long hair can
be caught in moving parts.
g) If devices are provided for the connection of dust
extraction and collection facilities, ensure these are
connected and properly used. Use of these devices can
reduce dust-related hazards.
4) Power tool use and care
a) Do not force the power tool. Use the correct power tool
for your application. The correct power tool will do the
job better and safer at the rate for which it was designed.
b) Do not use the power tool if the switch does not turn it
on and off. Any power tool that cannot be controlled with
the switch is dangerous and must be repaired.
c) Disconnect the plug from the power source and/
or remove the battery pack, if detachable, from the
power tool before making any adjustments, changing
accessories, or storing power tools. Such preventive
safety measures reduce the risk of starting the power
tool accidentally.
d) Store idle power tools out of the reach of children and
do not allow persons unfamiliar with the power tool
or these instructions to operate the power tool. Power
tools are dangerous in the hands of untrained users.
e) Maintain power tools and accessories. Check for
misalignment or binding of moving parts, breakage
of parts and any other condition that may affect the
power tool’s operation. If damaged, have the power
tool repaired before use. Many accidents are caused by
poorly maintained power tools.
f) Keep cutting tools sharp and clean. Properly
maintained cutting tools with sharp cutting edges are
less likely to bind and are easier to control.
g) Use the power tool, accessories and tool bits etc.
in accordance with these instructions, taking into
account the working conditions and the work to
be performed. Use of the power tool for operations
different from those intended could result in a hazardous
situation.
5) Service
a) Have your power tool serviced by a qualied repair
person using only identical replacement parts.
This will ensure that the safety of the power tool is
maintained.

7
PAINT SPRAY GUN EN
ADDITIONAL SAFETY
INSTRUCTIONS FOR YOUR SPRAY
GUN
1. Beware of high pressure at the nozzle and toxic sprays,
it can cause severe skin damage. Never allow any part of
the body to come in contact with the spray.
2. Recommendation that the tool always be supplied via a
residual current device with a rated residual current of
30mA or less.
3. Do not use guns for spraying ammable materials.
4. Do not clean guns with ammable solvents.
5. Warning! Be aware of any hazard presented by the
material being sprayed and consult the markings
on the container or the information supplied by the
manufacturer of the material to be sprayed.
6. Do not spray any material where the hazard is not
known.
7. Use appropriate personal protective equipment, such as
dust mask, protective clothing.
8. Do not clean guns with ammable solvents.
SYMBOLS
To reduce the risk of injury, user
must read instruction manual
Wear ear protection
Wear eye protection
Wear dust mask
Double insulation
Warning
RCM marking
Warning: Do not direct the jet at
persons, animals and electrical
equipment.
ABN: Australian Business Number. By this number,
business information such as entity type, status,
business location etc. can be found at website http://
abr.business.gov.au.
ABN of Positec Australia Pty Ltd is 14 101 682 357
TECHNICAL DATA
Type Designation: RD5582( 5- designation of
machinery, representative of spray gun).
Voltage 220-240V~50Hz
Power consumption 500 W
Nozzle size 2.5mm
Max air volume ow 600ml/min
Max viscosity 60DIN-s
Air hose length 1.8m
Tank capacity 800 ml
Spraying pressure 0.1-0.2bar
Protection degree /II
Weight 1.82kg
OPERATION INSTRUCTION
NOTE:
Before using the tool, read the instruction
book carefully.
Intended Use
The spray gun is for spraying non-ammable and non-
hazardous paints and varnishes suitable. The tool could
not be used for spraying of ammable liquids. Do not
use the tool for the food, pharmacy or other purposes
that are not mentioned in the manual.
1. COATING MATERIALS
Solvent-based and water-based paints, nishes, primers,
two-component paints, varnishes, automotive topcoats,
stains and wood preservatives.
2. UNSUITABLE COATING MATERIALS
Wall colors (dispersion), etc., alkali and acidic paints.

8
PAINT SPRAY GUN EN
3. PREPAREDNESS THE COATING MATERIAL
Measuring the viscosity using the viscosity cup. (See
Fig. A)
1) Stir well coating material before the start of the
measurement.
2) Fill the viscosity cup with coating material (100 cm3).
3) Lift viscosity cup and measure the time in seconds,
until the coating material nish dripping.
4) These are called run-DIN-seconds (DIN-s)
COATING MATERIAL VISCOSITY DIN-S
Solvent-based paints 15-50
Primers 25-50
Pickling undiluted
2 Combination paints 20-50
Varnishes 15-40
Waterborne paints 20-40
Automotive topcoats 20-40
Wood protection
center l
undiluted
4. CONNECT THE AIR HOSE TO THE TOOL.
1) Insert the air hose end to the guide at side of device
rmly. (See Fig. B1)
2) Insert another side of air hose to the connector of gun
side rmly. (See Fig. B2)
5. ACCESSBLE THE RISER
1) Unscrew the container of the spray gun.
2) Assemble the riser correctly according to different
situation to reduce the liquid in the container as much
as possible.
Spraying with underlying objects
- rotating riser forward. (SEE FIG. C1)
NOTE:Don’t tilt it at a large angle.
Spray job with overhead objects
- rotating riser backwards. (SEE FIG. C2)
NOTE:Don’t tilt it at a large angle.
3)Place one paper under the container. Pour the prepared
coating material into the container.
4) Screw the container back into the spray gun. And
tighten it.
6. ON/OFF SWITCH (SEE FIG. D)
To start the tool, depress the protective cover over the
switch indicated by the mark “0”.
To stop the tool, depress the protective cover indicated
by the mark “I”.
7. TAKE THE SPRAY GUN OUT OF THE GUN HOLDER (SEE
FIG. E)
This tool is equipped with 1.8m air hose. The spray gun
can be taken out of the gun holder to make work more
convenient.
8. TRIGGER (SEE FIG. F)
Depress the trigger for spraying work.
9. ADJUSTMENT OF THE SPRAY GUN
Selection spray patterns
1) Unscrew the cup nut.
2) Setting the position of air cup to the desired
situation.
The Horizontal position of air cup(SEE FIG. G1)=the
spraying shape is vertical: for vertical surface.
The vertical position of air cup (SEE FIG. G2)=the
spraying shape is horizontal: for horizontal surface.
The oblique position of air cup (SEE FIG. G3)=the
spraying shape is circular: for corners, edges and others.
3) Screw the cup nut and tighten it.
WARNING: Never change the setting of the air cup when
pulling the trigger.
Adjustment of the rate of ow (SEE FIG. H)
The material volume by turning the ow rate adjustment
screw.
+ Rotate anticlockwise: reduce the rate of ow
- Rotate clockwise : increase the rate of ow
10. SPRAY TECHNOLOGY
1) The intended surface should be smooth and clean.
And the surface must be pretreated and dust-free.
2) Surface not to be sprayed must be covered with tape
and newspaper.
3) Cover screw or similar at the object need to be
covered.
4) It is important to perform on cardboard or a similar
surface spray sample to nd the right spray gun setting.
CORRECT DIRECTIONAL LENGTH
Hold the spray gun at straight distance of about 5 -15 cm
from the object being sprayed. (SEE FIG. I1)
INCORRECT
Overspray, unevenly even surface quality. (SEE FIG. I2)
NOTE: Cleanness is necessary as coating material
buildup on the nozzle and air cap A B, both parts with
solvents or water. (SEE FIG. I3)

9
PAINT SPRAY GUN EN
10. WORK STOPPAGES.
1) Switch off the device.
2) Back spray gun to the spray gun holder.
CLEARANCE AND MAINTENANCE
Remove the plug from the socket before carrying
out any adjustment, servicing or maintenance.
If the supply cord is damaged, a special cord or assembly
available from the manufacturer or its service agent must
replace it.
Always remember to disconnect the plug from the socket
before cleaning the spray gun or paint tank, it is essential
that the spray gun is cleaned thoroughly after every use.
Failure to clean it will almost certainly result in blockages
and it may not operate when you next come to use it.
1) Switch off the device. Press the trigger, so that the
coating material in the spray gun passes back into the
container.
2) Unscrew the container. Empty the remaining coating
material.
3) Clean containers and tubing with brush.
4) Screw the container. Always keep container seal free
of paint residue and check for damage.
5) Clean spray gun and container exterior with a cloth
soaked in solvent and water cloth.
NOTE: Never clean the nozzle or air holes in the spray gun
with sharp metal objects.
TROUBLESHOOTING
Problem Cause Remedy
No coating
material
come out
from Nozzle
Nozzle clogged Clean
Riser clogged Clean
Small holes on
the riser pipe
clogged
Clean
Flow setting is
at min level
Rotate the ow
rate adjustment
screw clockwise
Riser loose Tighten the riser
Container loose Tighten the
container
The viscosity is
too high Dilution
Dropping
coating
material at
nozzle
Nozzle loose Tighten nozzle
Worn nozzle Replace
Coating material
accumulated
at air cap and
nozzle
Clean
Spray too
thick
The viscosity is
too high Dilution
Flow setting is
at max level
Rotate the
ow rate
adjustment screw
anticlockwise
Too little
pressure in the
container
Tighten the
container
Spray
unstable
Litter coating
material in
container
Add more coating
material
The lter is too
dirty Clean or replace
Drip in
spraying
Flow setting is
at max level
Rotate the
ow rate
adjustment screw
anticlockwise


POSITEC AUSTRALIA PTY LTD
ABN 14 101 682 357
MADE IN PRC
Copyright © 2018, Positec. All Rights Reserved.
Table of contents
Other Rockwell Paint Sprayer manuals