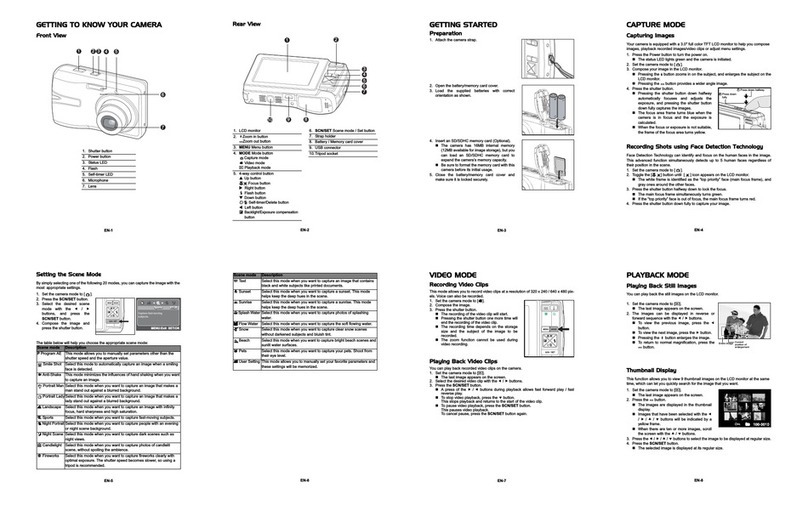
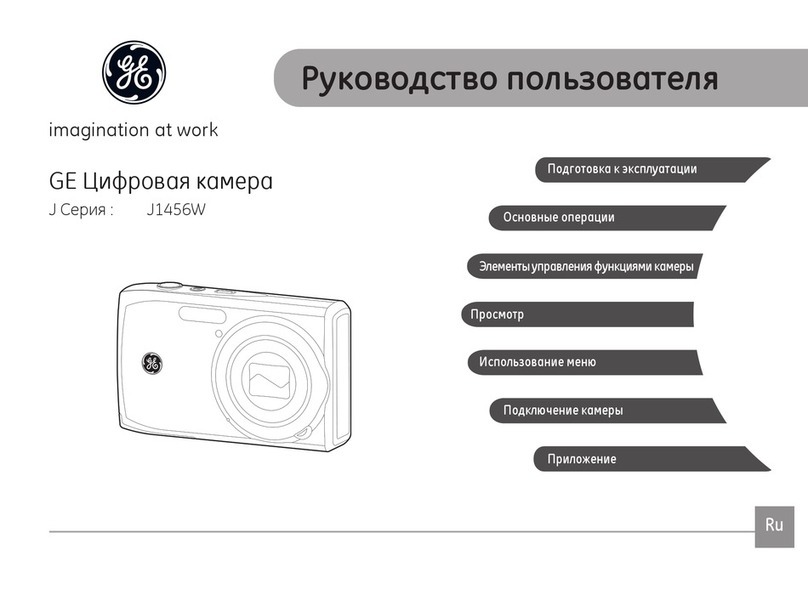
This Quick Start Guide is only for quick reference. For more details on advanced functions,
you can refer to your user’s manual.
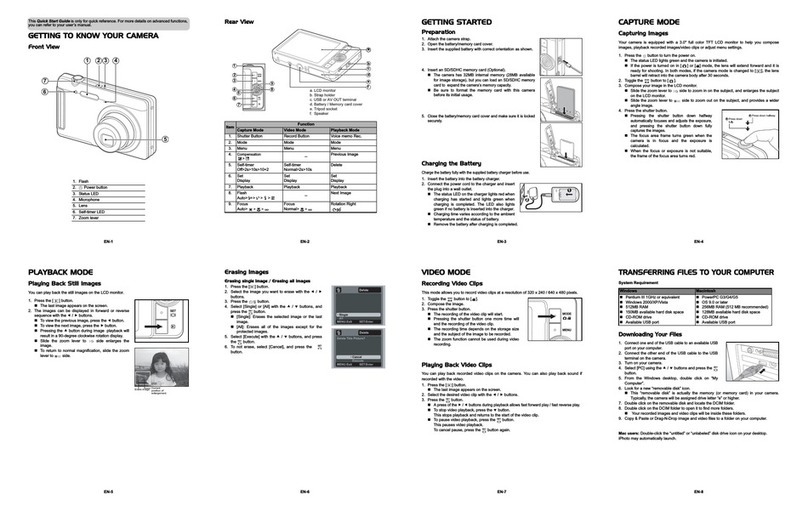
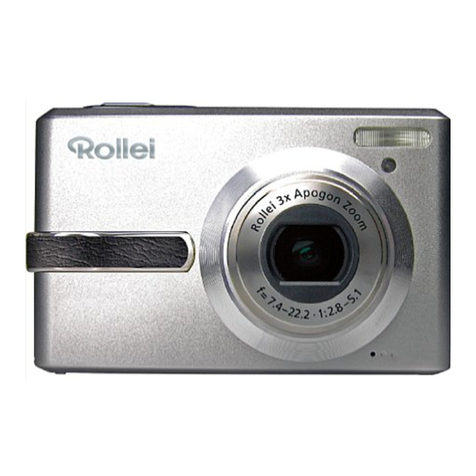
GETTING TO KNOW YOUR CAMERA
Front View
1. Power button
2. Self-timer LED
3. Mode switch
Capture mode
Video mode
Playback mode
4. Speaker
5. Lens
6. Microphone
7. Flash
67
123 4
5
EN-1
Rear View
Item Function
Capture Mode Video Mode Playback Mode
1. Shutter Button Record Button Voice memo Rec.
2. Menu Menu Menu
3. Display Display Display
4. Delete Delete Delete
5. Focus
Auto> > > >MF
Focus
Normal> >
Rotation Right
6. Compensation
>-- Previous Image
7. Self-timer
Off>10s>2s>10+2
Self-timer
Normal>10s>2s
Rotation Left
8. Zoom
Wide
Tel e
Zoom
Wide
Te l e
Zoom
Thumbnail
Magnification
9. Set
Last image
Set
Last image
Set
Voice memo play
10. Flash
Auto> > > > > -- Next Image
a
b
c
e
d
f
g
SET
3
1
8
9
10
2
4
6
5
7
EN-2
GETTING STARTED
Preparation
1. Attach the camera strap.
2. Open the battery/memory card cover.
3. Insert the supplied battery with correct orientation as
shown.
4. Insert an SD/SDHC memory card (Optional).
5. Close the battery/memory card cover and make sure it is
locked securely.
EN-3
CAPTURE MODE
Capturing Images
Your camera is equipped with a 2.7" full color TFT LCD monitor to help you compose
images, playback recorded images/video clips or adjust menu settings.
1. Press the ON/OFF button to turn the power on.
The status LED lights green and the camera is initiated.
When the power is turned on, the camera will start in the mode that was last set.
If the power is turned on in [ ] or [ ] mode, the lens will extend forward and it is
ready for shooting. In both modes, if the mode switch is set to [ ], the lens barrel will
retract into the camera body after 30 seconds.
If the power is turned on in [ ] mode, the lens will remain closed.
2. Slide the mode switch to [ ].
3. Compose your image in the LCD monitor.
Pressing the button zooms in on the subject, and enlarges the subject on the LCD
monitor.
Pressing the button provides a wider angle image.
4. Press the shutter button. a
b
EN-4
PLAYBACK MODE
Playing Back Still Images
You can play back the still images on the LCD monitor.
1. Slide the mode switch to [ ].
The last image appears on the screen.
2. The images can be displayed in forward or reverse
sequence with the e/ fbuttons.
To view the previous image, press the ebutton.
To view the next image, press the fbutton.
EN-5
Erasing Images
Erasing single image / Erasing all images
1. Slide the mode switch to [ ].
The last image will be displayed on the screen.
2. Select the image you want to erase with the
e
/
f
buttons.
3. Press the button.
The deletion menu will be displayed.
4. Select [Single] or [All] with the c/ dbuttons, and press
the SET button.
[Single]: Erases the selected image or the last
image.
[All]: Erases all of the images except for the
protected images.
[Select]: Erases a number of selected images.
5. Select [Execute] with the c/ dbuttons, and press the
SET button.
To not erase, select [Cancel], and press the SET
button.
Erasing selected images
This erases a number of selected images.
1. Slide the mode switch to [ ].
2. Press the button.
The deletion menu will be displayed.
3. Select [Select] with the c/ dbuttons, and press the
SET button.
The images are displayed in the thumbnail display.
4. Select the image you want to erase with the e/ f/ c/
dbuttons, and press the button.
The [ ] icon will be displayed. One more press of
the button will cancel the operation. Repeat this
procedure and select all the images that you want to erase.
5. Press the SET button.
Delete
SET:Enter
MENU:Exit
Delete
MENU:Exit SET:Enter
Delete
SET:Enter
MENU:Exit
EN-6
VIDEO MODE
Recording Video Clips
This mode allows you to record video clips at a resolution of 320 x 240 / 640 x 480 pixels.
1. Slide the mode switch to [ ].
2. Compose the image.
3. Press the shutter button.
The recording of the video clip will start.
Pressing the shutter button one more time will end the
recording of the video clip.
Playing Back Video Clips
You can play back recorded video clips on the camera. You can also play back sound if recorded
with the video.
1. Slide the mode switch to [ ].
The last image appears on the screen.
2. Select the desired video clip with the e/ fbuttons.
3. Press the SET button.
A press of the
f
/
e
buttons during playback allows fast forward play / fast reverse play.
To stop video playback, press the dbutton.
This stops playback and returns to the start of the video clip.
To pause video playback, press the SET button.
This pauses video playback.
To cancel pause, press the SET button again.
By pressing the shutter button with a movie in pause mode, you can capture a still image
from the video.
EN-7
TRANSFERRING FILES TO YOUR COMPUTER
System Requirement
Downloading Your Files
1. Connect one end of the USB cable to an available USB
port on your computer.
2. Connect the other end of the USB cable to the USB
terminal on the camera.
3. Turn on your camera.
4. Select [PC] using the c/ dbuttons and press the
SET button.
5. From the Windows desktop, double click on “My
Computer”.
6. Look for a new “removable disk” icon.
This “removable disk” is actually the memory (or memory card) in your camera.
Typically, the camera will be assigned drive letter “e” or higher.
7. Double click on the removable disk and locate the DCIM folder.
8. Double click on the DCIM folder to open it to find more folders.
Your recorded images and video clips will be inside these folders.
9. Copy & Paste or Drag-N-Drop image and video files to a folder on your computer.
Mac users: Double-click the “untitled” or “unlabeled” disk drive icon on your desktop.
iPhoto may automatically launch.
Windows Macintosh
Pentium III 1GHz or equivalent
Windows 2000/XP/Vista
512MB RAM
150MB available hard disk space
CD-ROM drive
Available USB port
PowerPC G3/G4/G5
OS 9.0 or later
256MB RAM (512MB recommended)
128MB available hard disk space
CD-ROM drive
Available USB port
EN-8
