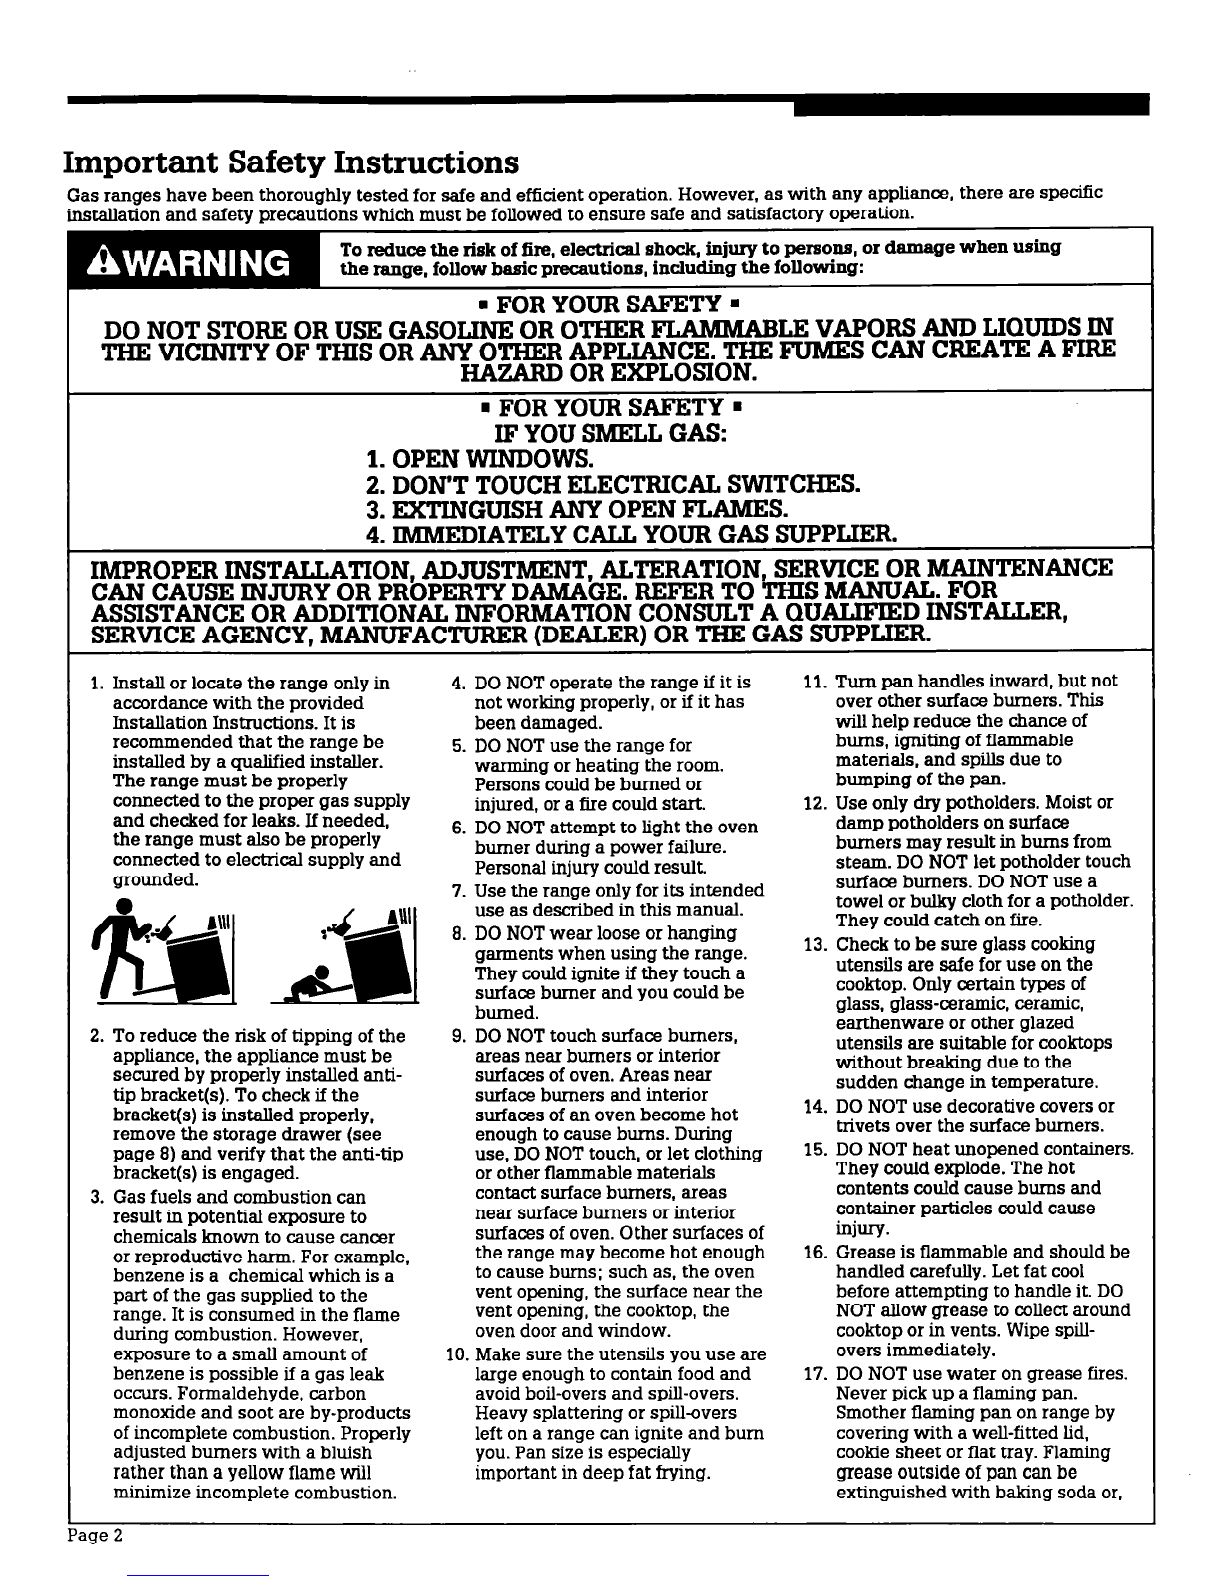
Caring For Your Range
Bum, Electrical Shock, Fire And
Explosion Hazard
.Make sure all controls are OFF
and the range is wol before
cIeaning.
. Do not use oven cleaners, bleach
or rust removers.
. Do not use gasoline or other
flammable liquids or vapors to
clean this or any other appliance.
n
Keepthe appliance area clear and
free from combustible materials,
gasoline and other flammable
vapors and liquids.
. Do not obstruct the flow of
combustion and ventilation air.
Failure to follow these guidelines
could result in bums, electrical
shock, fire or explosion.
The control knobs
1. Turn control knobs to the off
position.
2. PuIl control knobs and command
buttons straight off.
3. Washin warm, soapywater.
4. Rinsewell and dry completely. Do
not soak.
The control panel
1. Wipe with warm, soapy water or
spray glass cleaner, and a soft
cloth.
2. Rinsewell.
3. Dry with soft cloth.
4. Replacecontrol knobs and
commandbuttons by pushing them
firmly into place.
NOTE: When cleaning, never use steel
wool. abrasives, or commercial oven
cleanerswhich may damage the finish.
After cleaning, make sure alI control
knobs point to the off position. Make sure
you have not turned oven on when
replacing buttons. If oven has been
turned on, push Set/Cancelbutton.
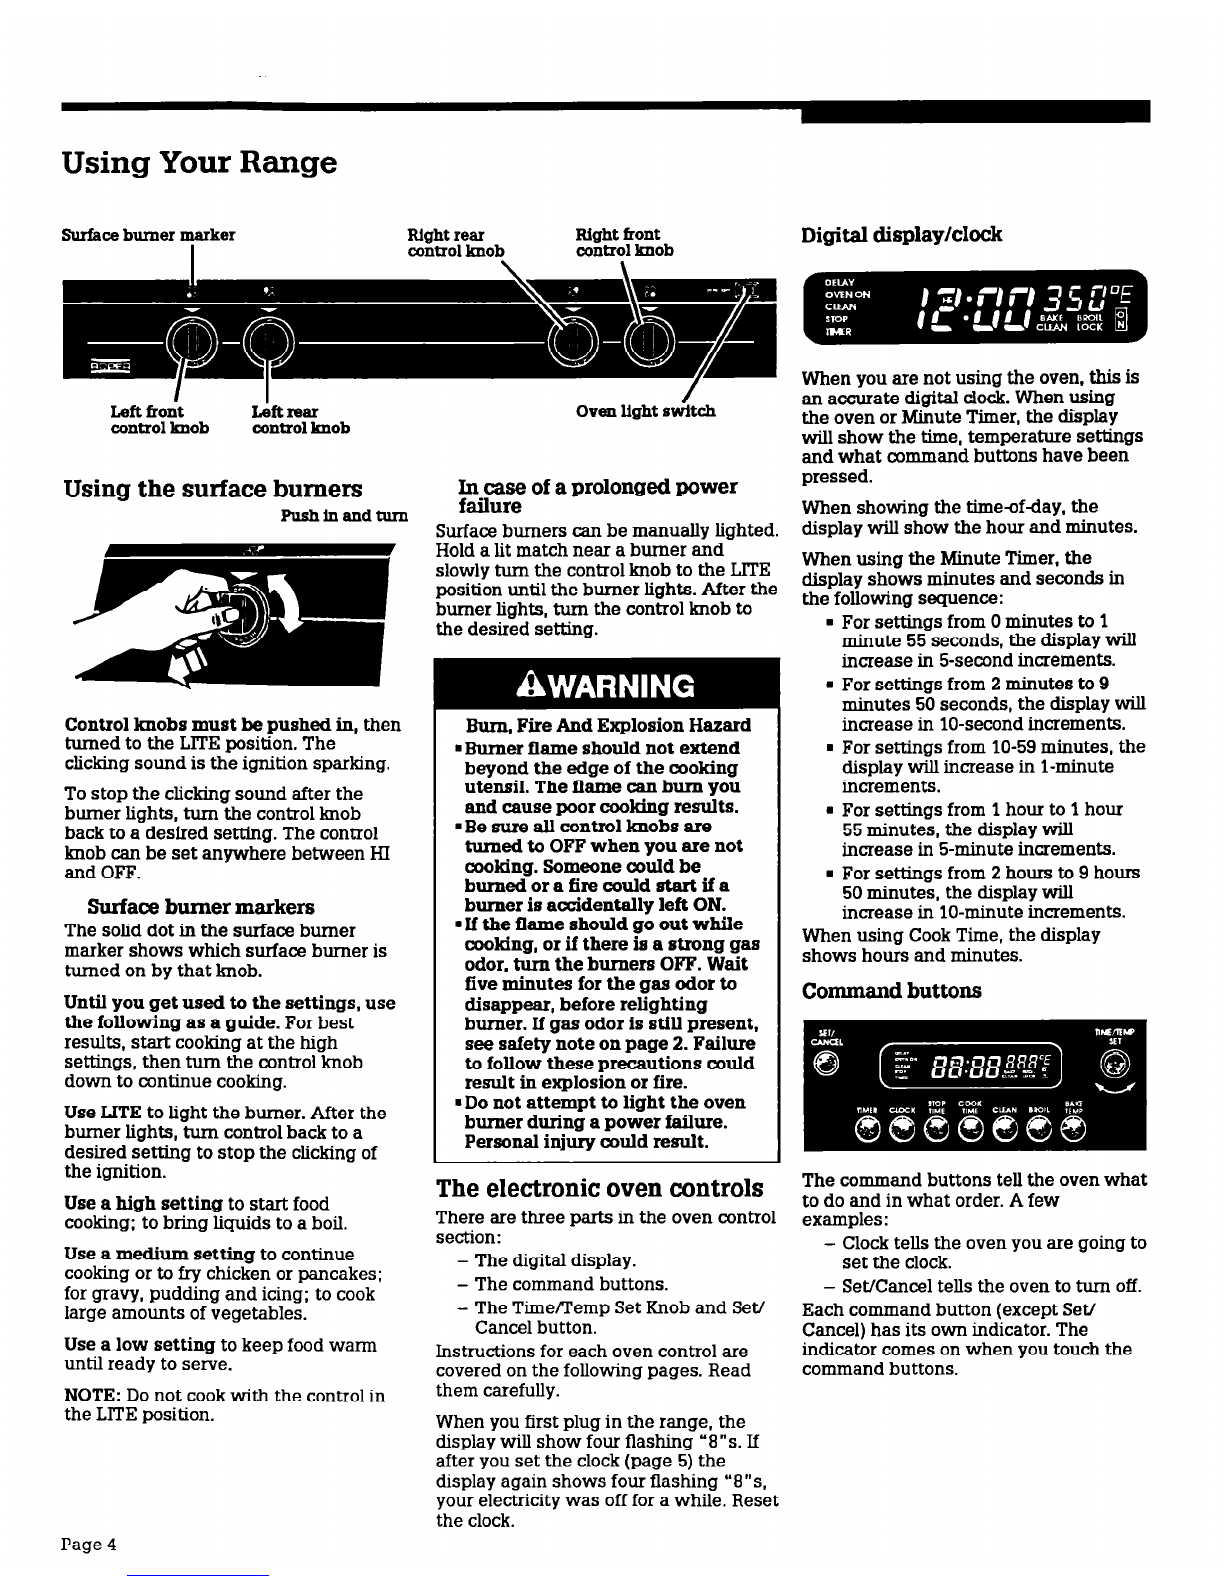
The surface burner grates
1. Make sure all surface burners are
off and the surrounding parts are
cool.
2. Lift off the burner grates.
3. Washthe grates with warm-soapy
water or in a dishwasher. Usea
nonabrasive plastic scouring pad
for heavily soiled areas.Rinse and
dry well.
4. Replaceburner grates.
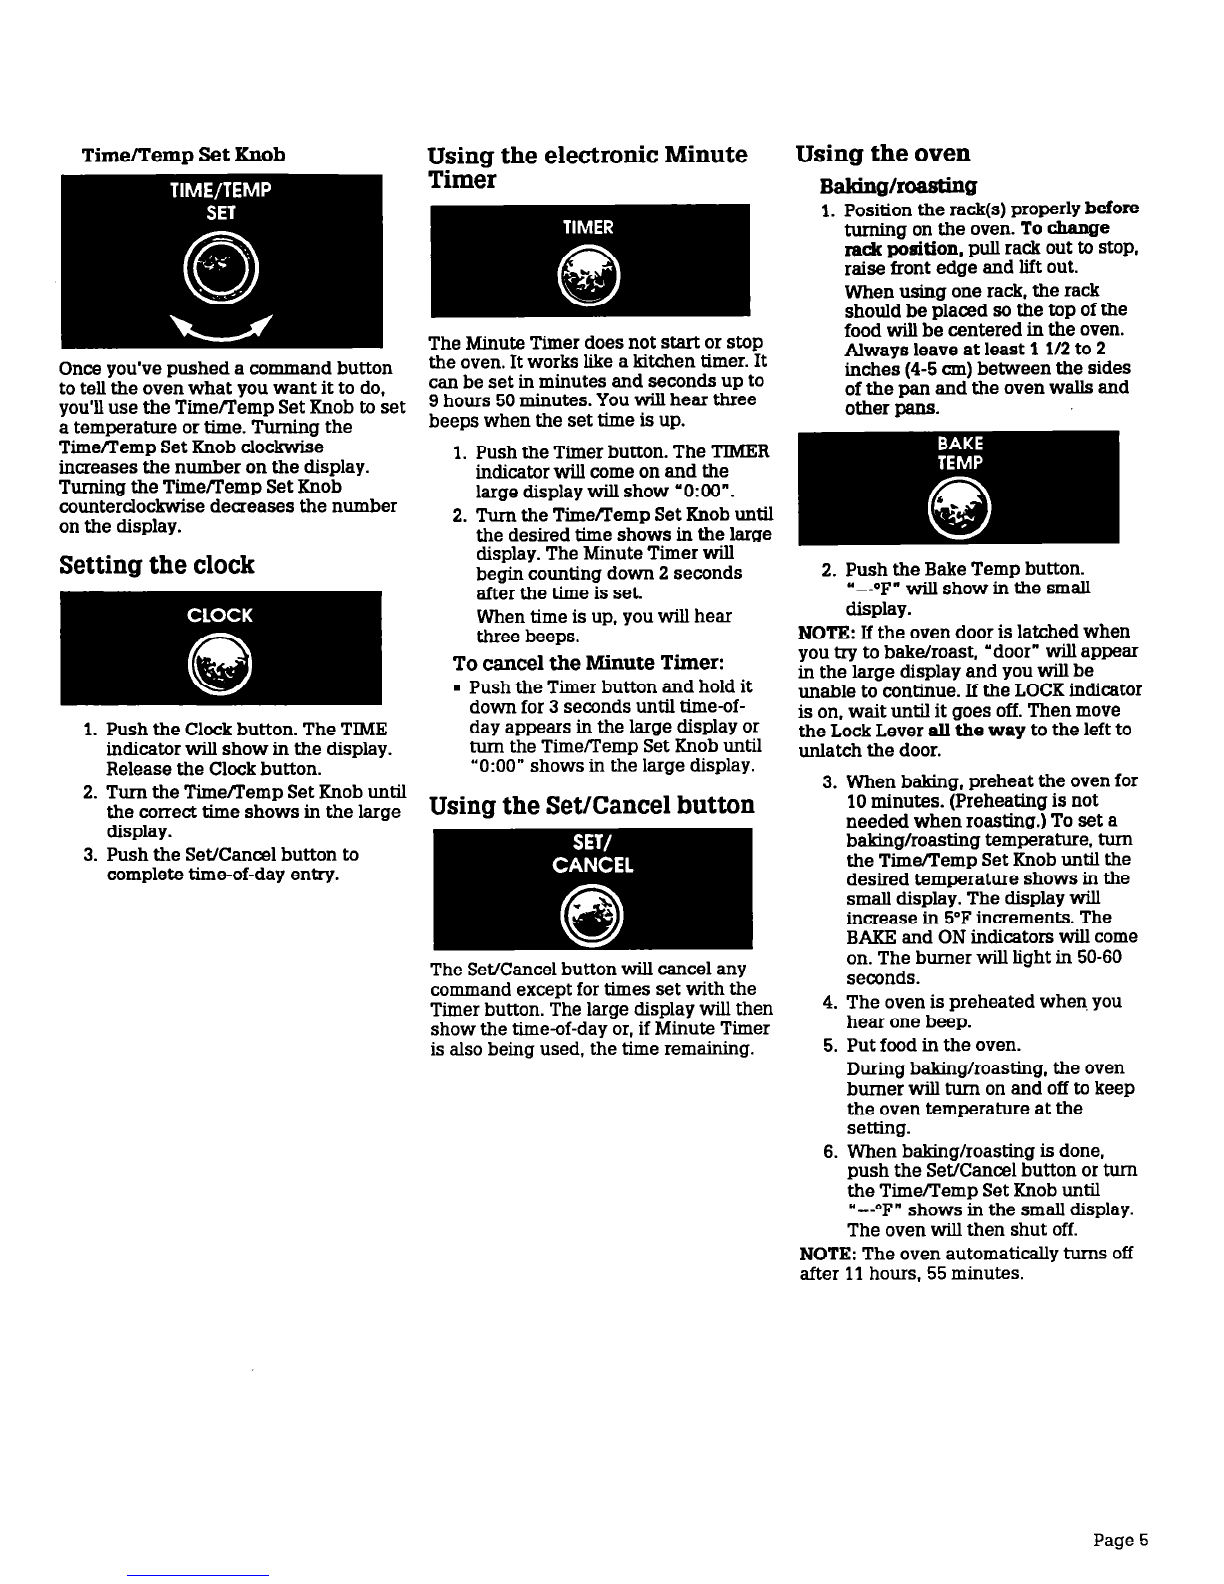
The surface burners and
cooktop
Burnercap
The cooktop and burner box areas are
specially designed to make cleaning
easier. Sincethe four burners are sealed,
cleanups are easy and convenient.
Cleaning the burners
Always clean the burner caps after a
spill-over. Keeping the burner caps clean
wil.l prevent improper ignition and an
uneven flame. To clean, use warm, soapy
water and a soft cloth.
If burner capsmust be removed for
soaking, follow these steps:
1. Removethe burner grates and
burner capsby pulling upward.
2. Soakburner cap in warm, soapy
water.
3. After soaking, wipe with a soft
cloth or anonabrasive scrubbing
pad or cleanser. Donot clean
burner cap in dishwasher or Self-
Cleaning Oven. Rinse and dry well.
4. For proper flow of gas and ignition
of the burner, DONOT ALLOW
SPILLS,FOOD,CLEANING
AGENTSORANY OTHER
MATERIAL TO ENTERTHE
IGNITOR SLOT.If the slot becomes
soiled or clogged, use a cotton
swab or a soft cloth to clean the
area.If needed, use swab or cloth
with ammonia, white vinegar or
warm water. For cooked-onsoil,
use amedium- to stiff-bristle tooth
brush. DONOTUSEHARD OR
SHARPOBJECTSTO CLEAN
IGNlTOR SLOT.DONOT USE
CLEANING SOLUTIONS.
NOTE: Ignitor slot should remain
clean aslong asburner cap is
seated properly on burner.
Occasionally check burner cap to
makesure it is level and covers
burner completely.
Gasmust flow freely through the
ignitor slot for the burner to light
properly. This area must be free of
any soil and be kept protected from
boil-overs and spill-avers. ALWAYS
keep the burner capsin place
whenever a surface burner is in
use.
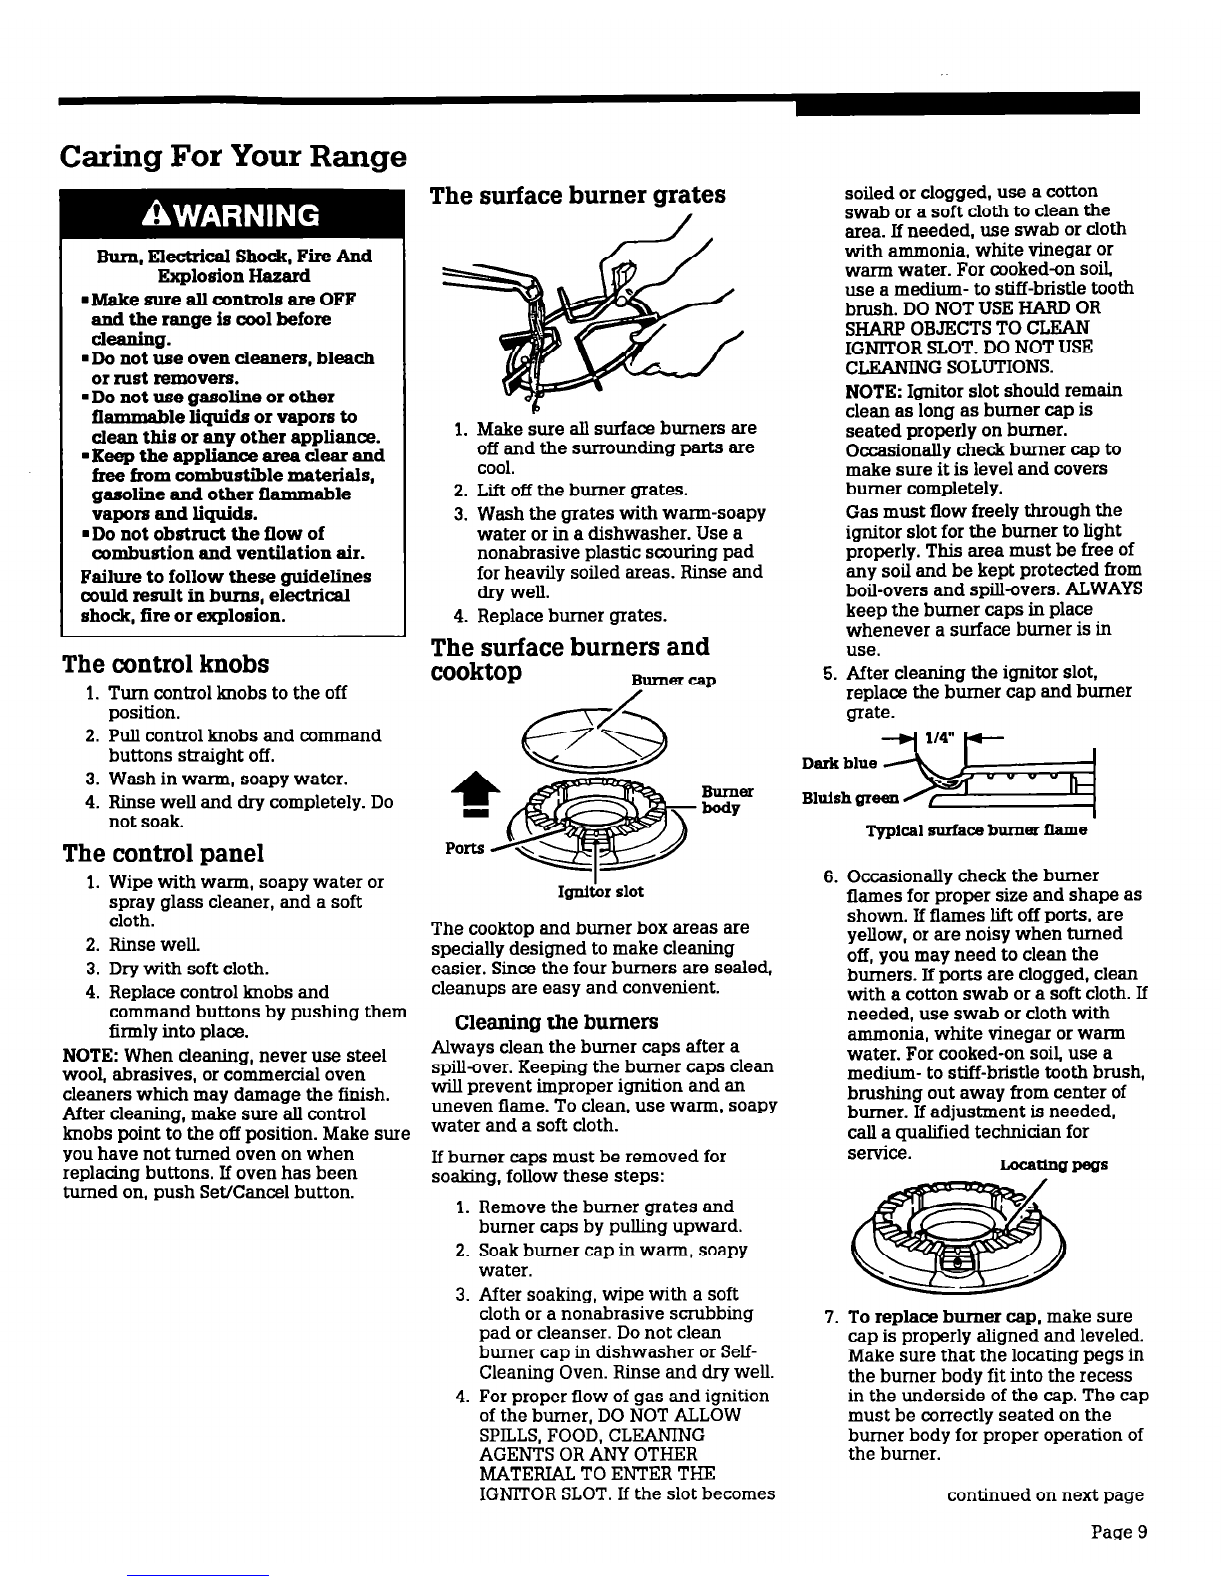
5. After cleaning the igniter slot,
replace the burner cap and burner
grate.
Typical surfaceburnerflame
6. Occasionally check the burner
flames for proper size and shape as
shown. If flames lift off ports, are
yellow, or are noisy when turned
off, you may need to clean the
burners. If ports are clogged, clean
with a cotton swab or a soft cloth. If
needed, use swab or cloth with
ammonia, white vinegar or warm
water. For cooked-on soil, use a
medium- to stiff-bristle tooth brush,
brushing out away from center of
burner. If adjustment is needed,
call a qualified technician for
service.
7. To
replace
burner cap, makesure
cap is properly aligned and leveled.
Make sure that the locating pegs in
the burner body fit into the recess
in the underside of the cap.The cap
must be correctly seated on the
burner body for proper operation of
the burner.
continued on next page
Page9