Roto ZJA M User manual

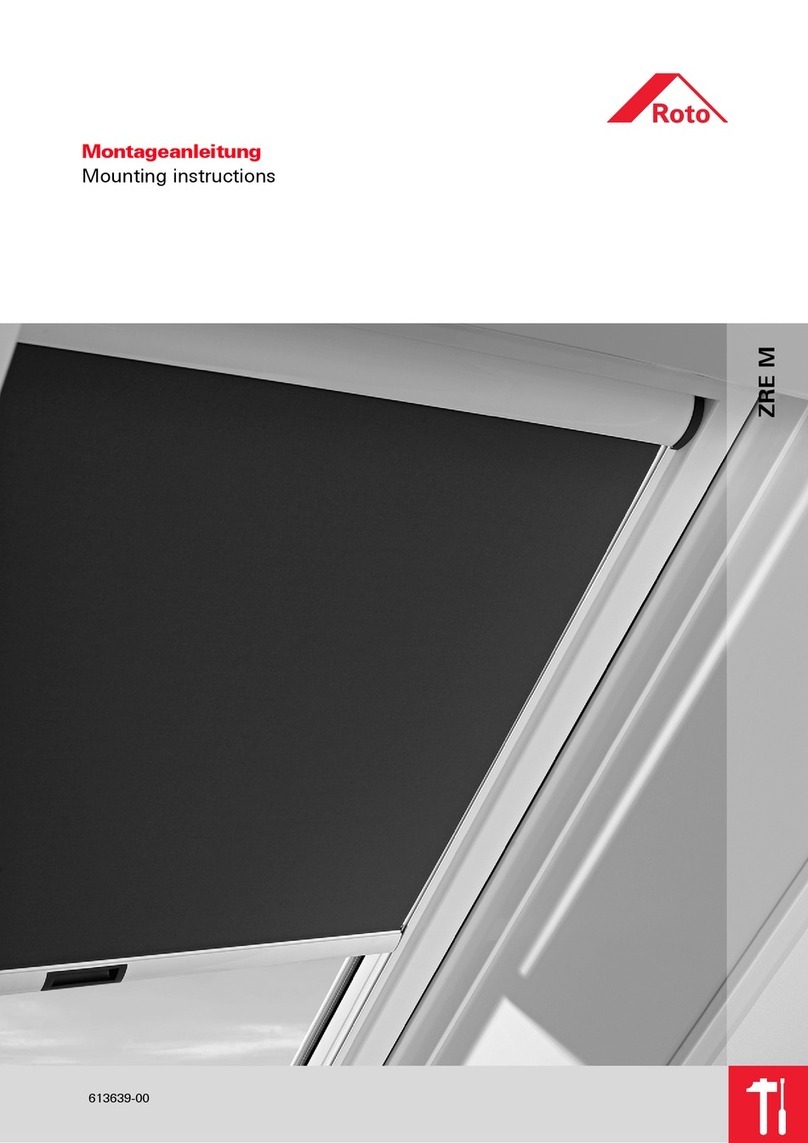
Montageanleitung
Mounting instructions
Instructions de montages
Instrukcja montażu
ZJA M
638775-01

3
1
2
!
Deutsch..................................................................................... 4
English ...................................................................................... 5
Français..................................................................................... 6
Polski ........................................................................................ 7
............................................................................................... 8
!

4
Allgemeine Sicherheitshinweise
• Diese Anleitung vor Montageund Gebrauch sorgfältig
durchlesen und alle Hinweise beachten!
• Dafür sorgen, dass diese Anleitung allen Benutzern zu-
gänglich ist.
• Diese Anleitung bis zur Entsorgung des Produkts sorgfältig
aufbewahren.
• Diese Anleitung bei einem Besitzerwechsel an den neuen
Besitzer weitergeben.
Bestimmungsgemäße Verwendung
Die Jalousie ist bestimmt zum Einsatz im Innenbereich und
schützt vor Hitze und Sonnenlicht.
Sie darf ausschließlich an den dafür vorgesehenen Roto-
Wohndachfenster-Typen montiert und eingesetzt werden.
Die Jalousie reflektiert und absorbiert einen Großteil der
Sonnenstrahlung, bietet aber keinen 100%igen Sonnen- und
Hitzeschutz (im physikalischen Sinne).
Auspacken / Lieferumfang prüfen
(Bild A1)
⚠Erstickungsgefahr!
Kunststoffteile, Styroporteile, Schrauben, Klein-
teile usw. können für Kinder zu einem gefährli-
chen Spielzeug werden.
> Verpackungsmaterial und Montageinhalt nicht achtlos
liegen lassen und von Kindern und Kleinkindern fern-
halten.
> Kinder während des gesamten Montagevorgangs vom
Montageort fernhalten.
• Verpackungsmaterial (Karton,Styropor, Kunststoffbeutel)
bitte entsprechend den örtlichen
Bestimmungen entsorgen.
• Bitte den Lieferumfang prüfen. Falls Teile fehlen, beim
Fachhändler nachfragen.
• Bei der Schraubhilfe(Bild A2, Teil K) handelt es sich um
ein Hilfsmittel, nicht umein zu montierendes Teil.
Werkzeuge / Hilfsmittel bereitlegen
(Bild A2)
• Kreuzschlitz-Schraubendreher, PZ1
• Bei Bedarf: stabile Aufstiegshilfe (Stehleiter)
• Schraubhilfe(Bild A1, Teil K)
Montage
(Bild 1-5)
⚠Sturzgefahr!
> Nicht aus dem Wohndachfenster lehnen.
> Nur Aufstiegshilfen mit festen Stand, genügend Halt
und ausreichend hoher Tragkraft benutzen!
⚠Verletzungsgefahr durch herunterfallende Bau-
teile!
> Zur Montage ausschließlich mitgeliefertes und dem
Fensterrahmenmaterialentsprechendes
Befestigungsmaterial verwenden.
> Werkzeug, Bauteile und Befestigungsmaterial niemals
auf Aufstiegshilfen ablegen.
> Kinder während des gesamten Montagevorgangs vom
Montageort fernhalten.
Einstellung
(Bild 6)
Nach der Montage ist keine Einstellung erforderlich. Die
Spannung der Schnur ist bereitswerksseitig voreingestellt.
Falls die Griffleiste der Jalousie nicht parallel zur Kassette
steht, muss die Griffleiste einmalig ausgerichtet werden:
• Griffleiste ganz öffnen (zur Kassette hin schieben) und erst
dann komplett schließen.
Bedienung
(Bild 7)
• Jalousie in der Mitte des Griffs anfassen und auf die ge-
wünschte Position schieben.
Sie bleibt in jeder Position stehen.
• Lamellen über Wendeknopf verstellen.
Pflege und Wartung
Für eine lange Lebensdauer empfehlen wir, die Aluminium-
Oberfläche des Produkts mindestens einmal pro Jahr zu rei-
nigen.
• Aluminium-Oberfläche nur miteinem feuchten Tuch abwi-
schen.
• Lamellen vorsichtig abbürsten.
Nachspannen der Schnur
(Bild B1-B3, hinterer Anleitungsteil)
Die Schnüre in der Führungsschiene können sich nach län-
gerem Gebrauch etwas ausdehnen und damit die Funktion
der Jalousie beinträchtigen. Wenn die Jalousie sich selbst-
ständig schließt, sollten dieSchnüre nachgespannt werden.
Ersatzteile, Verschleißteile, Reparatur
(Bild A1)
> Ausschließlich Original- Ersatz- und Verschleißteile des
Herstellers verwenden.
> Reparatur ausschließlich von einem Fachbetrieb
durchführen lassen.
Demontage und Entsorgung
(Bild B4)
Ausgediente Jalousien oder Bauteile gehören nicht in den
Hausmüll.
• Bitte entsprechend den örtlichen Bestimmungen entsor-
gen.
Deutsch
5
!
General safety instructions
• Read this manual carefully before installing and operating
the device and follow all instructions.
• Ensure that this manual is accessible to all users.
• Keep this manual in a safe place until you dispose of the
product.
• If the product changes hands, pass this manual on to the
new owner.
Intended use
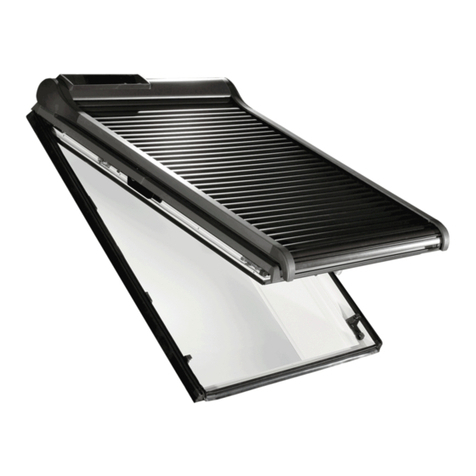
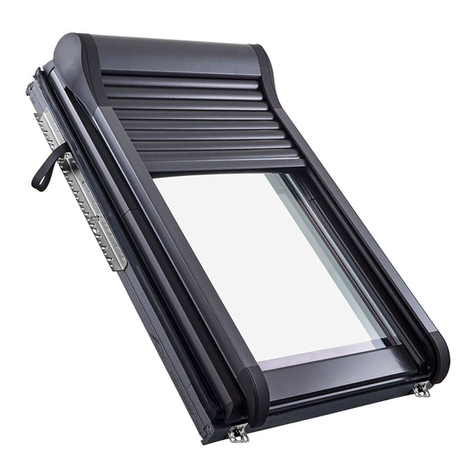
The venetian blind is intended for inside installation and pro-
tects against heat and sunlight.
It may only be installed and used on Roto skylight types de-
signed for its use.
The venetian blind reflects and absorbs a large portion of so-
lar radiation, but does not offer full protection against sun-
light and heat (in a physical sense).
Unpacking/checking the scope of delivery
(Fig. A1)
⚠Risk of suffocation!
Plastic parts, polystyrene, screws, small parts,
etc., can be very dangerous for children to play
with.
> Do not leave the packaging material and installation
parts lying around, and keep away from children and
toddlers.
> Keep children away from the installation site throug-
hout the installation procedure.
• Please dispose of the packaging material (cardboard, poly-
styrene, plastic bag) according to local regulations.
•
Please check the scope of delivery. If parts are missing, con-
sult a dealer.
• The screwing aid (Fig. A2, part K) is a tool and not an in-
stallable part.
Preparing tools/aids
(Fig. A2)
• Cross-head screwdriver, PZ1
• If needed: stable climbing equipment (step ladder)
• Screwing aid (Fig. A1, part K)
Installation
(Fig. 1-5)
⚠Risk of falling!
> Do not lean out of the skylight.
> Only use climbing equipment that is resting on a solid
foundation and that offers good support and high car-
rying capacity.
⚠Risk of injury from falling components!
> To mount the product, only use fixing materials that
were included in the delivery and that are suitable for
the window frame material.
> Never place tools, components and fixing materials on
the climbing equipment.
> Keep children away from the installation site throug-
hout the installation procedure.
Settings
(Fig. 6)
Settings are not required after installation. The cord tension
is preadjusted at the factory.
If the handle rail of the venetian blind is not parallel to the cas-
sette, the handle rail must be aligned once:
•
Open the handle rail fully (slide it toward the cassette) and
then close it completely.
Operation
(Fig. 7)
• Hold the venetian blind at the centre of the handle and
slide it to the desired position.
It stops in any position.
• Adjust the slats using the tilt button.
Care and maintenance
To ensure a long life, we recommend cleaning the aluminium
surface of the product at least once a year.
• Wipe the aluminium surface with a moist cloth only.
• Carefully brush off the slats.
Tensioning the cord
(Fig. B1-B3, back of the manual)
The cords in the guide rail may stretch after long-term use
and cause the blind to function improperly. If the blind closes
on its own accord, the cords should be retensioned.
Spare parts, wear parts,
repair
(Fig. A1)
> Only use original spare and wear parts from the manu-
facturer.
> The blind should only be repaired by a blinds specialist.
Dismantling and disposal
(Fig. B4)
Used venetian blinds or components should not be discar-
ded with the household waste.
• Please dispose of the parts as required by local regulations.
English

6
Consignes générales de sécurité
• Lire entièrement et attentivement ces instructions avant la
pose et l'utilisation et respecter toutes les consignes.
• Veiller à ce que ces instructions restent accessibles à tous
les utilisateurs.
• Conserver soigneusement ce manuel jusqu'à élimination
du produit.
• Remettre ces instructions au nouveau propriétaire en cas
de transmission du produit.
Utilisation conforme à l'usage prévu
Ce store est destiné à une utilisation à l'intérieur et comme pro-
tection contre la chaleur et l'éblouissement.
Il est prévu exclusivement pour une pose et une utilisation
sur des fenêtres de toit Roto.
Le store réfléchit et absorbe une grande partie du rayonne-
ment solaire, mais n'offre pas une protection à 100 % contre
la chaleur ni le soleil (au sens physique).
Caractéristiques techniques
Les dimensions sont fonction du type et des dimensions de
la fenêtre.
Déballage / contrôle du contenu de la
livraison
(figure A1)
⚠Risque d'étouffement!
Les pièces en plastique, en polystyrène, les vis,
les petites pièces, etc. peuvent être dangereuses
pour les enfants s'ils jouent avec.
> Ne pas laisser traîner les emballages et le matériel de
pose et les tenir hors de la portée des enfants.
> Tenir les enfants à l'écart de l'emplacement de pose
pendant toute la durée du montage.
• Eliminer le matériel d'emballage (carton, polystyrène, sacs
de plastique) conformément aux dispositions locales.
• Contrôler le contenu de la livraison. Si des pièces man-
quent, contacter le service agréé.
• L'auxiliaire de vissage (Fig. A2, pièce K) est un accessoire
et non une pièce à monter.
Préparation des outils et accessoires
(figure A2)
• Tournevis cruciforme, PZ1
• Si nécessaire : aide à la montée (échelle d'appui)
• Auxiliaire de vissage (Fig. A2, pièce K)
Pose
(figure 1-5)
⚠Risque de chute !
> Ne pas se pencher hors de la fenêtre de toit.
> N'utiliser que des aides à la montée stables, et offrant
un appui et une force de portée suffisants.
⚠La chute de pièces représente un risque de
blessure!
> Utiliser exclusivement le matériel livré et un matériel de
fixation adapté au matériel du cadre de la fenêtre.
> Ne jamais déposer d'outils et de matériel de fixation sur
les aides à la montée.
> Tenir les enfants à l'écart de l'emplacement de pose
pendant toute la durée du montage.
Réglage
(Fig. 6)
Aucun réglage n'est nécessaire une fois la pose terminée.
La
tension du cordon a déjà été réglée en usine.
Si la baguette de tirage du store ne s'aligne pas parallèlement
par rapport au caisson, il faudra l'aligner. Cette opération est
unique :
• Il faut ouvrir le store complètement (tirer la baguette de ti-
rage vers le caisson) avant de le fermer complètement.
Manœuvre
(Fig. 7)
• Prendre le store par le milieu de la poignée et le tirer dans
la position souhaitée.
Il reste alors dans cette position.
• Modifier le réglage des lamelles avec le bouton de rotation.
Entretien et maintenance
Afin de garantir la longévité du store à enroulement, nous
vous recommandons de nettoyer régulièrement la surface en
aluminium du produit, et ceci au moins une fois par an.
• Essuyer la surface en aluminium avec un chiffon humide.
• Brosser les lamelles avec précaution.
Correction de la tension du cordon
(Fig. B1 à B3, à la fin des instructions)
Les cordons dans les coulisses peuvent se distendre quelque
peu au bout d'une utilisation prolongée et compromettre
ainsi le fonctionnement du store. Si le store s'ouvre de lui-
même, il faut retendre les cordons.
Pièces de rechange, pièces d'usure,
réparation
(figure A1)
> Utiliser exclusivement les pièces de remplacement et
d'usure d'origine du fabricant.
> Ne faire réaliser les réparations que par un service ag-
réé.
Dépose et élimination
(figure B4)
Les stores usagés ne doivent pas être éliminés avec les ordu-
res ménagères.
• L'éliminer conformément aux prescriptions locales.
Français
7
!
Ogólne wskazówki dotyczące
bezpieczeństwa
• Niniejszą instrukcję należy dokładnie przeczytać przed
przystąpieniem do montażu i obsługi; przestrzegać wszys-
tkich wskazówek!
• Zapewnić dostęp wszystkich użytkowników do niniejszej
instrukcji.
• Instrukcję przechowywać do momentu utylizacji produktu.
• Wprzypadku zmiany właściciela przekazać również
instrukcję.
Użytkowanie zgodne zprzeznaczeniem
Żaluzja jest przeznaczona do użytku wewnątrz pomieszczeń
isłuży do ochrony przed wysoką temperaturą i światłem
słonecznym.
Można ją montować i użytkować wyłącznie n a odpowiednich
typach okien obrotowych i dachowych.
Żaluzja odbija ipochłania dużą część promieniowania
słonecznego, nie zapewnia jednak kompletnej ochrony przed
słońcem i wysoką temperaturą (w sensie fizycznym).
Rozpakowywanie / kontrola zakresu dostawy
(Rysunek A1)
⚠Ryzyko uduszenia!
Elementy ztworzywa sztucznego, styropian,
śruby, małe elementy itd. nie są bezpiecznymi za-
bawkami.
> Nie pozostawiać bez nadzoru materiału opakowania
ani elementów montażowych inie dopuszczać dzieci
do drobnych części.
> Nie dopuścić dzieci do miejsca montażu.
• Materiał opakowania (karton, styropian, folia z tworzywa
sztucznego) poddać utylizacji zgodnie
zprzepisami lokalnymi.
• Sprawdzić zakres dostawy. W razie braku części
skontaktować się ze sprzedawcą.
• Pomoc przy przykręcaniu (Rys. A1, część K) to środek po-
mocniczy, anie montowany element.
Przygotowanie narzędzi / środków pomocni-
czych
(Rysunek A2)
• Śrubokręt krzyżakowy, PZ1
• Wrazie potrzeby: stabilny element do wchodzenia (dra-
bina)
• Pomoc przy przykręcaniu (Rys. A1, część K)
Montaż
(Rysunek 1-5)
⚠Ryzyko upadku!
> Nie wychylać się przez okno dachowe.
> Elementy do wchodzenia muszą mieć stabilną
konstrukcję iodpowiednią siłę nośną!
⚠Ryzyko odniesienia obrażeń. Uważać na
spadające elementy!
> Do montażu używać wyłącznie dołączonych ele-
mentów montażowych odpowiednich
do materiału ramy okiennej.
> Nigdy nie odkładać narzędzi, elementów budowy ani
elementów mocujących na środkach do wchodzenia.
> Nie dopuścić dzieci do miejsca montażu.
Ustawianie
(Rysunek 6)
Po zakończeniu montażu nie są wymagane żadne ustawie-
nia. Naprężenie sznurka jest ustawione fabrycznie.
Jeżeli listwa zuchwytem żaluzji nie jest wyrównana równo-
legle do kasety, należy wyrównać listwę:
• Całkowicie otworzyć listwę z uchwytem (wsunąć
wkasetę) i dopiero wtedy całkowicie zamknąć.
Obsługa
(Rysunek 7)
• Chwycić żaluzję wpołowie uchwytu i przesunąć na żądaną
pozycję. Żaluzję można zatrzymać wdowolnym położeniu.
• Przestawić lamele za pomocą gałki obrotowej.
Pielęgnacja ikonserwacja
Wcelu zapewnienia długiej żywotności zaleca się regularne
czyszczenie aluminiowej powierzchni produktu (wymagane
co najmniej raz w roku).
• Powierzchnię aluminiową wycierać wyłącznie wilgotną
szmatką.
• Ostrożnie szczotkować lamele.
Regulacja naprężenia sznura
(Rysunek B1-B3, tylna część instrukcji)
Po dłuższym okresie użytkowania sznurki w prowadnicach
szynowych mogą ulec rozciągnięciu, co negatywnie wpływa
na działanie żaluzji. Jeżeli żaluzja zamyka się samoczynnie,
należy wyregulować naprężenie sznurków.
Części zamienne, zużywalne,
naprawy
(Rysunek A1)
> Używać wyłącznie oryginalnych części zamiennych
izużywalnych producenta.
> Naprawy zlecać wyłącznie firmom specjalistycznym.
Demontaż iutylizacja
(Rysunek B4)
Zużytych żaluzji i ich elementów nie należy traktować jak nor-
malnych odpadów domowych.
• Poddać je utylizacji zgodnie z obowiązującymi przepisami
lokalnymi.
Polski

8
A1
D
E
F
G
Ø3x16
2x
I
Ø3x12
8x
J
K
A
B
C
Ø3x10
2x
H
A2
9
1
BC
I
Ø3x16
BC
Ø3x16
2x
I
1. 2.
R L
2
A
Ø3x10
2x
H
1. 2. 3.
A
H
click

8
A1
D
E
F
G
Ø3x16
2x
I
Ø3x12
8x
J
K
A
B
C
Ø3x10
2x
H
A2
9
1
BC
I
Ø3x16
BC
Ø3x16
2x
I
1. 2.
R L
2
A
Ø3x10
2x
H
1. 2. 3.
A
H
click

10
3
FG
G
1.
2. 3. 4.
Ø3x128x
4
J
K
4x
=
=
=
0
K
J
1.
F
3 4
2. 3.
11
5
D
D
E
E
click
6
==
==
1.
2.

10
3
FG
G
1.
2. 3. 4.
Ø3x128x
4
J
K
4x
=
=
=
0
K
J
1.
F
3 4
2. 3.
11
5
D
D
E
E
click
6
==
==
1.
2.

12
7
13
B1
1.
B2
2.
3.
4.
1.

12
7
13
B1
1.
B2
2.
3.
4.
1.

14
2.
4 6
B3
1 cm
click
1.
3.
1.
B4
B2
4.
2. 3.
5. 6.
15

14
2.
4 6
B3
1 cm
click
1.
3.
1.
B4
B2
4.
2. 3.
5. 6.
15

DE AT | SI BE | LU BG Buldach Roof Systems
+49 (0)7931 54 90 86 20 +43 (0)2 75 42 11 99 +32 (0)67 89 41 30 +359 886 66 72 33
+49 (0)7931 54 90 460 +43 (0)2 75 42 11 99 50 +32 (0)67 89 41 72
@www.roto-frank.com www.roto-dachfenster.at
www.roto-frank.si www.roto-frank.be www.buldach.com
BY RoyalRoof CH CN Qingdao AHRD Industry CZ | SK
+37 5296342838 +41 (0)44 267 47 47 +86 532 8770 7699 +420 272 651 428
+37 5173852711 +41 (0)44 267 47 46 +86 532 8770 7698 +420 271 750 187
@www.roto.by www.roto-dachfenster.ch www.qdahrd.com www.roto-frank.cz
www.roto-frank.sk
EE S.C. Unimat SRL ES RT Sistemas FR GE Gradienti Ltd.
+37 2640 1331 +34 981 526 939 +33 (0)387 29 24 30 +995 32 2 52 10 37
+37 2640 1330 +34 981 695 269 +33 (0)387 91 49 01 +995 32 2 52 20 76
@www.roto.ee www.rototejado.com www.roto-frank.fr www.roto.ge
GR Eurotechnika Ltd. HR Supera HU IT
+30 231 0796 950 (Thessaloniki)
+30 2109953623 (Athen) +38 51 3490 360 +36 99 511 686/687 +39 0421 618 211
+30 231 0796 783 (Thessaloniki)
+30/2109959398 (Athen) +38 51 3490 362 +36 99 511 688 +39 0421 618 455
@www.eurotechnica.gr www.supera.hr www. roto.hu www.roto-frank.it
KR JinHeung International LT UAB Arpekas LT UAB Agmeka LV „VBH Latvia“ SIA
+82 31634 9627 ( +37 0685 71902 +37 0614 17341 +37 167381890
+82 31 634 9629 +37 052101565 +37 167381792
@www.jhint.co.kr www.arpekas.lt www.roto.lt www.roto.lv
NL NO Nodico Takvinduer PL PT RT Sistemas
+31 (0)800 0232 114 +47 48277268 +48 81 855 05 22-25 +351 236 218 072
+31 (0)800 0232 116 +48 81 855 05 28 +351 236 215 289
@www.roto-frank.nl www.roto.pl www.imporjan.com
RO S.C. Unimat SRL RS LOZ d.o.o.Simanovci RU Компания Металл Профиль RU Shumnoie (Kaliningrad)
+40 720 110 148 +381 22 480175 +7 495 225-61-51 +7 906 234 88 88
+40 269 206 303 +381 22 480050 +7 495 225-61-51 +7 495 287 35 24
@www.roto-romania.ro www.rotokrovniprozori.rs www.metallprofil.ru
UA MIZOL LTD UK | IE
+38 0503100816 +44 (0) 1788 558 600
+38 0445667311 +44 (0) 1788 558 606
@www.roto.ua www.roto-frank.co.uk
Roto Dach- und Solartechnologie GmbH
Wilhelm-Frank-Straße 38-40
97980 Bad Mergentheim
Deutschland
www.roto-extra.com
Other manuals for ZJA M
2
Table of contents
Other Roto Indoor Furnishing manuals
Popular Indoor Furnishing manuals by other brands

Herman Miller
Herman Miller Canvas Vista Installation and Disassembly for Recycling Instructions

ID USA
ID USA 151283 Assembly instructions

Smart Flex
Smart Flex SF-200 manual

Simpli Home
Simpli Home WyndenHall Brooklyn + Max AXCADM-06GR manual

System Build
System Build 4194341COM Instruction booklet

HAMPTON BAY
HAMPTON BAY CRESTRIDGE FTS61215 Use and care guide