Royale Chadwick Lift Chair Series User manual

Chadwick Lift Chair Range
- User Manual
MEDICAL

1. Introduction
2. Safety
3. Features
4. Specification
5. Installation
6. Remote Control
7. Maintenance/ Product Care
8. Product Storage
9. User Precaution
10. Warranty
No part of this user manual may be copied, distributed, reproduced, duplicated, scanned or stored
whether in whole or part in any form or by any means without the expressed written consent from the
ocers of Independent Living Specialists Pty Ltd. Independent Living Specialists does not accept
responsibility for any changes, errors or omissions. All information is subject to change without prior
notice and products may vary from that of the actual images depicted.
CONTENTS

2) SAFETY
This is an electrical lift chair designed to help people rise easily from the chair.
Before you start using the chair, please read our instruction manual carefully
and please follow the safety procedures recommended.
Please keep this manual safely for future reference.
• One person at time. This lift chair is designed for one person use at time.
• Footrest is for feet. Nobody should sit or put their entire body weight on the
elevated footrest as this could result in injury and/or damage.
• Be careful of the surrounding. The lift chair must be placed with enough
room from walls and furniture to avoid damage to upholstery and decor when
in operation.
• Battery backup. Ensure that the battery back up is replaced every year or
when the battery back up is used in the event of power outage.
• Call for assistance. Please call an authorized ROYALE MEDICAL service
center in case of any issues or repair with the chair.
• Children to be supervised. Children are to be supervised when around the
lift chair. Do not allow children to use the handset.
• Be careful of the scissor mechanism. The lift chair uses scissor mechanism
to elevate the leg rest. Please ensure that no body parts or clothing, blankets,
etc are caught in the scissor mechanism when operating.
• Carelessness causes fire. Although the foam and fabric used on this lift chair
is fire retardant to legally specified levels, caution to be taken to avoid fire
hazards.
• Electrical systems. Do not place the electrical components (cord,
transformer, hand control) near the heating surface. Periodically visually
inspect the handset and power cord for signs of wear and tear.
• Indoor use and storage. The lift chair is designed for indoor use not for
outdoors. Place the chair away from direct sunlight as prolong exposure to
sunlight may discolor the upholstery.
• Safe working load. Check the weight limit and do not exceed the weight limit.
1) INTRODUCTION

Chair weight 62kg
Maximum user weight (SWL) 150kg
Power 240V
Frequency 50Hz
Power 50W
Should you use the chair in cold room, do not increase the room temperature
abruptly. It is recommended that you increase temperature gradually to normal
level. In the event that the chair is stored in cold place and is being brought
into warm place, it is advisable to use it one hour later. This is because its
performance may not be at its optimum level as it may have dew on the
mechanical parts. Machine trouble may be resulted when cold machine is
being used in warm room suddenly.
Stop using the chair:
• If any liquid is split on this chair cease use immediately, due to potential of
electric shock.If the upholstery or any part of the chair is torn or damaged.
• If the chair has malfunctioned during operation.
• If there is power outage. Injury may occur if the power is restored
unexpectedly.
• If there is thunderstorm & lightening.
• If you suer from abnormal or severe pain during the operation of the chair
In the case of any of the above events switch OFF the power immediately and
disconnect the power cord from the power outlet.
• Check for wear and tear in the Upholstery Cloth regularly.
• Check the plug, remote control and all wires regularly for any damage.
• Comfortable design
• Easy to use
• Recline positions
• Lift positions
• Adjustable headrest
• Adjustable lumbar support
• Hand control (Unique HOME button feature)
• Backup system
IMPORTANT NOTES
WARNING
NOTE
3) FEATURES
4) SPECIFICATIONS

STEP 1 Slide inside back receivers onto the steel mechanism posts in the
base of the chair (Figure A)
STEP 2 Press both sides of the back firmly into place until the back
automatically locks into place
STEP 3 Connect the Headrest and Lumbar cable plugs (Figure C).
Headrest-only models consist one less set of cables.
5) INSTALLATION
The chair is packed in semi knock down form consisting of the back, and the seat.
• Assemble the chair according to the instruction given in the assembly guide.
• Do not substitute any missing parts. Please contact the place of purchase if you
are missing any parts during assembly.
• Do not assemble the chair with damaged parts.
• Do not assemble the chair if the upholstery or any of the parts of the chair are
damaged.
Attaching the chair back to chair base
CHAIR ASSEMBLY
Attaching the chair wings to the chair back rest*
ASSEMBLY
CAUTION: Please read all instructions carefully before starting assembly process. It is recommended to
use two people when assembling and removing the inside backs to and from the base of the furniture.
STEP 1 Slide the metal inserts on the chair’s wings into the metal sleeves
on the side of the chair back.
STEP 2 Slide the wings down until they are completely set on the backs
metal sleeves.
How to remove the backrest.
To remove the back from the base, use screwdriver pressing
outward on the black tab in the metal receivers on both sides
of the chair back and lift the back from the base of the chair.
(Figure B)

ADAPTOR CONNECTION AND FITTING PLACING OF THE CHAIR
STEP 1 Take the transformer from the polybag and connect it to the wire
coming out from the actuator on the base of the chair.
STEP 2 Remove the remote control from the polybag:
indicative image only
50cm
40cm
CAUTION:
Make sure there is no obstruction behind or in front/ or above the Chair for
safe recline and lift during operation.
No finger or object should be placed between the chair and the footrest.
• Once the chair is assembled as per assembly instruction, place the chair in
dry room, with sucient space in front and behind it.
• Make sure there is an allowance of more than 50 cm behind the chair and
more than 30cm in front of the chair.
• Place the chair on flat and smooth floor. Do not place the chair on
uneven floor.
• As per safety instruction, the room must not be too hot (below 40Oc) nor
humid, nor dusty or it may cause mal function and electric shock.
Raise the footrest Lower the footrest
Recline the back Raise the back
Lumbar out Lumbar in
Headrest up Headrest down
Home button. Brings
the chair back to
original sitting position
USB port
15
26
37
48
9

The remote control is used for the operation of all the functions of the chair.
The functions on the remote control are activated by pressing the buttons gently.
Raise the footrest Lower the footrest
Recline the back Raise the back
Lumbar out Lumbar in
Headrest up Headrest down
Home button. Brings
the chair back to
original sitting position
15
26
37
48
9
ADJUSTING
FOOTREST
To raise the footrest to the desired level.
To lower the footrest to comfortable sitting position. Keep on
pressing the button to place you in standing upright position.
ADJUSTING
RECLINE
To recline the backrest to the desired position
To level the backrest up to the desired position.
ADJUSTING
THE LUMBER
To bring the lumber support forward to the desired position.
To bring the lumber support back to the desired position.
ADJUSTING
HEADREST
To bring the headrest forward to desired position.
To bring the headrest backward to desired position.
HOME Press the fifth button to simultaneously return the headrest,
footrest , lumber and backrest to original sitting position.
1
2
3
4
5
6
7
8
9
NOTE:
1. To stop functions at any time, release the button.
2. Keep pressing the button to reach the maximum level of all these functions.
6) REMOTE CONTROL
USB port

Before cleaning ensure that the power is turned o and the power plug is
removed from the electrical outlet.
• Do not change the power plug by yourself.
• Do not disassemble the chair, remove any inside mechanism by yourself.
• The chair must be serviced or repaired by professional.
• Contact qualified technician or the After Sales Service for all servicing
and repairing
THE CHAIR
• Do not remove the upholstery for cleaning. Touching the inside mechanism
of the chair may result in electrical shock.
• Never use water to wash or clean any part of the chair.
• The upholstery of the chair must be cleaned with dry cloth only.
• Do not use any cleaning agents or thinners or bleaching agents to clean
the upholstery.
• Do not wash the upholstery.
• Ironing of upholstery is strictly prohibited.
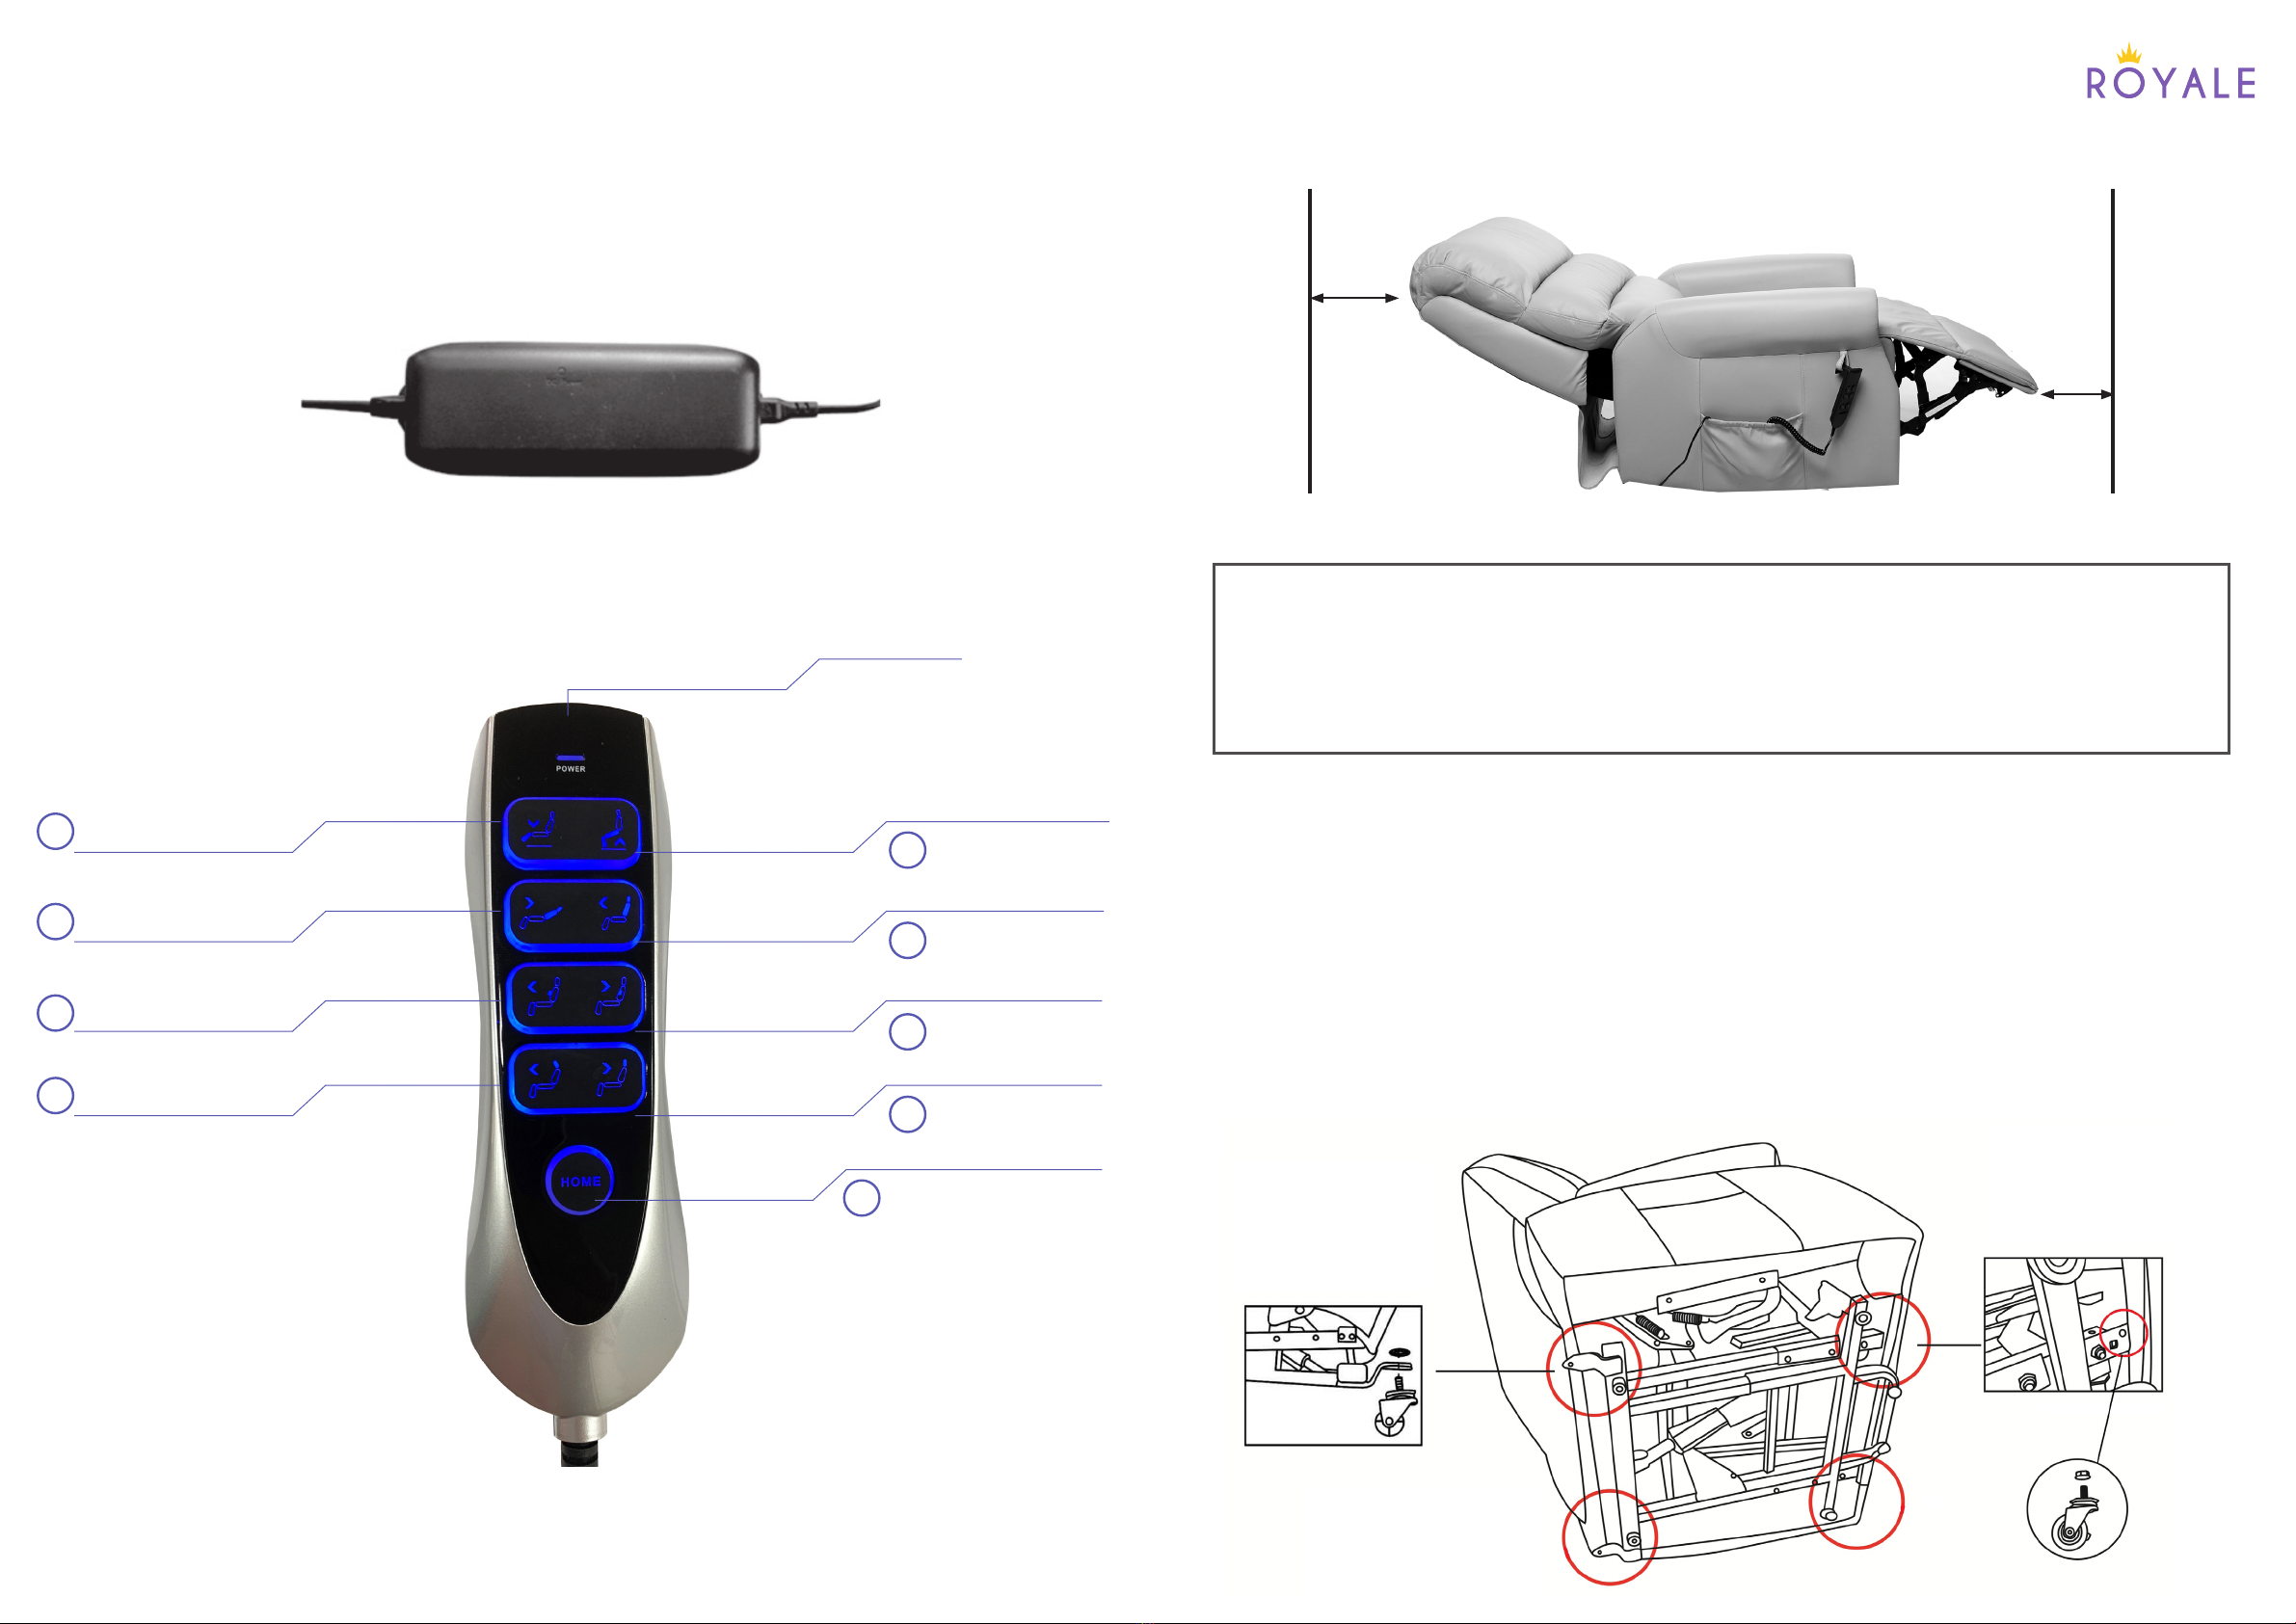
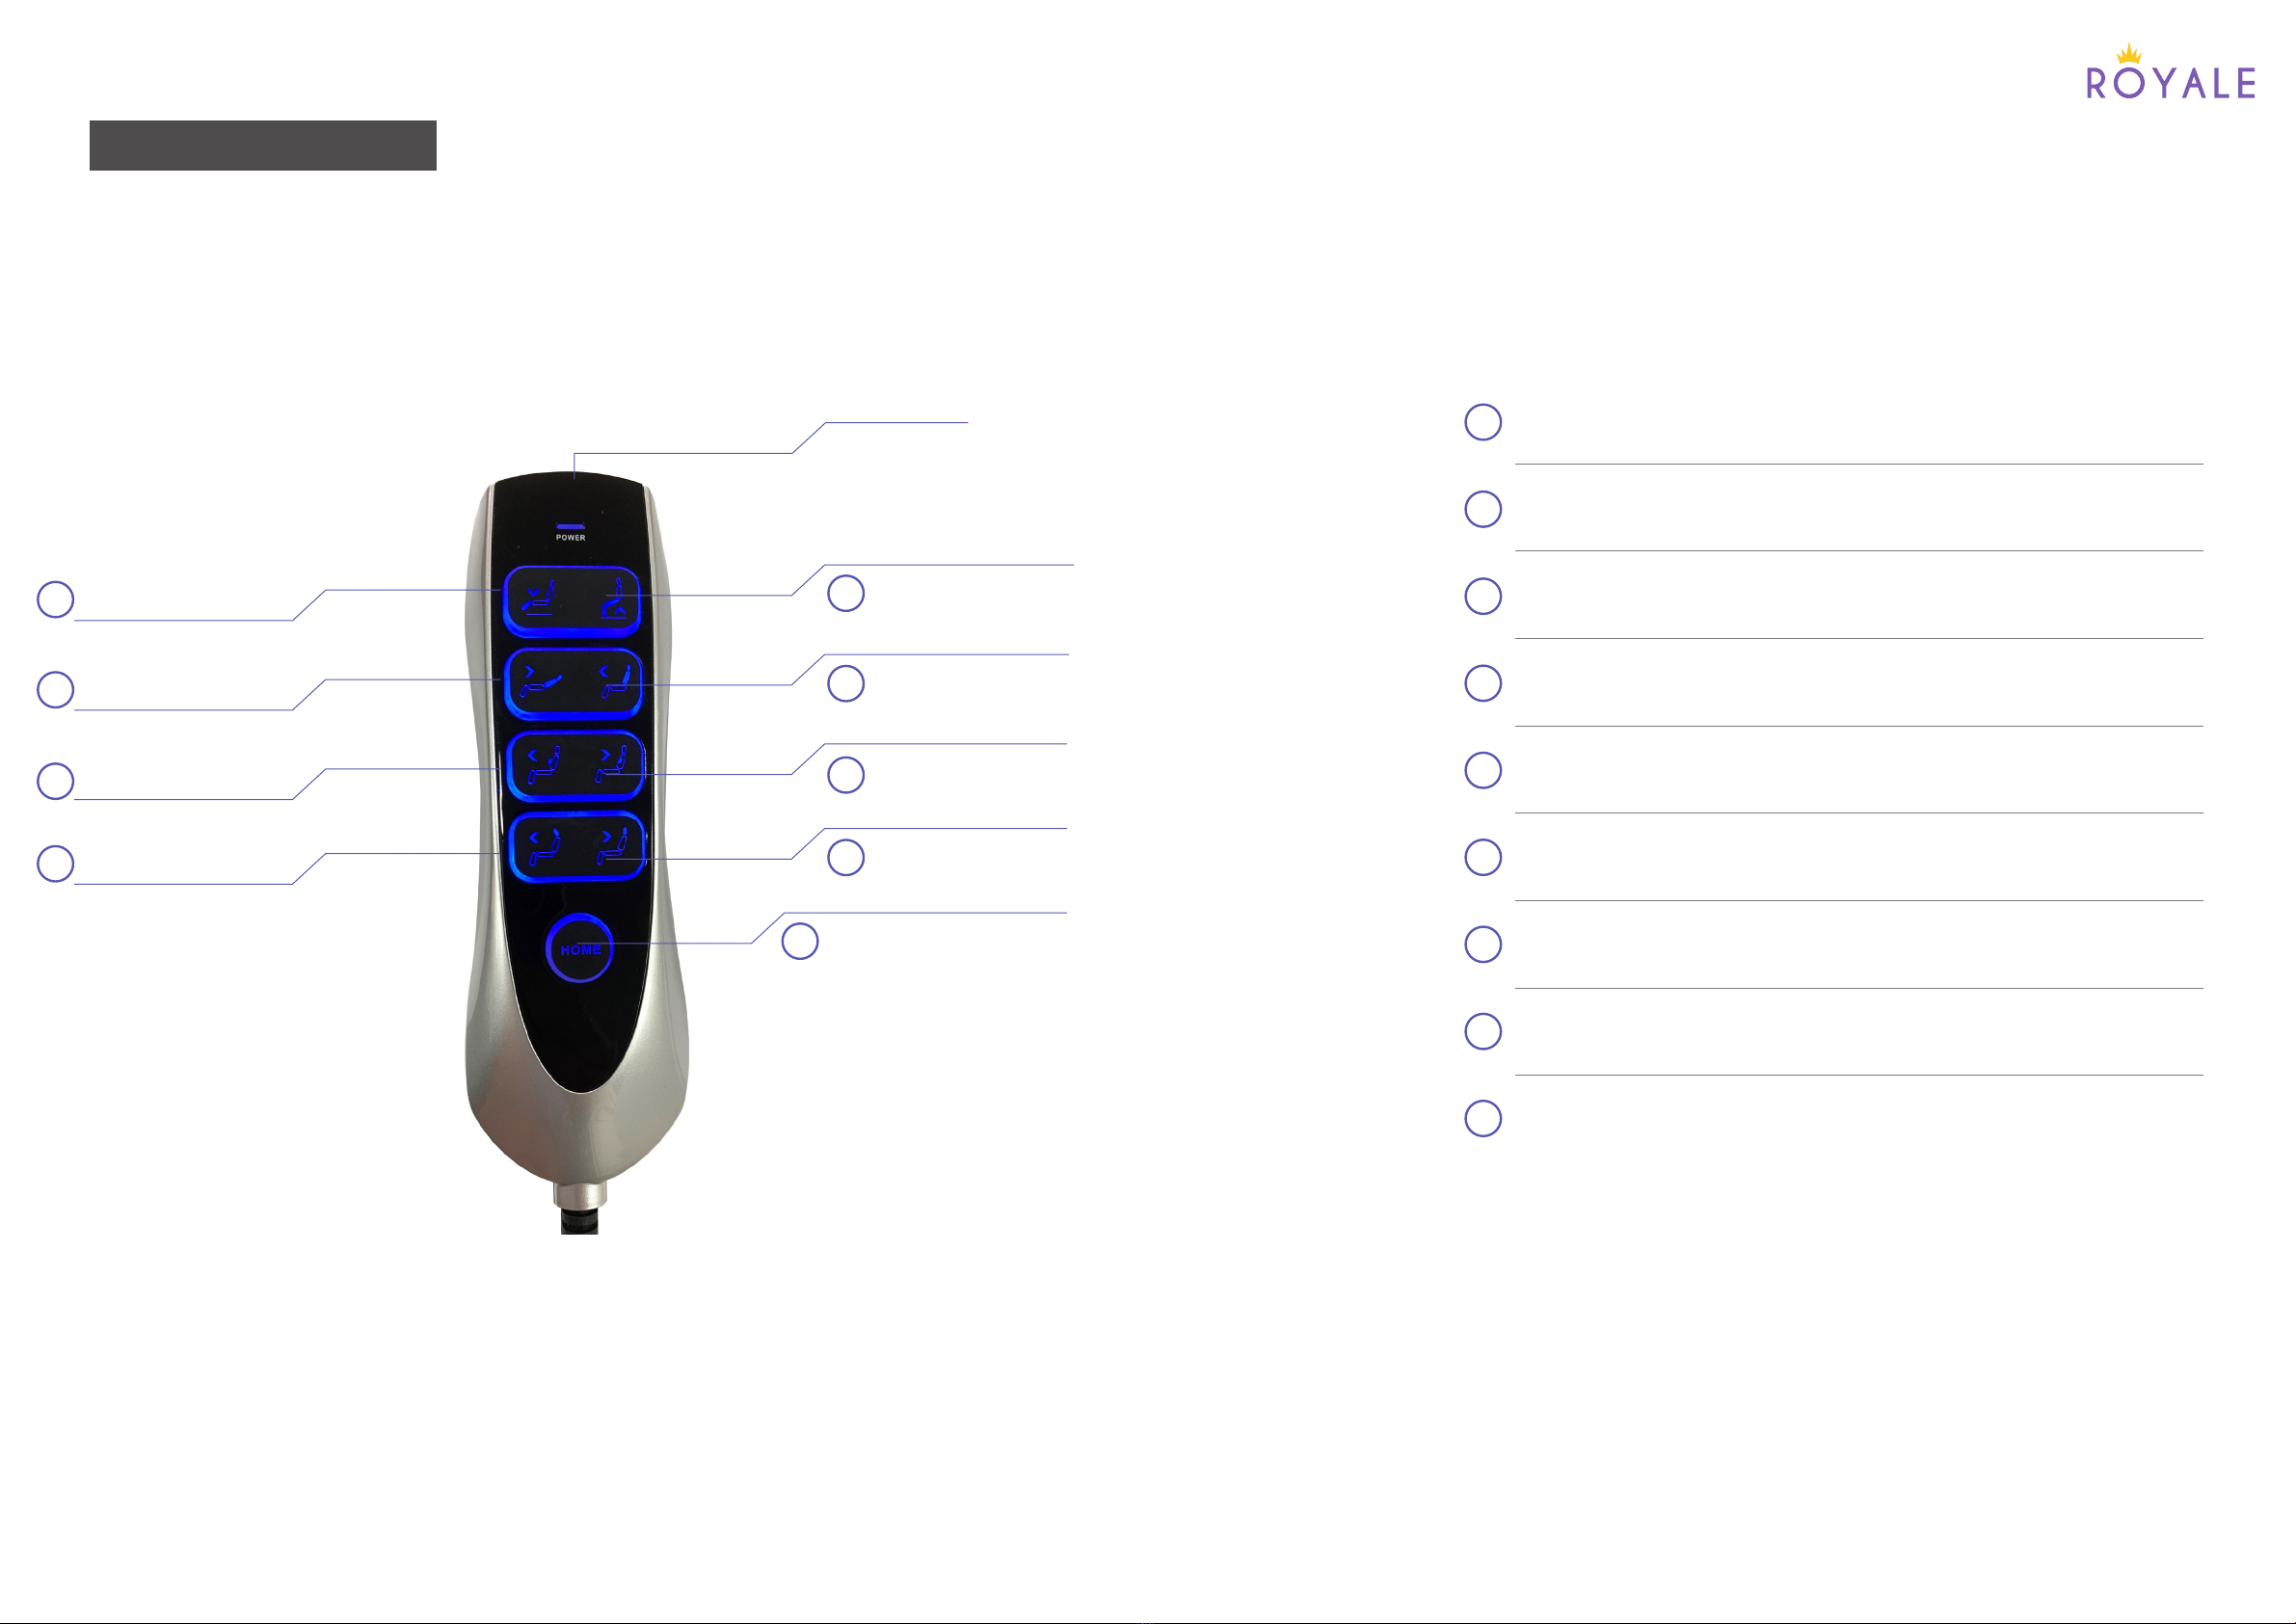
THE REMOTE CONTROL
• Only clean the remote control with dry cloth, to avoid potential electrical
damage.
Before storing the chair make sure that the main switch is turned o and the
power plug is removed from the electrical outlet.
• Wipe the dust and dirt o. Keep the chair clean and away from places of
high humidity.
• If the chair is not in use for long period of time, cover it with clean cloth to
protect it from dust. Store in dry room.
• Do not store the chair under direct sunlight or in places of high temperatures.
This may result in fading of fabric color.
ROYALE MEDICAL will repair or replace at our option to the original purchaser
any of the following found upon examination by an authorised representative of
ROYALE MEDICAL to be defective in material and /or workmanship.
1. Electrics including Transformer, Hand control, Motor, and all Cables - 2 Years
2. Steel Lift/Recline Mechanism - 2 Years
3. Timber Frame (Structural & Workmanship) 5 Years
NOT COVERED UNDER WARRANTY
ROYALE MEDICAL does not cover anything which is deemed to be damaged
through misuse or accident. The fabric is classed as wear item and under
normal wear and tear may need to be replaced. Therefore, the fabric is not
covered under warranty.
7) MAINTENANCE/ PRODUCT CARE
10) WARRANTY
8) PRODUCT STORAGE
NOTE:
1. ROYALE MEDICAL will provide parts only under warranty.
2. Your ROYALE MEDICAL dealer is responsible for labour and freight charges. Please contact
your ROYALE MEDICAL dealer for information about this.
If you have any of the following medical problems, please consult doctor
before use:
• If you have pacemaker
• If you have spinal disorder
• If you are suering from severe back pain and or are recovering from any
injury or surgery
• If you are under medical care or medical rest
• If you are physically or mentally unwell
9) USERS PRECAUTION

©2020 Royale Medical. Independent Living Specialists
Independent Living Specialists
Unit 1, 12 Mars Road
Lane Cove West NSW 2066
1300 008 267
ilsau.com.au
Table of contents
Popular Mobility Aid manuals by other brands

Schuchmann
Schuchmann MALTE Instructions for use

aidapt
aidapt VM947A Usage and maintenance instructions

Drive DeVilbiss Healthcare
Drive DeVilbiss Healthcare DIAMOND DELUXE Instructions for use

Drive DeVilbiss Healthcare
Drive DeVilbiss Healthcare ROOMBA Instructions for use

Vermeiren
Vermeiren Quava user manual

aidapt
aidapt VM938C Usage and maintenance instructions

Moretti
Moretti MOPEDIA RS958 instruction manual

human care
human care neXus RECONDITIONING MANUAL

Aqua Creek
Aqua Creek TITAN 600 user manual

Mangar
Mangar Raiser Lifting Cushion User instructions

Invacare
Invacare P402 Aventia user manual

Direct Healthcare Group
Direct Healthcare Group SystemRoMedic Rowalker400 Service manual